

Are you looking for a secure, convenient way to control your door locks from the comfort of your own home? Look no further than controlling them through Nest! With the Yale Lock connected to the Nest App, you will be able to access and manage entryways in an easy and secure manner. We understand that people are always on the go and may need their key instead of their phone.
That’s why it is important to learn how to add Yale lock to Nest app so that you can easily monitor access coming into, or out of your home. Throughout this blog post, we’ll explain what types of technology integrate with Nest apps, how you can add a Yale Lock onto it, and everything else regarding access control using this trusted app all from one place!
What Types of Technology Integrate With Nest Apps?
The Nest app provides a convenient and centralized way to control various aspects of your home, such as temperature, lighting, and security.
It also allows for integration with different types of technology, including Yale Locks. The Nest app can be accessed through smartphones, tablets, or web browsers, making it accessible from anywhere at any time. Additionally, it can be integrated with other smart home devices such as Google Home and Amazon Alexa for voice-controlled access.
Step-by-step Guidelines on How to Add Yale Lock to Nest App
Step 1: Input and Install the Nest App
The first step is installing the Nest app on your smartphone or tablet. You can find it in the App Store for iOS devices or Google Play Store for Android devices. Once you have installed and installed the app, follow the instructions to set it up with your Nest account. If you don’t have a Nest account, you can create one by clicking on the “Sign up” option in the app.
Step 2: Add Yale Lock to Your Nest Account
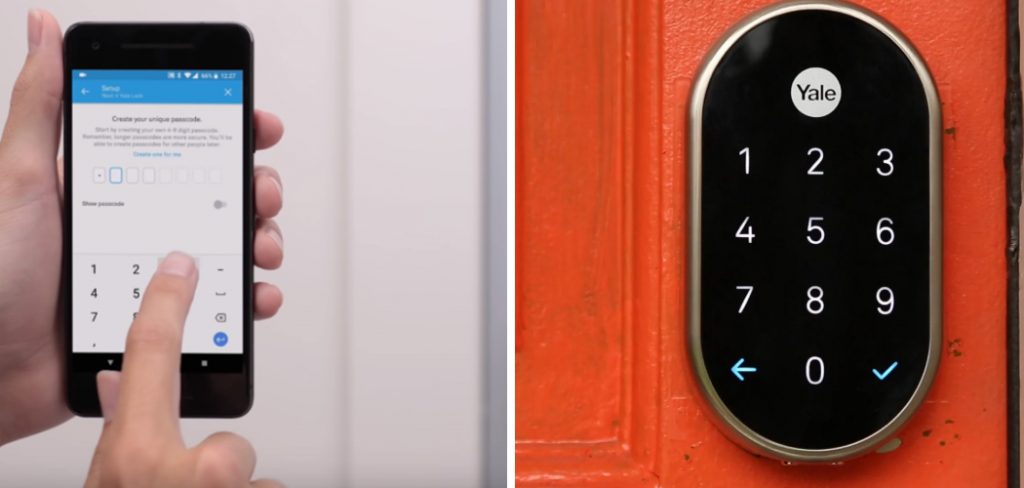
Next, you will need to add your Yale Lock to your Nest account. To do this, open the Nest app and tap on the “+” sign in the top right corner of the screen. Then, select “Add product” and choose “Yale Lock” from the list of compatible devices. Follow the on-screen instructions to connect your Yale Lock to your Nest account.
Step 3: Configure Your Yale Lock Settings
After successfully adding your Yale Lock to your Nest account, you can now configure its settings through the app. This includes setting up access codes, creating schedules for automatic locking and unlocking, and receiving notifications whenever the lock is used. You can also grant access to other users by assigning them their own unique access code.

Step 4: Test Your Yale Lock
Before relying on your Yale Lock for everyday use, it’s important to test its functionality. Make sure all the settings are configured correctly and that you can lock and unlock the door using the app. You can also test the access codes to ensure they are working properly. If you encounter any issues, refer to the Nest app’s troubleshooting guide or contact customer support for assistance.
Following these simple steps will ensure that you have successfully added your Yale Lock to the Nest app and are now able to control your home’s entryways with ease. Keep in mind that the Nest app also allows for remote access, so if you are away from home and need to let someone in, you can do so through the app.
Additional Tips and Tricks to Add Yale Lock to Nest App
1. Make sure your Yale lock is properly installed and functioning before attempting to add it to the Nest App. This will save you time and prevent frustration in the setup process.
2. Check for firmware updates on your Yale lock before adding it to the Nest App. This will ensure that your lock is up-to-date and compatible with the app.
3. If you encounter any issues during the setup process, try restarting your Yale lock and your Nest App. This can often resolve any connectivity or syncing problems.
4. If you have multiple users in your household, each user will need to install the Nest App and create their own account in order to access and control the Yale lock.
5. Make sure you have a strong Wi-Fi connection when adding your Yale lock to the Nest App. This will ensure a smooth and successful setup process.
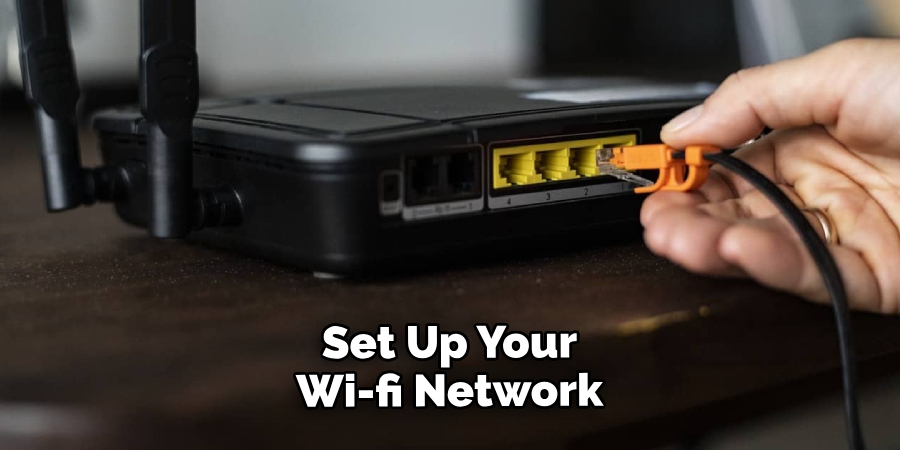
6. If you have a Yale Assure Lock with Wi-Fi, make sure you have set up your Wi-Fi network before attempting to add it to the Nest App.
7. You can customize settings for your Yale lock within the Nest App, such as setting schedules for auto-locking and unlocking, creating passcodes for guests, and receiving push notifications when the lock is used.
8. If you have other Nest products such as a thermostat or camera, you can integrate them with your Yale lock through the Nest App for a seamless smart home experience.
9. Take advantage of the voice control feature by integrating your Yale lock with Google Assistant or Amazon Alexa. This allows you to lock and unlock your door with simple voice commands.
10. Remember to always keep your Nest App and Yale lock updated for optimal performance and security. Check for updates regularly and install them as needed. Overall, adding a Yale lock to the Nest App can enhance your home’s security and make it more convenient to manage access to your property.
Following these tips and tricks can make the setup process smoother and ensure that you get the most out of your Yale lock and Nest App integration. Enjoy the added convenience, security, and control with this powerful smart home combination.
Precautions Need to Follow for Adding Yale Lock to Nest App
1. Before attempting to add your Yale lock to the Nest app, it is important to make sure that they are compatible with each other. This can be done by checking the product compatibility list on Nest’s website or by contacting their customer support team.
2. It is recommended to have a stable and reliable internet connection before adding your Yale lock to the Nest app. This will ensure a smoother setup process and avoid any connectivity issues in the future.
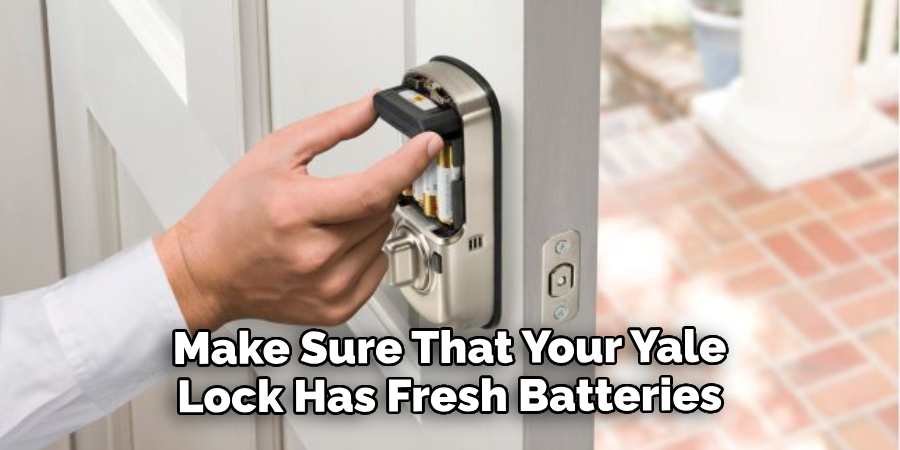
3. Make sure that your Yale lock has fresh batteries installed. The Nest app will prompt you to check the battery level before proceeding with the setup process.
4. Ensure that your Yale lock is within range of your Wi-Fi network. If it is too far away, it may experience connectivity issues or fail to connect altogether.
5. It is important to follow the manufacturer’s instructions for adding the lock to the Nest app. These instructions can be found in the product manual or on their website.
6. If you are experiencing any difficulties during the setup process, make sure to follow the troubleshooting steps provided by Nest or contact their customer support team for assistance.
7. Once your Yale lock is successfully added to the Nest app, it is recommended to test its functionality before relying on it for security purposes. This can be done by locking and unlocking the door using the app or by manually using the lock’s keypad.
Following these considerations will ensure a smooth and hassle-free process when adding your Yale lock to the Nest app. Remember to always prioritize safety and security when setting up smart home devices. So, it is important to follow all precautions carefully.
Frequently Asked Questions
Can I Add a Yale Lock to My Nest App?
Yes, you can add a Yale lock to your Nest app. This allows you to control and monitor your Yale lock remotely through the Nest app.
What is a Yale Lock?
A Yale lock is a smart lock that enables you to lock or unlock your door remotely using a smartphone, tablet, or computer. It also allows you to create and manage access codes for family members, friends, and trusted service providers.
Can I Still Use My Existing Keys with a Yale Lock?
Yes, you can still use your existing keys with a Yale lock. The Yale lock comes with a physical key slot that allows you to use your traditional keys as a backup or when the lock runs out of battery.
How Does a Yale Lock Connect to the Nest App?
A Yale lock connects to the Nest app through a Wi-Fi connection. This allows you to control and monitor your lock remotely from anywhere with an internet connection. You can also receive real-time notifications when someone locks or unlocks your door.
Do I Need Any Additional Equipment to Add a Yale Lock to My Nest App?
No, you do not need any additional equipment to add a Yale lock to your Nest app. The Yale lock comes with built-in Wi-Fi capabilities and can be easily set up through the Nest app. However, you will need a strong Wi-Fi connection and the Nest app installed on your smartphone or tablet.
Is It Safe to Add My Yale Lock to the Nest App?
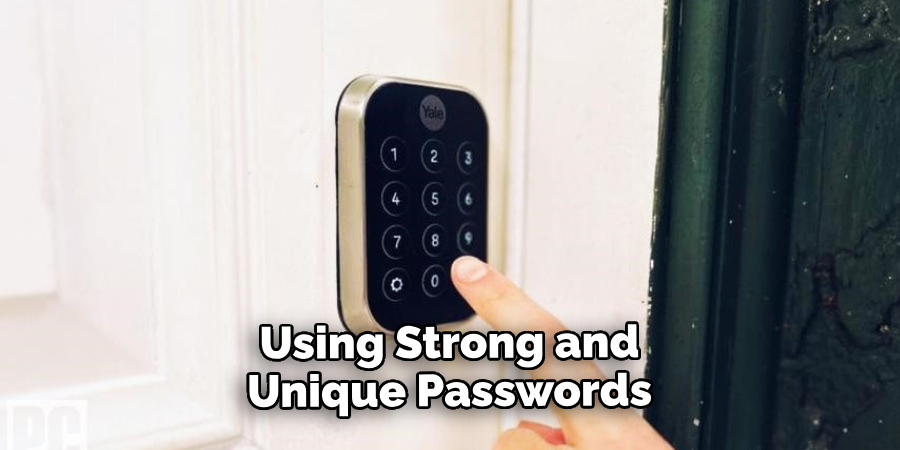
Yes, it is safe to add your Yale lock to the Nest app as both use secure encryption protocols. However, it is important to always keep your lock and app updated for optimal security. It is also recommended to follow good internet security practices, such as using strong and unique passwords for your accounts. Overall, adding a Yale lock to the Nest app can enhance the safety and convenience of your home.
Conclusion
All in all, knowing how to add Yale Lock to nest app not only provides convenience but also adds an extra layer of security to your home. With the ability to control and monitor your lock remotely, you can have peace of mind knowing that your home is always secure.
Plus, with the option to still use traditional keys as a backup, you won’t have to worry about getting locked out in case of a power outage or flat battery. So go ahead and add a Yale lock to your Nest app today for added convenience and security.
About
Safety Fic is a distinguished figure in the world of Diy design, with a decade of expertise creating innovative and sustainable Diy solutions. His professional focus lies in merging traditional craftsmanship with modern manufacturing techniques, fostering designs that are both practical and environmentally conscious. As the author of diy, Safety Fic delves into the art and science of Safety Fic-making, inspiring artisans and industry professionals alike.
Education RMIT University
(Melbourne, Australia) Associate Degree in Design (Safety Fic) Focus on sustainable design, industry-driven projects, and practical craftsmanship. Gained hands-on experience with traditional and digital manufacturing tools, such as CAD and CNC software.
Nottingham Trent University
(United Kingdom) Bachelor’s in diyfastly.com and Product Design (Honors) Specialized in product design with a focus on blending creativity with production techniques. Participated in industry projects, working with companies like John Lewis and Vitsoe to gain real-world insights.
Publications and Impact
In diy, Safety Fic his insights on indoor design processes, materials, and strategies for efficient production. His writing bridges the gap between artisan knowledge and modern industry needs, making it a must-read for both budding designers and seasoned professionals.