

Fine-tuning your home security setup is paramount, and when it comes to the Blink camera system, understanding how to adjust its settings can make all the difference. Whether you want to optimize motion detection, alter video quality, or customize alert preferences, navigating through the Blink camera settings is key to tailoring the system to your specific needs. In this comprehensive guide, we will delve into the step-by-step process of how to adjust blink camera settings.
From the Blink app’s intuitive interface to exploring the various customization options, this article aims to empower users with the knowledge to make the most of their Blink cameras. By mastering these settings, users can enhance the functionality of their security system, ensuring it aligns seamlessly with their unique surveillance requirements and preferences.
Importance of Adjusting Camera Settings
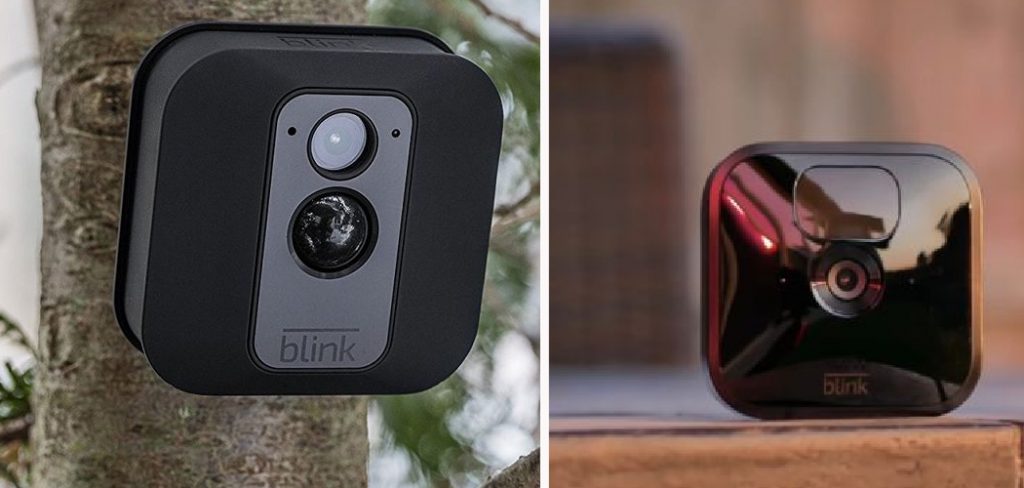
Blink cameras are one of the most popular home security systems on the market. With their easy installation and wireless capabilities, they have become a go-to choice for homeowners looking to monitor and protect their property. However, just like any other technology, it is important to know how to adjust the camera settings in order to get the most out of your Blink system.
One of the main reasons why adjusting camera settings is important is to ensure that your cameras are properly capturing and recording any potential activity. By customizing the sensitivity, motion detection, and recording length settings, you can avoid false alerts and make sure that relevant footage is captured.
Another benefit of adjusting camera settings is to conserve battery life. Depending on how often your cameras record and transmit footage, the battery life can vary. By adjusting the recording length and frequency of alerts, you can extend the life of your batteries and save money in the long run.

Adjusting camera settings also allows for more efficient storage and organization of footage. With customizable clip lengths, you can choose to only record when motion is detected or record continuously. This not only saves on storage space but also makes it easier to find and review specific events without having to sift through hours of footage.
Moreover, adjusting camera settings can also improve the overall performance of your Blink system. By fine-tuning the motion detection sensitivity and zone coverage, you can ensure that your cameras are capturing all relevant activity while minimizing false alerts. This not only improves the accuracy of your security system but also provides peace of mind knowing that you will be alerted to any potential threats.
10 Methods How to Adjust Blink Camera Settings
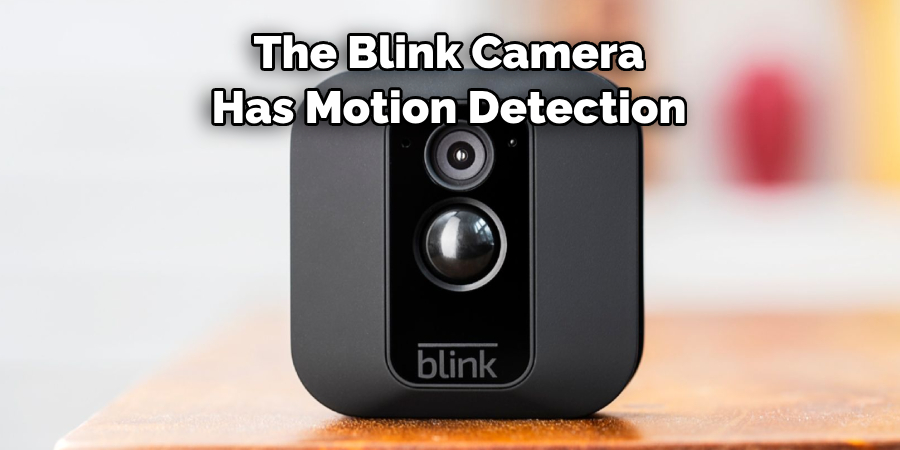
1. Adjust the Motion Detection Settings
The Blink camera has motion detection settings that can be adjusted to meet your needs. You can adjust the sensitivity of the motion sensor, as well as set an area for it to monitor. You can also set up specific times when you want the motion detector to be active or inactive. Additionally, you can choose whether or not you want to receive notifications when motion is detected.
2. Adjust the Video Quality Settings
The Blink camera allows you to adjust the video quality settings so that you can get the most out of your camera. You can choose from five different video quality options: HD, FHD, 4K, 1080p, and 720p. Depending on your Internet connection speed and storage space, you may need to adjust these settings in order to get optimal performance from your camera.
3. Adjust the Recording Settings
The Blink camera also has recording settings that allow you to customize how long each video clip is recorded for and how many clips are stored in the cloud at a given time. You can also set up a schedule for when you want recordings to start and stop automatically. Additionally, you can enable audio recording if desired.
4. Adjust the Night Vision Settings
If your Blink camera has night vision capabilities, then you will be able to adjust its settings in order to get better results in low light conditions. You can choose between two different night vision modes: infrared and color night vision mode. Additionally, you can adjust the intensity of the night vision so that it is just right for your needs.
5. Adjust Viewing Angle & Field of View
The Blink camera offers a wide range of viewing angles and field of view options so that you can get exactly what you need out of your security system. Depending on where your camera is located and what type of view it has access to, you may need to adjust these settings accordingly in order for it to capture all relevant activity within its field of view range.
6. Adjust Storage Settings
The Blink camera offers both local storage and cloud storage options so that users have more control over where their footage is stored and accessed. With local storage, users have the option of storing footage directly onto an SD card or USB drive. With cloud storage, users have access to more advanced features such as remote access, sharing, archiving, and more.
7. Adjust Alerts & Notifications Settings
Blink cameras come with alert notifications, which allow users to receive real-time updates when something happens within their home or business. These alerts are customizable so that users can decide which types of events they would like notifications for. For example, users could opt-in for notifications when motion is detected or when a specific door opens.
8. Adjust Privacy & Security Settings
Blink cameras come with privacy & security features such as password protection, two-factor authentication, encryption, and more. These features help ensure that only authorized individuals are able to access live feeds or recordings from Blink cameras. Users should take advantage of these features in order to stay safe online while using their home security systems.
9. Adjust Scheduling & Timelapse Settings
With scheduling & timelapse settings, users have full control over when their cameras will start recording or taking pictures. This feature allows users who are away from home often (or who forget)to keep an eye on their property without having someone physically present at all times. Users simply set up a schedule according to their needs and let their cameras do all the work!

10. Modify Camera Name & Location
Finally, one last way that users can customize their Blink cameras is by changing their name and location information within their app. This helps keep track of multiple devices easily while also allowing others who have access permission (such as family members )to know exactly which device they are looking at based on its name/location information.
Things to Consider When Adjusting Blink Camera Settings
Blink cameras are versatile and convenient devices that have recently gained immense popularity among homeowners. These wireless indoor and outdoor security cameras offer a range of customizable settings to fit the specific needs and preferences of users.
In this guide, we will discuss some important considerations to keep in mind when adjusting your Blink camera settings.
1. Placement of Cameras
The placement of your Blink cameras plays a crucial role in the overall effectiveness and functionality of the device. When adjusting camera settings, it is important to consider the location where you have installed or plan to install your camera.
2. Motion Detection Sensitivity
Blink cameras offer customizable motion detection sensitivity levels, allowing users to adjust how sensitive the camera is to pick up movement. This is an important setting to consider, as too high of a sensitivity level can result in false alarms from small movements such as branches swaying in the wind or pets walking by.
On the other hand, if the sensitivity level is too low, the camera may not pick up on important movements such as a potential intruder. It is recommended to test different sensitivity levels and find the right balance that works for your specific needs and environment.
3. Recording Length
Another setting to keep in mind when adjusting your Blink camera settings is the recording length. This determines how long the camera will record footage once motion is detected.
If you have a high-traffic area, you may want to adjust the recording length to be longer so that no movement goes unnoticed. However, if your camera is in a low-traffic area, a shorter recording length may suffice.
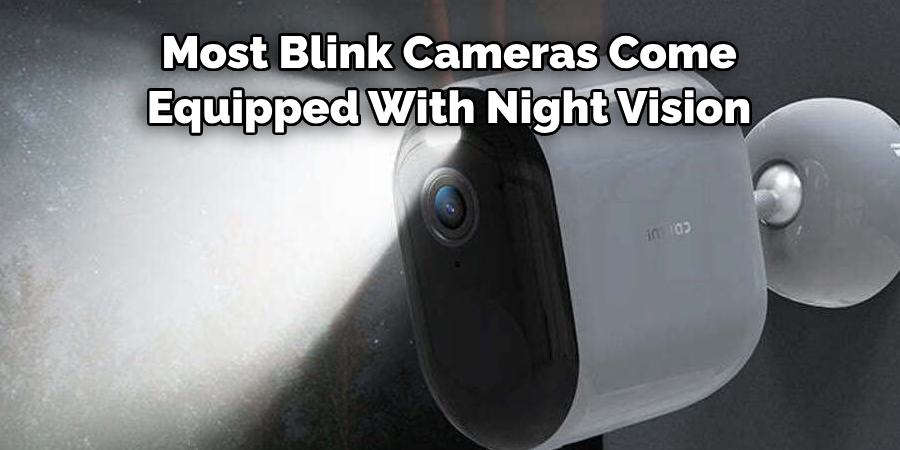
4. Night Vision Mode
Most Blink cameras come equipped with night vision capabilities, allowing them to capture footage in low-light or dark conditions. When adjusting this setting, consider the location of your camera and if there are any sources of light that may interfere with the night vision mode.
Conclusion
After reading this blog post, you are now well-informed on the different ways to adjust your Blink camera settings as desired – from turning motion detection on and off, managing notifications preferences, setting recording schedules, and more. The key takeaway is to make sure that all your home security cameras – be it Blink or other brands – are set up in a manner so they can function according to an optimal level with minimal effort.
With these adjustments in place, you can go ahead and reap the benefits of having a reliable security system that provides you peace of mind when away from home. So get started today by learning more about how to adjust blink camera settings for the best home monitoring experience!
About
Safety Fic is a distinguished figure in the world of Diy design, with a decade of expertise creating innovative and sustainable Diy solutions. His professional focus lies in merging traditional craftsmanship with modern manufacturing techniques, fostering designs that are both practical and environmentally conscious. As the author of diy, Safety Fic delves into the art and science of Safety Fic-making, inspiring artisans and industry professionals alike.
Education RMIT University
(Melbourne, Australia) Associate Degree in Design (Safety Fic) Focus on sustainable design, industry-driven projects, and practical craftsmanship. Gained hands-on experience with traditional and digital manufacturing tools, such as CAD and CNC software.
Nottingham Trent University
(United Kingdom) Bachelor’s in diyfastly.com and Product Design (Honors) Specialized in product design with a focus on blending creativity with production techniques. Participated in industry projects, working with companies like John Lewis and Vitsoe to gain real-world insights.
Publications and Impact
In diy, Safety Fic his insights on indoor design processes, materials, and strategies for efficient production. His writing bridges the gap between artisan knowledge and modern industry needs, making it a must-read for both budding designers and seasoned professionals.