

Are you tired of your LUX sensor always giving inaccurate readings? Don’t worry, adjusting it is easier than you think!
Adjusting a LUX sensor is crucial to ensure optimal performance in monitoring and controlling light levels. LUX sensors are commonly used in various applications, such as smart lighting systems, security systems, and environmental monitoring, where precise measurements of ambient light are vital. Proper adjustment ensures that the sensor responds accurately to changes in lighting conditions, enhancing efficiency and functionality. Additionally, it can prevent false readings and errors in data collection, which are critical in applications requiring precise measurements.
This guide on how to adjust lux sensor will outline the steps necessary to correctly calibrate and adjust a LUX sensor, helping you achieve the desired sensitivity and performance for your specific application.
What Are the Benefits of Calibrating a LUX Sensor?
Calibrating a LUX sensor has several advantages, including:
- Improved Accuracy: By calibrating the sensor, you can ensure that it is providing accurate readings and measurements.
- Enhanced Functionality: A properly calibrated sensor will respond accurately to changes in lighting conditions, allowing for more efficient and effective use.
- Preventing Errors in Data Collection: Calibration helps prevent false readings and errors, ensuring your data is reliable and precise.
- Customization for Specific Applications: Different applications may require different sensitivity levels from the LUX sensor. Calibration allows you to adjust the settings to meet your specific needs.
What Will You Need?
- Calibration Standards: These are known light sources with a specific intensity that will be used to calibrate the sensor. They can be purchased or created by the user.
- Power Source: Ensure your LUX sensor has a reliable power source connection before calibrating. This will ensure accurate readings during the calibration process.
- Computer or Microcontroller: A laptop or microcontroller is needed to communicate with and adjust the settings on your LUX sensor.
- Calibration Software: Some sensors may come with their calibration software, while others may require you to download it separately. Make sure you have the appropriate software for your particular sensor.
Once you have all the necessary equipment and materials, follow these steps to calibrate your LUX sensor successfully.
8 Easy Steps on How to Adjust LUX Sensor
Step 1. Set Up Your Workspace:

Choose a clean, stable, and clutter-free area to conduct the calibration process. Ensure that the workspace is well-organized and free from unnecessary distractions to prevent errors during calibration. The area should have a consistent and controllable light environment, as fluctuating light levels can interfere with the accuracy of your LUX sensor readings.
Ensure you have access to power outlets if your sensor or light sources require power. Additionally, gather all your calibration equipment, such as a reliable light meter, appropriate calibration software, and adjustment tools, within easy reach to streamline the process. Having a well-prepared workspace will set the foundation for accurate and efficient calibration.
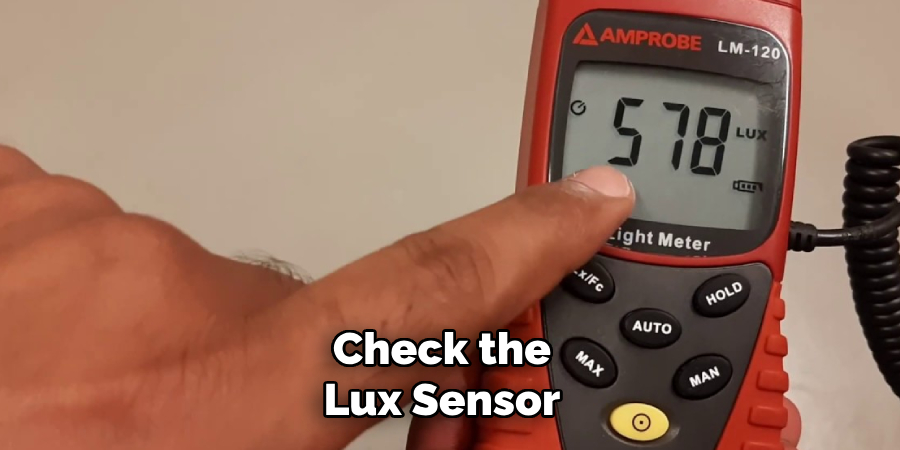
Step 2: Verify Your Equipment
Before starting the calibration process, ensure all your equipment is functioning correctly and is in good condition. Check the LUX sensor for any visible damage, dust, or debris that could affect its readings. Similarly, inspect your light meter to confirm it is calibrated and working accurately. If you are using calibration software, verify that you have the latest version installed and that it is compatible with the sensor model. Taking the time to confirm your equipment’s reliability will help avoid errors later in the process.
Step 3: Prepare the Testing Environment
Ensure the testing environment is set up to minimize external factors that could interfere with accurate measurements. Position your equipment in a stable, controlled area away from direct sunlight or reflective surfaces that could alter readings. If testing indoors, keep the space free of unnecessary light sources and adjust blinds or curtains to control ambient light. Record the temperature and humidity levels, as these conditions can also influence sensor performance. A well-prepared environment ensures consistent and reliable data collection.
Step 4: Calibrate Your Equipment
Before beginning any measurements, ensure that your equipment is calibrated correctly. Refer to the manufacturer’s instructions for the specific calibration procedure, as different devices may require unique settings or adjustments. Calibration ensures that your sensors provide accurate and consistent data. Perform this step in your prepared controlled environment to minimize variables that could affect the process. Regular calibration is essential, especially if the equipment has been moved or stored for extended periods.
Step 5: Testing the Equipment
Once calibration is complete, test your equipment to verify its accuracy and functionality. Use standard reference materials or benchmarks to ensure the device responds correctly to known variables. Record and compare the output data to the expected results to identify any discrepancies. If inconsistencies arise, revisit the calibration process or consult the manufacturer’s troubleshooting guide. Proper testing ensures your equipment is ready for reliable use in your application.
Step 6: Inspect and Maintain Your Equipment
Once you have verified the accuracy of your equipment, it is essential to inspect and maintain it to ensure its continued functionality. This includes performing routine maintenance tasks such as cleaning, lubricating, and replacing worn or damaged parts.
Regular inspections can also help identify potential issues before they become major problems. By catching these issues early on, you can prevent costly repairs or equipment failures that could disrupt your workflow.
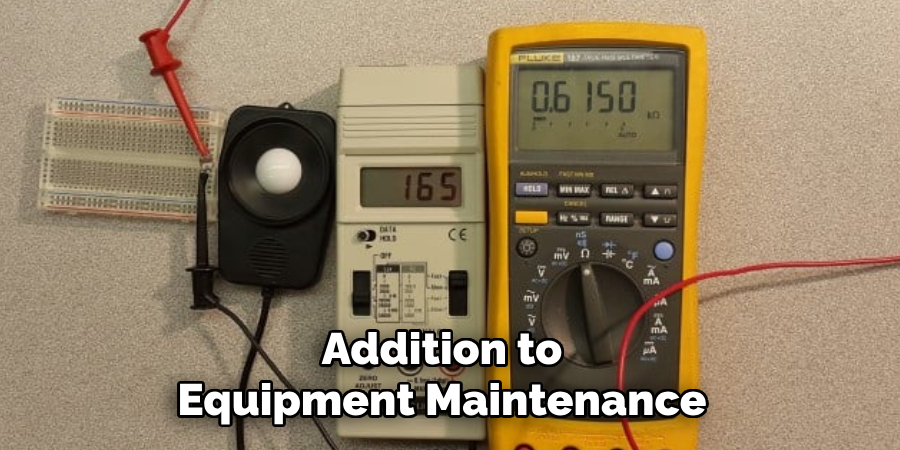
Step 7: Training and Familiarization
In addition to equipment maintenance, operators must undergo proper training and familiarization with the equipment they will be using. This includes understanding its functions, capabilities, and potential hazards.
Training should cover both the theoretical aspects of operating the equipment as well as hands-on practice. Operators need to be comfortable and confident in handling the equipment before using it on a job site.
Step 8: Proper Use and Handling
Proper use and handling of equipment are essential to ensure not only the longevity of the machinery but also the safety of the operators and those around them. Operators should always adhere to manufacturer guidelines and follow established protocols for operating the equipment. This includes conducting pre-operation inspections, such as checking for visible damage, ensuring fluids are at appropriate levels, and verifying that all safety mechanisms function correctly.
During operation, equipment should only be used for its intended purpose and within its recommended limits. Overloading or misusing machinery can lead to breakdowns, accidents, or serious injuries. It is also essential to remain vigilant at all times, keeping the operating area clear of unnecessary hazards and ensuring proper communication when working as part of a team.
By following these steps, workers can help ensure a safe and productive work environment for themselves and others.
5 Things You Should Avoid
- Adjusting the Sensor in Unfavorable Lighting Conditions
Avoid adjusting when the surrounding lighting conditions are inconsistent or extreme, such as during direct sunlight or complete darkness. This can lead to inaccurate calibration and improper functioning of the lux sensor.
- Ignoring the Manufacturer’s Instructions
Failing to follow the manufacturer’s guidelines and specifications can result in incorrect settings or even damage to the sensor. Always refer to the manual for step-by-step instructions tailored to your specific device.
- Using Unsuitable Tools
Do not use tools that are not designed for the adjustment process. Using inappropriate equipment can damage the sensor or hinder its correct calibration, preventing it from functioning properly.
- Over-Adjusting the Sensitivity
Excessively increasing or decreasing the sensitivity settings can cause the sensor to respond inaccurately to light levels, leading to false readings or unreliable performance. Maintain balanced and intentional adjustments.
- Skipping Testing After Adjustment
After making adjustments, neglecting to test the lux sensor in real-world conditions can lead to operational errors. Always verify the sensor’s accuracy in its intended environment to ensure it is working as expected.
Is Higher or Lower LUX Better?
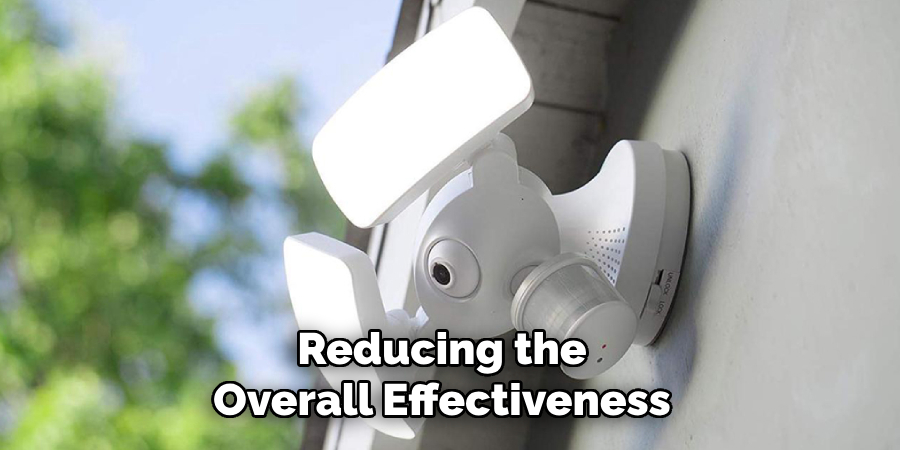
The appropriateness of higher or lower LUX levels largely depends on the specific application and environment in which the LUX sensor is being used. Higher LUX levels typically indicate brighter conditions, which may be necessary in offices, industrial workspaces, or retail environments to ensure clear visibility and productivity. However, excessively high LUX levels in such settings can cause glare and discomfort, reducing the overall effectiveness of the lighting design.
Conversely, lower LUX levels are generally associated with dimmer conditions, which are often preferred in areas like residential spaces, theaters, or specific hospitality locations where a cozy or intimate ambiance is desired. Yet, if LUX levels drop too low, it can lead to inadequate lighting, affecting safety and visual comfort. This variability highlights the importance of defining the optimal LUX level for each situation, considering factors such as the purpose of the space, the tasks being performed, and the occupants’ preferences.
By carefully calibrating lux sensors based on these considerations, achieving an environment that balances efficiency, functionality, and comfort is possible.
Conclusion
To adjust a lux sensor effectively, start by determining the specific lighting requirements of the environment.
Consider the purpose of the space and the activities that will take place to establish the appropriate LUX levels. Next, position the sensor in an area where it can accurately measure ambient light without interference from direct light sources or shadows. Gradually calibrate the sensor by testing different settings, ensuring it responds correctly to varying light conditions while maintaining consistency. Regularly monitor and fine-tune the sensor to adapt to changes in the environment or usage patterns.
By following these steps on how to adjust LUX sensor, it can provide optimal lighting control tailored to the specific needs of the space.
About
Safety Fic is a distinguished figure in the world of Diy design, with a decade of expertise creating innovative and sustainable Diy solutions. His professional focus lies in merging traditional craftsmanship with modern manufacturing techniques, fostering designs that are both practical and environmentally conscious. As the author of diy, Safety Fic delves into the art and science of Safety Fic-making, inspiring artisans and industry professionals alike.
Education RMIT University
(Melbourne, Australia) Associate Degree in Design (Safety Fic) Focus on sustainable design, industry-driven projects, and practical craftsmanship. Gained hands-on experience with traditional and digital manufacturing tools, such as CAD and CNC software.
Nottingham Trent University
(United Kingdom) Bachelor’s in diyfastly.com and Product Design (Honors) Specialized in product design with a focus on blending creativity with production techniques. Participated in industry projects, working with companies like John Lewis and Vitsoe to gain real-world insights.
Publications and Impact
In diy, Safety Fic his insights on indoor design processes, materials, and strategies for efficient production. His writing bridges the gap between artisan knowledge and modern industry needs, making it a must-read for both budding designers and seasoned professionals.