

Are you tired of fumbling around in the dark to find your house keys or struggling to see where you’re walking at night? A sensor light timer can solve this problem by automatically turning on and off your outdoor lights. But what happens when the timer needs to be adjusted?
Adjusting the timer on a sensor light is a simple yet essential task to ensure its functionality aligns with your needs. Whether you aim to increase the time the light stays on for safety purposes or decrease it to conserve energy, understanding how to set the timer properly can make a significant difference.
This guide on how to adjust sensor light timer will walk you through the steps needed to adjust the sensor light timer effectively, allowing you to customize its operation to suit your preferences.
What Are the Benefits of Adjusting a Sensor Light Timer?
Adjusting a sensor light timer can have several benefits, including increased energy efficiency and improved safety.
- Energy Efficiency: Properly setting the timer ensures your sensor light is only activated when needed. This can help reduce unnecessary energy consumption and lower electricity bills.
- Improved Safety: A well-adjusted sensor light timer can enhance safety by providing adequate lighting in areas such as pathways, driveways, and entrances. This makes it easier to navigate and identify potential hazards at night.
- Customized Operation: By adjusting the sensor light timer, you can customize its operation to suit your specific needs and preferences. For example, you may prefer a longer or shorter delay before the light turns off after detecting motion.
What Will You Need?
To install a sensor light timer, you will need the following materials:
- Sensor light timer
- Screwdriver
- Electrical tape
- Wire nuts
- Wire stripper
- Wire cutter
- Voltage tester (optional)
Once you have gathered all the necessary materials, follow these steps to install a sensor light timer.
8 Easy Steps on How to Adjust Sensor Light Timer
Step 1. Turn Off the Power
Safety should always be your top priority before beginning any work with electrical wiring. Locate the circuit breaker that controls the power supply to the sensor light and switch it off. If you are unsure which breaker is connected to the fixture, you can turn off the main breaker to the entire house for added safety. Use a voltage tester to confirm that no power is running to the light before proceeding. This step is crucial in preventing electric shock or other potential hazards during installation. Always double-check to ensure the power is completely off before moving forward.

Step 2: Remove the Old Fixture
Carefully unscrew and remove the existing light fixture from its mounting bracket. Depending on the type of fixture, you may need a screwdriver or other tools to loosen the screws holding it in place. Once removed, gently pull the fixture away from the wall or ceiling to expose the wiring. Take note of how the wires are connected; taking a picture for reference may be helpful. Disconnect the wires by untwisting the wire connectors, and set the old fixture aside. Be cautious not to damage the wires during this process.
Step 3: Install the New Light Fixture
Begin by attaching the mounting bracket that came with your new light fixture to the wall or ceiling, aligning it with the electrical box. Ensure the bracket is secure, but do not overtighten, as this could damage the components. Next, connect the wires from your new fixture to the existing wires in the electrical box. Match the wires by color — black to black (hot wire), white to white (neutral wire), and green or bare copper (ground wire) to the grounding wire in the box. Use wire connectors to secure the connections, twisting them tightly to ensure a firm hold. Once the cables are safely connected, gently tuck them back into the electrical box.
Step 4: Installing the Bulb
Now that your fixture is securely attached and wired, it’s time to add the light bulb. Before doing so, ensure the power is still turned off at the main circuit breaker.
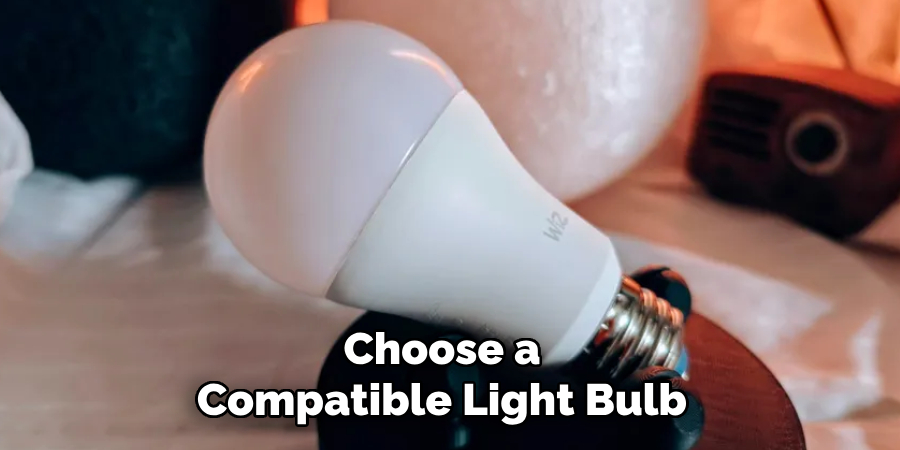
Choose a compatible light bulb for your fixture. Most fixtures will have a recommended wattage listed on them – be sure not to exceed this wattage, as it could cause damage to both the fixture and your home’s electrical system.
Next, simply screw in the light bulb and ensure it is correctly seated in the socket. If necessary, you can also adjust or position any lamp shades or covers at this time.
Step 5: Testing Your New Fixture
It’s time to test your fixture after installing the new light bulb and ensuring everything is securely in place. Return to the main circuit breaker and turn the power back on. Once the electricity is restored, carefully switch on the fixture to confirm it functions as expected. Check that the light turns on immediately and shines at the proper brightness. If the fixture includes multiple bulbs, ensure all are illuminated and evenly distributed.
Listen for any unusual sounds like buzzing or flickering, as these could indicate a problem with the bulb or wiring. If everything appears in working order, admire your newly installed fixture and ensure the area around it is safe and clutter-free. Should any issues arise during this process, turn off the power immediately and double-check your installation or consult a licensed electrician for assistance.
Step 6: Final Cleanup and Maintenance
After ensuring that your lighting fixture is functioning correctly, take a moment to clean up any tools, packaging, or debris from the installation process. Wipe the fixture gently with a microfiber cloth to remove fingerprints or dust, ensuring it looks its best. Regular maintenance, such as occasionally checking for loose screws or replacing burnt-out bulbs promptly, will help keep your fixture in top condition and extend its lifespan. Always follow the manufacturer’s care instructions for optimal results.
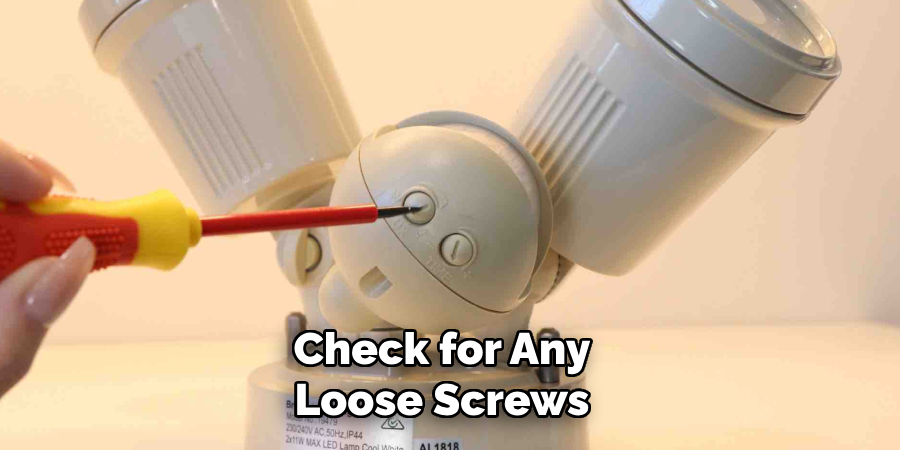
Step 7: Check for Loose Screws and Replace Burnt-Out Bulbs
Regular maintenance is crucial to keep your fixture in top condition and extend its lifespan. As part of this regular maintenance, it’s essential to check for any loose screws or fittings on your fixture. Over time, vibrations from daily use can cause screws to loosen, which could eventually lead to more significant problems.
Using a screwdriver, gently tighten any loose screws you may find on the fixture. Make sure not to over-tighten them as this could damage the fixture further.
In addition to checking for loose screws, it’s also essential to promptly replace any burnt-out bulbs. Leaving a burnt-out bulb in the fixture for an extended period can strain the remaining bulbs and potentially cause them to burn out faster.
Step 8: Keep an Eye on Your Energy Consumption
One of the most significant benefits of maintaining and caring for your light fixtures is reducing energy consumption. Regular maintenance, such as cleaning and replacing bulbs, can help ensure your fixtures function efficiently.
Furthermore, updating old fixtures with newer, more energy-efficient options can also significantly decrease energy usage. LED bulbs, for example, use up to 80% less energy than traditional incandescent bulbs and can last up to 25 times longer. This translates into significant cost savings in the long run.
Therefore, as part of your lighting maintenance routine, monitor your energy consumption and make necessary upgrades to save energy and money. Additionally, consider using innovative lighting options to control and monitor your energy usage more efficiently.
By following these steps, you can adjust your lighting needs while contributing to a more sustainable environment.
5 Things You Should Avoid
- Ignoring the Manufacturer’s Instructions
Always refer to the user manual provided by the manufacturer before making any changes. Adjusting the sensor light timer without understanding the specific instructions might lead to improper settings or even damage the device.
- Setting the Timer Too Short or Too Long
Avoid setting the timer duration too short, as this can cause the light to turn off prematurely, potentially leaving you in the dark. On the other hand, setting it too long may result in unnecessary energy consumption.
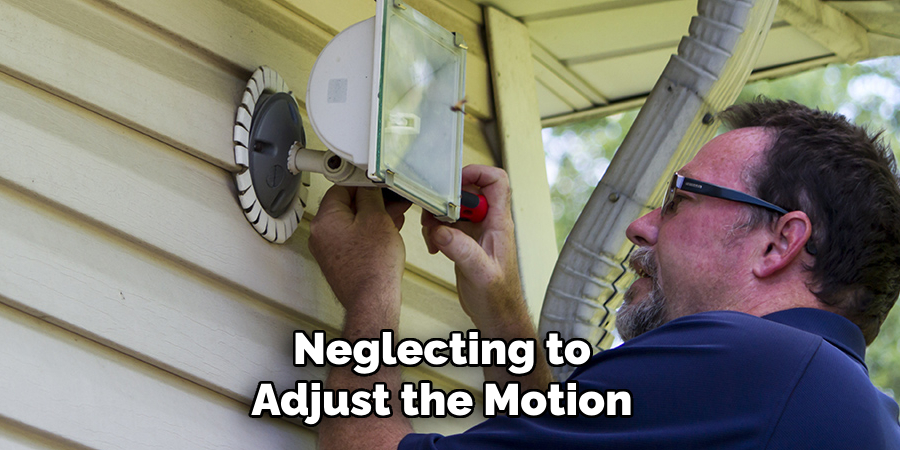
- Overlooking the Sensitivity Adjustment
Neglecting to adjust the motion sensitivity can lead to frequent false activations. This might cause the sensor light to turn on unnecessarily, increasing energy use and shortening the light’s lifespan.
- Placing the Sensor in Obstructed or Poorly Chosen Locations
Incorrect positioning of the sensor can limit its effectiveness. Avoid placing it behind objects, near heat sources, or in areas where moving branches or traffic might trigger frequent activations.
- Skipping Regular Maintenance and Testing
Over time, dirt or debris can accumulate on the sensor, affecting its performance. Failing to test and clean the sensor periodically may lead to malfunction or decreased reliability when adjusting the timer settings.
Conclusion
How to adjust sensor light timer is a straightforward process that enhances both the functionality and efficiency of the light.
By selecting the proper timer settings, positioning the sensor appropriately, and maintaining it regularly, you can ensure it operates optimally and meets your security or convenience needs. Avoid common mistakes such as improper placement or neglecting maintenance to prevent malfunctions.
With these steps, you can personalize your sensor light’s behavior effectively, providing reliable performance for your space.
About
Safety Fic is a distinguished figure in the world of Diy design, with a decade of expertise creating innovative and sustainable Diy solutions. His professional focus lies in merging traditional craftsmanship with modern manufacturing techniques, fostering designs that are both practical and environmentally conscious. As the author of diy, Safety Fic delves into the art and science of Safety Fic-making, inspiring artisans and industry professionals alike.
Education RMIT University
(Melbourne, Australia) Associate Degree in Design (Safety Fic) Focus on sustainable design, industry-driven projects, and practical craftsmanship. Gained hands-on experience with traditional and digital manufacturing tools, such as CAD and CNC software.
Nottingham Trent University
(United Kingdom) Bachelor’s in diyfastly.com and Product Design (Honors) Specialized in product design with a focus on blending creativity with production techniques. Participated in industry projects, working with companies like John Lewis and Vitsoe to gain real-world insights.
Publications and Impact
In diy, Safety Fic his insights on indoor design processes, materials, and strategies for efficient production. His writing bridges the gap between artisan knowledge and modern industry needs, making it a must-read for both budding designers and seasoned professionals.