Whether you are using a PIR (passive infrared) sensor for security, automatic lighting, or other purposes, adjusting the time delay is an essential step to ensure that the sensor functions properly. The time delay refers to how long the sensor will remain activated after detecting motion.
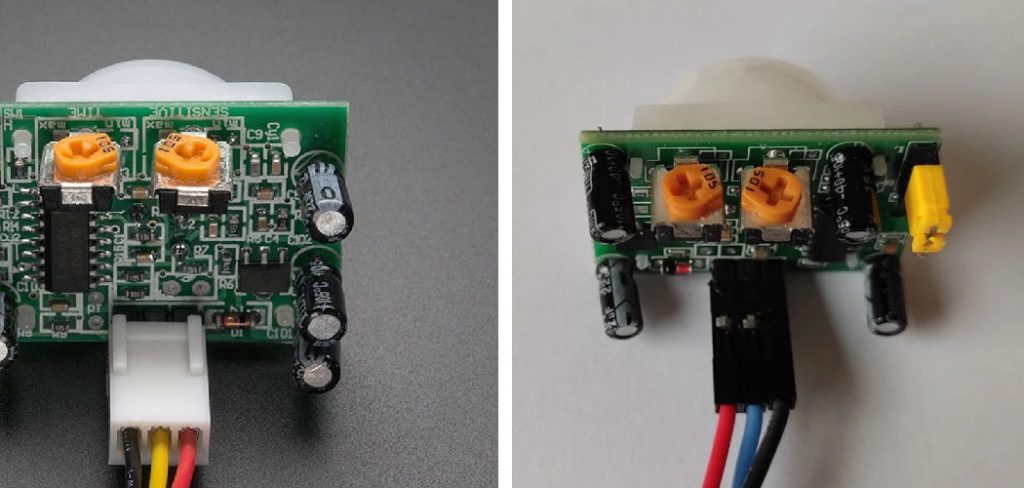
Adjusting the time delay can help optimize energy consumption and prevent false alarms. In this guide on how to adjust time delay in PIR sensor, we will discuss the steps to adjust the time delay in a PIR sensor.
Necessary Items
Before adjusting the time delay, you will need the following items:
- PIR sensor
- Screwdriver (if needed to adjust settings)
- User manual or datasheet for your specific model of PIR sensor
12 Steps on How to Adjust Time Delay in Pir Sensor
Step 1: Locate the Time Delay Setting
The location of the time delay setting may vary depending on the make and model of your PIR sensor. In most cases, it can be found on the back or bottom of the sensor. It is usually labeled as “Time Delay” or marked with the abbreviation “TD.”
Step 2: Determine the Time Delay Range
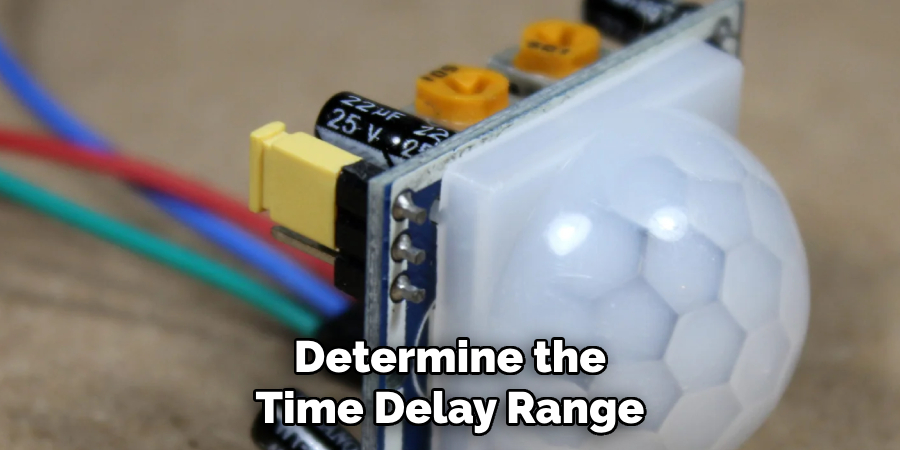
Check the user manual or datasheet to determine the time delay range for your PIR sensor. This can range from a few seconds to several minutes. And it is essential to adjust the time delay within this range.
Step 3: Power Off the Sensor
Before making any adjustments, ensure that the sensor is not receiving power. This step is crucial for your safety and to prevent any damage to the sensor. If the sensor is connected to an electrical circuit, turn off the power source.
Step 4: Identify the Time Delay Adjustment Method
There are two common methods for adjusting the time delay in a PIR sensor:
- Using a Potentiometer Knob – This method involves turning a small knob to adjust the time delay setting.
- Using DIP Switches – This method involves setting switches to specific positions to adjust the time delay.
Determine which method your PIR sensor uses and proceed accordingly.
Step 5: Adjust the Time Delay
Using the appropriate method, make small adjustments to the time delay setting. Start with a shorter delay and gradually increase it until you reach the desired time. Take note of the changes you make and the corresponding time delay.
Step 6: Check for False Alarms
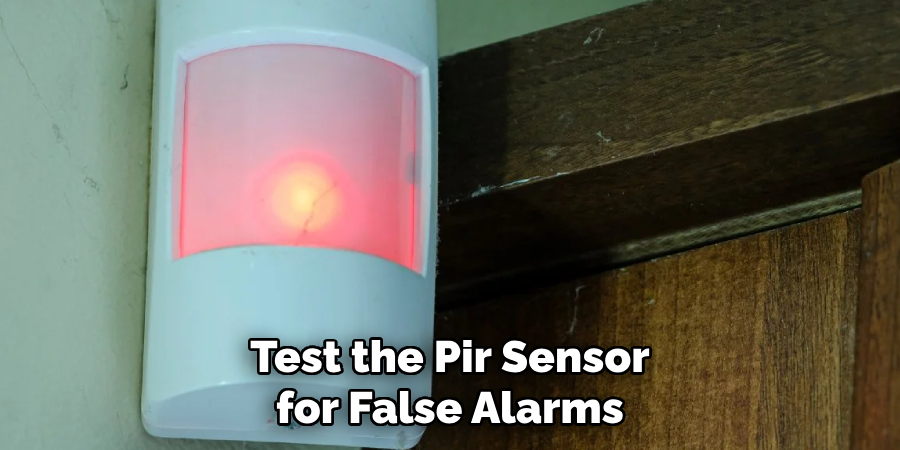
After adjusting the time delay, it is essential to test the PIR sensor for false alarms. If you notice any false triggers, the time delay may need further adjustments. Repeat steps 5 and 6 until the sensor functions correctly.
Step 7: Power On the Sensor
Once you are satisfied with the time delay adjustment, power on the PIR sensor. It should now be ready to detect motion and activate according to the adjusted time delay. As a safety precaution, make sure to keep your hands and body away from the sensor while it is powered on.
Step 8: Fine-Tune the Time Delay
If necessary, you can fine-tune the time delay by making small adjustments. Take note of any changes and test for false alarms again. For automatic lighting purposes, it may be helpful to have a longer time delay to prevent the lights from turning off too quickly.
Step 9: Consult the User Manual or Datasheet
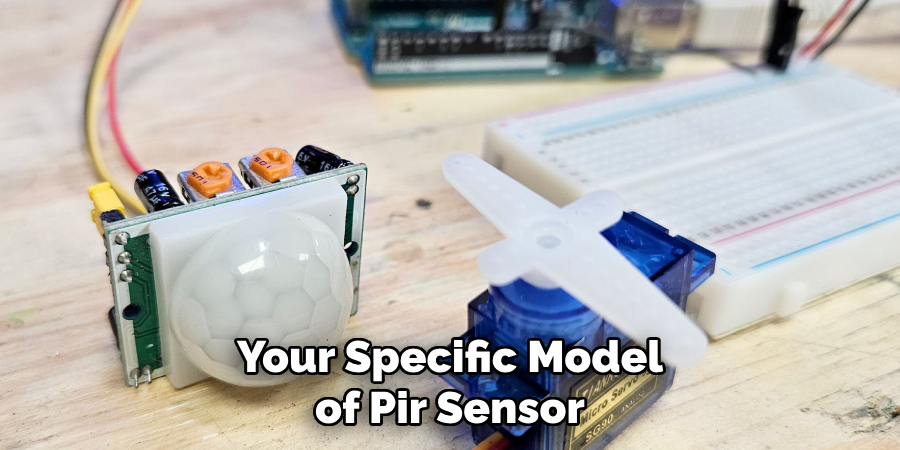
If you encounter any difficulties or are unsure about adjusting the time delay, refer to the user manual or datasheet for your specific model of PIR sensor. It will provide more detailed instructions and troubleshooting tips.
Step 10: Consider Other Factors
Aside from the time delay, there are other factors that can affect the performance of a PIR sensor. These include:
- Sensitivity level
- Detection range
- Environment (e.g., temperature, humidity)
Make sure to consider these factors when adjusting the time delay for optimal results.
Step 11: Regular Maintenance
To ensure the continued proper functioning of your PIR sensor, it is essential to perform regular maintenance. This includes cleaning the sensor lenses and checking for any damage or obstructions. Regular maintenance can also help prevent false alarms.
Step 12: Re-adjust Time Delay as Needed
As with any electronic device, adjustments may need to be made periodically due to changes in the environment or wear and tear. If you notice any issues with your PIR sensor, re-adjust the time delay as needed.
Adjusting the time delay in a PIR sensor is a crucial step to ensure its proper functioning. By following these steps and considering other factors, you can optimize energy consumption, prevent false alarms, and maintain the effectiveness of your PIR sensor.
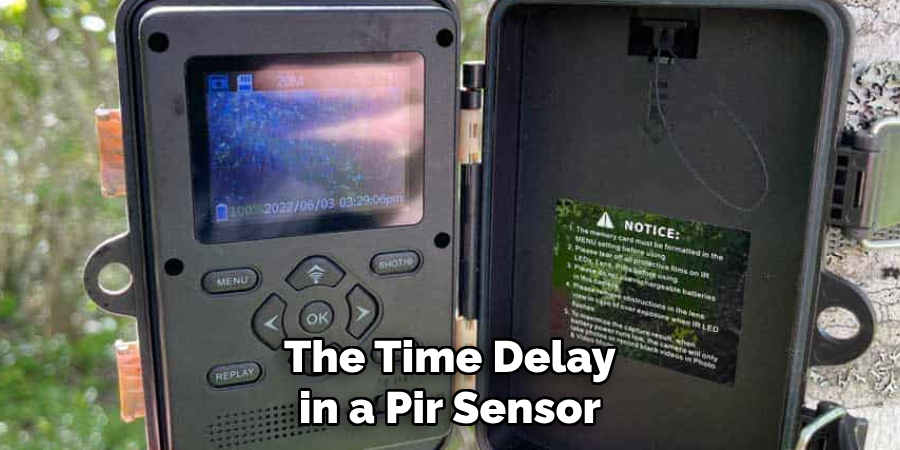
Remember to refer to the user manual or datasheet for your specific model if you encounter any difficulties. Regular maintenance and periodic adjustments will help keep your PIR sensor working efficiently. So, always be aware of the time delay settings and adjust them as needed for optimal performance.
9 Safety Measures to Consider
1) Power Off the Sensor Before Making Adjustments
As mentioned earlier, it is crucial to power off the PIR sensor before making any adjustments. This will prevent any potential accidents or damage to the sensor. Then, once adjustments are complete, make sure to power it back on for proper functioning.
2) Handle the Sensor with Care
PIR sensors are delicate electronic devices, so always handle them with care. Be mindful not to drop or damage any components while making adjustments. So, it is essential to have a steady hand while handling the sensor.
3) Keep Your Body and Hands Away from the Sensor When It’s Powered On
Avoid touching or obstructing the sensor when it is powered on. This can cause false alarms or damage to the sensor. As a safety precaution, always keep your body and hands away from the sensor while it is active.
4) Use Proper Tools
If using a potentiometer knob to adjust the time delay, make sure to use an appropriate tool. Using your fingers or other objects can cause damage to the knob and affect its functionality. For DIP switch adjustments, use a small screwdriver or any recommended tool for switching positions.
5) Refer to User Manual for Additional Safety Precautions
Aside from the safety measures mentioned above, always refer to the user manual for any additional safety precautions specific to your PIR sensor model. This will ensure your safety and prevent any damage to the sensor.
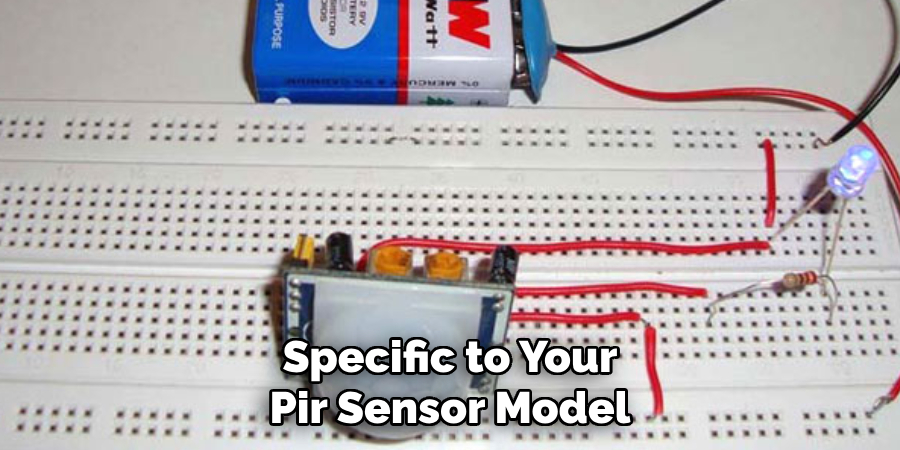
6) Wear Protective Gear if Necessary
Depending on the environment or other factors, it may be necessary to wear protective gear while handling the PIR sensor. This could include gloves, safety glasses, or protective clothing to prevent any potential harm.
7) Use Caution When Adjusting Time Delay in High-Traffic Areas
If adjusting the time delay for a PIR sensor in a high-traffic area, use caution and have someone assist you if possible. This will help prevent any accidents or interruptions while making adjustments.
8) Avoid Exposure to Moisture or Extreme Temperatures
PIR sensors are sensitive to moisture and extreme temperatures, which can affect their performance. Avoid exposing the sensor to these conditions and place it in a suitable location for accurate detection.
9) Regularly Check for Wear and Tear
Regularly inspect the PIR sensor for any signs of wear and tear. This may include damaged components, loose connections, or other issues that can affect its functionality. Regular maintenance and quick repairs can help prevent safety hazards and maintain the effectiveness of the sensor.
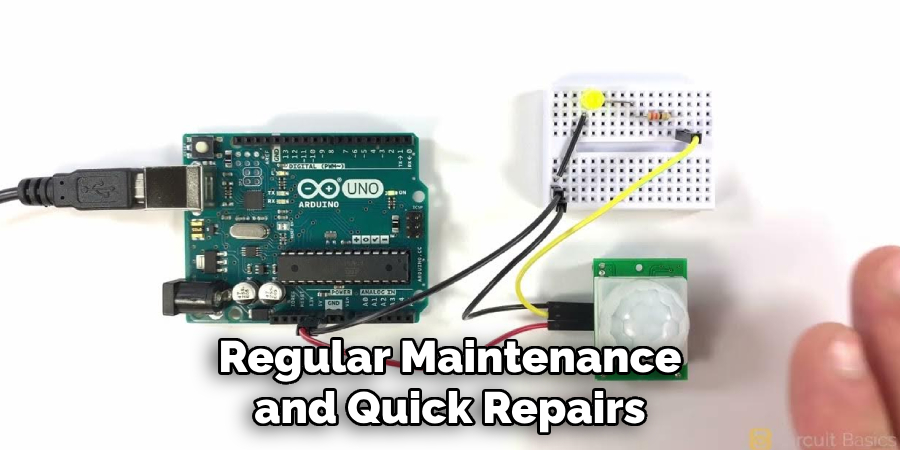
By following these safety measures on how to adjust time delay in PIR sensor, you can ensure your well-being while handling a PIR sensor and avoid any potential risks or accidents. Always prioritize safety when working with electronic devices.
Remember to consult the user manual for any additional safety precautions or instructions specific to your PIR sensor model. With proper care and maintenance, your PIR sensor will continue to function effectively for a long time.
8 Things to Avoid When Adjusting Time Delay
Adjusting the time delay in a PIR sensor is essential for optimal performance, but there are certain things you should avoid to prevent any potential issues. These include:
1) Making Adjustments While the Sensor is Powered On
As mentioned earlier, always power off the PIR sensor before making any adjustments to avoid accidents or damage. So, avoid making adjustments while the sensor is powered on. As a safety measure, you can even unplug the sensor from its power source.
2) Using Excessive Force
Be gentle when adjusting the time delay on a PIR sensor. Using excessive force can damage the components and affect their functionality. Use small and precise adjustments to avoid any potential issues. Even if using a potentiometer knob, do not turn it too forcefully.
3) Adjusting Without Understanding the Sensor’s Functionality
Before making any adjustments to the time delay, make sure you understand how the PIR sensor works and its settings. This will help prevent any unnecessary changes that can affect its performance. Refer to the user manual or datasheet for more information.
4) Ignoring the Environmental Factors
The environment can greatly affect the functioning of a PIR sensor. When adjusting the time delay, consider factors such as temperature, lighting, and movement in the surroundings to avoid false alarms or inaccurate detection.
5) Not Checking for Interference
PIR sensors can also be affected by interference from other electronic devices. Make sure to check for any potential sources of interference and adjust the sensor accordingly to avoid any issues with its performance.
6) Leaving the Time Delay Too Short or Too Long
The time delay setting is crucial for accurate detection, so make sure not to leave it too short or too long. This can affect the effectiveness of the sensor and lead to false alarms or missed detections.
7) Not Testing the Sensor After Adjustments
After making adjustments to the time delay, it is essential to test the sensor’s functionality before relying on it for security purposes. This will help ensure that the sensor is working correctly and detecting movements accurately.
8) Overlooking Maintenance Needs
Regular maintenance is crucial for any electronic device, including a PIR sensor. Ignoring maintenance needs can lead to wear and tear, affecting the sensor’s performance and potentially causing safety hazards. Regularly check for any issues and perform necessary repairs or replacements to keep the sensor functioning effectively.
By avoiding these things, you can ensure that your PIR sensor is adjusted correctly and working efficiently for your needs. Always prioritize safety and thorough understanding when handling electronic devices. Remember to consult the user manual or seek professional assistance if needed. With proper care and maintenance, your PIR sensor will continue to serve its purpose effectively.
8 Additional Tips for Optimal Performance
Aside from the safety measures and things to avoid when adjusting a PIR sensor, there are also some additional tips that can help improve its performance. These include:
1) Positioning the Sensor Correctly
Proper positioning of the PIR sensor is crucial for accurate detection. Make sure to mount it at a suitable angle and height to cover the desired area effectively. Avoid placing it near heat sources or directly facing windows, as this can cause false alarms.
2) Adjusting Sensitivity Settings
Most PIR sensors have sensitivity settings that can be adjusted to prevent false alarms or missed detections. Experiment with these settings and find the right balance for your needs. As a general rule, avoid setting the sensitivity too high.
3) Using Multiple Sensors
In large spaces or areas with multiple entry points, using multiple PIR sensors can help improve coverage and accuracy. This is especially useful for security purposes, as it reduces blind spots and increases the chances of detecting any movement.
4) Regularly Cleaning the Sensor
Dust, dirt, and other debris can accumulate on the sensor’s surface, affecting its detection capabilities. Regularly clean the sensor with a soft cloth to remove any buildup and maintain its sensitivity.
5) Checking Battery Levels
If using a battery-powered PIR sensor, make sure to check the battery levels regularly. Low batteries can affect the sensor’s performance and lead to false alarms or missed detections. Replace them as needed to ensure optimal function.
6) Considering Zoning Options
Some PIR sensors have zoning options that allow you to specify which areas within its coverage range should trigger an alarm. This can be useful for reducing false alarms and focusing on specific areas of interest.
7) Updating Firmware
If your PIR sensor has a firmware option, make sure to regularly check for updates and install them as needed. Firmware updates can improve functionality, fix bugs, and enhance security features.
8) Conducting Regular Maintenance Checks
In addition to cleaning the sensor, regular maintenance checks must be conducted to ensure all components are functioning correctly. This includes checking connections, replacing any damaged parts, and performing necessary calibrations. Regular maintenance can help prolong the lifespan of your PIR sensor and ensure optimal performance for a longer period.
By following these tips on how to adjust time delay in PIR sensor, you can maximize the effectiveness of your PIR sensor and have peace of mind knowing that it is working efficiently to meet your needs.
As with any electronic device, regular care and attention are essential to maintain its functionality and keep it in good condition. So, make sure to incorporate these practices into your routine when using a PIR sensor.
Frequently Asked Questions
Why is the Time Delay Setting Important for a PIR Sensor?
The time delay setting determines how long the PIR sensor will wait after detecting movement before resetting and being able to detect again. It is crucial for avoiding false alarms and ensuring accurate detection.
Can I Adjust the Sensitivity of a PIR Sensor?
Most PIR sensors have sensitivity settings that can be adjusted to prevent false alarms or missed detections. However, it is essential to find the right balance for your needs and avoid setting it too high.
How Often Should I Clean My PIR Sensor?
It is recommended to clean your PIR sensor at least once every six months or more frequently if it is exposed to dusty or dirty environments. Regularly check for any buildup and clean as needed to maintain its sensitivity.
Can I Use Multiple PIR Sensors in One Area?
Yes, using multiple PIR sensors can help improve coverage and accuracy in large spaces or areas with multiple entry points. This is especially useful for security purposes.
How Often Should I Conduct Maintenance Checks for My PIR Sensor?
Regular maintenance checks should be conducted at least once every six months or more frequently if the sensor is used in a high-traffic area. This includes checking connections, replacing any damaged parts, and performing necessary calibrations. Regular maintenance can help prolong the lifespan of your PIR sensor and ensure optimal performance for a longer period.
Conclusion
In conclusion, PIR sensors are a valuable tool for various applications, including security systems and energy-saving devices. However, it is essential to adjust them properly and take necessary precautions to ensure optimal performance and avoid any safety hazards.
By following the tips on how to adjust time delay in PIR sensor and the recommendations mentioned in this document, you can confidently use a PIR sensor for your needs while prioritizing safety and efficiency.
About
Safety Fic is a distinguished figure in the world of Diy design, with a decade of expertise creating innovative and sustainable Diy solutions. His professional focus lies in merging traditional craftsmanship with modern manufacturing techniques, fostering designs that are both practical and environmentally conscious. As the author of diy, Safety Fic delves into the art and science of Safety Fic-making, inspiring artisans and industry professionals alike.
Education RMIT University
(Melbourne, Australia) Associate Degree in Design (Safety Fic) Focus on sustainable design, industry-driven projects, and practical craftsmanship. Gained hands-on experience with traditional and digital manufacturing tools, such as CAD and CNC software.
Nottingham Trent University
(United Kingdom) Bachelor’s in diyfastly.com and Product Design (Honors) Specialized in product design with a focus on blending creativity with production techniques. Participated in industry projects, working with companies like John Lewis and Vitsoe to gain real-world insights.
Publications and Impact
In diy, Safety Fic his insights on indoor design processes, materials, and strategies for efficient production. His writing bridges the gap between artisan knowledge and modern industry needs, making it a must-read for both budding designers and seasoned professionals.
