

As someone who prioritizes home security and vigilance, I understand the desire to leverage advanced technology to protect what’s most important – our families, our homes, and our communities. While security cameras and monitoring systems were once cost-prohibitive or required intensive technical skills to install, innovations have emerged that empower individuals to take safety into their own hands without complexity or compromise.
Products like the Blink camera system represent the next generation of do-it-yourself security, allowing anyone to wirelessly and discreetly safeguard their property through a simple setup paired with around-the-clock digital watchfulness.
In this beginner’s guide, I’ll break down the straightforward process of how to arm individual Blink cameras for arming individual Blink cameras at your location so you, too, can gain greater reassurance through real-time alerts and on-demand video access without breaking the bank or breaking a sweat.
Necessary Items for Arming Individual Blink Cameras
Before diving into how to arm your individual Blink cameras, it’s important to ensure you have all the necessary items on hand. These include:
- Blink camera(s)
- Batteries (if not using a wired model)
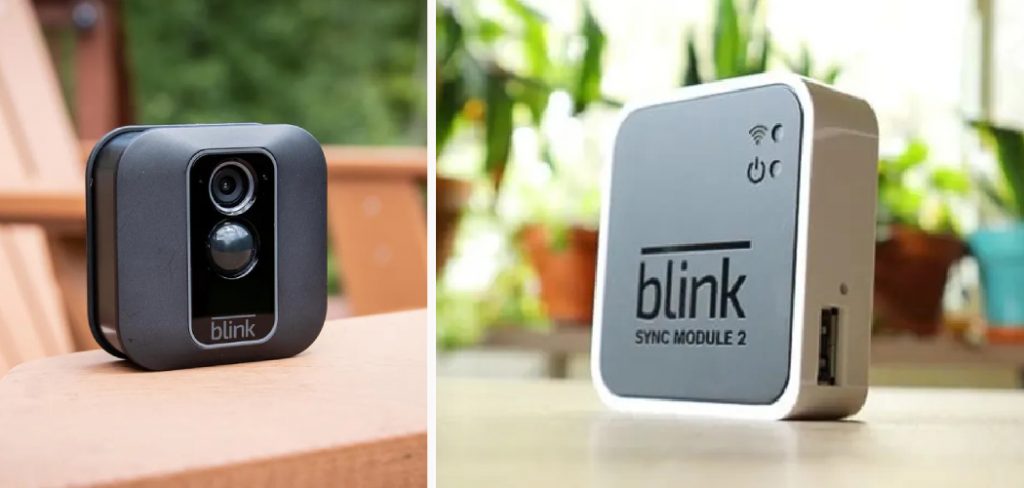
- The Blink Sync Module (for wireless connectivity and remote access)
- A stable internet connection
- The Blink app downloaded on your smartphone
- Access to a power outlet (if using a wired model)
With these items, you’ll have everything you need to get started and successfully arm your cameras.
10 Steps on How to Arm Individual Blink Cameras
Step 1: Setting up the Blink Sync Module
The Blink Sync Module is a crucial system component, as it acts as the central hub for all camera connections and remote access. Simply plug it into a power outlet and connect it to your internet router using the included ethernet cable to set it up.
Step 2: Downloading the Blink App
Once the Sync Module is set up, download the Blink app from the App Store or Google Play Store on your smartphone. It’s compatible with both iOS and Android devices.
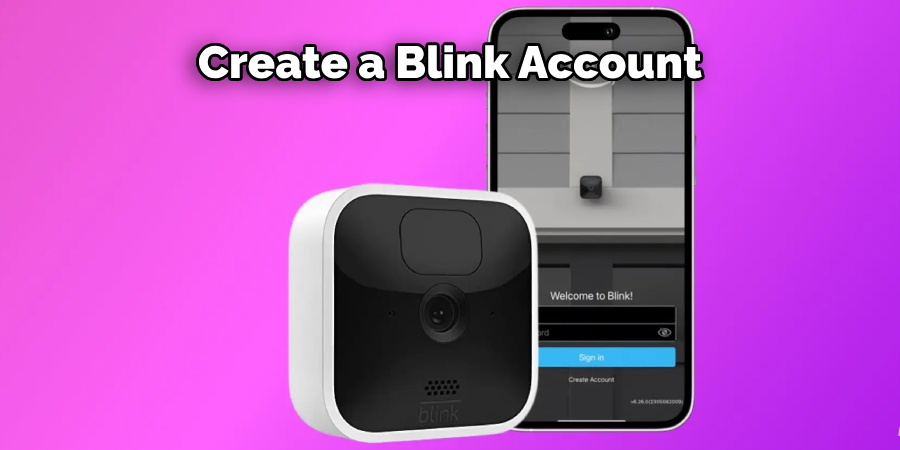
Step 3: Creating an Account
You’ll be prompted to create a Blink account upon opening the app. This lets you access your cameras from anywhere and receive notifications on any connected device.
Step 4: Adding Cameras to Your Account
After creating an account, click “Add a System” in the app and follow the instructions to add your Blink camera(s) by scanning the QR code on the back of each device. If you have multiple cameras, repeat this step for each one.
Step 5: Naming Your Cameras
Once your cameras are added, you can give them custom names to quickly identify them in the future. This can be done by selecting the app’s camera and clicking “Device Settings.”
Step 6: Positioning Your Cameras
Before arming your cameras, it’s essential to position them for optimal coverage of your desired area strategically. This may require some trial and error, but ensure they are placed within range of your Wifi signal for a strong connection. Additionally, ensure they are in a discreet location to avoid tampering.
Step 7: Choosing Your Camera Settings
The Blink app allows you to customize your camera settings for motion detection sensitivity, recording length, and more. Play around with these options to find the best fit for your needs.
Step 8: Arming Your Cameras
Once your cameras are set up and positioned, it’s time to arm them. Simply open the Blink app, select “Arm” from the home screen, and confirm that you want to enable motion detection.

Step 9: Testing Your Cameras
To ensure your cameras are suitably armed and working, do a quick test by walking before each to trigger motion detection. You should receive a notification on your phone, and the camera’s light should turn on.
Step 10: Accessing Your Camera Footage
If you receive a motion detection notification, open the Blink app to view live footage or access previously recorded clips. This allows for complete peace of mind by keeping an eye on things at all times, even when you’re away from home.
From setting up the Blink Sync Module to customizing camera settings, this guide has covered all the necessary steps to get started. Following these instructions will give you a reliable and effective home security solution in no time. And with ongoing updates and improvements to the Blink system, you can trust that your home and loved ones will remain safe and protected.
8 Things to Avoid When Arming Individual Blink Cameras
While arming individual Blink cameras is pretty straightforward, some common mistakes can hinder their effectiveness. Here are eight things to avoid when setting up and using your Blink cameras:
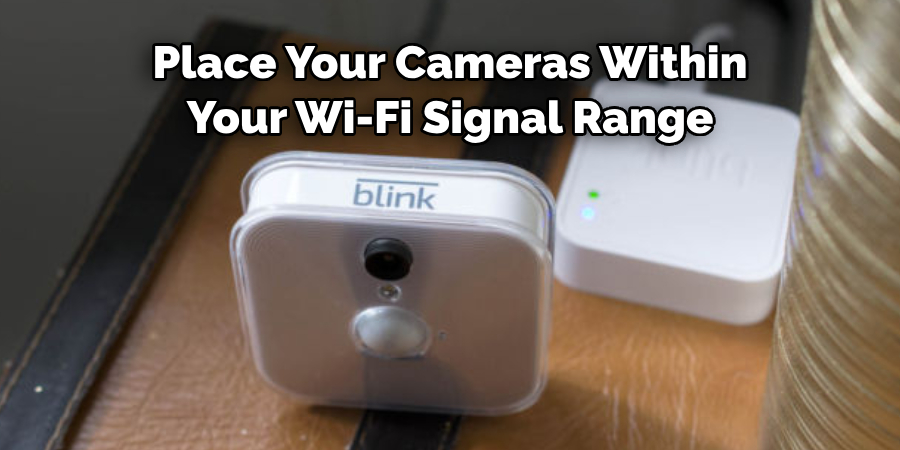
1. Placing Cameras in Areas With Poor Wifi Signal
Place your cameras within your Wi-Fi signal range to ensure a robust and reliable connection. Avoid areas with poor connectivity, as this can lead to missed or delayed notifications.
2. Not Updating the Firmware Regularly
Blink frequently releases camera updates, so checking for and installing these updates regularly is essential. This ensures your cameras are always running at their best and have the latest security features.
3. Forgetting to Change Camera Batteries
If you use a wireless Blink camera, check and change the batteries regularly. Inadequate battery life can lead to missed notifications and gaps in surveillance coverage.
4. Not Checking for Obstructions
Before positioning your cameras, check for any obstructions that may block the camera’s view or trigger false motion detection alerts. These can include plants, curtains, or other objects that move with airflow.
5. Skipping the Customization of Camera Settings
Each home and situation is unique, so take advantage of the customizable camera settings in the Blink app to fit your specific needs. This can significantly improve the effectiveness of your cameras.
6. Not Testing Cameras After Setup
Always do a quick test after setting up or adjusting your Blink cameras to ensure proper functioning and placement. This will save time and frustration if any issues arise.
7. Neglecting to Secure the Sync Module
The Blink Sync Module is essentially the brains of the operation, so it’s essential to keep it secure and out of reach. Place it in a discreet location and protect it from tampering.
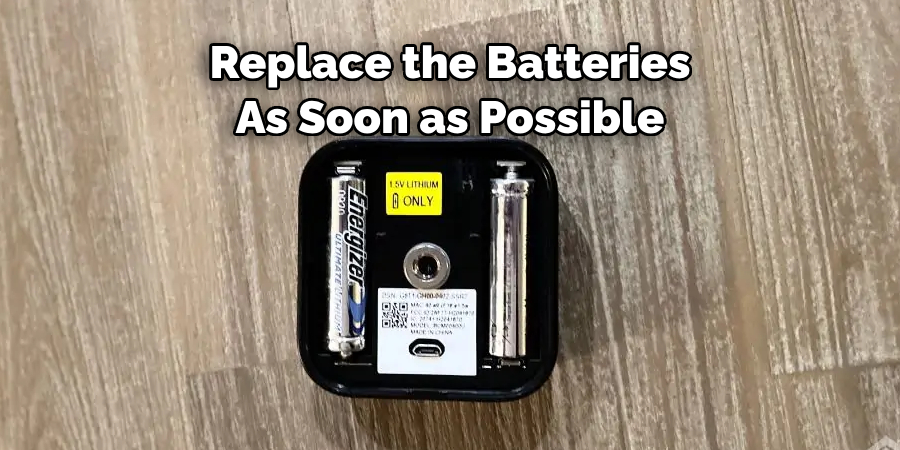
8. Ignoring Low Camera Batteries Notifications
If you receive a notification that one of your cameras has low battery life, don’t ignore it. Replace the batteries as soon as possible to avoid any gaps in surveillance coverage. With proper setup and maintenance, your Blink cameras can provide reliable home security for years. By avoiding these common mistakes on how to arm individual blink cameras, you’ll ensure that your cameras always function at their best and provide the peace of mind you need. Now enjoy individual-armed Blink cameras’ added convenience, safety, and security!
Frequently Asked Questions
Can I Arm Individual Blink Cameras if I Have Multiple Sync Modules?
Yes, you can arm cameras from different Sync Modules individually. Select the desired camera and checkmark the option to enable motion detection for that specific device.
How Many Cameras Can I Add to One Sync Module?
You can add up to 10 cameras to one Sync Module for optimal performance. Adding more than ten may cause connectivity issues and slow down the system.
Can I Use Blink Cameras Outdoors?
You can use Blink cameras outdoors if they are correctly placed and protected from extreme weather conditions. It’s recommended to use outdoor camera mounts for added stability and protection.
Can I Schedule When Individual Cameras Are Armed?
Currently, scheduling individual camera arming is not a feature in the Blink app. However, you can enable or disable motion detection for each camera separately at any time. So, even if you don’t want specific cameras armed during certain times, you can easily toggle them on or off as needed.
How Long Can I Record with Blink Cameras?
Blink cameras are designed to record in short clips when motion is detected. The length of these clips can range from 5 to 60 seconds, depending on your camera settings and the duration of the detected activity. You can also manually record longer clips in the app. Overall, the length of recording time will depend on your camera’s battery life and storage capacity. Regularly check and replace batteries as needed to ensure continuous recording.
How Do I Access My Camera Footage on a Computer?
While the Blink app is primarily used for accessing camera footage, you can also access your cameras through the Blink website on a computer. Log in with your Blink account credentials to view and manage your cameras remotely. Remember that this functionality may vary depending on the type of Sync Module you have and if you have a subscription plan.
Final Thoughts
Individual-armed Blink cameras are a valuable addition to any home security system. The ability to customize settings and easily manage them through the app provides added convenience, safety, and peace of mind. Blink cameras offer an easy-to-use, effective, and affordable home security solution for any homeowner or renter. With just a few simple steps on how to arm individual Blink cameras, you can quickly arm individual Blink cameras and have the added security and convenience of remote monitoring.
With the ability to arm individual cameras, you can customize and optimize your surveillance coverage for maximum peace of mind. By avoiding common mistakes and regularly maintaining your cameras, you can trust that your home and loved ones will remain safe and protected with Blink. So take advantage of this innovative technology for added convenience and security in your everyday life.
About
Safety Fic is a distinguished figure in the world of Diy design, with a decade of expertise creating innovative and sustainable Diy solutions. His professional focus lies in merging traditional craftsmanship with modern manufacturing techniques, fostering designs that are both practical and environmentally conscious. As the author of diy, Safety Fic delves into the art and science of Safety Fic-making, inspiring artisans and industry professionals alike.
Education RMIT University
(Melbourne, Australia) Associate Degree in Design (Safety Fic) Focus on sustainable design, industry-driven projects, and practical craftsmanship. Gained hands-on experience with traditional and digital manufacturing tools, such as CAD and CNC software.
Nottingham Trent University
(United Kingdom) Bachelor’s in diyfastly.com and Product Design (Honors) Specialized in product design with a focus on blending creativity with production techniques. Participated in industry projects, working with companies like John Lewis and Vitsoe to gain real-world insights.
Publications and Impact
In diy, Safety Fic his insights on indoor design processes, materials, and strategies for efficient production. His writing bridges the gap between artisan knowledge and modern industry needs, making it a must-read for both budding designers and seasoned professionals.