

Assembling a Schlage deadbolt may seem intimidating, especially for those who are not experienced in DIY projects. However, with the right tools and clear instructions, it can be a straightforward process that anyone can do.

This guide will walk you through the step-by-step process of how to assemble a Schlage deadbolt. Whether you’re replacing an old deadbolt or installing a new one for added security, this guide will provide you with all the information you need to complete the task successfully. So, let’s get started!
Understanding Schlage Deadbolts
Understanding the different components of a Schlage deadbolt is important before beginning the assembly process. This will help you with the assembly and ensure that you have all the necessary parts before starting.
A Schlage deadbolt consists of three main components: the exterior trim, interior trim, and cylinder lock. The exterior trim is the part of the deadbolt that is visible from the outside of the door and includes the key cylinder and thumbturn.
The interior trim is the part of the deadbolt that is visible from inside the door and includes the lever or knob used to lock and unlock the door. Finally, the cylinder lock is the mechanism that allows you to lock and unlock your deadbolt with a key.
Tools and Materials You Will Need to Assemble a Schlage Deadbolt
- A Phillips head screwdriver
- A flat-head screwdriver
- A tape measure
- Pencil or marker
- Hammer (only needed if replacing an existing deadbolt)
- Chisel (only needed if replacing an existing deadbolt)
- New Schlage Deadbolt kit (includes exterior and interior trim, cylinder lock, screws, and strike plates)
Step-by-step Guidelines on How to Assemble a Schlage Deadbolt
Step 1: Measure and Prepare the Door
If you’re installing a new deadbolt, skip this step. However, if you’re replacing an existing deadbolt, start by measuring the distance between the center of the doorknob hole and the center of the deadbolt hole. This is crucial as it ensures your new deadbolt aligns with your existing doorknob.
Next, using a pencil or marker, trace the outline of the exterior trim onto the door. Then, using a hammer and chisel, create an indentation where the bolt will go in the door. Measuring and preparing the door is important as it ensures a proper fit for your new deadbolt.
Step 2: Install the Exterior Trim
Begin by inserting the bolt into the door through the indentation you created in the previous step. Then, place the exterior trim over the bolt and secure it with screws using a Phillips head screwdriver. Installing the exterior trim is crucial as it holds the bolt in place and allows for smooth locking and unlocking of your deadbolt. If your new deadbolt comes with a key cylinder, make sure it is properly aligned before securing it in place with screws.
Step 3: Install the Cylinder Lock
Next, insert the key into the cylinder lock and turn it to ensure the bolt moves smoothly. Then, slide the cylinder lock into place on the exterior trim, ensuring it aligns perfectly with the key cylinder. Secure it in place with screws using a Phillips head screwdriver. This step is crucial as it is the mechanism that allows you to lock and unlock your deadbolt with a key.
Step 4: Install the Interior Trim
Start by placing the interior trim on the interior side of the door and aligning it with the exterior trim. Then, using screws and a Phillips head screwdriver, secure the interior trim in place. If your new deadbolt comes with a thumb turn, make sure it is properly aligned before securing it in place with screws. Installing the interior trim is crucial as it allows for smooth locking and unlocking of your deadbolt from the inside.
Step 5: Test Your Deadbolt
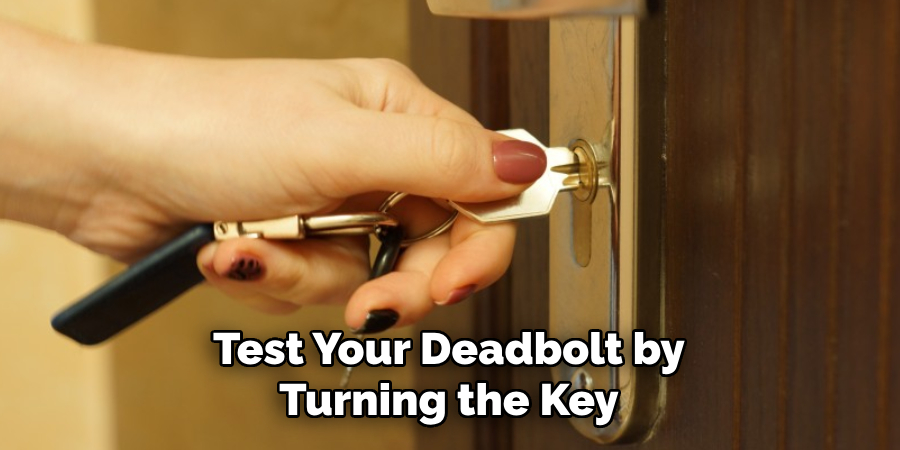
Finally, test your deadbolt by turning the key and thumb to ensure it locks smoothly. Double-check that all components are aligned correctly and securely fastened if there are any issues. Make any necessary adjustments before using your new Schlage deadbolt. This step is important as it ensures your deadbolt functions properly and provides the security you need.
Following these simple steps and using the right tools and materials, you can easily assemble a Schlage deadbolt in no time. Remember to always read the manufacturer’s instructions for any specific guidelines or details regarding your specific model. With your new deadbolt successfully assembled, you can enjoy added security and peace of mind for your home. So go ahead, give it a try!
Additional Tips and Tricks to Assemble a Schlage Deadbolt
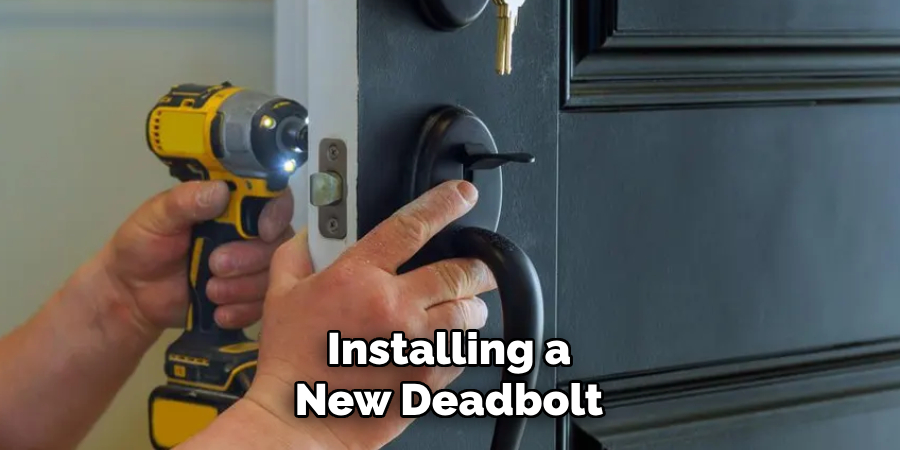
1. If you are having trouble installing the deadbolt, try using a power drill instead of a manual one. The power drill can help to screw in the screws faster and make installation easier. This is especially helpful if you have to install multiple deadbolts.
2. Before drilling any holes, measure and mark the placement of the deadbolt accurately. This will ensure that the lock fits properly and functions correctly. Use a ruler or measuring tape to mark the spots where you need to drill.
3. Use a level to install the deadbolt evenly and straight. This will make it look more professional and prevent any future issues with the locking mechanism.
4. Test the deadbolt after installation by locking and unlocking it several times. This will help you identify any issues or misalignments and adjust as needed.
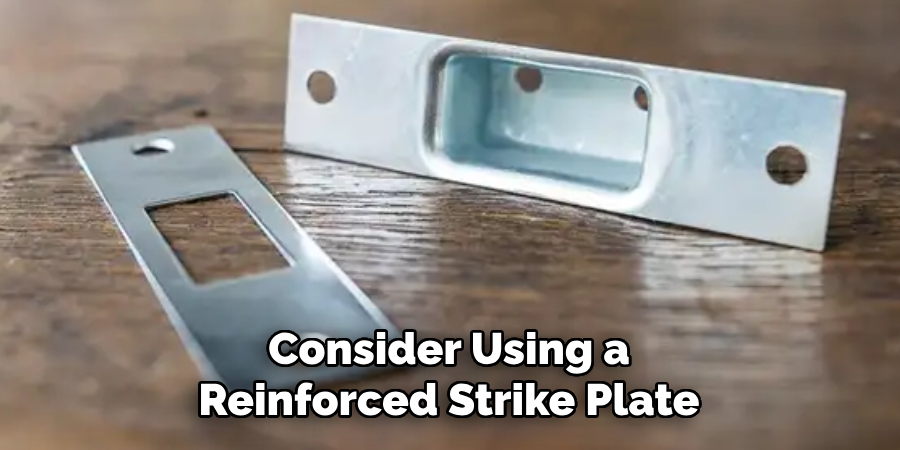
5. If you are installing a Schlage deadbolt on an exterior door, consider using a reinforced strike plate for added security. This will help to prevent forced entry and make your home more secure.
6. If the deadbolt does not fit properly into the door frame, try adjusting the backset of the latch. This can be done by loosening the screws on the edge of the door and moving the latch in or out as needed.
7. To ensure that your deadbolt stays functioning smoothly, lubricate it with a silicone-based lubricant every six months. This will help prevent the lock from sticking or jamming.
8. If you are replacing an old deadbolt, make sure to remove the previous lock completely and prep the door before installing the new one. This may involve filling in any holes left by the old lock or adjusting the hole size for a better fit.
9. Consider adding a keypad or smart lock feature to your Schlage deadbolt for added convenience and security. These features allow you to enter a code or use your smartphone to lock and unlock the deadbolt without a physical key.
10. Finally, always refer to Schlage’s instruction manual for detailed installation instructions and troubleshooting tips. This will ensure that you assemble your deadbolt correctly and that it will function properly for years to come.
Following these additional tips and tricks will help you easily assemble a Schlage deadbolt and ensure it functions correctly for years. Remember to always prioritize safety and security when installing any lock on your home or property. Feel free to seek professional assistance if needed, especially when dealing with complex installations or troubleshooting issues.
With the right tools, techniques, and knowledge, you can confidently install a Schlage deadbolt and protect your home from potential intruders. So, remember to implement these tips and enjoy the peace of mind that comes with a reliable and secure deadbolt lock system. Happy installing!
Things You Should Consider to Assemble a Schlage Deadbolt
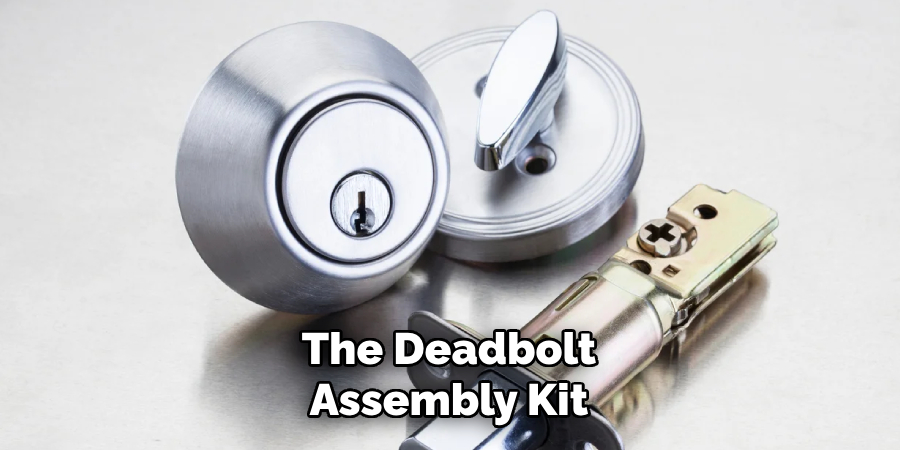
1. Before assembling a Schlage Deadbolt, you should ensure you have all the necessary tools and parts. This includes a screwdriver, a hammer, and the deadbolt assembly kit, which usually comes with the lock.
2. Make sure to carefully read the instructions Schlage provided, as each type of deadbolt may have different assembly instructions. Pay close attention to any diagrams or illustrations provided, as they can help you understand the assembly process.
3. Next, you should determine the type of deadbolt you have and note any special features it may have. For example, some Schlage Deadbolts have a keyless entry system that requires a specific code to unlock the door.
4. Once you have all the necessary tools and knowledge, install the latch and strike plate on the door. The latch should be inserted into the hole in the side of the door, while the strike plate should be screwed onto the door frame.
5. After installing the latch and strike plate, move on to assembling the deadbolt itself. This usually involves attaching it to both sides of the door and connecting the two sides together with screws.
6. If your Schlage Deadbolt has a keyless entry system, carefully follow the instructions to set up the code and test it out before finishing assembly. If there are any issues, refer to the instructions or contact Schlage customer support for assistance.
7. Once you have completed assembling the deadbolt, testing it out and ensuring it functions properly is important. Check that the latch moves smoothly and that the deadbolt locks and unlocks easily with a key or code.
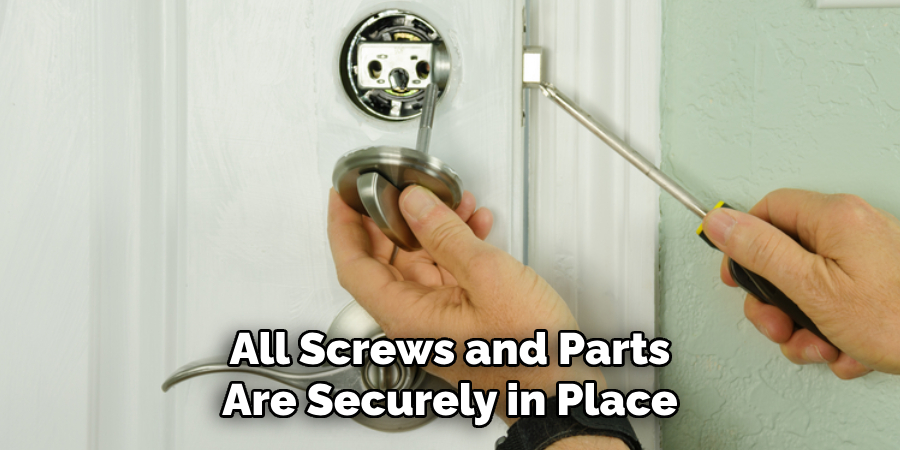
8. Finally, do a final check to ensure all screws and parts are securely in place. If any adjustments need to be made, refer to the instructions or seek professional assistance.
Following these considerations will help ensure a successful assembly of your Schlage Deadbolt and provide you with a secure and reliable lock for your home. Remember to always refer to the instructions provided by Schlage, as well as any safety precautions, to avoid damaging the product or causing harm during assembly.
With proper installation and maintenance, your Schlage Deadbolt will provide you with peace of mind and added security for your home. So, always take the time to carefully assemble and maintain your Schlage Deadbolt to keep your home safe and secure. Happy assembling!
Troubleshooting Common Issues to Assemble a Schlage Deadbolt
1. Difficulty in Turning the Key:
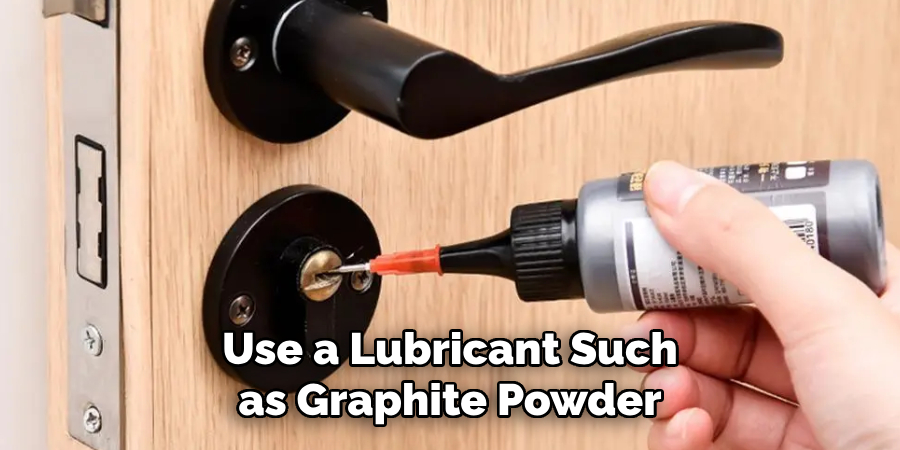
Turning the key is one of the most common issues users need help with. This can be caused by various factors, such as worn-out keys, dirt or debris stuck in the lock, misaligned lock components, or a malfunctioning lock mechanism.
To troubleshoot this issue, use a lubricant such as graphite powder or silicone spray to lubricate the lock. If that doesn’t work, check for any visible dirt or debris and clean it out with compressed air or a cotton swab soaked in rubbing alcohol. If the key still doesn’t turn, the lock components may have an alignment problem. Consult the user manual for instructions on how to realign the lock components. In case of a malfunctioning lock mechanism, contact Schlage customer support for further assistance.
2. Battery Life Issues:
If batteries power your Schlage Deadbolt, you may encounter battery life issues from time to time. This can be caused by using low-quality batteries, frequent use of the lock, or a malfunctioning battery sensor. To resolve this issue, try replacing the batteries with high-quality ones and reducing the frequency of use to conserve battery life. If the problem persists, check and replace the battery sensor if necessary.
3. Inconsistent Locking:
Users may sometimes experience inconsistent locking where the deadbolt does not fully extend or retract when the key is turned. This could be due to a misaligned strike plate, loose screws, or a malfunctioning lock mechanism. To fix this issue, check and adjust the strike plate position if needed. Tighten any loose screws and test the lock again. If the problem persists, contact Schlage customer support for further assistance.
4. Error Codes on Keypad:
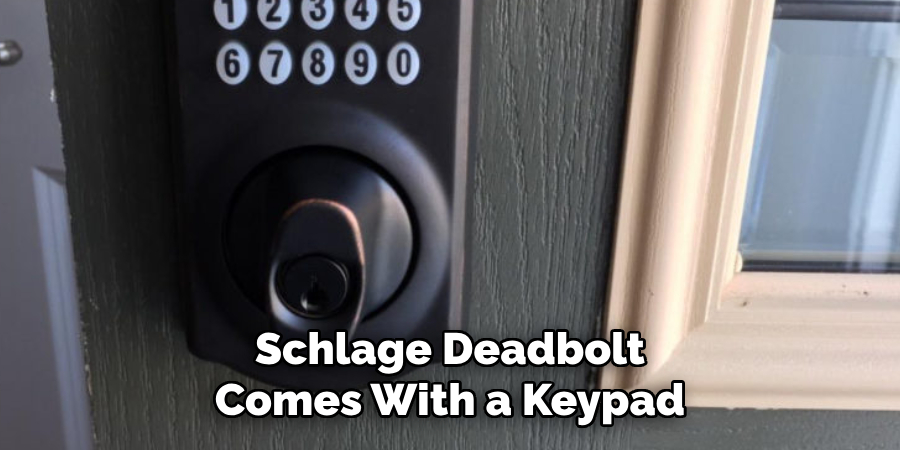
If your Schlage Deadbolt comes with a keypad, you may encounter error codes on the display. These codes can indicate low battery levels, incorrect key combinations, or a malfunctioning lock mechanism. Refer to the user manual for a list of error codes and their corresponding solutions. If the issue persists, contact Schlage customer support for further assistance.
5. Jamming Deadbolt:
Another common issue users may face is a jammed deadbolt, where the lock mechanism gets stuck and prevents the deadbolt from extending or retracting. Dirt or debris buildup, worn-out parts, or a malfunctioning lock mechanism can cause this.
To resolve this issue, clean out any visible dirt or debris and lubricate the lock with a suitable lubricant. If the problem persists, Schlage customer support may need to replace the lock mechanism.
Following these troubleshooting tips should help resolve common issues with your Schlage Deadbolt. However, if the problem persists or you encounter a different issue, feel free to contact Schlage customer support for further assistance and guidance. With proper maintenance and care, your Schlage Deadbolt will continue providing reliable security for years.
Frequently Asked Questions
What is a Schlage Deadbolt?
A Schlage Deadbolt is a type of lock that is designed to be installed on an exterior door for added security. It is known for its durability and reliability, making it one of the most popular choices among homeowners. The deadbolt is operated by a key from the outside and a thumb turn on the inside, providing both security and convenience.
Can I Install a Schlage Deadbolt Myself?
With the proper tools and instructions, you can install a Schlage deadbolt yourself. However, improper installation can compromise your home’s security. If you are not confident in your DIY skills, hiring a professional locksmith for installation is recommended.
What Precautions Should I Take Before Assembling a Schlage Deadbolt?
Before assembling a Schlage Deadbolt, it is important to make sure you have the correct tools and parts. You will need a screwdriver, drill, and measuring tape, among other things. It is also crucial to read through the instructions carefully and follow them step by step.
How Do I Determine the Correct Size for the Deadbolt?
To determine the correct size for your Schlage Deadbolt, measure the backset – the distance from the edge of the door to the center of the doorknob or lock. Most standard backsets are 2-3/8 inches or 2-3/4 inches. Additionally, make sure to check that the thickness of your door is compatible with the deadbolt you have chosen.
Are There Different Types of Schlage Deadbolts?
Yes, there are different types of Schlage Deadbolts available. Some common types include single-cylinder, double-cylinder, and electronic deadbolts. Each type offers its own unique features and benefits, so it is important to consider your specific needs before choosing a deadbolt.
How Do I Properly Assemble and Install My Schlage Deadbolt?
To properly assemble and install your Schlage Deadbolt, follow the instructions provided with your specific model. Generally, you will start by preparing the door for installation, attaching the latch and strike plate, and installing the cylinder and thumb turn. It is important to make sure all parts are aligned and securely fastened.
Can I Rekey My Schlage Deadbolt?
Yes, you can rekey your Schlage Deadbolt. This means that you can change the lock’s key without replacing the entire lock. Rekeying is a simple process that can be done with the help of a locksmith or by purchasing a rekeying kit. It can be useful if you lose your key or want to change the locks after moving into a new home.
Conclusion
Now you know how to assemble a schlage deadbolt and have answers to some of the most frequently asked questions surrounding this type of lock. Remember to always prioritize safety and security when installing or rekeying a deadbolt, and don’t hesitate to seek professional help if needed.
A Schlage Deadbolt can provide peace of mind for you and your family with proper installation and maintenance. So, make sure to follow the instructions carefully and enjoy the added security and convenience that a Schlage Deadbolt can offer. Happy assembling!
About
Safety Fic is a distinguished figure in the world of Diy design, with a decade of expertise creating innovative and sustainable Diy solutions. His professional focus lies in merging traditional craftsmanship with modern manufacturing techniques, fostering designs that are both practical and environmentally conscious. As the author of diy, Safety Fic delves into the art and science of Safety Fic-making, inspiring artisans and industry professionals alike.
Education RMIT University
(Melbourne, Australia) Associate Degree in Design (Safety Fic) Focus on sustainable design, industry-driven projects, and practical craftsmanship. Gained hands-on experience with traditional and digital manufacturing tools, such as CAD and CNC software.
Nottingham Trent University
(United Kingdom) Bachelor’s in diyfastly.com and Product Design (Honors) Specialized in product design with a focus on blending creativity with production techniques. Participated in industry projects, working with companies like John Lewis and Vitsoe to gain real-world insights.
Publications and Impact
In diy, Safety Fic his insights on indoor design processes, materials, and strategies for efficient production. His writing bridges the gap between artisan knowledge and modern industry needs, making it a must-read for both budding designers and seasoned professionals.