

Welcome to all the tech enthusiasts and DIYers out there! Have you recently purchased a Zmodo camera, but are feeling overwhelmed or unsure about how to assemble it? Well, fear not because we have got you covered.
In today’s blog post, we will guide you through the step-by-step process of how to assemble Zmodo camera like a pro. Whether you’re using it for home security, baby monitoring, or pet surveillance, setting up your Zmodo camera is the first essential step towards enjoying its full functionality. So get ready to become an expert in installing this popular brand of cameras with our easy-to-follow instructions and helpful tips. Let’s dive right in!
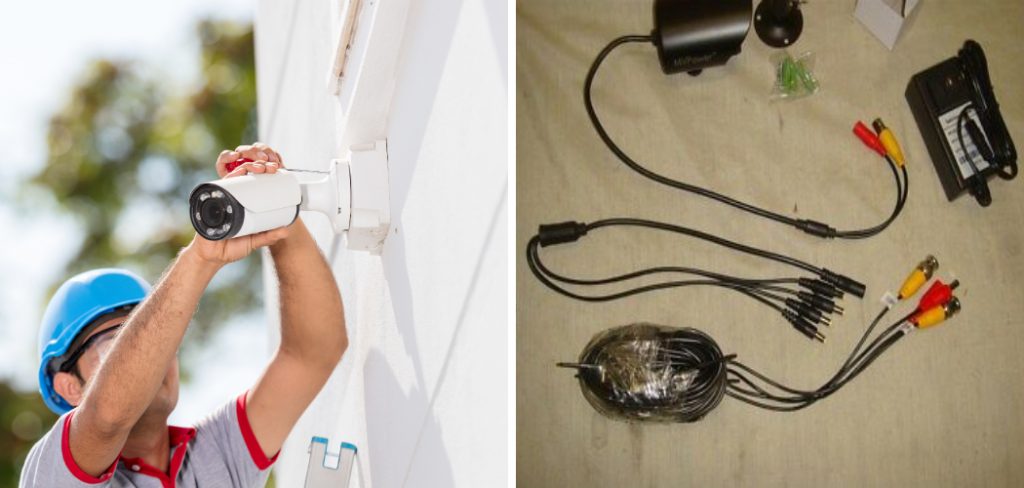
Supplies You Will Need to Assemble Zmodo Camera
- The Zmodo camera itself
- A power adapter or cable
- An Ethernet cable (if your camera model requires it)
- A computer or smartphone with an internet connection
- A stable and secure mounting surface (e.g. wall or ceiling)
- Screws and anchors (if your camera model requires them)
Step-by-step Guidelines on How to Assemble Zmodo Camera
Step 1: Unpack and Check Your Zmodo Camera
Before you get started, unbox your brand-new Zmodo camera, and check for any missing or damaged parts. Make sure you have all the supplies mentioned above before proceeding to assemble the camera. While you’re at it, take a moment to familiarize yourself with the camera’s different components and their functions.
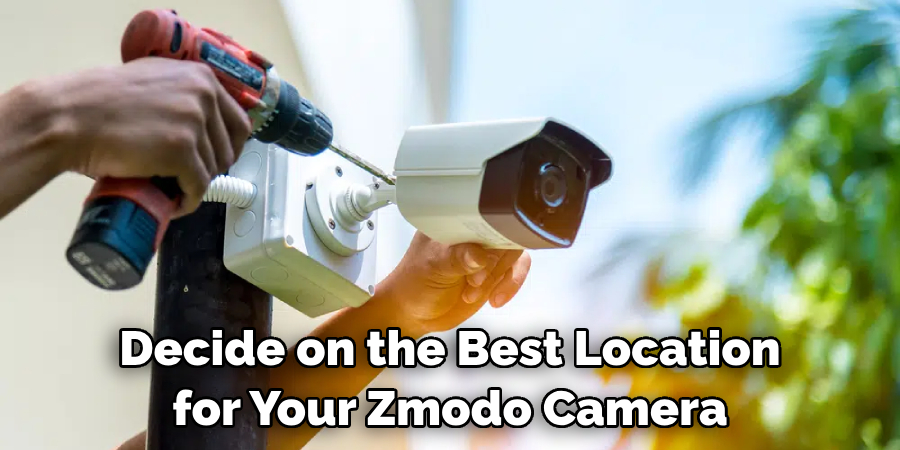
Step 2: Choose Your Camera Location
Decide on the best location for your Zmodo camera, keeping in mind its purpose and range of vision. For outdoor cameras, make sure it is installed under a shelter or purchase outdoor housing for them. You may also want to test the WiFi signal strength at your chosen location before mounting the camera. Choosing the right spot will ensure better surveillance and fewer blind spots.
Step 3: Connect the Power Supply
Connect your camera to a stable power source using either a power adapter or cable, depending on your camera model. Make sure you have an uninterrupted power supply for continuous camera operation. Once connected, turn on the camera’s power button (if applicable). If your Zmodo camera supports Power over Ethernet (PoE), you can skip this step and proceed to the next one.
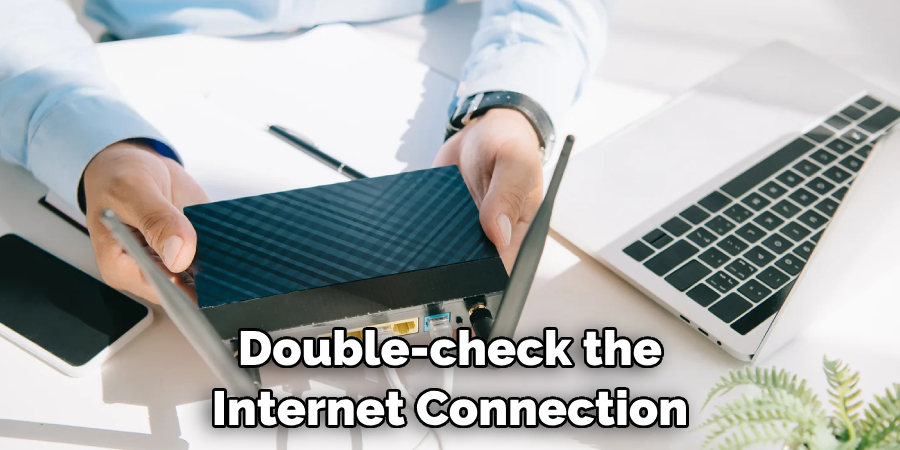
Step 4: Connect Your Camera to the Internet
To make full use of your Zmodo camera’s features, it needs to be connected to the internet. If you’re using an Ethernet cable, simply connect one end to your router and another end to your camera. For a wireless connection, you can either use the Zmodo app or a computer to configure the WiFi settings on your camera. Follow the instructions provided in your camera’s manual or check out Zmodo’s website for detailed tutorials.
Step 5: Mount Your Camera
Now comes the exciting part – mounting your Zmodo camera! Attach any necessary screws and anchors to the mounting surface, then carefully mount your camera on it. Make sure it is securely fixed and facing the desired direction. If you’re using a swivel base, adjust it according to your needs. While mounting, try to keep the cables as hidden and organized as possible.
Step 6: Test Your Camera
Once you’ve completed all the above steps, it’s time to test your Zmodo camera. Check if the live feed is working correctly on your computer or smartphone. In case of any issues, double-check the internet connection and ensure that you have followed all the steps correctly. If the problem persists, consult Zmodo’s customer support for further assistance.
Following these simple yet essential steps, you can easily assemble your Zmodo camera and start using it for your desired purpose. Remember to regularly check the camera’s firmware updates and adjust its settings as needed to keep it functioning optimally. Happy monitoring!
Additional Tips and Tricks to Assemble Zmodo Camera
- If you are having difficulty assembling your Zmodo camera, try watching a tutorial video on YouTube. Many helpful videos can guide you through the process step by step.
- Make sure to read the instruction manual carefully before attempting to assemble your camera. The manual will provide important information and tips specific to your model of the Zmodo camera.
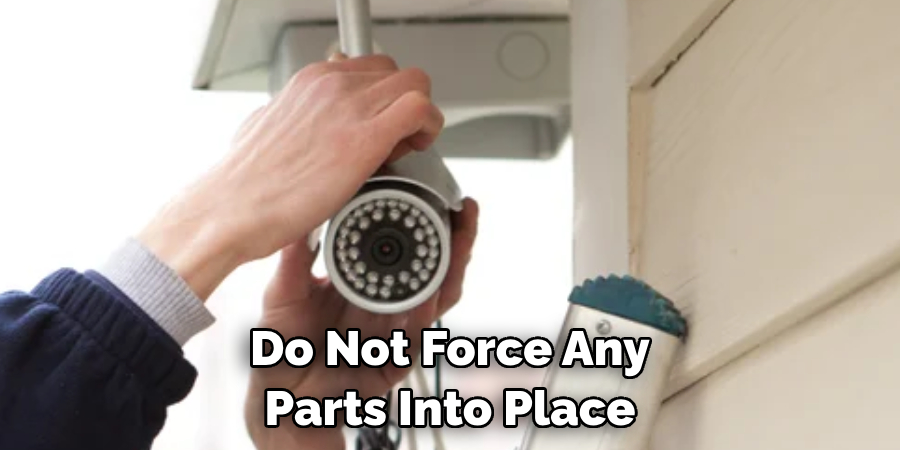
- If you encounter any loose parts or screws during the assembly process, do not force them into place. This can cause damage to your camera and affect its performance.
- Placing your Zmodo camera in a location with a good Wi-Fi signal is crucial for optimal performance. Test the connection strength before permanently mounting the camera.
- Consider purchasing additional accessories such as a weatherproof housing or mount for outdoor use, or a longer power cable for increased flexibility in placement.
- Keep the packaging and any extra components that come with your Zmodo camera in case you need to disassemble and reassemble it in the future.
- If you run into any issues during assembly, reach out to Zmodo’s customer support for assistance. They can provide personalized troubleshooting steps and answer any questions you may have.
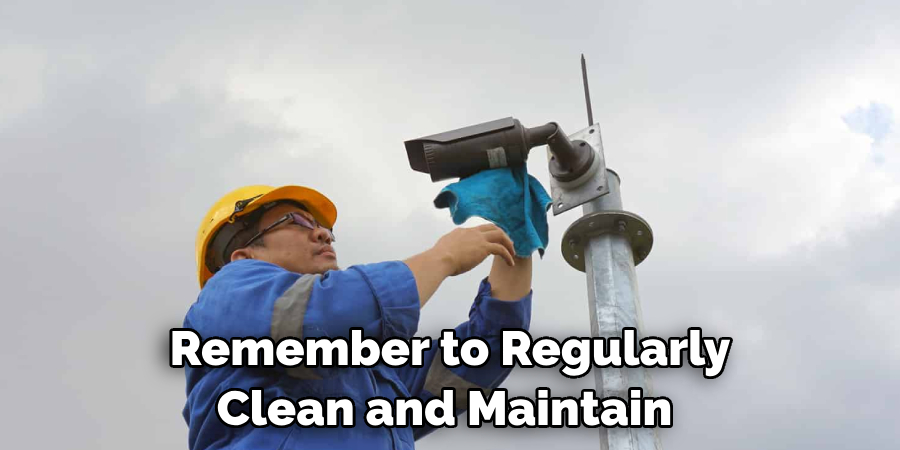
- Remember to regularly clean and maintain your Zmodo camera to ensure its longevity and performance. Dust and debris can build up over time, affecting the quality of your footage.
- If you plan on setting up multiple Zmodo cameras, consider using a network extender or booster to improve Wi-Fi coverage in your home or business.
- Lastly, be patient and take your time when assembling your Zmodo camera. Rushing through the process can lead to mistakes and potentially damage the device.
Following these tips and tricks will help ensure a smooth assembly process and optimal performance for your Zmodo camera. So, make sure to follow them and enjoy the convenience and security that your new camera provides. Happy assembling!
Things You Should Consider to Assemble Zmodo Camera
- Before starting to assemble your Zmodo camera, make sure you have read the user manual provided by the manufacturer. This will give you a better understanding of how to properly assemble and use your camera.
- Before assembling any electronic device, it is important to check for any possible damage or defects. Inspect all parts of the camera, such as the lens, body, and cables, to ensure they are in good condition.
- Make sure you have all the necessary tools before starting the assembly process. This may include a screwdriver, drill, and other basic tools.
- Choose a suitable location for your Zmodo camera where it can be easily mounted and has a stable internet connection.
- It is important to follow the instructions provided in the user manual carefully while assembling your camera. Do not skip any steps or assume you know how to assemble it without reading the instructions.
- When mounting the camera, make sure it is installed securely and at a suitable height for optimal performance.
- If using a wired connection, ensure that all cables are properly connected and secured to avoid any connection issues.
- When setting up the camera’s Wi-Fi connection, make sure to enter the correct network name (SSID) and password to ensure a successful connection.
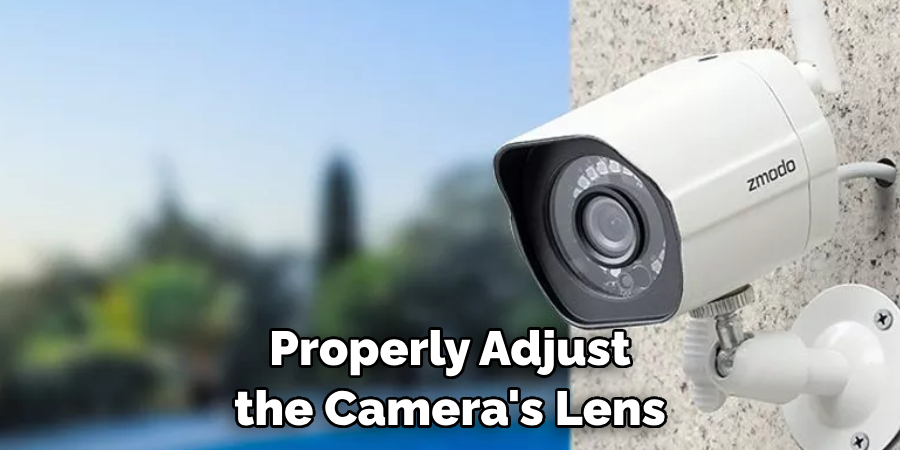
- Properly adjust the camera’s lens to get the desired field of view and angle for your surveillance needs.
- Test the camera after assembly to ensure it is working properly. If you encounter any issues, refer back to the user manual for troubleshooting tips.
Following these considerations will not only help you properly assemble your Zmodo camera, but also ensure its optimal performance and longevity. Remember to always prioritize safety and carefully read all instructions provided by the manufacturer. Happy assembling!
Precautions Need to Be Followed for Assembling Zmodo Camera
- First and foremost, it is important to read the instruction manual carefully before starting the assembly process. This will ensure that you have all the necessary tools and parts and are familiar with the procedure.
- Make sure to assemble the camera in a well-lit area to avoid any mistakes or missed steps.
- Keep all small parts and screws in a safe place to prevent them from getting lost or misplaced during the assembly process.
- Ensure that you have a stable and flat surface to work on while assembling the camera.
- Use caution when handling any electrical components to avoid electric shocks or damage to the camera.
- Do not force any parts into place, as this may cause damage to the camera or result in improper functioning.
- Avoid using excessive force while tightening screws, as this may strip the threads or damage the camera housing.
- If you encounter any difficulties during the assembly process, refer back to the instruction manual for troubleshooting tips or contact customer support for assistance.
Following these precautions will help ensure a smooth and successful assembly process while also preventing any potential damage to the camera. It is always better to take a little extra time and care during assembly to avoid any future problems with your Zmodo camera.
Frequently Asked Questions
What Does It Mean to “Assemble” a Zmodo Camera?
Before understanding how to assemble a Zmodo camera, it’s important to know what this term means. Assembling a camera simply refers to the process of putting together all of its components and getting it ready for use. In the case of a Zmodo camera, this would include attaching any necessary cables and mounting it in the desired location.
What Tools Do I Need to Assemble a Zmodo Camera?
The good news is that you likely won’t need any specialized tools to assemble your Zmodo camera. The majority of these cameras come with all necessary components and equipment, including mounting screws, power adapters, and cables. However, you may want to have a ladder or step stool on hand if you plan on mounting the camera in a high location.
What if My Zmodo Camera Doesn’t Come With All Necessary Components?
If your Zmodo camera does not come with all the necessary components, contact the manufacturer for assistance. They should be able to send you any missing parts or direct you to a retailer where you can purchase them.
Conclusion
All in all, knowing how to assemble Zmodo camera is essential to ensuring that your camera functions properly. By following these simple steps and guidelines, you should have no trouble assembling your Zmodo camera and getting it ready for use.
If you encounter any issues or have further questions, don’t hesitate to reach out to the manufacturer for assistance. Now that your camera is assembled, you can enjoy the peace of mind and added security that it provides. Happy assembling!
About
Safety Fic is a distinguished figure in the world of Diy design, with a decade of expertise creating innovative and sustainable Diy solutions. His professional focus lies in merging traditional craftsmanship with modern manufacturing techniques, fostering designs that are both practical and environmentally conscious. As the author of diy, Safety Fic delves into the art and science of Safety Fic-making, inspiring artisans and industry professionals alike.
Education RMIT University
(Melbourne, Australia) Associate Degree in Design (Safety Fic) Focus on sustainable design, industry-driven projects, and practical craftsmanship. Gained hands-on experience with traditional and digital manufacturing tools, such as CAD and CNC software.
Nottingham Trent University
(United Kingdom) Bachelor’s in diyfastly.com and Product Design (Honors) Specialized in product design with a focus on blending creativity with production techniques. Participated in industry projects, working with companies like John Lewis and Vitsoe to gain real-world insights.
Publications and Impact
In diy, Safety Fic his insights on indoor design processes, materials, and strategies for efficient production. His writing bridges the gap between artisan knowledge and modern industry needs, making it a must-read for both budding designers and seasoned professionals.