

Are you tired of coming home to a dark house? Want to avoid the hassle of manually turning on and off lights in every room? With smart home technology, automating your lighting is easier than ever.
How to automate lighting in a smart home is a convenient way to enhance comfort, improve energy efficiency, and add a layer of customization to your living space. With the integration of smart technology, you can control lighting using voice commands, smartphone apps, or even pre-set schedules that suit your daily routine. Intelligent lighting systems allow for greater flexibility, enabling you to adjust brightness, change colors, or sync lights with other devices in your home.
Whether you want to reduce energy consumption or create the perfect ambiance, automating your home’s lighting offers a seamless and modern solution tailored to your needs.
What Are the Benefits of Automating Lighting in a Smart Home?
- Convenience: With automated lighting, you no longer have to manually turn on and off lights, saving you time and effort. You can control your home’s lighting from anywhere, whether in bed or away from home.
- Cost Savings: By setting schedules and using motion sensors, intelligent lighting systems can help reduce energy consumption, lowering utility bills.
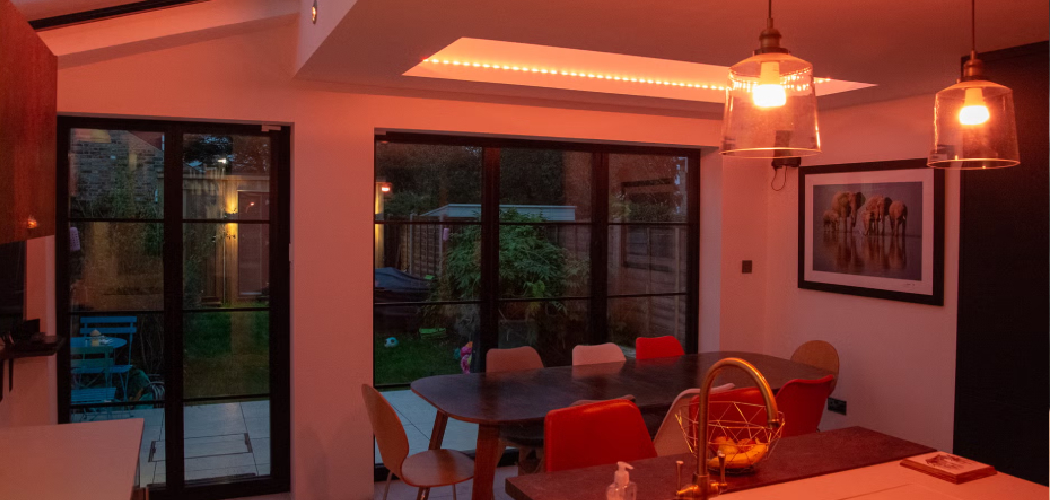
- Customization: With the ability to adjust brightness and color temperatures, you can create the perfect ambiance for any occasion. Want a warm and cozy atmosphere? Simply dim the lights with a voice command or press of a button.
- Enhanced Security: Automated lighting can also act as a security measure, making your home appear occupied even when you’re away. You can program lights to turn on and off randomly or remotely control them to deter potential intruders.
- Improved Accessibility: Automated lighting offers a convenient solution for those with mobility issues. With voice commands or smartphone apps, turning on and off lights becomes much more manageable and more accessible.
Once you experience the convenience and benefits of automating your home’s lighting, you’ll wonder how you ever lived without it.
What Will You Need?
To automate your home’s lighting, you will need:
- An innovative Lighting System: This includes smart bulbs, switches, or plugs compatible with your chosen smart home platform.
- A Central Hub: Depending on the brand of your intelligent lighting system, you may need a central hub to communicate between devices and control them remotely.
- A Smartphone or Tablet: This will be a control device for your automated lighting system.
- A Stable Internet Connection: Most smart lighting systems require a stable internet connection to function correctly.
Once you have all the necessary components, you can start setting up your smart lighting system.
10 Easy Steps on How to Automate Lighting in a Smart Home
Step 1: Choose Your Smart Lighting System

Begin by selecting an intelligent lighting system that suits your needs and integrates well with any existing smart home devices you may have. Popular options include Philips Hue, LIFX, or TP-Link Kasa. Ensure the system is compatible with your preferred smart home platform, such as Alexa, Google Assistant, or Apple HomeKit.
Step 2: Purchase the Necessary Equipment
Once you’ve decided on your innovative lighting system, it’s time to gather the required equipment. Depending on your lighting preferences and existing fixtures, this typically includes smart bulbs, light strips, or smart switches. If your chosen system requires a hub, include that in your purchase. Consider whether you need additional accessories, such as motion sensors, dimmer switches, or connectors for light strips, to enhance functionality. For outdoor lighting, ensure the equipment is weather-resistant and designed for external use. Buying kits that include multiple components is often helpful to save time and ensure compatibility during setup.
Step 3: Install and Set Up Your Smart Lighting System
Begin by installing the smart bulbs, light strips, or switches according to the manufacturer’s instructions. For bulbs, simply screw them into the fixture and power them on. For light strips, adhere securely to the desired surface, ensuring they are positioned correctly before connecting to power. If your system requires a hub, connect it to your router and follow the setup steps outlined in the user manual. Next, download the corresponding app on your smartphone or tablet, which will guide you through pairing your devices and connecting them to your home Wi-Fi network. Ensure all components are functioning correctly before configuring advanced features.
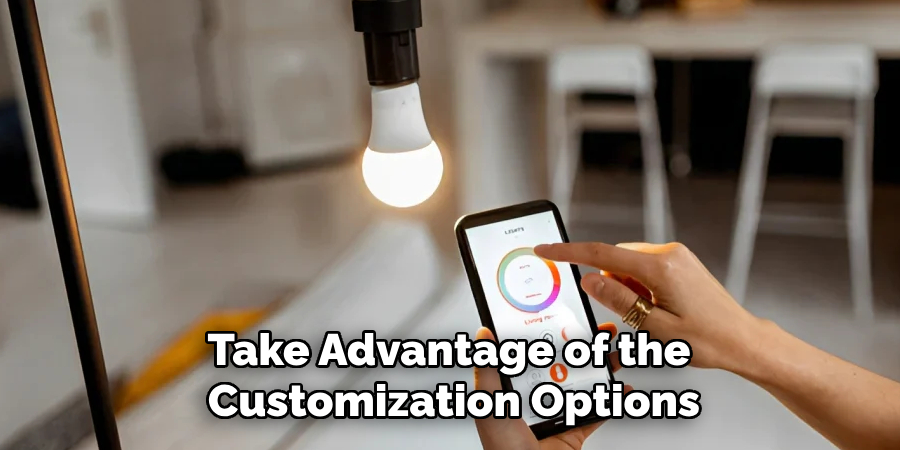
Step 4: Customize and Optimize Your Smart Lighting System
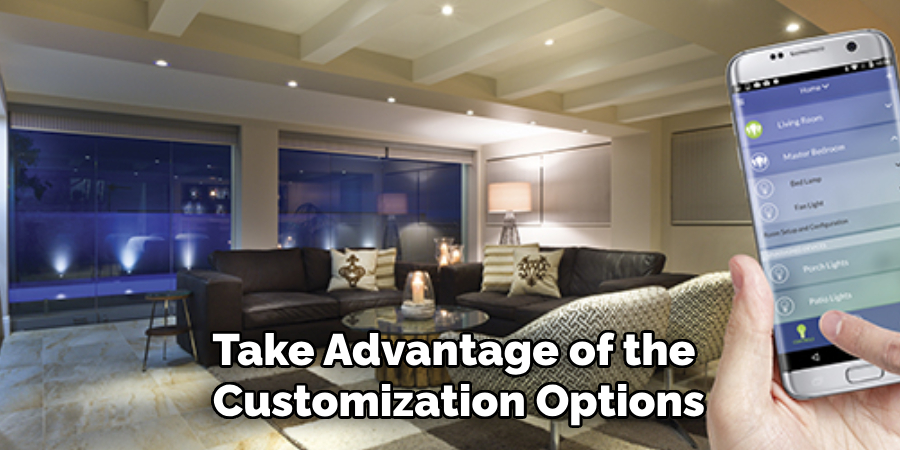
Once your devices are set up and connected, take advantage of the customization options available through the app. Adjust brightness levels, choose color temperatures, or select from a range of colors to create the ideal ambiance for each space—schedule lighting routines to match your daily activities or use motion sensors to automate lighting based on movement. Explore advanced features like voice control integration with virtual assistants such as Alexa, Google Assistant, or Siri for hands-free operation. Regularly update your app and devices to ensure improved functionality and access to new features.
Step 5: Troubleshoot Your Smart Lighting System
In case of any technical issues, refer to the user manual or online support resources provided by the manufacturer. Check for firmware updates and ensure all components are properly connected to your home network. If necessary, reset the devices and try pairing them again. If problems persist, contact customer support for further assistance.
Step 6: Create Different Lighting Scenes
To add variety to your lighting automation, consider creating different scenes for each space in your home. This allows you to quickly and easily change the atmosphere without manually adjusting individual lights. For example, you can have a “movie night” scene with dimmed lights or a “party” scene with colorful lighting.
Step 7: Set Up Voice Control
Voice control can significantly enhance the convenience and functionality of your smart lighting system. Start by ensuring your bright lights are compatible with your preferred voice assistant, such as Amazon Alexa, Google Assistant, or Apple Siri. Once compatibility is confirmed, open the app for your voice assistant and follow the instructions to connect it to your smart lighting system. This typically involves logging into your smart lighting account through the voice assistant app and granting the necessary permissions.
After setup, you can start using voice commands to control your lights. Try simple commands like, “Turn off the living room lights” or “Set the bedroom lights to 50% brightness.” Many voice assistants also allow you to create custom routines, combining lighting adjustments with other smart device controls.
Step 8: Consider Energy Saving Features
Energy-saving features in smart lighting systems can help reduce electricity consumption while maintaining convenience and functionality. Many smart lights come with scheduling options, allowing you to set specific times for lights to turn on or off. For instance, you can schedule your outdoor lights to switch off automatically at sunrise or set your indoor lights to turn off during the day when natural light is sufficient.
Additionally, dimming capabilities can significantly lower energy use by letting you adjust the brightness to only what’s necessary. Some systems also utilize motion sensors, so lights activate only when someone enters a room and turn off when the room is no longer occupied. Furthermore, energy monitoring features in specific smart lighting systems can help you track your usage over time, enabling you to identify areas where you can save further.
Step 9: Expand Your System
Expanding your smart lighting system provides numerous opportunities to enhance your home’s functionality, energy efficiency, and overall ambiance. Start by integrating additional smart bulbs or fixtures into areas of your home that would benefit most from automation, such as bedrooms, bathrooms, and hallways. Incorporating smart plugs or switches can further elevate your setup, allowing you to control traditional lighting fixtures seamlessly alongside smart bulbs. For those looking to expand outdoors, consider weatherproof smart lights to illuminate pathways, patios, or gardens while maintaining control and adaptability via mobile apps or voice commands.
Step 10: Maintain and Update Your System
Regular maintenance and updates are essential to ensure your innovative lighting system continues to operate efficiently. Check for firmware updates for your smart bulbs, switches, and hubs, as manufacturers frequently release performance, security, and compatibility improvements. Periodically assess your system’s functionality to identify any connectivity issues or devices needing troubleshooting. Cleaning light fixtures and securely fitting bulbs can also enhance performance and longevity. Staying informed about new features or integrations from your smart lighting provider can help you keep your system up-to-date and aligned with the latest technology trends.
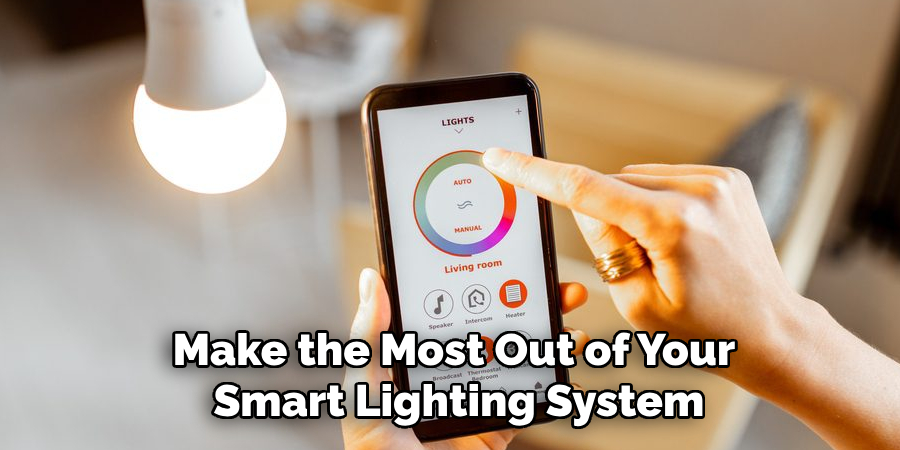
By following these steps, you can make the most out of your smart lighting system and enjoy a more convenient, energy-efficient, and customizable home lighting experience.
Conclusion
How to automate lighting in a smart home offers a perfect blend of convenience, efficiency, and personalization.
By carefully selecting compatible devices, planning the ideal setup, and leveraging advanced features like schedules and voice controls, you can transform your home’s lighting experience. Not only does it contribute to energy savings, but it also enhances your home’s ambiance and functionality. Staying proactive with updates and maintenance ensures your system remains reliable and future-ready.
With the right approach, automating your lighting can significantly simplify daily life while creating a modern, connected living environment.
About
Safety Fic is a distinguished figure in the world of Diy design, with a decade of expertise creating innovative and sustainable Diy solutions. His professional focus lies in merging traditional craftsmanship with modern manufacturing techniques, fostering designs that are both practical and environmentally conscious. As the author of diy, Safety Fic delves into the art and science of Safety Fic-making, inspiring artisans and industry professionals alike.
Education RMIT University
(Melbourne, Australia) Associate Degree in Design (Safety Fic) Focus on sustainable design, industry-driven projects, and practical craftsmanship. Gained hands-on experience with traditional and digital manufacturing tools, such as CAD and CNC software.
Nottingham Trent University
(United Kingdom) Bachelor’s in diyfastly.com and Product Design (Honors) Specialized in product design with a focus on blending creativity with production techniques. Participated in industry projects, working with companies like John Lewis and Vitsoe to gain real-world insights.
Publications and Impact
In diy, Safety Fic his insights on indoor design processes, materials, and strategies for efficient production. His writing bridges the gap between artisan knowledge and modern industry needs, making it a must-read for both budding designers and seasoned professionals.