

Learning how to build a cap and trim fence is not only a rewarding DIY project but also an excellent way to enhance the aesthetics and functionality of your property.
A cap and trim fence adds a sophisticated touch with its clean lines and polished finish, significantly boosting curb appeal and the overall value of your home. Beyond its visual appeal, this type of fence offers added protection by creating a sturdy barrier against external elements and ensuring privacy.
The process of building a cap and trim fence involves several key steps, including planning and preparation, constructing the frame, installing the pickets, and adding the final cap and trim for that elegant finish. By following these steps carefully, you can achieve a professional-quality fence that stands the test of time.
Planning and Preparation
A. Deciding on Materials
When selecting materials for your cap and trim fence, consider each option’s durability, cost, and aesthetic appeal. Fence Posts: Typically, cedar, redwood, or pressure-treated pine are popular choices due to their resistance to rot and pests.
Size-wise, 4×4 or 6×6 inches are common, with the length depending on the desired height of the fence and whether the posts will be set above or below ground level. Pressure treatment is essential for enhancing the longevity of the posts. Fence Boards: Like posts, cedar, and redwood are excellent options for boards due to their natural resistance to decay.
The size of the boards will depend on the desired height and overall look of the fence. Pressure-treated options are available for additional durability. Cap and Trim Boards: These can be made from the same material as the fence boards for a cohesive look. The size and style can vary based on personal preference, with wider boards offering a more pronounced cap effect.
Fasteners: Choosing between screws and nails, stainless steel screws are typically recommended for their strength and resistance to rust. The length of the fasteners should be appropriate to secure the boards firmly, usually at least three times the thickness of the fence boards.

B. Tools You’ll Need
Building a cap and trim fence requires a set of essential tools to ensure precision and efficiency throughout the construction process. A measuring tape is crucial for accurate measurements. A level is needed to ensure posts and boards are perfectly vertical and horizontal.
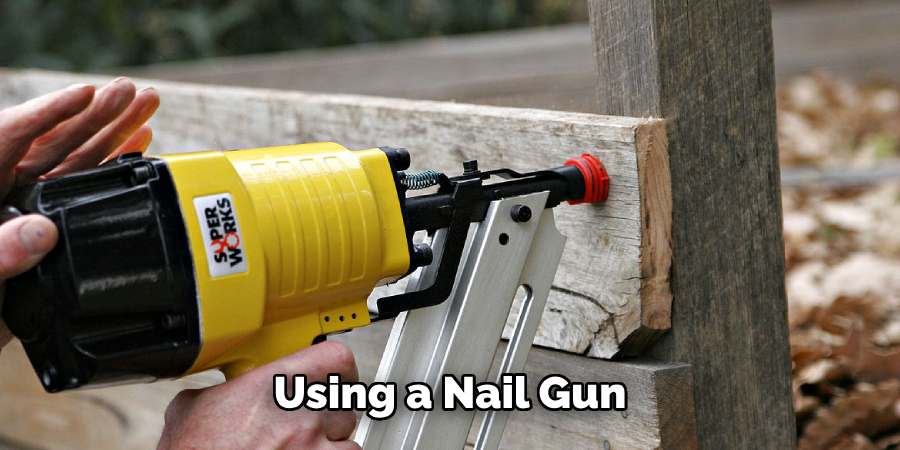
Saws (circular or handsaw) are required for cutting boards to the correct lengths. A drill, preferably with a screwdriver bit, is essential for fastening screws, whereas a nail gun can expedite the process if using nails. Other helpful tools include a hammer, post hole digger, staple gun (for attaching string lines), and wheelbarrow for mixing concrete.
C. Permits and Regulations
Before breaking ground on your fence project, it’s crucial to check with your local building department regarding any permits or regulations. Many municipalities have specific guidelines concerning the height, style, and placement of fences.
Failure to comply with these regulations can result in fines or being required to modify or remove your fence. Additionally, it’s wise to discuss your fencing plans with neighbors to avoid potential disputes regarding boundaries and aesthetics. This preliminary step will help ensure your project proceeds smoothly and legally.
Building the Fence Frame
A. Marking the Fence Line
To accurately mark your fence line, start by planting stakes at each corner of the planned fence perimeter. These stakes act as your main reference points. Once in place, tightly stretch a string from one stake to the next, outlining the entire proposed fence layout.
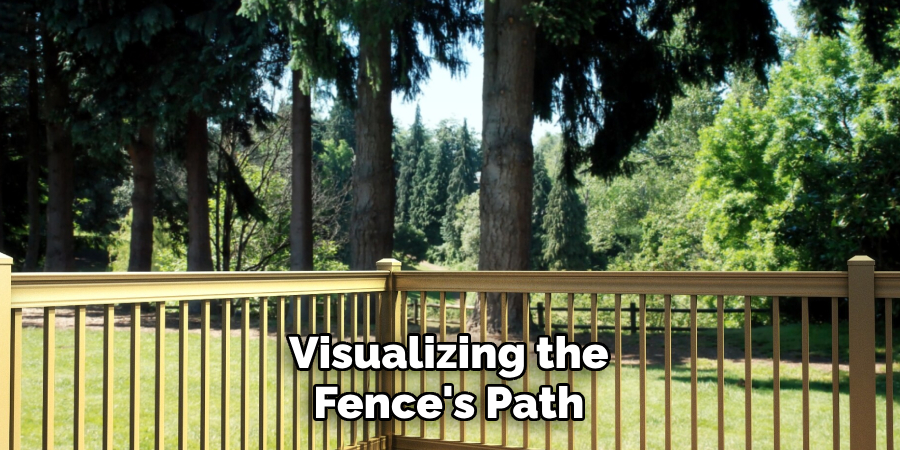
This step is crucial for visualizing the fence’s path and assists in identifying any potential obstacles that may require adjustments. Additionally, evenly space smaller stakes along the string line to mark where each fence post will be installed. Precision at this stage ensures a straight and well-aligned fence, so take your time to measure and adjust as necessary.
B. Digging Post Holes
The stability of your cap and trim fence heavily depends on the depth and quality of the post holes. Generally, post holes should be dug to a depth of at least one-third the height of the post above ground level, plus an extra six inches for gravel drainage layer at the bottom.
For instance, for a 6-foot tall fence, dig your post holes approximately 2-3 feet deep. Adjustments may be required based on soil type; sandy or loose soils might necessitate deeper holes for added stability. Utilize a post-hole digger or an auger for efficient and precise digging.
C. Setting the Fence Posts
For a robust fence foundation, setting the fence posts correctly is paramount. There are two common methods for setting posts: directly in concrete or using post anchors.
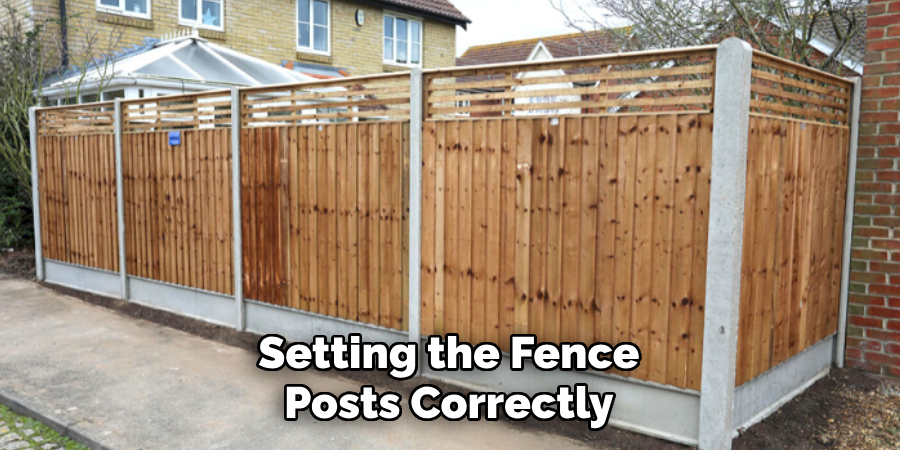
Setting posts in concrete provides the highest level of stability. Begin by placing a gravel layer at the bottom of each hole for drainage, then insert the post, ensuring it is perfectly vertical with a level. Pour dry concrete mix around the post, then slowly add water and mix to secure the post in place.
Allow it to be set according to the manufacturer’s instructions. For added durability, especially in regions prone to high winds or soft soils, consider using post anchors fixed in concrete, offering strong support with easier post-replacement options. Whichever method you choose, ensure each post is level and plumb before proceeding.
D. Attaching Rails
Once the fence posts are securely in place and fully set, the next step is attaching the horizontal rails that will support the fence boards. Begin by measuring and cutting your rails to length, typically made from 2×4 lumber.
Ensuring each rail is level before securing it is crucial – a task where a laser level can be highly beneficial. Rails are typically attached to the inside of the fence posts using either galvanized screws or nails for longevity.
For a standard 6-foot tall fence, three rails (one at the top, middle, and bottom) provide adequate support. Ensure each rail is evenly spaced and securely fastened, as this framework contributes significantly to the overall strength and durability of your cap and trim fence.
Installing the Fence Pickets
A. Spacing Considerations
When installing fence pickets, one must consider both aesthetic appeal and legal requirements. The space between pickets can influence the privacy level and overall design of the fence. Typically, a gap of 1-3 inches is common, but this can vary based on personal preference and the specific purpose of the fence.
It’s crucial, however, to check local building codes, as they may dictate minimum or maximum spacing, especially in urban or suburban areas where privacy and security considerations play a significant role. Ensuring compliance with these regulations can avoid potential legal issues and the need for costly modifications later on.
B. Attaching Pickets to Rails
Attaching the fence pickets to the rails is a critical step that influences both the appearance and structural integrity of your fence. Whether using screws or nails, it’s important to select galvanized or stainless steel options to prevent rust and corrosion.
Screws generally provide a more secure hold and can be easier to remove or replace if needed. Nails, on the other hand, can be faster to install using a nail gun, making them a popular choice for large projects.
Before attaching, consider pre-drilling holes in the pickets, especially when working with hardwoods. Pre-drilling helps prevent the wood from splitting and ensures a cleaner, more precise attachment. When beginning to attach the pickets, start at one end of the fence, ensuring the first picket is perfectly vertical using a level. This acts as a reference for the rest of the fence.
Attach the picket at the top and bottom rail first, then secure it to any middle rails. Repeat this process, maintaining consistent spacing between pickets until the entire fence is covered. Regularly check for levelness and adjust as necessary to ensure a visually appealing and structurally sound fence.
How to Build a Cap and Trim Fence: A Beginner’s Guide
A. Cutting the Cap and Trim Boards
Accurate measuring and cutting are crucial to achieving a professional finish for the cap and trim boards that will crown your fence. Begin by measuring the length of your fence to determine the total length needed for both the cap and trim boards.
When cutting, factor in any overhang you desire for aesthetic purposes, typically 1-2 inches on either side. Use a miter saw for precise cuts, ensuring each board aligns perfectly with the contours of your fence. Remember, the exactness of these cuts will significantly impact the final appearance, so take your time and measure twice before cutting.
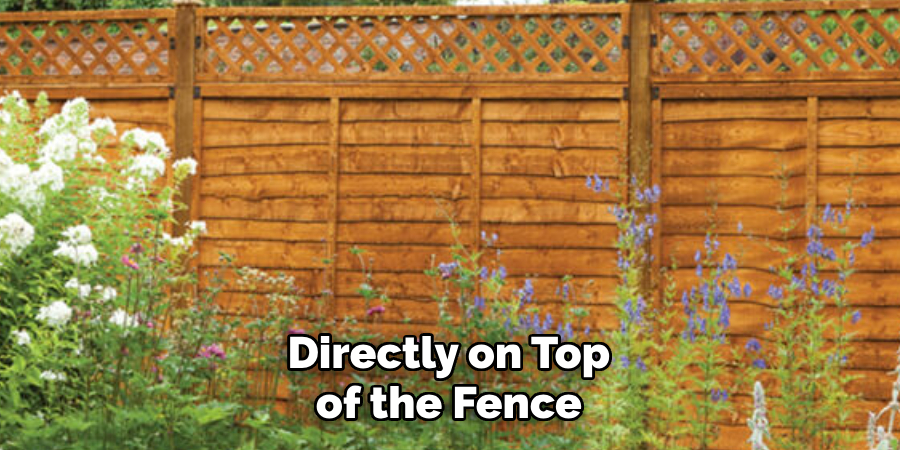
B. Attaching the Trim Board
After cutting the trim boards to the right length, attach them directly to the top of the fence pickets, ensuring a flush and secure fit. Use galvanized or stainless steel screws for durability, spacing them evenly along the length of each trim board to maintain uniformity. This step not only enhances the visual appeal of the fence but also provides a stable base for the cap board.

C. Attaching the Cap Board
The final step is securing the cap board atop the trim, creating a cohesive and polished look. Position the cap board to evenly overhang the trim board, providing a protective ledge against weather elements.
Similar to attaching the trim, use corrosion-resistant screws spaced consistently for a tidy finish. This cap not only adds to the fence’s attractiveness but also protects the structural integrity of the fence by minimizing water penetration.
Additional Considerations
After constructing your cap and trim fence, consider staining or painting it to further protect the wood and enhance its aesthetic appeal. Selecting a high-quality, outdoor-grade stain or paint will shield the wood from UV rays and moisture, extending the life of your fence.
Before applying, ensure the wood is clean and dry for optimal adhesion. Applying a primer can also improve the longevity of the paint or stain. Regular maintenance, including a fresh coat every few years, will keep your fence looking beautiful and sturdy for years to come.
Advanced Techniques and Design Options
A. Scalloped Cap
Creating a decorative scalloped design on the top cap board adds a unique aesthetic to your fence. To achieve this, sketch the desired scallop shape onto the cap board using a flexible template or a large compass for consistency.
Carefully cut along the drawn lines with a jigsaw, ensuring smooth, controlled movements for a clean cut. Sand the edges to remove any splinters or roughness. This distinctive design can serve as a creative expression, making your fence stand out.

B. Post Caps
Adding decorative post caps can enhance the overall look of your fence while also providing protection for the posts. Post caps come in various materials such as wood, metal, and vinyl, and styles ranging from simple flat designs to ornate, sculpted options.
To install, simply apply a strong adhesive to the inside of the cap and place it securely on top of the post. Ensure the cap is centered for a polished appearance. Besides aesthetic appeal, post caps help prevent water from seeping into the wood, extending the life of your fence.
C. Latticework Panels
Incorporating latticework panels into your fence design offers a more open look while still providing a level of privacy and structural support. Latticework, made from crossed wooden strips forming a grid, can be used as the entire fence or as decorative sections within a solid fence.
To integrate latticework panels, frame them with the same material as the rest of the fence for a cohesive design. This option allows for climbing plants to intertwine, creating a natural and inviting garden feature.
D. Double Cap
A double cap consists of two layers of cap boards, giving the fence a more substantial, finished look. To achieve this, first install a wider base cap directly on top of the fence, followed by a narrower cap on top of the base cap. Ensure both caps overhang slightly on each side for water runoff.
Use weather-resistant screws for attaching. The added thickness and dimension of a double cap can significantly enhance the visual weight and perceived quality of your fence.
E. Custom Trim Styles
Exploring different trim board styles presents an opportunity to customize the fence design further. Depending on the desired aesthetic, trim boards can be cut into various shapes, such as rounded, angled, or even intricate patterns. For a softer look, rounded edges can be created using a router. Angled trims, cut at 45-degree angles, offer a more modern, sharp appearance.
Custom patterns can be designed and cut with precision tools for something truly unique. These custom trim styles can be applied along the top edge of the fence or at the base, adding character and enhancing the fence’s overall appearance. Experimenting with different styles allows for personalization, making your fence not just a boundary but an expression of your style.
That’s it! You’ve now learned how to build a cap and trim fence that is not only functional but also visually appealing. Remember to take your time and pay attention to the details for a professional finish. With some creativity, you can also add personal touches to make your fence truly one-of-a-kind. Enjoy your new fence, and don’t be afraid to try out different design options in the future!
Maintenance and Upkeep
A. Regular Inspection
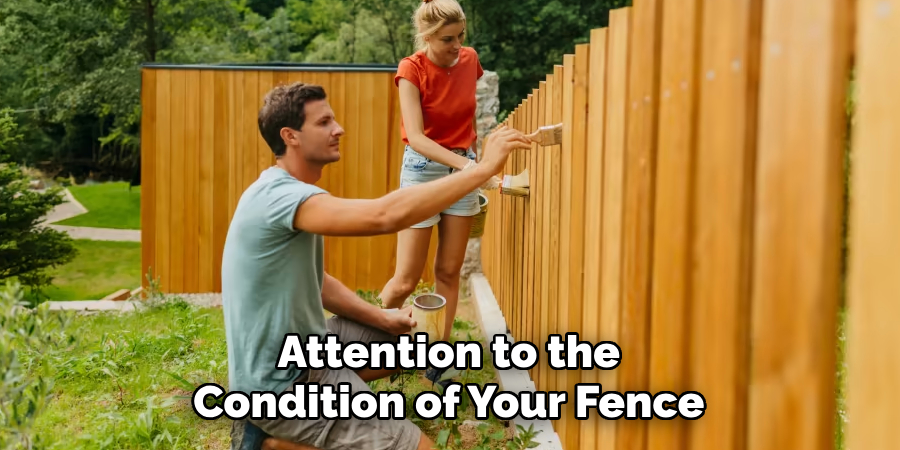
Regular inspections are crucial to maintaining your fence’s durability and aesthetics. Inspecting your fence at least twice a year for any signs of damage, such as cracked or rotting wood, rust on metal components, or loose fasteners, is advisable.
Early detection of these issues allows for timely repairs, preventing further deterioration. Paying close attention to the condition of your fence not only prolongs its lifespan but also ensures it continues to serve its purpose effectively, whether for privacy, security, or decorative appeal.
B. Cleaning
The cleaning method for your fence largely depends on the material. Wooden fences can be cleaned with a power washer on a low setting or a simple solution of soap and water.
Vinyl fences may require a specialized cleaner to remove tough stains but generally can be maintained with regular hose downs. Metal fences, especially those susceptible to rust, benefit from gentle scrubbing and may need rust-inhibitor treatments.
C. Re-staining or Painting
Re-staining or repainting your fence is essential for preserving its condition and appearance, particularly for wood fences. This process should be carried out every two to three years, depending on the climate and exposure to the elements.
Choosing high-quality outdoor paint or stain can protect the wood from moisture, UV damage, and temperature changes, ensuring your fence remains vibrant and structurally sound for years to come.
Troubleshooting Common Problems
A. Uneven Fence Line
An uneven fence line can detract from your yard’s appearance and may indicate improper installation or shifting soil. To correct this, first, identify the sections that are not level. If the issue is widespread, it may be necessary to reinstall certain parts of the fence.
Loosen the fasteners attaching the panels to the posts for minor adjustments and adjust until level. Use a string line from one end of the fence to the other as a guide. Once adjusted, retighten the fasteners to secure the fence panels in their new level position.
B. Leaning Fence Posts
Leaning fence posts are often the result of loose soil or inadequate depth. To fix this, begin by removing the soil around the base of the leaning post. If the post is still in good condition, realign it upright and add or replace the concrete footing to secure it.
Mixing the concrete to a stiffer consistency can offer better support. For posts that have rotted or broken, replacement is necessary. Ensure the new post is installed at the correct depth—usually 2-3 feet into the ground—and properly secured with concrete.
C. Loose or Split Pickets
Repairing loose pickets involves tightening or replacing the fasteners that hold the picket to the rails. Ensure the fasteners are suitable for outdoor use to prevent rusting. If the damage is not severe for split pickets, apply wood glue to the split and clamp the picket until the glue dries.
Replace the picket entirely if the split is too large to repair effectively. Regular maintenance, including periodic inspections and immediate repairs, can prevent these issues from becoming more serious, ensuring the longevity and aesthetic appeal of your fence.
Safety Precautions
Safety should always be a top priority when working on fencing projects, especially when using power tools, lifting heavy materials, or digging.
A. Working with Power Tools
Always wear appropriate personal protective equipment, including safety glasses, gloves, and ear protection, when using power tools such as saws and drills. Ensure that the work area is well-lit and free from clutter to minimize the risk of accidents.
Never remove or disable safety guards on the tools; always read the manufacturer’s instructions before use. Regularly checking the condition of your tools and performing maintenance can prevent malfunctions and enhance safety.
B. Lifting Heavy Materials
Proper lifting techniques are crucial to avoid back injuries when handling heavy materials. Always lift with your legs, not your back, by bending at the knees and keeping the load close to your body. If an object is too heavy or awkward to lift alone, seek assistance or use a dolly.
C. Underground Utilities

Before digging for fence post installation, it’s essential to call 811 to locate and mark any underground utilities. This free service helps prevent potentially dangerous and costly accidents, ensuring that your fencing project does not interfere with gas lines, electrical wires, or water pipes.
Conclusion
In this guide on how to build a cap and trim fence, we’ve walked through the essential steps from planning and design to maintenance and troubleshooting. Beginning with selecting the right materials, setting posts securely, and installing rails and pickets, we emphasized the importance of precision and care at each stage.
The addition of cap and trim not only enhances the fence’s durability but also its aesthetic appeal, distinguishing your property. The guide also underlined the significance of regular maintenance to extend the life of your fence.
Undertaking a DIY project like building a cap and trim fence brings immense satisfaction, knowing you’ve added value and character to your home with your own hands. The final outcome is a testament to the effort and passion invested, making it not just a boundary but a notable feature of your property.