

Building a wood fence on a slope can be a challenging yet rewarding project. The uneven terrain requires careful planning and precise execution to ensure the fence is both functional and aesthetically pleasing.
Whether you’re looking to mark your property boundaries, provide security, or enhance your landscape’s look, this guide on how to build a wood fence on a slope will walk you through the essential steps and considerations for successfully constructing a wood fence on a slope. With the right tools, materials, and techniques, you can achieve a professional-looking fence that will stand the test of time.
What is a Slope?
Before diving into the building process, it’s essential to understand what a slope is and its impact on your fence. A slope is an incline or decline in the land’s surface, which can be caused by natural factors such as hills, valleys, or man-made features like driveways and retaining walls.
When building a wood fence on a slope, you’ll encounter two main challenges: maintaining the fence’s height and keeping it level. Uneven terrain can cause significant issues with these factors if not addressed correctly. Therefore, it’s crucial to evaluate the slope and plan accordingly before starting the construction process.
Why Build a Wood Fence on a Slope?
There are many reasons why you might choose to build a wood fence on a slope. The most common reasons include:
Property Boundaries:
If your property is on a slope, building a fence can help define and mark your land’s boundaries.
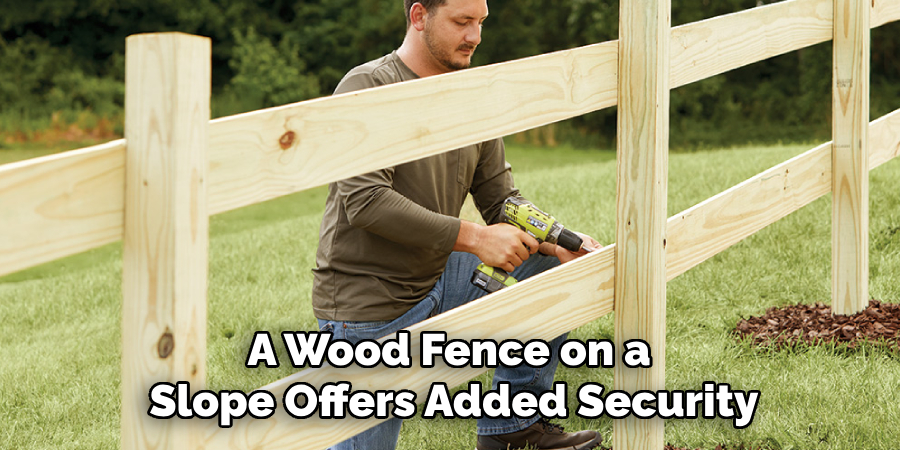
Security:
A wood fence on a slope offers added security by creating an additional barrier for potential intruders to overcome.
Privacy:
A sloped wood fence can provide privacy from neighbors or passersby who might be able to see into your yard.
Decoration/landscaping:
A well-built wood fence on a slope can add aesthetic appeal to your property and enhance your landscape’s overall look.
Materials and Tools You’ll Need
Before beginning the construction process, you’ll need to gather all the necessary materials and tools. Here’s a list of everything you’ll typically need when building a wood fence on a slope:
Wood Posts:
These are the vertical support beams that will hold up your fence.
Fence Panels or Pickets:
These are the horizontal boards that attach to the posts and create the actual fence structure. You can either buy pre-made fence panels or cut your own pickets.
Concrete Mix:
This is used to secure the posts in the ground for added stability.
Nails/Screws:
These are used to attach the fence panels or pickets to the posts.
Level:
You’ll need a level to ensure that your fence is straight and level as you build it on a slope.
Shovel/Shock Mallet:
These tools will come in handy when digging holes for the posts and pounding them into the ground.

7 Step-by-step Guidelines on How to Build a Wood Fence on a Slope
Step 1: Measure and Mark
Begin by measuring the total length of the area where you want the fence to be installed. Use a measuring tape and mark the spots where each fence post will be placed. For most fences, the posts should be spaced approximately 6 to 8 feet apart. Be sure to account for the slope in your calculations, which may require adjusting the distance between posts slightly to maintain uniformity.
Once the post locations are marked, use stakes to highlight these spots visibly. Tie a string between the stakes to create a guideline that will ensure your fence remains straight as you proceed with the construction. This guideline is crucial, especially on sloped terrain, to maintain a consistent and professional appearance throughout the fence line.
Step 2: Dig the Post Holes
Using a post hole digger or an auger, dig holes at the marked spots to accommodate the fence posts. The depth of each hole should be approximately one-third the height of the fence post to ensure stability—typically around 2 to 3 feet deep, depending on the height of your fence. As you’re working on a slope, it’s essential to make sure each hole is vertically straight; using a level or plumb line can assist in this.

For added stability, you can slightly widen the bottom of each hole, creating a bell shape. This method helps to hold the posts more securely in the ground, especially in sloped conditions where soil erosion might be a concern. After digging, clear any loose dirt from the holes to create a clean space for setting the posts.
Step 3: Set the Posts
Now, it’s time to set the posts in their designated holes. Begin by placing a small amount of gravel or pea stones at the bottom of each hole for drainage purposes. Place one post at a time and fill the remaining space around it with concrete mix, following the manufacturer’s instructions.
Check that each post is vertically straight using a level and make any necessary adjustments before the concrete sets. Repeat this process until all posts are securely placed in their respective holes.
Step 4: Attach Fence Panels or Pickets
Once the concrete has fully cured and the posts are firmly set in place, you can begin attaching the fence panels or pickets. If you’re using pre-made fence panels, start at one end of the fence line and position the first panel against the first two posts. Use a level to ensure the panel is straight, then secure it to the posts using nails or screws. Be sure to leave a small gap between the bottom of the panel and the ground to prevent rot and allow for proper drainage.
If you’re using individual pickets, start by attaching a horizontal rail to the posts at the top and bottom edges where the pickets will be secured. Ensure these rails are level and attach them using screws or nails. Then, begin attaching each picket to the rails, spacing them evenly apart according to your design preference. Use a spacer to maintain consistent gaps between pickets, and ensure each picket is vertically straight with a level before securing it.
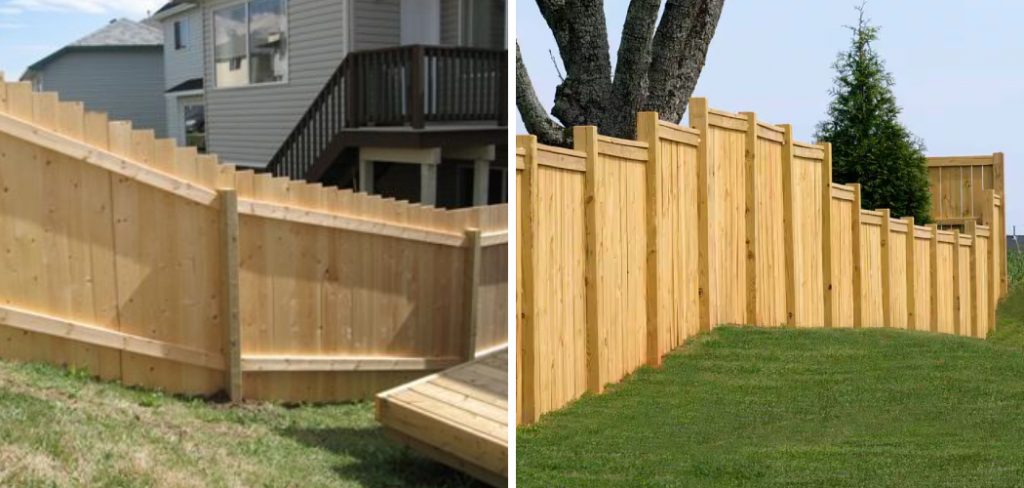
Step 5: Repeat and Stair-step
As you continue building along the slope, it’s essential to repeat the process of attaching fence panels or pickets while ensuring they remain level and straight. Keep in mind that as you move further up or down the slope, the gap between each panel or picket may vary slightly due to changes in terrain.
This is normal and can be adjusted by stair-stepping the fence line, meaning adjusting the height of each panel or picket to create a smooth transition along the slope.

Step 6: Trim Excess Posts
After all the fence panels or pickets have been attached and you have achieved a consistent, stair-stepped look along the slope, it’s time to trim any excess height from the fence posts. This step ensures a uniform top line and enhances the overall aesthetic of your fence. Using a measuring tape, mark the desired height on each post, making sure the marks are consistent across all posts for a level finish.
With a saw, carefully trim the posts at the marked points. It is advisable to use a handsaw for better control, especially when working at different heights on a slope. After cutting, smooth the post tops with sandpaper or a sanding block to remove any rough edges or splinters. If desired, you can install post caps to protect the cut ends from weathering and add a decorative touch to your fence.
Step 7: Finishing Touches
Once all the panels or pickets are attached, add finishing touches such as post caps or stain/paint, to protect and enhance the appearance of your wood fence. Enjoy the privacy, security, and beauty that your new sloped wood fence provides!
Following these guidelines on how to build a wood fence on a slope will help you successfully construct a wood fence on a slope, adding both functionality and aesthetic appeal to your outdoor space. Remember to always prioritize safety and accuracy when building any type of structure, and don’t be afraid to consult with professionals or seek additional resource materials if needed. Happy building!
Frequently Asked Questions
Q: Can I Build a Wood Fence on a Steep Slope?
A: Yes, it is possible to build a wood fence on a steep slope. However, more planning and effort may be required to ensure the fence remains level and stable. Using the steps outlined above can help you successfully construct a wood fence on any slope.
Q: How Can I Determine the Best Slope for my Fence?
A: The best slope for your fence will depend on various factors, including the type of fence you want to build and your personal preferences. It is essential to consider the terrain, soil conditions, and any potential obstacles when deciding on the slope for your fence. Consulting with professionals or seeking advice from experienced individuals can also be helpful in determining the best slope for your specific project.
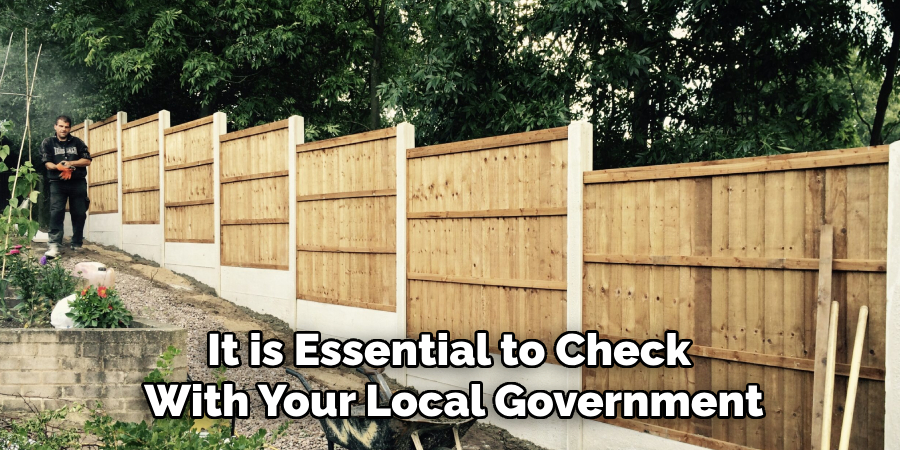
Q: Do I Need a Permit to Build a Wood Fence?
A: In most cases, a permit is required for building a wood fence, especially if it exceeds a certain height. It is essential to check with your local government or neighborhood association for any necessary permits or regulations before starting your project. Failure to obtain the appropriate permits could result in costly fines or even having to tear down and rebuild your fence.
Conclusion
Building a wood fence on a slope may seem daunting at first, but by following these step-by-step guidelines on how to build a wood fence on a slope, you can achieve a professional and sturdy result. The key to success lies in careful planning, precise measurements, and the right tools and materials. Each step, from measuring and marking to setting posts and attaching panels, requires attention to detail to ensure the fence remains straight and level, even on uneven terrain.
By stair-stepping the fence line and making necessary adjustments, you can accommodate various slope gradients seamlessly. After trimming any excess posts and adding the finishing touches, you’ll have a beautifully constructed wood fence that enhances both the privacy and aesthetic appeal of your property. With patience and diligence, the project will not only be manageable but also rewarding, providing a functional and attractive addition to your home.
About
Safety Fic is a distinguished figure in the world of Diy design, with a decade of expertise creating innovative and sustainable Diy solutions. His professional focus lies in merging traditional craftsmanship with modern manufacturing techniques, fostering designs that are both practical and environmentally conscious. As the author of diy, Safety Fic delves into the art and science of Safety Fic-making, inspiring artisans and industry professionals alike.
Education RMIT University
(Melbourne, Australia) Associate Degree in Design (Safety Fic) Focus on sustainable design, industry-driven projects, and practical craftsmanship. Gained hands-on experience with traditional and digital manufacturing tools, such as CAD and CNC software.
Nottingham Trent University
(United Kingdom) Bachelor’s in diyfastly.com and Product Design (Honors) Specialized in product design with a focus on blending creativity with production techniques. Participated in industry projects, working with companies like John Lewis and Vitsoe to gain real-world insights.
Publications and Impact
In diy, Safety Fic his insights on indoor design processes, materials, and strategies for efficient production. His writing bridges the gap between artisan knowledge and modern industry needs, making it a must-read for both budding designers and seasoned professionals.