Canceling your Ring subscription services can be a straightforward process if you know the right steps. Whether you’re looking to cut down on expenses or no longer require the features offered by Ring’s protection plans, this guide will help you navigate the cancellation process efficiently. We’ll cover the steps you need to take on how to cancel ring subscription services, potential considerations before canceling, and what to expect once your subscription is terminated.

Reasons to Cancel Your Ring Subscription
There are several reasons why customers might decide to cancel their Ring subscription. First, some users may find that the cost of the subscription does not justify the services they are receiving, particularly if they are not utilizing the advanced features or don’t have many Ring devices. Others might prioritize privacy concerns and wish to limit their reliance on internet-connected security devices.
Additionally, life circumstances can change—such as moving to a new home with different security needs or replacing Ring with an alternative security system—prompting a reevaluation of the necessity of their current subscription. Lastly, technical issues or dissatisfaction with customer service might lead some users to explore other options. Understanding these potential reasons can help customers make informed decisions about maintaining or canceling their service.
Types of Ring Subscription Plans
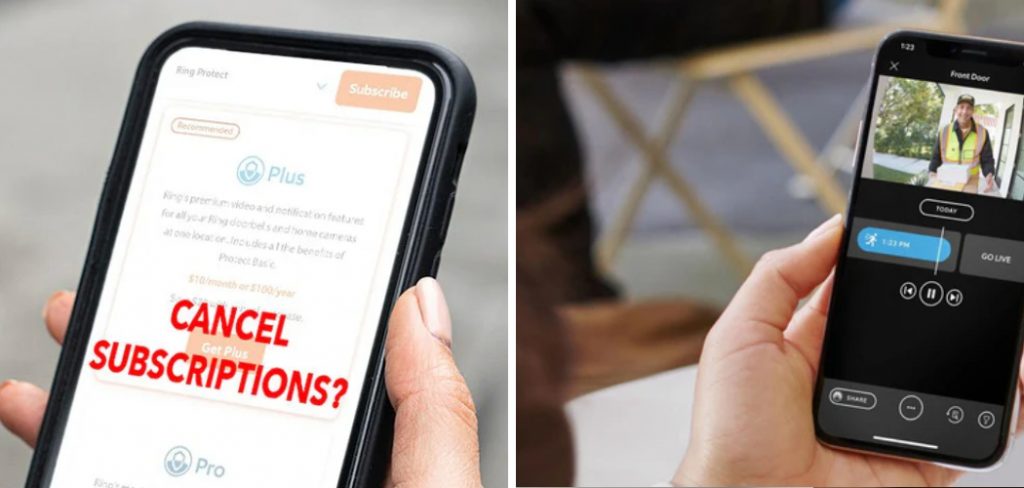
Ring offers a variety of subscription plans designed to cater to different security needs and budgets, providing users with enhanced features that extend beyond the basic functionalities. The main subscription options include the Ring Protect Basic and Ring Protect Plus plans.
- Ring Protect Basic Plan: This plan is designed for individual devices, offering video recording for one Ring device at a time. Subscribers can store video recordings for up to 30 days, enabling them to review past events at their convenience. The Basic plan is ideal for those with limited Ring devices and who seek foundational video recording capabilities.
- Ring Protect Plus Plan: The Plus plan caters to users needing comprehensive coverage across multiple devices. It includes those with larger homes or multiple Ring security fixtures. This plan covers all Ring devices at a single location with 24/7 professional monitoring capabilities. It also retains video recordings for 60 days, providing more extensive review options, as well as extended warranties. The Plus plan is suitable for users seeking full-scale home security with additional support and services.

Understanding the features of each subscription plan can help users make an informed choice based on their individual security requirements and budgetary considerations.
10 Methods How to Cancel Ring Subscription Services
1. Review Your Subscription Plan and Billing Cycle
Before canceling your Ring subscription, it’s essential to review your current plan and billing cycle. Log into your Ring account and check which subscription you’re currently enrolled in, such as Ring Protect Basic or Ring Protect Plus. Understanding your billing cycle (monthly or annually) will help you determine the best time to cancel. If your subscription is billed annually, canceling mid-cycle may result in a prorated refund for the unused portion. Additionally, take note of any upcoming renewal dates to avoid being charged for another billing cycle before canceling.
2. Log Into Your Ring Account
To begin the cancellation process, log into your Ring account through the Ring app or the official Ring website. Once logged in, navigate to the “My Plans” or “Account” section, where you’ll find details about your current subscription services. This is the central hub for managing your account and is where you’ll initiate the cancellation of your subscription. Ensure you have access to the correct login information, as this step is necessary to control your subscription settings and avoid further charges.
3. Locate the Subscription Management Section
Once logged into your account, navigate to the section specifically for managing subscriptions. This section is usually found under “My Plans” or “Manage Subscription” in the account settings. Here, you will see a list of your active subscriptions along with options to modify or cancel them. Ring makes it relatively straightforward to manage your subscription through its user-friendly interface, but it’s important to ensure you’re in the correct section to avoid confusion. Be sure to double-check that you’re viewing the correct plan before proceeding with the cancellation.
4. Initiate the Cancellation Process
After locating the subscription management section, select the subscription plan you wish to cancel. You’ll find a button or link that allows you to cancel the subscription—this is usually labeled “Cancel Subscription” or “End Plan.” Clicking this option will initiate the cancellation process, and you will typically be prompted to confirm your decision. Keep in mind that once you initiate the cancellation, the service may continue until the end of the current billing cycle, depending on your plan. Be sure to read any on-screen prompts carefully to ensure you fully understand the terms of your cancellation.

5. Verify Cancellation Details
Once you’ve initiated the cancellation, Ring will typically provide a summary of the cancellation details. This may include information about the effective cancellation date, any remaining time on your current billing cycle, and whether you are eligible for a refund (if applicable). Take time to review these details to ensure that the cancellation is being processed according to your expectations. For example, if you’ve prepaid for an annual subscription, check if a prorated refund will be issued for the unused portion of the subscription. Confirming these details avoids misunderstandings about what will happen after the cancellation is completed.
6. Contact Ring Customer Support (If Necessary)
If you encounter any difficulties during the cancellation process or if something is unclear, you can contact Ring’s customer support for assistance. Ring offers support via phone, chat, or email, and their customer service team can help you with any technical issues, billing questions, or concerns about your subscription. If your cancellation involves a refund or if you have multiple subscriptions tied to different devices, speaking with a customer service representative can ensure that everything is handled correctly. Having the support of Ring’s customer service team can expedite the process and provide clarity if needed.
7. Request a Refund for Unused Services
If you’ve prepaid for an annual Ring Protect plan and decide to cancel before the end of the subscription period, you may be eligible for a prorated refund. Ring typically refunds the remaining balance of your subscription based on the unused time. However, monthly plans are often non-refundable once the payment for that month has been processed. During the cancellation process, be sure to ask about refund eligibility. If you’re entitled to a refund, confirm how and when it will be issued (such as a credit back to your original payment method) to ensure you receive it promptly.

8. Remove the Subscription From Additional Devices
If you have multiple Ring devices (such as doorbell cameras, security cameras, or alarms) linked to your account, canceling a subscription may not automatically remove it from all devices. Check your account to ensure that the subscription is canceled for each individual device, especially if you have multiple subscriptions active. In some cases, each device may require separate management within your Ring account. If your subscription includes features like video recording, make sure to verify that these services have been disabled for all relevant devices to avoid ongoing charges.
9. Consider Canceling Automatic Renewal
When canceling your Ring subscription, it’s important to disable any automatic renewal settings associated with your account. If auto-renewal is still active, your subscription might renew at the end of your billing cycle, even if you’ve initiated the cancellation. To ensure this doesn’t happen, navigate to the billing or subscription settings in your account and turn off automatic renewal. This step ensures that you won’t be charged for another billing cycle once your current subscription expires. By deactivating auto-renewal, you maintain full control over your subscription status.
10. Monitor Your Account for Final Charges
After canceling your subscription, keep a close eye on your account and bank statements for any final charges. Depending on when you cancel, there may be a final payment for the last month of service or for any outstanding fees related to the subscription. If you see unexpected charges after canceling, contact Ring’s billing department to resolve the issue. Monitoring your account ensures that you aren’t charged for services beyond the cancellation date and helps you confirm that the cancellation has been fully processed. Keeping a record of your cancellation details and any communications with Ring can be helpful in case any discrepancies arise later.

Conclusion
Canceling a Ring subscription service is a straightforward process, but it’s important to follow the correct steps to ensure that the cancellation is handled properly. From reviewing your subscription plan and billing cycle to contacting customer support and monitoring your account for final charges, each method plays a critical role in making the cancellation process smooth and hassle-free. Thanks for reading our blog post on how to cancel ring subscription services! We hope you found it helpful and informative.
About
Safety Fic is a distinguished figure in the world of Diy design, with a decade of expertise creating innovative and sustainable Diy solutions. His professional focus lies in merging traditional craftsmanship with modern manufacturing techniques, fostering designs that are both practical and environmentally conscious. As the author of diy, Safety Fic delves into the art and science of Safety Fic-making, inspiring artisans and industry professionals alike.
Education RMIT University
(Melbourne, Australia) Associate Degree in Design (Safety Fic) Focus on sustainable design, industry-driven projects, and practical craftsmanship. Gained hands-on experience with traditional and digital manufacturing tools, such as CAD and CNC software.
Nottingham Trent University
(United Kingdom) Bachelor’s in diyfastly.com and Product Design (Honors) Specialized in product design with a focus on blending creativity with production techniques. Participated in industry projects, working with companies like John Lewis and Vitsoe to gain real-world insights.
Publications and Impact
In diy, Safety Fic his insights on indoor design processes, materials, and strategies for efficient production. His writing bridges the gap between artisan knowledge and modern industry needs, making it a must-read for both budding designers and seasoned professionals.
