
Learning how to change a battery in a Kidde smoke detector is a simple yet essential skill for ensuring your home is safe from potential fire hazards. A fully functioning smoke detector is often the first line of defense in preventing fires from escalating into devastating situations. Over time, the battery in your detector will need replacing, and being proactive about this upkeep can save lives.

Before you begin, ensure you have the correct replacement battery for your specific Kidde smoke detector model. Most models require either a 9-volt battery or AA batteries. It’s also a good idea to have a step stool or ladder ready if the detector is installed in a hard-to-reach location. Always prioritize safety by ensuring the area is well-lit and free from hazards before starting the replacement process.
The process is straightforward and suitable for beginners. With just a few tools and following the right steps, you can quickly replace the battery and keep your smoke detector operating at peak efficiency. This guide will walk you through every detail, teaching you how to safely and properly change the battery so your home remains protected at all times.
Why Changing the Battery in a Kidde Smoke Detector is Important
Your Kidde smoke detector is a vital part of your home’s safety system, providing an early warning in case of a fire. However, the device can only function effectively when its battery is fully charged. A drained or missing battery renders your smoke detector useless, putting your family and property at risk. Regularly checking and changing the battery ensures that the alarm will work when you need it most.
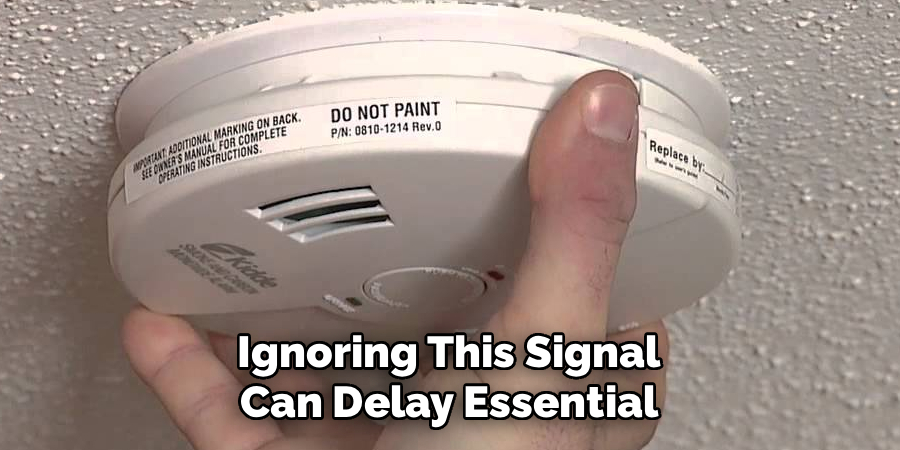
A chirping sound is one of the first signs that your smoke detector’s battery is depleting. Ignoring this signal can delay essential maintenance, potentially leaving the detector unable to alert you during an emergency. By staying on top of battery replacements, you maintain your peace of mind and can trust that your smoke detector will do its job.
Besides safety, maintaining a functioning smoke detector is often a legal requirement in many areas. Many jurisdictions mandate operational smoke alarms as part of building codes. Routine battery replacements not only keep your family safe but also ensure that you’re adhering to local safety regulations.
Step-by-Step Guide: How to Change a Battery in a Kidde Smoke Detector
Step 1: Gather Your Tools
Before you start, gather the necessary tools and materials to make the replacement process efficient. Generally, you’ll need a fresh 9-volt battery, a stable step stool or ladder if your smoke detector is mounted on the ceiling, and possibly a screwdriver for opening the battery compartment.
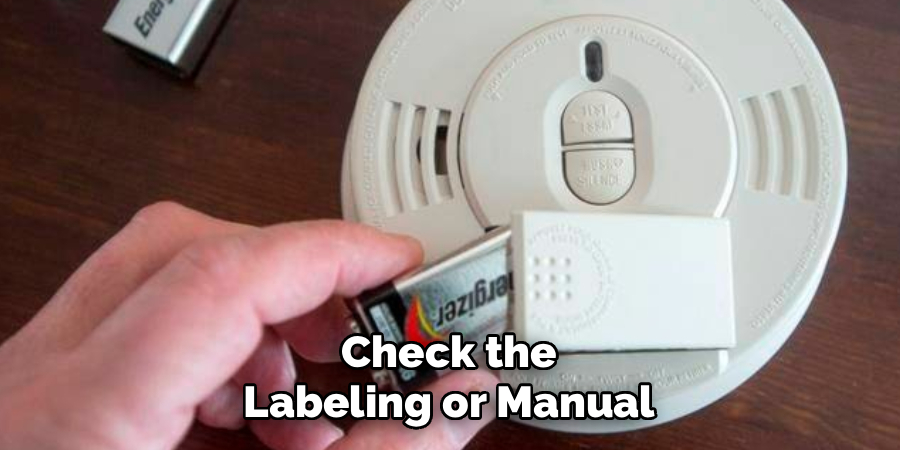
Check the labeling or manual of your Kidde smoke detector to ensure you have the correct battery type, as some models may use AA batteries. Being prepared ensures a smooth process without delays, helping you complete the task quickly and safely.
Step 2: Locate the Smoke Detector
Identify the smoke detector that needs a battery replacement. If it’s chirping, the sound should lead you directly to the unit. Kidde smoke detectors are commonly installed on ceilings or high walls, so positioning a sturdy ladder beneath the device may be necessary.
If your home has multiple smoke detectors, it’s a good habit to inspect them all at once. This saves time and effort, and it ensures consistent operation throughout your home. Properly locating your smoke detector allows you to proceed safely without unnecessary strain.
Step 3: Ensure Safety Before Replacement
Safety is crucial when working with any electrical device, including smoke detectors. Make sure the device is deactivated by following the instructions in the product manual. For added security, you can switch off the circuit breaker connected to the smoke detector if it’s hardwired into your home’s electrical system.
Holding the test button for a few seconds will confirm whether the device has been fully powered down. Taking these precautions eliminates the risk of accidental electrical issues while you’re working.
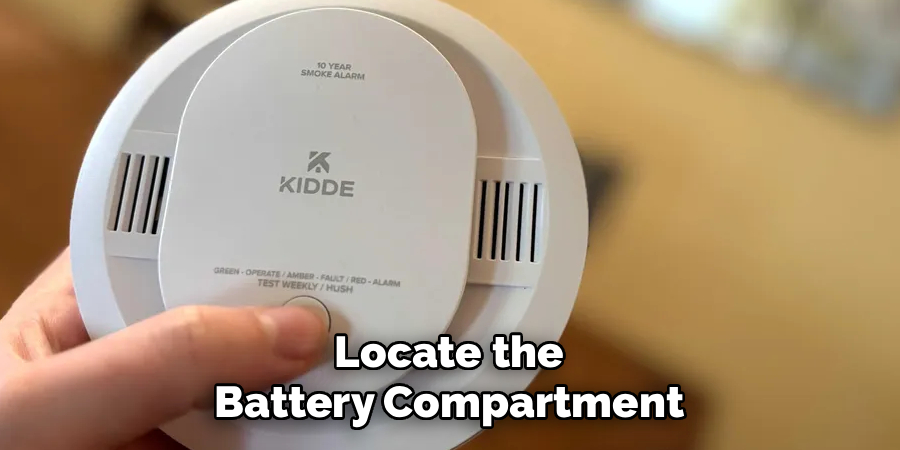
Step 4: Access the Battery Compartment
Once the detector is ready, locate the battery compartment. On most Kidde smoke detectors, the compartment is on the back side of the device or at the front with a sliding or hinged cover. Use your fingers to gently open the compartment. If it’s secured with screws, use the appropriate screwdriver to remove them without damaging the casing.
Take care to open the compartment gently to avoid damaging the delicate components. Exposing the battery compartment is necessary for removing the old battery and placing in the new one.
Step 5: Remove the Old Battery
Carefully remove the old battery by gripping its edges and pulling it out of the connectors. Note the orientation of the battery terminals, as this will guide you when inserting the replacement. Use this opportunity to inspect the battery contacts for dust or corrosion, cleaning them lightly with a dry cloth if needed.
Proper disposal of the old battery is essential; place it in a recycling bin or follow local disposal guidelines for used batteries. Removing the old battery clears the way for the new one, ensuring the smoke detector remains functional.
Step 6: Insert the New Battery
Take the fresh 9-volt battery and align it with the correct orientation within the compartment. Gently press it into place, ensuring the terminals fit snugly into the connectors without being forced. Some devices have a diagram inside the compartment to guide proper placement.
Once the battery is securely connected, close the compartment and fasten any screws, if required. Ensuring a proper fit during this step guarantees that the smoke detector will function correctly once reactivated.
Step 7: Test the Smoke Detector
After installing the new battery, it’s essential to test the smoke detector to verify that it’s working correctly. Press and hold the test button located on the device for a few seconds. A loud alarm sound should emit, indicating that the unit is functioning properly.
If the alarm does not activate, double-check the battery’s placement or consult the user manual for troubleshooting tips. Testing the detector ensures it’s ready to protect your home should an emergency arise.
Step 8: Reset or Reinstall the Device
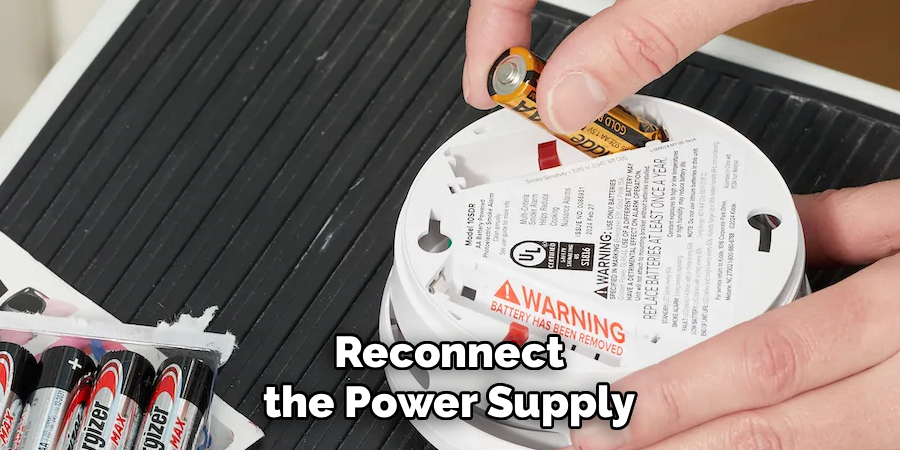
For hardwired models, reconnect the power supply by switching the circuit breaker back on. Carefully reinstall the smoke detector onto its mounting bracket if it was removed during the process. Ensure it’s securely fastened to prevent accidental falls.
Once the device is back in its original location, perform a quick visual inspection to ensure there are no loose parts or wires. Properly reinstalling the detector maintains its aesthetic and structural integrity.
Step 9: Establish a Maintenance Schedule
Changing the battery in your Kidde smoke detector is a vital part of ongoing home safety. To stay on top of this task, create a maintenance schedule for regular checks. Typically, smoke detector batteries should be replaced every six months, or as indicated in the device’s manual.
Consider setting calendar reminders or using daylight saving time changes to prompt these checks. Consistent upkeep ensures your smoke detector remains reliable and functional for maximum safety.
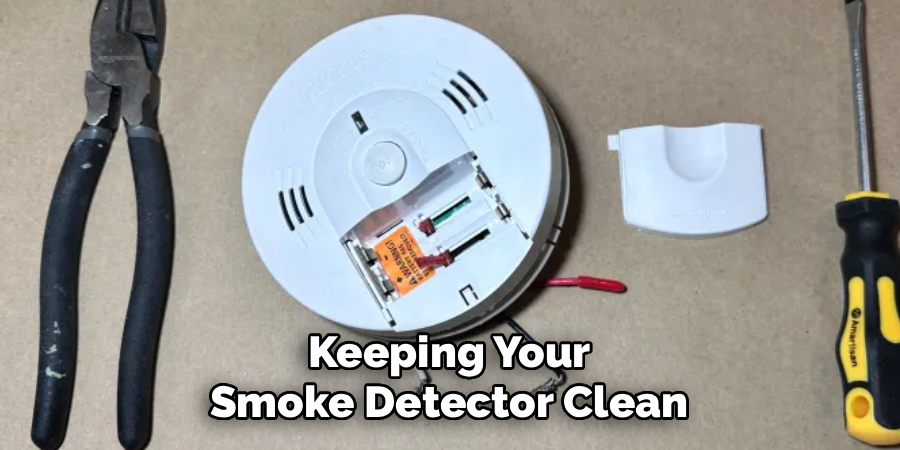
Cleaning and Maintenance Tips
Regular cleaning and maintenance of your smoke detector can help prolong its lifespan and keep it functioning effectively. Here are some tips to follow:
- Keep the detector free of dust and debris by gently vacuuming around it.
- Use a soft cloth or brush to clean any grime or buildup on the outside of the device.
- Test your smoke detector at least once a month. Most detectors have a button that allows you to quickly test the alarm and batteries.
- Replace the batteries in your smoke detector twice a year, or as recommended by the manufacturer. A good way to remember is to change them when you adjust your clocks for Daylight Saving Time.
- Do a full replacement of your smoke detector every 10 years, as recommended by the National Fire Protection Association (NFPA). Over time, dust and other pollutants can build up inside the detector and reduce its effectiveness.
Importance of Smoke Detector Maintenance
Keeping your smoke detector clean and well-maintained is crucial for ensuring its functionality in case of an emergency. Not only does regular maintenance help prolong its lifespan, but it also increases the chances of early detection and prevention of a fire.
Here are some reasons why smoke detector maintenance is important:
- Early Detection: Smoke detectors are designed to sound an alarm at the first sign of smoke or fire. Regular maintenance, such as cleaning and replacing batteries, ensures that they will function properly when needed. This can save valuable time in case of a fire and help prevent extensive damage.
- Prevention of False Alarms: Neglecting smoke detector maintenance can lead to false alarms, which can be dangerous if ignored. Dust, dirt, or even insects can trigger the alarm unnecessarily, causing people to ignore it in case of a real emergency.
- Cost Savings: Replacing your entire smoke detector system can be costly, especially if it is not maintained regularly. By performing simple maintenance tasks, you can extend the life of your smoke detectors and save money in the long run.
- Peace of Mind: Knowing that your smoke detectors are functioning properly can bring peace of mind. This is especially important for families with young children or elderly members who may have difficulty escaping a fire.
- Compliance with Regulations: In some areas, regular maintenance of smoke detectors is required by law. By neglecting maintenance, homeowners could face fines or penalties.
Frequently Asked Questions
How often should I change the battery in my Kidde smoke detector?
Most Kidde smoke detectors require battery replacement every six months. However, some models may vary, so it’s always best to consult the user manual for specific guidelines.
Why is my smoke detector still chirping after I’ve replaced the battery?
A smoke detector may continue chirping due to loose connections, an improperly installed battery, or a need to reset the device. Double-check the battery placement and press the test button to ensure proper functionality.
Can I use rechargeable batteries in my Kidde smoke detector?
It’s generally recommended to use standard alkaline 9-volt batteries, as rechargeable options may not maintain consistent power levels or meet the manufacturer’s specifications.
What should I do if my Kidde smoke detector doesn’t respond to testing?
If the detector does not respond, verify that the battery is properly connected and check the device for signs of wear or internal damage. Consult the user manual or contact Kidde support if further assistance is needed.
Is it safe to disable the alarm temporarily while changing the battery?
Yes, it’s safe to deactivate the alarm while replacing the battery. Follow the instructions in the user manual to ensure a smooth and secure shutdown and restart process.
Conclusion
Learning how to change a battery in a Kidde smoke detector is an essential skill for maintaining home safety. By following the outlined steps, you ensure your smoke detector remains functional and ready to protect your household during emergencies.
Take charge of your family’s safety by keeping your smoke detectors in optimal condition. Regularly replacing the batteries is a simple yet effective way to prevent potential hazards and stay secure. Try changing your smoke detector battery today for peace of mind and a safer home!