

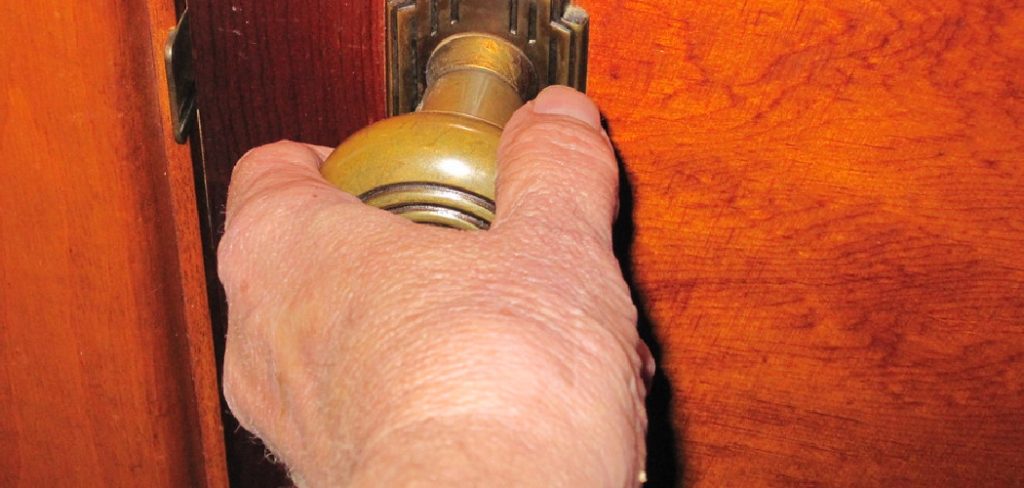
Replacing a door knob with a lock is a straightforward task that can improve both the functionality and security of your door. Whether you’re upgrading to a new style, fixing a broken knob, or enhancing safety, this guide will walk you through the process of how to change a door knob with lock. With just a few tools and a bit of time, you’ll be able to change your door knob easily and ensure a perfect fit.
Why Change a Door Knob?
There are several reasons why you might need or want to change a door knob. One common reason is to enhance security, especially if you’re moving into a new home or upgrading to a lock with better safety features. Over time, door knobs can also wear out or become difficult to operate, making replacement necessary for convenience and functionality. Additionally, changing a door knob can give your door a fresh, updated look that matches your style or home decor. Whether for practical or aesthetic reasons, replacing a door knob is a simple way to improve both the utility and appearance of your door.
Tools and Materials You’ll Need
To replace a door knob, you’ll need a few basic tools and materials, most of which you may already have on hand. Here’s what you’ll require:
- New door knob set – Choose one that suits your door’s thickness and style.
- Screwdriver – A Phillips or flathead screwdriver, depending on the screws used in your current door knob.
- Measuring tape – To ensure the new door knob fits properly.
- Drill (optional) – May be needed if adjustments are required for the door or latch plate.
- Replacement screws – If the current screws are worn or missing.
- Level tool – To ensure the alignment of the new door knob and latch.
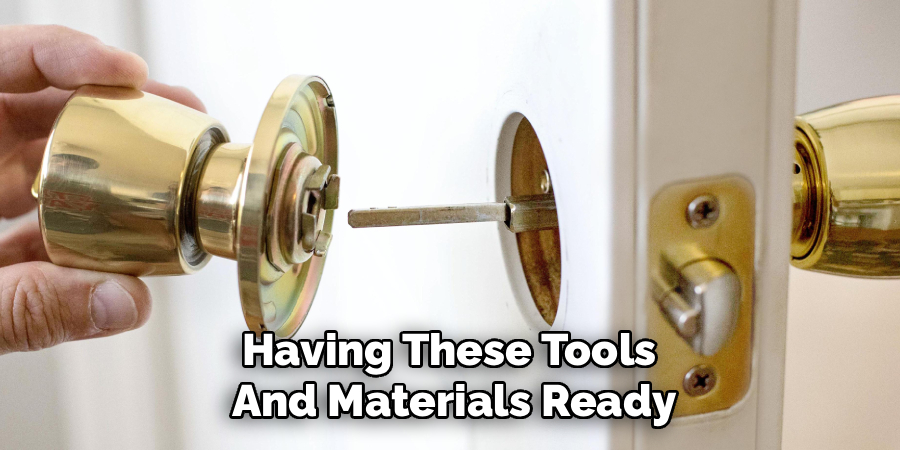
Having these tools and materials ready will streamline the process and help ensure a successful installation.
Safety Precautions
Before beginning the installation process, it is important to take certain safety precautions to prevent injury or damage. Here are some key safety tips to keep in mind:
- Disconnect Power if Necessary – If your door knob includes an electronic lock or keypad, ensure the power source is disconnected to avoid electrical hazards.
- Use Tools Properly – Always use tools as intended and handle sharp objects like screwdrivers or drills with care.
- Secure the Work Area – Keep the area clear of obstacles or tripping hazards, and ensure you have adequate lighting to work safely.
- Wear Protective Gear – Consider wearing safety gloves to protect your hands and safety glasses if you’re using a drill or other power tools.
- Check Stability – Ensure that any ladders or stools you use to access higher areas are stable and secure.
- Follow Manufacturer Instructions – Always refer to the manufacturer’s guidelines for the proper installation and safety recommendations specific to your door knob.
Taking these precautions will help ensure a smooth and secure installation process.
10 Methods How to Change a Door Knob with Lock
1. Gather Necessary Tools and Materials
Before beginning, collect all the tools and materials needed for the replacement. Essential items include a screwdriver (typically Phillips or flathead), a measuring tape, the new door knob with lock, and any included installation hardware. Optional tools may include a chisel and hammer if adjustments to the door or frame are necessary. Ensuring all tools are on hand before starting reduces interruptions and increases efficiency.
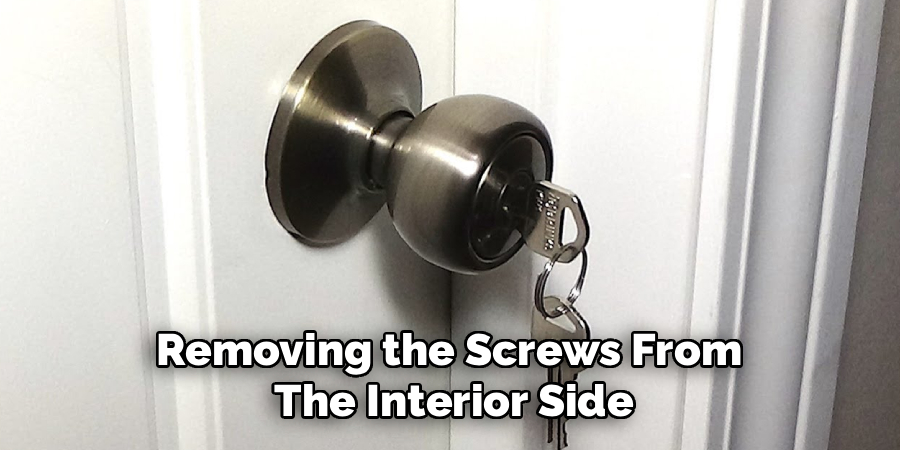
2. Remove the Existing Door Knob
Begin by removing the screws from the interior side of the existing knob using the appropriate screwdriver. Carefully pull both the interior and exterior knob halves off the door. If the knob has a key lock, remove the cylinder and any retaining screws. Keep the screws and components from the old knob in case you need them for reference or temporary reinstallation. Removing the old hardware completely is essential before installing the new unit.
3. Extract the Latch Mechanism
After removing the knob, slide out the latch mechanism from the edge of the door. This may require loosening additional screws that secure the latch plate. Take note of the orientation of the latch, as it must be installed correctly to allow smooth locking and unlocking. Carefully inspect the door edge to ensure it is not damaged, as any irregularities can affect the performance of the new knob.
4. Measure the Door and Verify Compatibility
Before installing the new knob, measure the door’s thickness and the backset—the distance from the edge of the door to the center of the borehole. Most standard door knobs are designed for doors between 1 3/8 and 1 3/4 inches thick, with backsets of 2 3/8 inches or 2 3/4 inches. Verifying these dimensions ensures that the new knob will fit properly without modifications, preventing installation issues and alignment problems.
5. Install the New Latch Mechanism
Insert the new latch mechanism into the door’s edge, ensuring the slanted side of the latch bolt faces the direction the door closes. Secure it with the provided screws, keeping them tight but not overly so to avoid stripping the screw holes. Proper installation of the latch is crucial, as it aligns the locking mechanism with the strike plate and allows the door to close smoothly.
6. Attach the Exterior Knob or Lever
Position the exterior knob or lever with the spindle extending through the latch mechanism. Align any pre-drilled screw holes with the corresponding holes in the door. This step sets the foundation for the rest of the installation, ensuring that the locking mechanism will function correctly and the knob will rotate smoothly. Pay close attention to the orientation of keyed locks to ensure the key operates in the correct direction.

7. Install the Interior Knob and Secure Screws
Place the interior knob or lever over the spindle on the opposite side of the door. Insert and tighten the screws that hold the interior and exterior halves together. It is essential to tighten screws evenly to prevent misalignment or wobbling. Do not overtighten, as this may damage the knob or strip the screws. Proper alignment ensures smooth rotation and consistent locking action.
8. Test the Locking Mechanism
Once both knobs are installed, test the lock function with the key and the thumb turn, if applicable. Verify that the latch retracts fully and that the door locks securely without binding. Make sure the knob turns smoothly and that the door closes flush with the frame. Testing at this stage allows you to make minor adjustments before finalizing the installation.
9. Align the Strike Plate on the Door Frame
Check the alignment of the door latch with the strike plate on the door frame. If the latch does not enter the strike plate easily, adjust the plate by loosening its screws and repositioning it slightly. Tighten the screws securely once alignment is achieved. Proper strike plate alignment ensures the door locks and closes correctly, prevents wear on the latch, and maintains security.
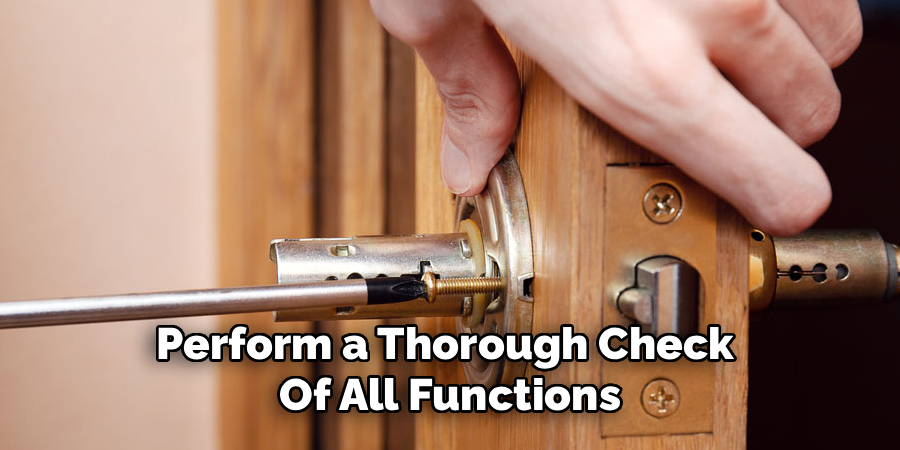
10. Perform a Final Function Check and Adjustments
After installation, perform a thorough check of all functions. Open and close the door multiple times, lock and unlock it with the key, and operate the thumb turn if included. Make any minor adjustments to screws, latch alignment, or strike plate positioning as needed. Confirm that the door locks securely, the knob rotates smoothly, and there is no rubbing or misalignment. Completing a final check ensures that the new door knob with lock provides reliable operation and optimal security.
Troubleshooting Common Issues
When installing a new door knob with a lock, you may encounter some common issues. Here are potential problems and solutions:
- Door Knob is Loose: If the knob wobbles or doesn’t feel secure, check the screws on the mounting plate. Tighten them evenly and ensure the knob is properly aligned.
- Latch Doesn’t Align with the Strike Plate: If the latch doesn’t fit into the strike plate, first check the door’s alignment. You may need to adjust the position of the strike plate or slightly file it to create more space.
- Key Doesn’t Turn Smoothly: A stiff or stuck key could indicate debris inside the lock cylinder. Use a non-oil-based lubricant, such as graphite powder, to clear the cylinder and improve motion.
- Thumb Turn is Difficult to Operate: If the thumb turn feels tight or sticks, check that the internal mechanisms are not misaligned. Loosen and realign the screws slightly to improve its operation.
- Door Doesn’t Close Properly: If the door rubs against the frame or won’t close fully, inspect the hinges for any loose screws or damage, and tighten or replace them as needed.
Addressing these issues promptly ensures that your newly installed door knob operates smoothly and provides lasting security.
Conclusion
Changing a door knob with a lock involves careful preparation, precise measurements, and step-by-step installation. By gathering the right tools, removing the old knob and latch, verifying door compatibility, installing the new latch and knobs, and aligning the strike plate, you can achieve a smooth, secure, and functional replacement. Testing the lock and performing final adjustments ensures optimal performance and security. Following these ten methods ensures that your new door knob with lock operates reliably, provides enhanced safety, and contributes to a well-maintained home or office environment.
About
Safety Fic is a distinguished figure in the world of Diy design, with a decade of expertise creating innovative and sustainable Diy solutions. His professional focus lies in merging traditional craftsmanship with modern manufacturing techniques, fostering designs that are both practical and environmentally conscious. As the author of diy, Safety Fic delves into the art and science of Safety Fic-making, inspiring artisans and industry professionals alike.
Education RMIT University
(Melbourne, Australia) Associate Degree in Design (Safety Fic) Focus on sustainable design, industry-driven projects, and practical craftsmanship. Gained hands-on experience with traditional and digital manufacturing tools, such as CAD and CNC software.
Nottingham Trent University
(United Kingdom) Bachelor’s in diyfastly.com and Product Design (Honors) Specialized in product design with a focus on blending creativity with production techniques. Participated in industry projects, working with companies like John Lewis and Vitsoe to gain real-world insights.
Publications and Impact
In diy, Safety Fic his insights on indoor design processes, materials, and strategies for efficient production. His writing bridges the gap between artisan knowledge and modern industry needs, making it a must-read for both budding designers and seasoned professionals.