

Do you know the importance of having a secure garage door lock? If your home or business is unsecured, it can be an easy target for intruders. It’s essential to ensure your garage door is locked correctly and adequately protected with a strong and reliable lock. But enduring this security shouldn’t be too complicated or intimidating – if you have the right tools and tips, keeping your personal space safe doesn’t take much effort.
If you’re overwhelmed by changing your garage door lock, fear not – with this guide, even a novice DIYer can tackle the job.
In this article, we will show you how to change a garage door lock fast and without any hassle. Keep reading to find out how!
What Will You Need?
Before you get started, make sure you have these tools on hand:
- A screwdriver
- A drill (depending on the type of lock)
- Pliers and a crescent wrench
- An adjustable wrench or socket wrench
- Garage door lock kit (depending on the type of lock your door has)
- Pencil
- Tape measure
- Level
Once you’ve gathered all your tools and supplies, you can move on to the next step.
10 Easy Steps on How to Change a Garage Door Lock
Step 1: Removing the Old Lock
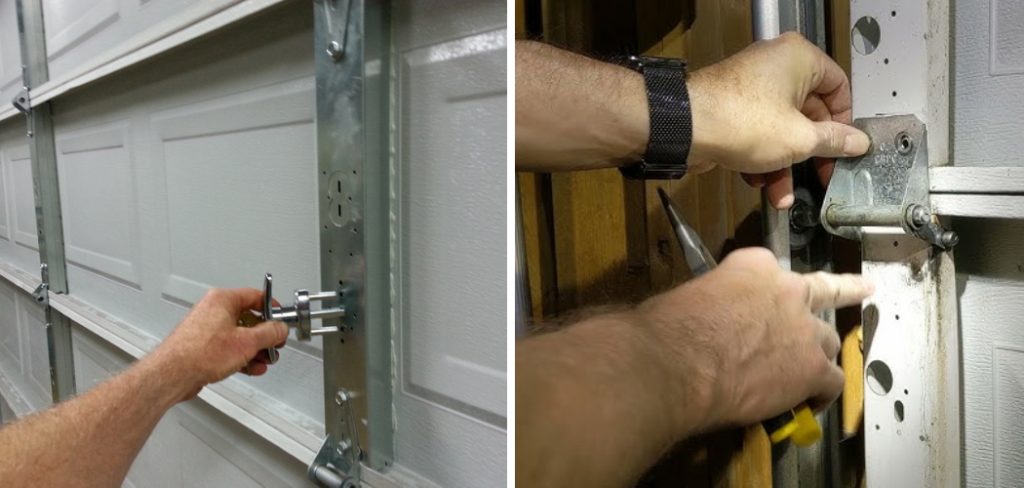
The first step in changing a garage door lock is, of course, removing the old one. Start by using your screwdriver to remove screws that secure the existing lock. If they are stuck, you may need to use pliers to remove the screws. Once all the screws have been removed, you can gently remove the old lock from the door.
Step 2: Measure and Mark the Position of the New Lock
Once you’ve removed the old lock, it’s time to measure and mark where your new lock will go. Use a tape measure to measure the distance between each hole in your new lock. Then, use a pencil to mark those measurements on the door.

Step 3: Drill Holes for New Lock
Once you’ve marked the measurements on your door, start drilling holes for the new lock. Use a drill bit that is slightly smaller than the size of the screws your new lock came with. This will ensure that the screws fit snugly into the holes you’ve drilled.
Step 4: Secure Lock in Place
Now that you’ve drilled the necessary holes for your new lock, it’s time to secure it. Take your new lock and align the holes on it with the holes you’ve just drilled in the door. Once they’re aligned, insert the screws with your new lock into the holes. Using an adjustable wrench or socket wrench, start to tighten the screws. Ensure not to over-tighten as it could damage the lock or the garage door. Continue this process until the lock is secure and doesn’t move when you apply some pressure to it.
Step 5: Install the Lock Bar
With your lock securely in place, it’s now time to install the lock bar. This metal rod extends from the lock to the sides of the garage door. It is what locks the door when you turn the key. Locate the holes on either side of the door where the lock bar will go. If your door doesn’t have these holes, you will need to drill them yourself using the same process as outlined in Step 3. Once the holes are ready, insert the lock bar through the lock and into these holes. Secure it in place using the provided screws.
Step 6: Test the Lock
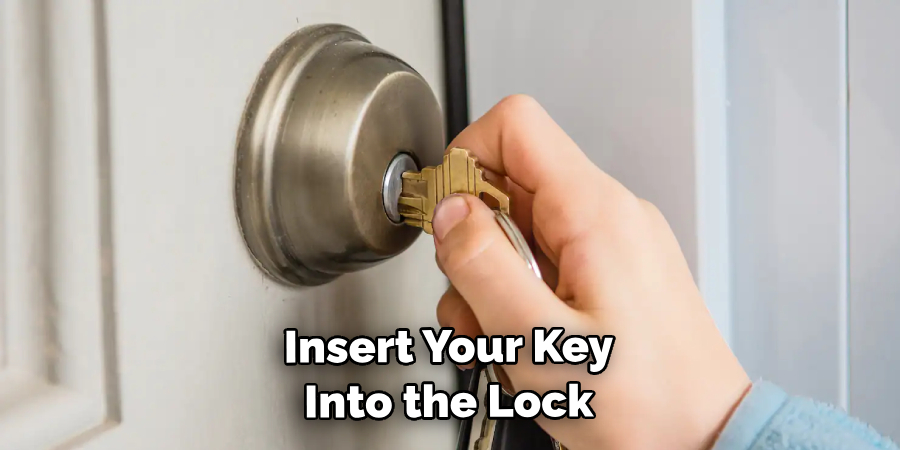
Once everything is installed, it’s time to test your new lock to ensure that it works properly. Insert your key into the lock and turn it both ways. The lock bar should move in and out easily. If it doesn’t, check to ensure everything is lined up correctly and all screws are tightened properly. If the lock still doesn’t work, refer to the instructions or contact the manufacturer for help.
Step 7: Check the Door Alignment
Post the lock installation, it’s also important to check the alignment of your garage door. Close the door completely and see if there are any gaps. The door should fit snugly against the floor and the frame, with no spaces inviting potential intruders. If you notice any misalignment, you should make some adjustments to the door itself or consider getting a professional to do it.
Step 8: Regular Maintenance
Lastly, remember that maintaining your new garage door lock is crucial for its longevity and optimal function. Regularly check for any signs of wear and tear. Ensure the screws are always tightened, and occasionally oil the lock mechanism to keep it working smoothly. This step will help you get the most out of your new lock and maintain the security of your garage.
Step 9: Review and Clean Up
After successfully installing your new garage door lock and checking its operation, it’s time to review your work area. Clean up any debris or tools left behind to avoid any potential accidents. Store your tools properly for future use. Lastly, dispose of your old lock responsibly, as it may contain metals that can be recycled. Remember, a tidy workspace is a safe workspace.
Step 10: Enjoy the Peace of Mind
Congratulations! You’ve successfully changed your garage door lock. By taking the time to do this, you’ve significantly improved the security of your home or business. Enjoy the peace of mind that comes from knowing your valuables are well-protected. Remember to lock your garage door every time you leave to ensure your property remains secure. Now, sit back, relax, and take pride in the work you’ve accomplished. You’ve earned it!
By following these simple steps, you can easily change your garage door lock in no time at all. If you ever run into any issues or have questions about the installation process, don’t hesitate to reach out to a professional locksmith for help.
5 Additional Tips and Tricks
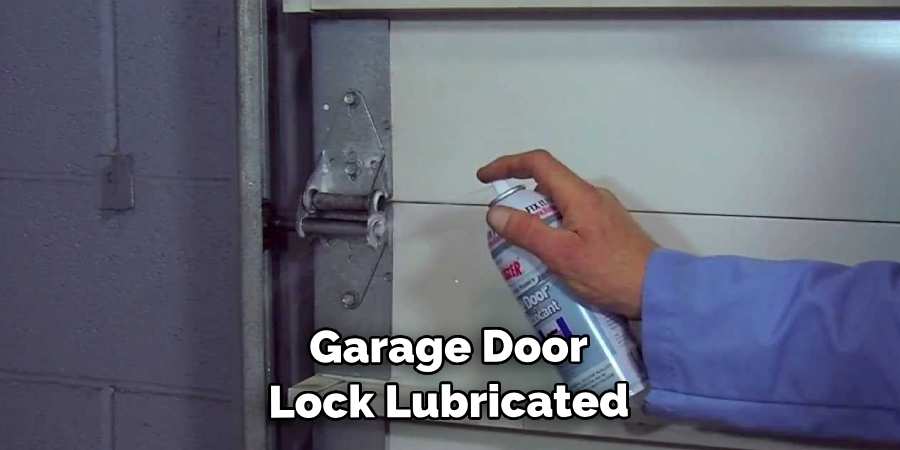
- Always make sure to keep your garage door lock lubricated and well maintained. This will ensure that it runs smoothly for a long time.
- When you are ready to install the new lock, ensure all the parts line up correctly. If they don’t, then it’s best to start over and double check the instructions before proceeding with installation.
- Make sure that all screws and bolts are firmly tightened during installation, as any loose connections could cause the lock to malfunction or break easily.
- Consider adding an extra layer of security by installing a deadbolt above the door handle for added protection from unwanted intruders.
- Be sure to test the new garage door lock multiple times after installation to ensure it works properly.
These are just a few tips and tricks to help you when replacing your garage door lock. By following these simple steps, you can ensure your new lock will be up and running quickly!
5 Things You Should Avoid
- Don’t purchase the cheapest lock possible, as it will likely be made with weaker materials and may not provide adequate security.
- Avoid drilling any extra holes in the door or frame as this can weaken the overall structure and lead to security issues down the road.
- Don’t try to open a garage door from outside of your home without first unlocking it from inside. This could cause the door to open abruptly, leading to injury or damage.
- Never copy a key already used on another lock, as this can make the entire system vulnerable to theft or break-ins.
- Remember to test your new lock multiple times after installation and ensure that all parts are securely fastened before use.
These tips will help ensure your new garage door lock is installed safely and securely, providing you with peace of mind for years to come.
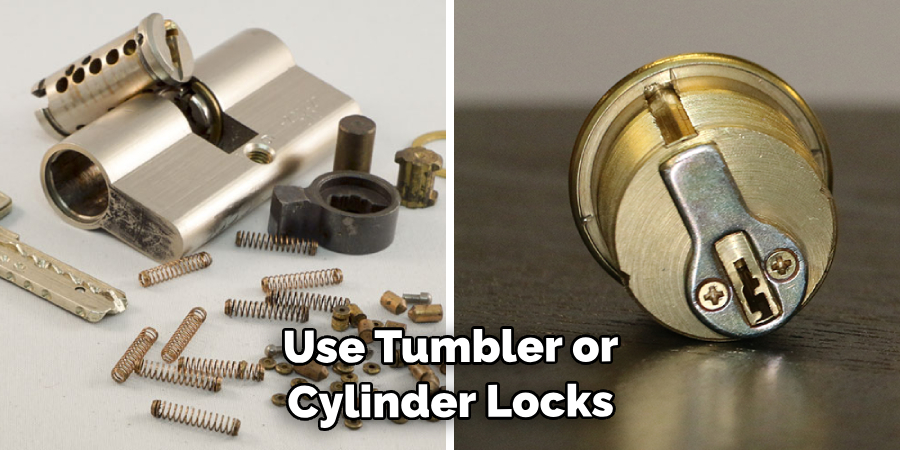
What Kind of Lock is on a Garage Door?
Most modern garage doors use tumbler or cylinder locks, depending on the door type. Tumbler locks have pins lined up to open the door, while cylinder locks require a key to be inserted and turned to unlock them. Both types are secure and provide an effective layer of security for your home. However, it’s important to make sure you choose a lock appropriate for your garage door type, as the wrong one may need to fit securely or function properly.
No matter what kind of lock you choose for your garage door, regularly testing it and keeping it lubricated will ensure its longevity and help keep intruders away. With the right locks in place, you can have peace of mind that your property is always securely protected.
Conclusion
All in all, how to change a garage door lock should not take more than a few hours of your day. With the right tools and knowledge, any homeowner can easily complete the job. Similarly, with proper guidance and preparation, you, too, can change the garage door lock without any complications. You should consider a few risks and safety precautions before commencing the project, so make sure to do your due diligence.
Changing a garage door lock is an important step in ensuring your home is properly secured and protected against unwanted intruders. Armed with the exemplary information we’ve provided today, you can confidently take on this DIY challenge.
So remember: have patience, grab some extra help if needed – and we promise you’ll be able to perform this task like a boss!
About
Safety Fic is a distinguished figure in the world of Diy design, with a decade of expertise creating innovative and sustainable Diy solutions. His professional focus lies in merging traditional craftsmanship with modern manufacturing techniques, fostering designs that are both practical and environmentally conscious. As the author of diy, Safety Fic delves into the art and science of Safety Fic-making, inspiring artisans and industry professionals alike.
Education RMIT University
(Melbourne, Australia) Associate Degree in Design (Safety Fic) Focus on sustainable design, industry-driven projects, and practical craftsmanship. Gained hands-on experience with traditional and digital manufacturing tools, such as CAD and CNC software.
Nottingham Trent University
(United Kingdom) Bachelor’s in diyfastly.com and Product Design (Honors) Specialized in product design with a focus on blending creativity with production techniques. Participated in industry projects, working with companies like John Lewis and Vitsoe to gain real-world insights.
Publications and Impact
In diy, Safety Fic his insights on indoor design processes, materials, and strategies for efficient production. His writing bridges the gap between artisan knowledge and modern industry needs, making it a must-read for both budding designers and seasoned professionals.