

If your car is experiencing issues like poor acceleration, a delayed throttle response, or the check engine light is on, a faulty accelerator pedal sensor (APS) could be the culprit. This critical component, also known as the throttle position sensor, translates the physical movement of your gas pedal into an electronic signal for the engine’s computer. When it fails, it can severely impact your vehicle’s drivability and engine performance.
Many drivers assume this is a complex repair best left to a professional, but learning how to change accelerator pedal sensor is a surprisingly manageable task for a confident DIYer. With basic tools and a bit of patience, you can perform this sensor replacement yourself, restoring your car’s responsiveness and saving a significant amount on labor costs. This guide will provide a clear, step-by-step process to help you complete the job safely and effectively.
Why Knowing How to Change the Sensor is a Valuable DIY Skill
A faulty accelerator pedal sensor can put your vehicle into “limp mode,” drastically reducing power and making it unsafe to drive. Knowing how to perform this sensor replacement yourself means you can avoid expensive towing and dealership repair bills. A dealer might charge hundreds for a job that often takes less than an hour and requires only basic hand tools. Mastering this skill empowers you to take control of your vehicle’s maintenance, ensuring you can address this common issue quickly, affordably, and on your own schedule.
8 Step-by-Step Guide: How to Change Accelerator Pedal Sensor
Step 1: Confirm the Diagnosis

Before you begin the replacement, it’s crucial to confirm that the accelerator pedal sensor is indeed the problem. Use a diagnostic tool (an OBD-II scanner) to read the trouble codes from your vehicle’s computer. Codes related to the throttle or accelerator pedal position sensor (like P2135 or P2138) strongly indicate a faulty sensor. Once confirmed, purchase the correct replacement part for your vehicle’s specific make, model, and year. Double-check the part number to ensure compatibility, as even similar-looking sensors can have different electrical connections and calibrations, leading to poor engine performance if the wrong one is installed.
Step 2: Disconnect the Battery
Safety is the top priority for any automotive repair. Before working on any electrical components, you must disconnect the vehicle’s battery. Use a wrench to loosen the nut on the negative battery terminal (usually marked with a “NEG” or “-” symbol) and slide the cable off the post. Secure the cable away from the terminal to prevent it from accidentally making contact. This step prevents electrical shorts that could damage the vehicle’s sensitive electronics or cause personal injury. Wait a few minutes after disconnecting to allow any residual power in the system to dissipate.
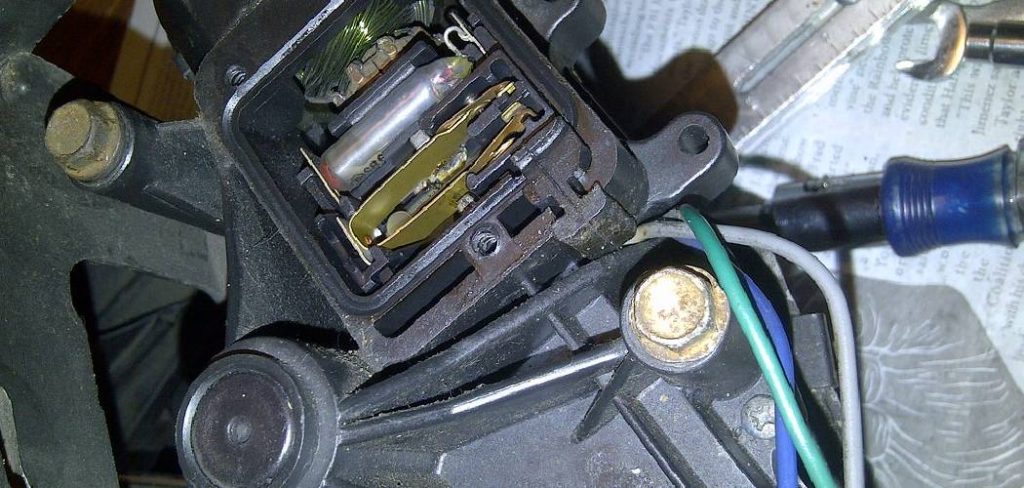
Step 3: Locate the Accelerator Pedal Assembly
The accelerator pedal sensor is typically integrated directly into the accelerator pedal assembly itself. You will find it in the driver’s side footwell, mounted to the firewall where the gas pedal is located. You may need to remove a lower dash panel or kick panel to gain clear access to the mounting bolts and electrical connector. Use a flashlight to get a good look at the assembly. You will see the pedal, the mounting bracket, and a wiring harness connected to the top portion of the unit. This is the electrical connection for the sensor.
Step 4: Remove the Accelerator Pedal Assembly
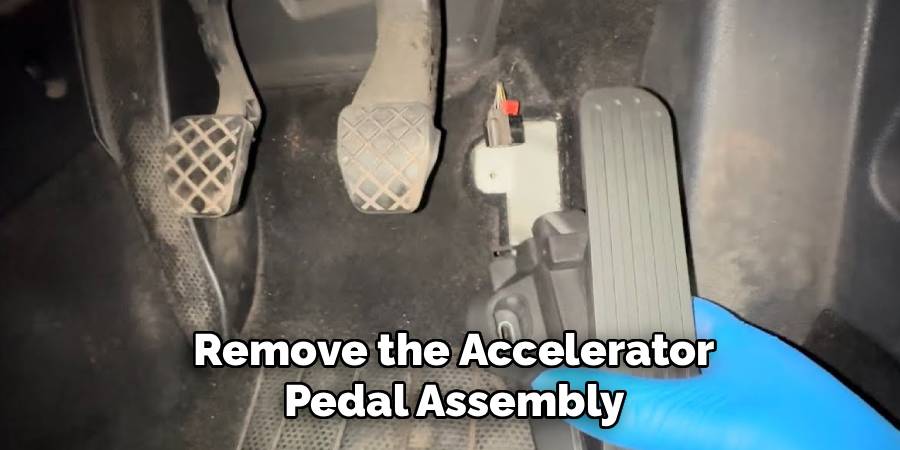
With the sensor located, you can now remove the entire pedal assembly. It is usually held in place by two or three bolts or nuts. Using the appropriate-sized socket and ratchet, carefully remove these mounting fasteners. The bolts may be in an awkward position, so a socket extension might be helpful. Once the bolts are removed, the pedal assembly should come loose from the firewall. Do not pull it away forcefully, as it is still connected by the wiring harness. Gently maneuver the assembly so you have clear access to the electrical connector.
Step 5: Disconnect the Electrical Connector
Carefully disconnect the electrical connector from the top of the accelerator pedal assembly. Most automotive connectors have a locking tab that must be depressed or lifted before you can pull the plug apart. Use a small flathead screwdriver to gently release this tab if you cannot do it with your fingers. Never pull on the wires themselves, as this can damage the harness and create more complex electrical problems. Inspect the connector and the pins for any signs of corrosion or damage. This is a critical step in learning how to change accelerator pedal sensor correctly.
Step 6: Install the New Accelerator Pedal
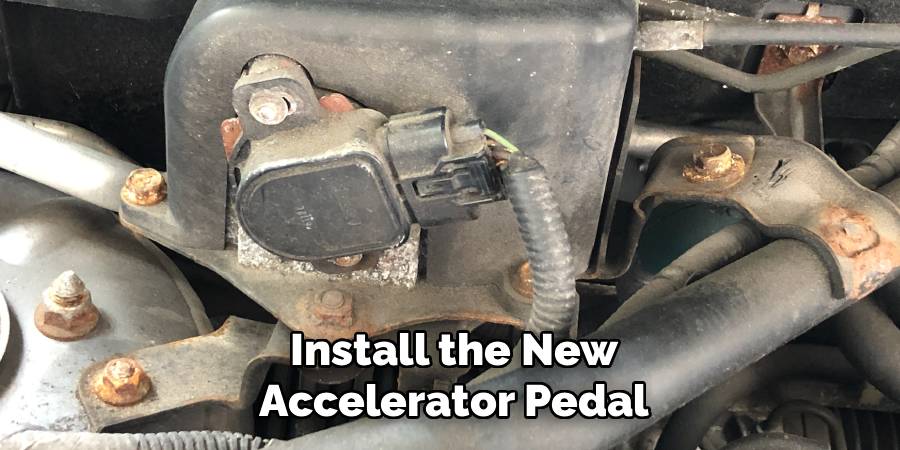
Now it’s time to install the new part. Position the new accelerator pedal assembly against the firewall, aligning the mounting holes. Hand-tighten the bolts or nuts to hold it in place. Then, using your wrench or socket, tighten them securely. Do not overtighten, as this could damage the plastic housing of the new assembly. Reconnect the electrical connector, making sure it clicks firmly into place to ensure a solid connection. A poor connection is a common cause of persistent throttle response issues even after a sensor replacement.
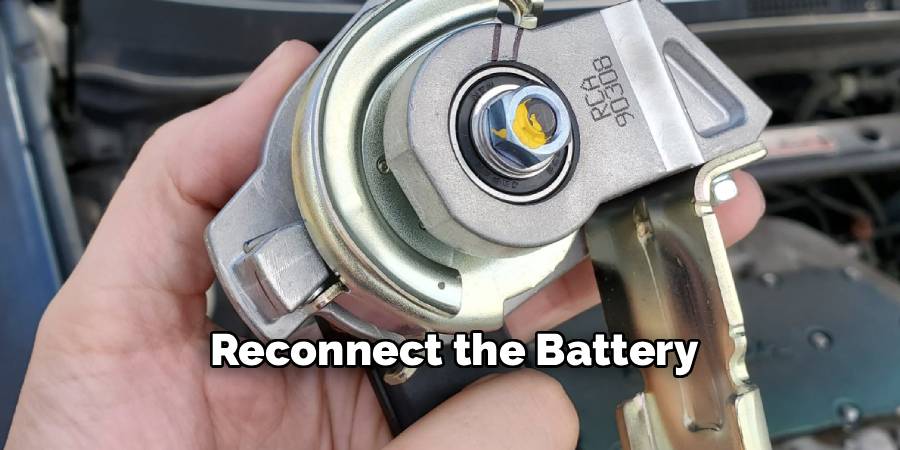
Step 7: Reconnect the Battery
With the new sensor installed and connected, it’s time to restore power to the vehicle. Reconnect the negative battery cable to the battery terminal and tighten the nut securely. Once the battery is reconnected, get back in the vehicle and use your OBD-II scanner to clear any stored trouble codes from the engine’s computer. This step is important because it resets the system and allows it to recognize the new sensor properly. After clearing the codes, you can proceed to the final calibration step. Learning how to change accelerator pedal sensor includes understanding these crucial electronic resets.
Step 8: Perform the Relearn or Calibration Procedure
Many modern vehicles require a “relearn” or calibration procedure after the accelerator pedal sensor has been replaced. This allows the engine’s computer to learn the new sensor’s voltage range from closed to wide-open throttle. The specific procedure varies by manufacturer, but it often involves a simple sequence of turning the ignition on (without starting the engine), waiting a few seconds, then slowly depressing and releasing the accelerator pedal a few times. Consult your vehicle’s service manual or search online for the specific relearn procedure for your make and model to ensure optimal engine performance.
Common Symptoms of Failure
Common symptoms of a failing throttle position sensor include erratic engine idling, poor acceleration, and unexpected stalling. Drivers might notice hesitation or surging when pressing the accelerator, as the engine struggles to interpret incorrect or inconsistent signals from the sensor. Additionally, a malfunctioning sensor can trigger the check engine light, often accompanied by diagnostic trouble codes related to throttle position. Over time, these symptoms can lead to reduced fuel efficiency and potentially strain other engine components. Identifying these signs early can prevent further damage and ensure smoother vehicle operation.
Frequently Asked Questions (FAQs)
What Are the Symptoms of a Bad Accelerator Pedal Sensor?
Common symptoms include a noticeable lag or hesitation when you press the gas pedal, inconsistent acceleration, the vehicle entering “limp mode” with reduced power, and an illuminated check engine light. You might also experience poor fuel economy or a rough idle, as the engine’s computer is receiving incorrect information about the throttle position.
Can I Drive with a Faulty Accelerator Pedal Sensor?
While you might be able to drive the vehicle, it is not recommended and can be unsafe. A failing sensor can cause unpredictable acceleration or a sudden loss of power, which is dangerous in traffic. If the vehicle enters “limp mode,” your speed will be severely restricted. It is best to address the issue as soon as possible to ensure your safety and prevent potential damage to other engine components.
How Much Does It Cost to Replace an Accelerator Pedal Sensor?
If you take your vehicle to a dealership or mechanic, the cost can range from $200 to $500 or more, depending on the make and model of your car. The part itself typically costs between $50 and $150. By performing the replacement yourself, you can save hundreds of dollars in labor charges, making this a very cost-effective DIY repair.
Do I Need Special Tools for This Job?
No, this is one of the more accessible sensor replacement jobs. You will typically only need:
- A basic socket and ratchet set
- A wrench for the battery terminal
- An OBD-II scanner to read and clear codes
- A flashlight
No specialized automotive tools are usually required, making it a great project for a beginner or intermediate DIYer.
What Is the Difference Between an Accelerator Pedal Sensor and a Throttle Position Sensor?
In modern cars with electronic “drive-by-wire” systems, the accelerator pedal sensor (APS) is located on the gas pedal assembly and tells the computer how far the pedal is pressed. The computer then sends a signal to a motor on the throttle body, which opens the throttle plate. A throttle position sensor (TPS) is located on the throttle body itself to confirm the throttle plate’s actual position. They work together, but they are two distinct parts.
Conclusion
Successfully learning how to change accelerator pedal sensor is an excellent way to build your DIY automotive skills while saving a considerable amount of money. What may seem like a complex electronic issue is often a straightforward mechanical replacement that can be completed in under an hour with basic tools. This repair directly addresses common and frustrating drivability problems, restoring your vehicle’s throttle response and engine performance.
Don’t let a faulty sensor force you into an expensive and inconvenient trip to the repair shop. With the clear steps provided in this guide, you have the knowledge and confidence to tackle this job yourself. Take pride in maintaining your own vehicle and enjoy the satisfaction of a job well done.