Changing the battery in your SimpliSafe glass break sensor is a simple yet essential task to ensure that your home security system remains operational and effective.
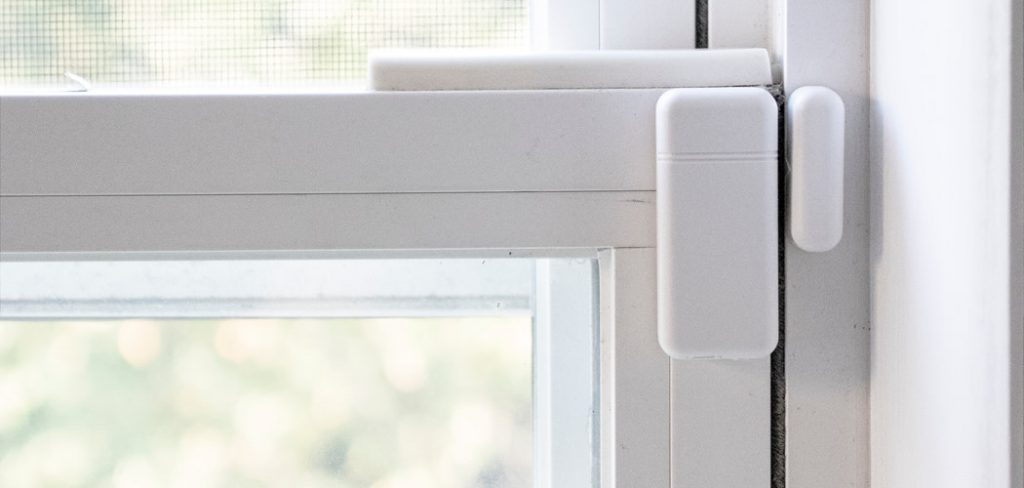
The glass break sensor plays a crucial role in detecting potential threats and triggering alarms in the event of a break-in, making it essential to maintain its functionality by replacing the battery when needed.
In this guide, we’ll walk you through the step-by-step process of how to change battery in simplisafe glass break sensor, providing clear instructions and tips to help you complete the task with ease. By following these instructions, you can ensure that your glass break sensor continues to provide reliable protection for your home and loved ones.
Importance of Maintaining Home Security Devices
Maintaining home security devices, such as glass break sensors, is paramount for ensuring the safety and security of your home and loved ones. Proper maintenance and timely replacements of components like batteries are essential for these devices to function accurately and reliably.
Neglecting device maintenance can lead to false alarms or, worse, a failure to alert you to real threats. Regular checks and updates not only enhance the effectiveness of your security system but also extend its lifespan, offering peace of mind and protection against potential intrusions.
In essence, keeping your home security devices in optimal condition is a small but crucial step in safeguarding your home against unforeseen dangers.
Identifying Signs of Low Battery
Knowing when to replace the battery in your SimpliSafe glass break sensor is key to maintaining its effectiveness. Common signs that the battery is running low include:
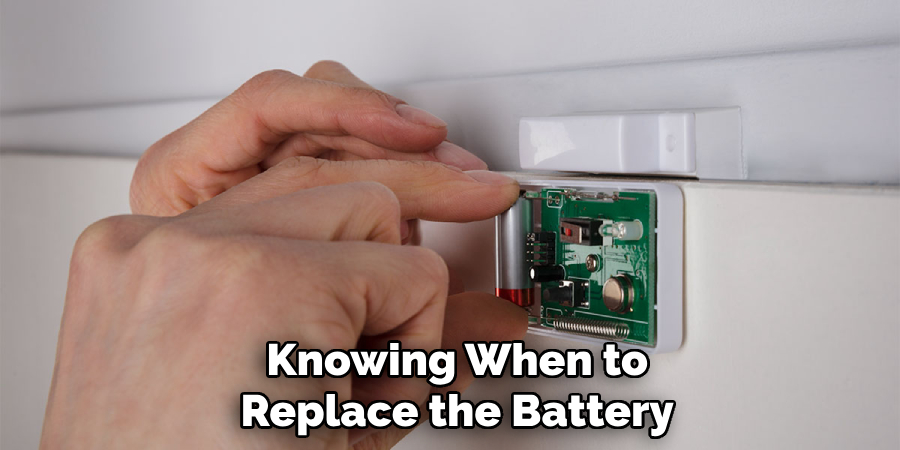
- Frequent False Alarms: If your sensor starts triggering alarms without any apparent cause, it might be a sign that the battery is failing to provide the stable power required for accurate detection.
- Low Battery Indicator: SimpliSafe systems are designed with a feature that alerts you when the battery levels are low. Pay attention to any notifications on your main control panel or companion app that indicate a low battery status.
- Reduced Sensitivity: A noticeable decrease in the sensor’s sensitivity to sound or a complete lack of alarms when testing the device can indicate that the battery needs replacement.
- No LED Activity: Most glass break sensors have an LED light that flashes or stays lit during certain conditions (like when detecting a sound). If this LED stops showing activity, it could suggest that the battery is no longer powering the sensor properly.
Replacing the battery upon noticing these signs is crucial for ensuring that your home remains protected. Delaying battery replacement can leave your property vulnerable to undetected intrusions.
Understanding Battery Life Expectancy
The life expectancy of the battery in your SimpliSafe glass break sensor primarily depends on two factors: battery type and usage patterns. Typically, these sensors are powered by lithium batteries, known for their long shelf life and consistent power output.
Under normal conditions, a lithium battery in a SimpliSafe glass break sensor can last anywhere from three to five years. However, this duration can be affected by factors such as the frequency of alarms and the environmental conditions where the sensor is located.
High traffic areas that cause the sensor to trigger more frequently or extreme temperatures can shorten the battery’s effective lifespan.
It’s also worth noting that as the battery gets closer to the end of its life, its output may fluctuate, potentially impacting the sensor’s performance. To mitigate any security risks and maintain optimal functionality, it is advisable to track the installation date of your battery and perform regular checks, especially as it approaches the three-year mark.
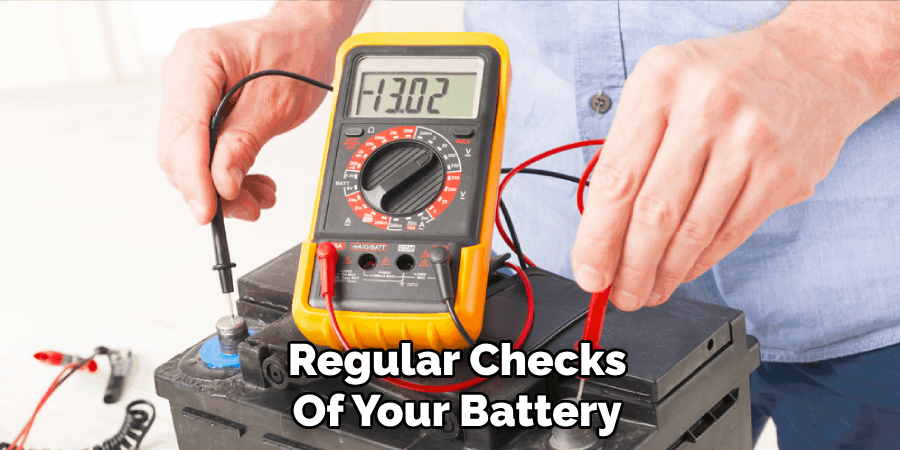
Understanding these factors can help you anticipate when replacements might be necessary and contribute to keeping your home security system functioning flawlessly.
Importance of Regular Checks
Performing regular checks on your SimpliSafe glass break sensor is a vital preventive measure that can significantly contribute to the continuous efficacy and reliability of your home security system.
These checks help identify not only the need for battery replacement but also any other potential issues that might compromise the sensor’s functionality, such as environmental damage or technical faults.
Regular inspections allow homeowners to stay ahead of maintenance needs, ensuring that each component of their security system is in optimal working condition.
By incorporating these checks into a routine maintenance schedule, you can swiftly address minor issues before they escalate into major concerns, thus avoiding any gaps in your home’s security coverage. Additionally, regular checks foster a deeper familiarity with your security system’s features and behaviors, which can improve your ability to quickly respond to and resolve any anomalies that may arise.
In essence, the habit of regularly inspecting your SimpliSafe glass break sensor is an easy yet effective strategy for enhancing your home’s security posture and maintaining peace of mind.
Preparing for Battery Replacement
Preparing for the battery replacement in your SimpliSafe glass break sensor is a straightforward process that ensures the continued protection of your home without interruption.
Prior to beginning the replacement, gather the necessary tools and parts, typically requiring only the replacement lithium battery specified by the manufacturer and a small screwdriver to access the battery compartment.
First, ensure that your security system is informed of the maintenance to avoid triggering an unintended alarm. This might involve using the SimpliSafe control panel or app to disable the sensor temporarily.
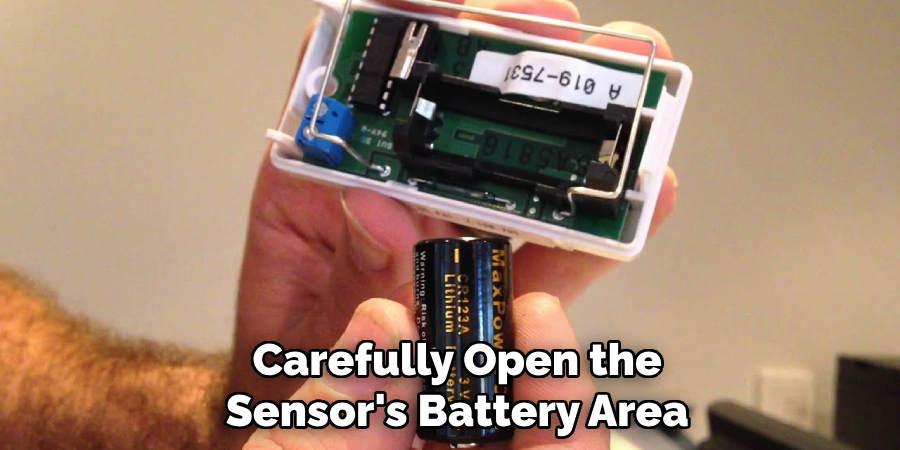
Next, carefully open the sensor’s battery compartment, paying close attention to the orientation of the existing battery to insert the new one correctly. After replacing the battery, it’s vital to test the sensor’s functionality to confirm that it operates as expected.
This can usually be done through a test mode feature available on your SimpliSafe control panel or app. Documenting the replacement date and setting a reminder for the next anticipated replacement can also be helpful, ensuring that future battery changes are carried out in a timely manner.
By following these steps, homeowners can efficiently manage their SimpliSafe glass break sensor’s maintenance, contributing to a robust and responsive security system.
Gathering Necessary Tools and Replacement Batteries
To seamlessly conduct the battery replacement in your SimpliSafe glass break sensor, ensuring you have all necessary tools and the correct replacement battery before starting is critical.
The primary tool needed is a small screwdriver, typically a Phillips-head, to open the sensor’s battery compartment. It’s important to verify the size and type of screwdriver required by checking the sensor’s manual or inspecting the screws on the device.
For the replacement battery, SimpliSafe glass break sensors generally use lithium batteries, but the exact size (such as CR123A, AA, or AAA) will depend on your specific model. Always refer to the sensor’s manual or the existing battery’s label to identify the correct battery type.
Purchasing high-quality lithium batteries from reputable brands is advisable, as these are more likely to provide the longevity and reliability needed for your home security system.
Additionally, having a small cloth can be beneficial for cleaning the battery compartment, ensuring that the new battery has a clean and stable connection.
Before initiating the replacement process, gathering these items will prepare you for a smooth and efficient maintenance operation, minimizing downtime and ensuring your home remains protectively monitored without delay.
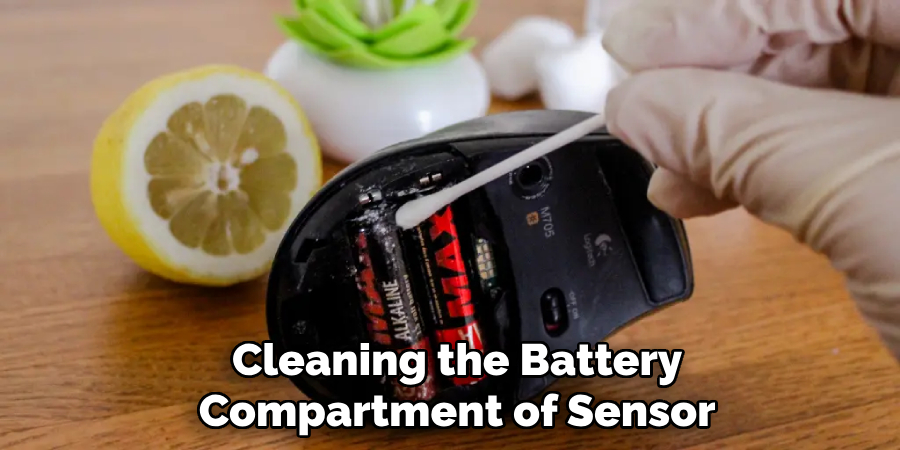
10 Methods How to Change Battery in Simplisafe Glass Break Sensor
1.Identifying the Battery Type:
Before replacing the battery in your SimpliSafe glass break sensor, it’s essential to identify the type of battery required. Most SimpliSafe sensors use lithium batteries, which are long-lasting and reliable. Check the sensor’s user manual or the manufacturer’s website to determine the specific battery type needed for your glass break sensor.
2.Gathering the Necessary Tools:
Once you’ve identified the battery type, gather all the tools and materials you’ll need for the battery replacement. This typically includes a replacement battery of the correct type, a small flathead screwdriver or a coin, and a clean cloth or tissue to handle the battery and sensor.
3.Powering Off the Sensor:
Before replacing the battery, it’s essential to power off the glass break sensor to prevent any accidental alarms or disruptions. If your SimpliSafe system is armed, disarm it using the control panel or mobile app. Alternatively, you can power off the sensor by removing it from its mounting bracket or opening its battery compartment.
4.Removing the Sensor Cover:
To access the battery compartment, you’ll need to remove the cover from the glass break sensor. Depending on the model of your sensor, this may involve pressing a release button, sliding the cover off, or using a small flathead screwdriver to pry it open. Be gentle to avoid damaging the sensor or cover.
5.Locating the Battery Compartment:
Once the sensor cover is removed, locate the battery compartment inside the sensor. The battery compartment is typically located near the bottom of the sensor and is easily identifiable by its size and shape. Some SimpliSafe sensors have a separate battery compartment cover that needs to be removed to access the battery.
6.Removing the Old Battery:
Carefully remove the old battery from the compartment, taking note of its orientation and placement. Use a small flathead screwdriver or your fingers to gently pry the battery out of its slot. Be cautious not to damage the battery or the compartment during this process.
7.Inserting the New Battery:
Once the old battery is removed, insert the new battery into the compartment, ensuring that it is inserted correctly according to the polarity markings. Press the battery firmly into place until it is fully seated in the compartment. Double-check the orientation of the battery to avoid any potential issues.
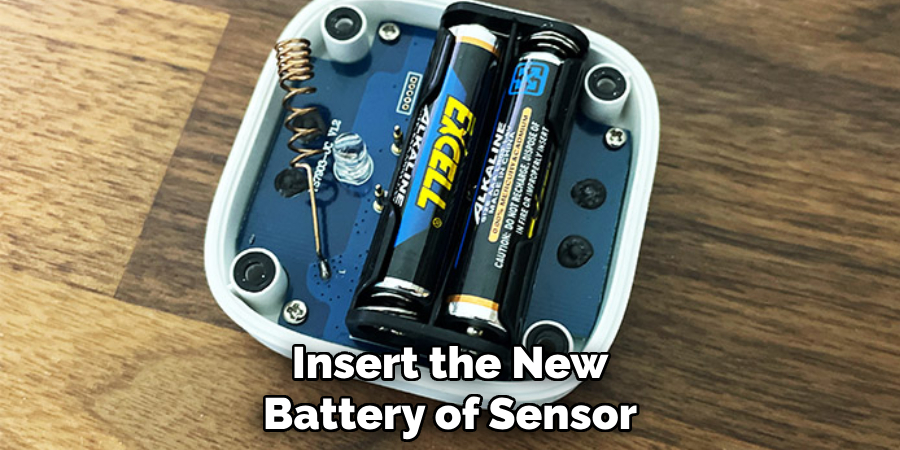
8.Replacing the Battery Compartment Cover:
After inserting the new battery, replace the battery compartment cover or sensor cover, ensuring that it is securely fastened in place. If the cover has a locking mechanism, make sure it snaps or slides into position properly. This helps protect the battery and sensor from dust, debris, and moisture.
9.Powering On the Sensor:
Once the new battery is installed and the sensor cover is securely in place, power on the glass break sensor by reattaching it to its mounting bracket or closing the battery compartment cover. If necessary, rearm your SimpliSafe system using the control panel or mobile app. Verify that the sensor is operational by testing it according to the manufacturer’s instructions.
10.Testing the Sensor:
After replacing the battery, it’s essential to test the glass break sensor to ensure that it is functioning correctly. Activate the test mode on the sensor (following manufacturer instructions) and simulate the sound of breaking glass to trigger the sensor. Verify that the sensor sends a signal to the SimpliSafe base station and triggers the alarm system as expected.
Disarming SimpliSafe System
Disarming your SimpliSafe security system is an essential skill to ensure seamless daily operation without triggering false alarms. Whether arriving home or needing to disable the system for maintenance, like replacing your glass break sensor’s battery, the process is designed to be straightforward and user-friendly.
To disarm the system, you can use the SimpliSafe keypad, the key fob, or the SimpliSafe app, depending on which method is most convenient for you.
- Using the Keypad: Upon approaching the keypad, you will enter your unique PIN code. This code was established during the initial setup of your security system. Entering the correct PIN will immediately disarm the system, indicated by a visual and/or auditory confirmation signal from the keypad.
- Using the Key Fob: If you have a SimpliSafe key fob, disarming your system can be as simple as pressing the disarm button as you approach your home. The key fob works within a certain range, allowing for quick and easy system management.
- Using the SimpliSafe App: For those who prefer digital control, the SimpliSafe app offers a convenient way to disarm the system remotely. This method is particularly useful if you need to disarm the system for someone else or if you are disarming it from a distance. Simply open the app on your smartphone, select the ‘Off’ mode, and the system will disarm.
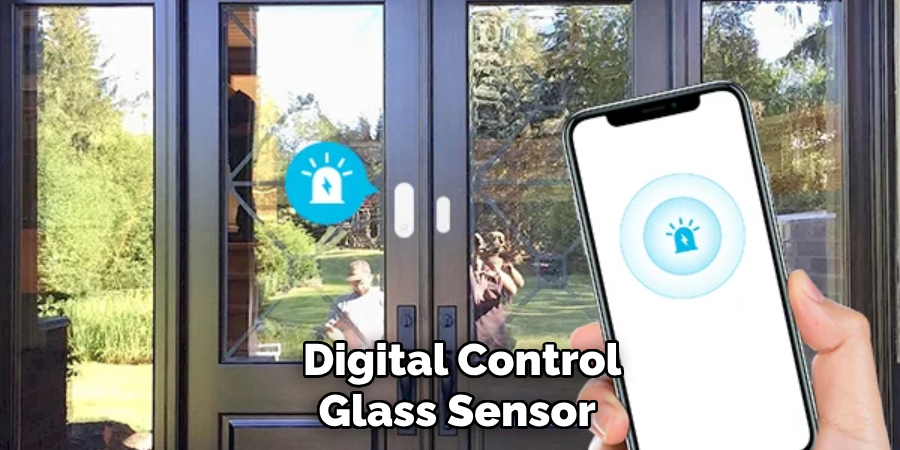
It’s important to familiarize yourself with these methods to efficiently manage your home security system. In addition, always ensure that all household members know how to disarm the system to prevent unnecessary stress or false alarms. Regularly testing these functions is also recommended to guarantee they are in perfect working order when you need them.
Disposing of Old Battery Safely
Once the old battery has been successfully removed from your SimpliSafe glass break sensor, it’s crucial to dispose of it correctly to prevent harm to the environment and comply with local regulations.
Lithium batteries, like those used in SimpliSafe sensors, should not be thrown in regular household trash due to their chemical composition, which can be hazardous.
Environmental Considerations
Lithium batteries can release toxic substances into the environment if not disposed of properly. These chemicals can contaminate soil and water, posing risks to wildlife and human health. Consequently, proper disposal is essential for environmental protection.
How to Dispose of Lithium Batteries
- Recycling Centers: Many communities offer recycling programs specifically for batteries. Local recycling centers are equipped to handle lithium batteries, ensuring they are processed in a way that neutralizes their harmful components.
- Retail Drop-Off: Some electronics retailers provide battery recycling services. Stores that sell batteries often have designated bins for recycling used batteries, accepting them at no charge.
- Special Collection Events: Keep an eye out for hazardous waste collection events in your area. These events are organized periodically by municipal or environmental organizations to collect batteries and other hazardous waste that shouldn’t go into the landfill.
- Follow Local Guidelines: Always check your local waste management guidelines for disposing of lithium batteries. Regulations may vary by location, and following these ensures compliance with local laws.

Safety Tips for Handling Used Batteries
- Avoid Heat and Flames: Lithium batteries can catch fire if exposed to high temperatures or direct flames. Store them in a cool, dry place until you can dispose of them properly.
- Tape the Terminals: Placing a piece of tape over the battery’s terminals can prevent shorts that could lead to overheating or fires.
- Do Not Puncture: Never attempt to puncture or break open a lithium battery, as this can release toxic substances.
Properly disposing of the old battery not only safeguards the environment but also respects local laws and recycling practices. By taking these steps, you contribute to a safer and cleaner planet while ensuring your home security system continues to function optimally.
Conclusion
In conclusion, knowing how to change the battery in your SimpliSafe glass break sensor is essential for maintaining the integrity of your home security system. By following the simple steps outlined in this guide, homeowners can ensure uninterrupted protection against potential intrusions.
Regularly assessing battery status and promptly replacing batteries when needed is key to ensuring the continued functionality of your glass break sensor. With the proper tools and knowledge, changing the battery becomes a quick and straightforward task that contributes to the overall security and peace of mind of your household.
Thanks for reading, and we hope this has given you some inspiration on how to change battery in simplisafe glass break sensor!
About
Safety Fic is a distinguished figure in the world of Diy design, with a decade of expertise creating innovative and sustainable Diy solutions. His professional focus lies in merging traditional craftsmanship with modern manufacturing techniques, fostering designs that are both practical and environmentally conscious. As the author of diy, Safety Fic delves into the art and science of Safety Fic-making, inspiring artisans and industry professionals alike.
Education RMIT University
(Melbourne, Australia) Associate Degree in Design (Safety Fic) Focus on sustainable design, industry-driven projects, and practical craftsmanship. Gained hands-on experience with traditional and digital manufacturing tools, such as CAD and CNC software.
Nottingham Trent University
(United Kingdom) Bachelor’s in diyfastly.com and Product Design (Honors) Specialized in product design with a focus on blending creativity with production techniques. Participated in industry projects, working with companies like John Lewis and Vitsoe to gain real-world insights.
Publications and Impact
In diy, Safety Fic his insights on indoor design processes, materials, and strategies for efficient production. His writing bridges the gap between artisan knowledge and modern industry needs, making it a must-read for both budding designers and seasoned professionals.
