

Changing the code on your Chamberlain keypad is a straightforward process that enhances the security of your garage door system. Whether you’ve recently moved into a new home, want to update your access code, or simply need to replace an outdated code, this guide will walk you through how to change chamberlain keypad code quickly and efficiently.

Common Reasons for Changing the Keypad Code
There are several reasons why you might need to change your Chamberlain keypad code. One common reason is moving into a new home; updating the code ensures that previous owners or other individuals no longer have access. Another reason is enhancing security, as periodically changing the code can prevent unauthorized access.
Lost or compromised codes are also a frequent concern—if you suspect someone has obtained your code without permission, changing it immediately is essential. Additionally, updating the keypad code can be necessary when providing temporary access to friends, family, or service providers, ensuring that access is properly managed over time.
Tools and Preparations
Before changing the Chamberlain keypad code, it’s important to gather the necessary tools and ensure you’re prepared for the process. Thankfully, this task typically requires minimal equipment. First, you’ll need to have access to your Chamberlain garage door opener unit, as the programming button located on the unit will be used during the process.
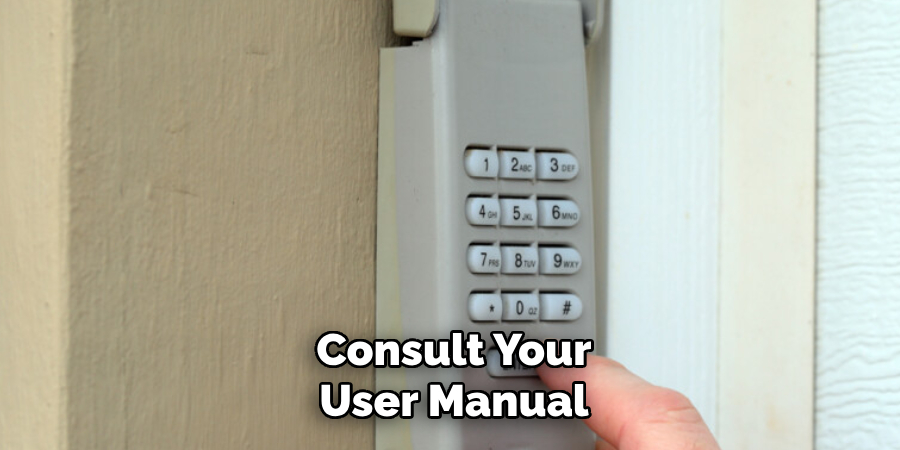
Make sure your ladder is readily available if the opener is installed in a high or hard-to-reach location. Additionally, consult your user manual for model-specific instructions, which can be helpful for ensuring a smooth process. Lastly, have your new desired code ready ahead of time to avoid delays during programming.
10 Methods How to Change Chamberlain Keypad Code
1. Check the User Manual for Model-Specific Instructions
Before proceeding with any of the methods below, the first and most important step is to consult the user manual of your Chamberlain keypad. Each model may have slightly different instructions for changing the PIN code, and the manual provides the most accurate and detailed guidance.
In most cases, you will find the specific steps for your model, including how to access the programming mode and how to input the new code. The manual will also explain whether your system uses a temporary or permanent code and if there are any additional features that need to be considered during the code change process.
2. Press the “Learn” Button on the Garage Door Opener
Many Chamberlain models use a process involving the “Learn” button on the garage door opener unit itself. To change the code, begin by pressing the “Learn” button on the opener. This button is usually located on the back or side of the unit, near the antenna. Once you press the “Learn” button, the indicator light on the opener will illuminate.
This signals that the opener is in programming mode and ready to accept a new code. After this, go to the keypad, enter your new desired code, and press the “Enter” button to save it. Once completed, the opener will recognize the new code for future use.
3. Enter the Existing Code and Hold the “Enter” Button
For some Chamberlain keypads, you may need to enter your current code first before initiating the process of changing it. Start by entering your existing PIN code into the keypad. After entering the code, hold down the “Enter” button for several seconds until the keypad lights flash or beep.
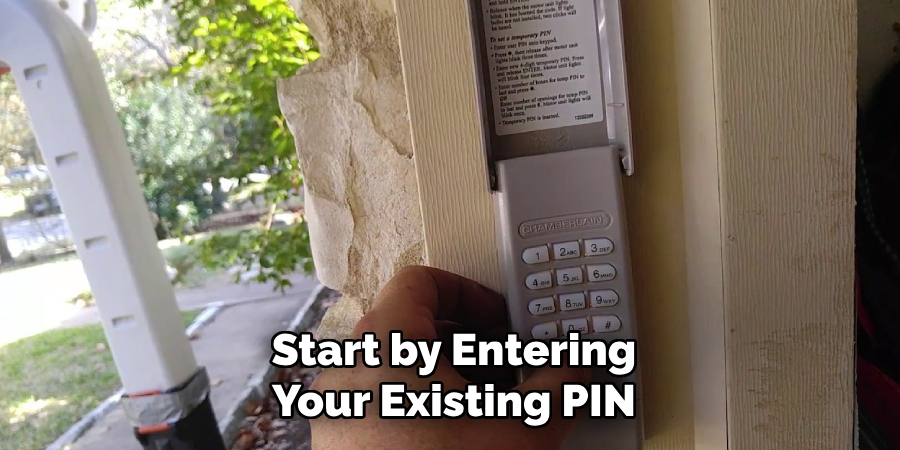
This indicates that the keypad is ready to accept a new code. Next, enter your new code and press the “Enter” button again to confirm the change. Be sure to choose a code that’s unique and memorable.
4. Press the “Program” Button on the Keypad
Some Chamberlain models require you to press a “Program” button on the keypad to initiate the code change process. To change the code, press and hold the “Program” button on the keypad until the indicator light starts blinking or you hear a beep.
Once the light is blinking, release the button. Enter the new PIN code that you want to set for the keypad and press the “Enter” button to confirm. The blinking light should stop once the code has been successfully saved.
5. Enter the New Code and Press the “Enter” Button
In many cases, after you activate the programming mode (either through the “Learn” button or the “Program” button), the next step is straightforward: simply enter the new code on the keypad and press the “Enter” button to save it.
Some keypads might require you to confirm the code by re-entering it, so be sure to follow the prompts displayed on the keypad or indicated in the manual. Once the code is confirmed, the system will store the new PIN, and you’ll be able to use it immediately for garage door access.
6. Reset the Keypad to Factory Settings
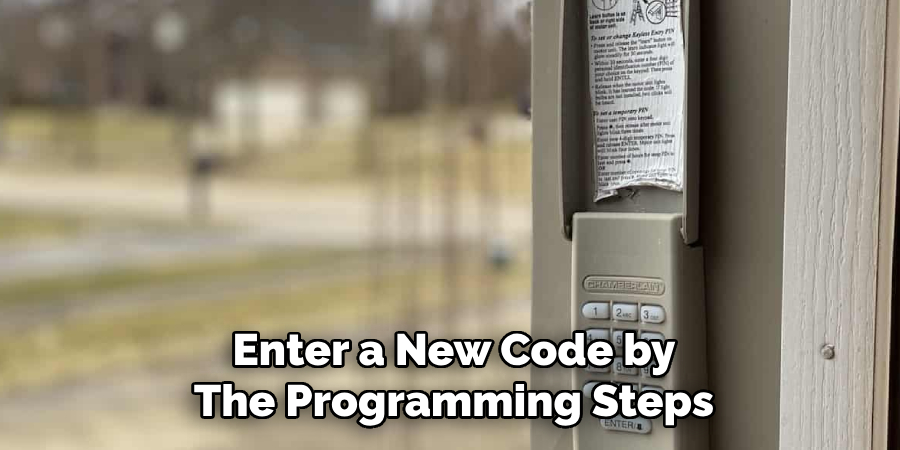
If you’ve forgotten your current code or are having difficulty changing it, you might need to reset the keypad to its factory settings. Resetting the keypad erases all saved codes and allows you to start fresh with a new code. To reset the keypad, look for a small “Reset” or “Program” button on the device itself.
Press and hold this button for about 10–15 seconds until the keypad light flashes rapidly or you hear a confirmation beep. Once reset, you can enter a new code by following the programming steps outlined earlier. This method is especially useful if you’ve lost access to the old code and need a clean slate.
7. Use the MyQ App (If Applicable)
Chamberlain’s MyQ technology allows you to control and monitor your garage door opener remotely through your smartphone. If your system is compatible with MyQ, you can change the keypad code using the app.
Open the MyQ app on your smartphone, navigate to the settings menu, and look for the option to manage the keypad. From there, you can follow the instructions to change the code remotely. This method provides the convenience of not needing to manually interact with the keypad or opener itself.
8. Program Multiple Keypads (If Applicable)
For homes with multiple Chamberlain keypads or garage door openers, it may be necessary to program each keypad individually. If you want to set the same code for multiple keypads, follow the same procedure for each one, ensuring that each device is in programming mode and accepting the new code.
Some systems allow you to set up multiple keypads to operate with the same PIN code, while others may require unique codes for each device. Refer to your manual to determine if this option is available.
9. Check the Keypad’s Battery
A weak or dead battery in the keypad can sometimes cause issues when trying to change the code. If the keypad isn’t responding to programming inputs or the new code doesn’t seem to save, check the battery and replace it if necessary.
Most Chamberlain keypads are powered by a 9-volt battery, and ensuring the battery is fresh will help ensure that programming the keypad code goes smoothly. After replacing the battery, repeat the programming steps as needed to set your new code.
10. Consult Customer Support
If you’ve followed all of the steps and are still unable to change your Chamberlain keypad code, it may be time to contact Chamberlain customer support. Their representatives can help guide you through troubleshooting steps specific to your model or assist with more advanced issues.
They can also provide you with the appropriate manual or resources for resolving problems with keypad programming. Sometimes, issues with the keypad may be related to hardware malfunctions or other technical problems that require professional assistance.
Common Mistakes to Avoid
When changing the code on your Chamberlain keypad, there are several common mistakes that can lead to frustration or errors in the process. Avoiding these pitfalls can save time and ensure your new code is set up successfully:
- Not Clearing Programming Mode Properly
Failing to complete programming mode or exiting it too soon can result in your new code not being saved. Always wait for the confirmation signal, such as a blinking light or beep, before assuming the process is complete.
- Using Weak or Repeated Codes
Choosing simple codes like “1234” or repeating numbers such as “0000” makes it easier for others to guess your code. Opt for a unique, secure code that is still easy for you to remember.
- Skipping the Battery Check
A weak or dying battery can interrupt the programming process. Always confirm the battery is fresh before attempting to change the keypad code, especially if the keypad is unresponsive.
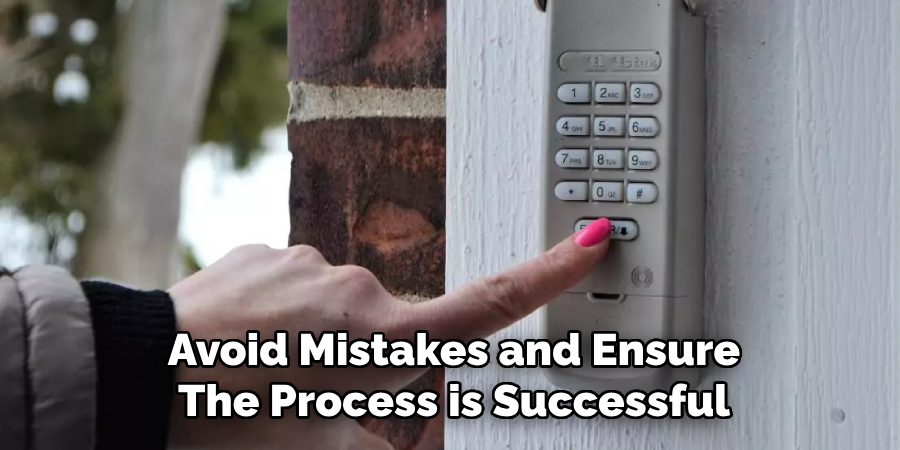
- Rushing Through Steps
Programming errors often occur when users enter codes too quickly or skip steps. Take your time and follow the instructions carefully to avoid mistakes and ensure the process is successful.
Conclusion
Changing the code on your Chamberlain keypad is an essential task for maintaining the security and functionality of your garage door system.
Whether you are updating the code for security purposes, after losing a code, or simply because you want to personalize it, the process is relatively simple and can be completed with a few straightforward steps. Thanks for reading, and we hope this has given you some inspiration on how to change chamberlain keypad code!
About
Safety Fic is a distinguished figure in the world of Diy design, with a decade of expertise creating innovative and sustainable Diy solutions. His professional focus lies in merging traditional craftsmanship with modern manufacturing techniques, fostering designs that are both practical and environmentally conscious. As the author of diy, Safety Fic delves into the art and science of Safety Fic-making, inspiring artisans and industry professionals alike.
Education RMIT University
(Melbourne, Australia) Associate Degree in Design (Safety Fic) Focus on sustainable design, industry-driven projects, and practical craftsmanship. Gained hands-on experience with traditional and digital manufacturing tools, such as CAD and CNC software.
Nottingham Trent University
(United Kingdom) Bachelor’s in diyfastly.com and Product Design (Honors) Specialized in product design with a focus on blending creativity with production techniques. Participated in industry projects, working with companies like John Lewis and Vitsoe to gain real-world insights.
Publications and Impact
In diy, Safety Fic his insights on indoor design processes, materials, and strategies for efficient production. His writing bridges the gap between artisan knowledge and modern industry needs, making it a must-read for both budding designers and seasoned professionals.