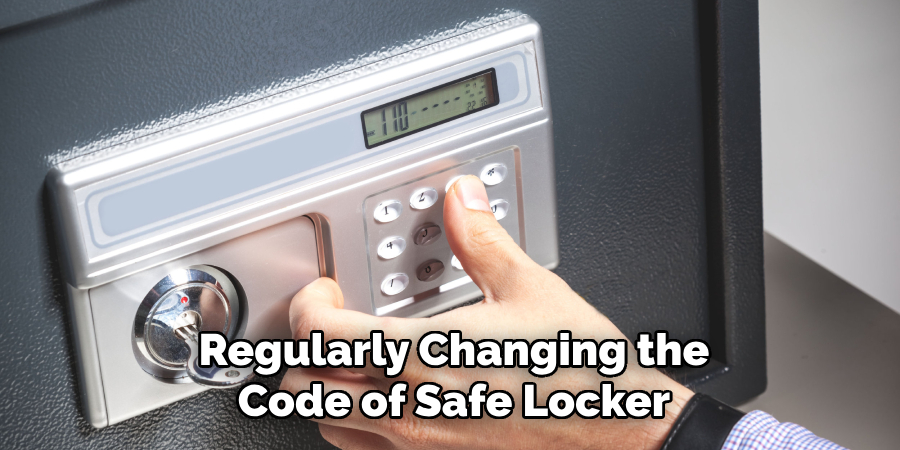
Regularly changing the code on a digital safe is crucial for maintaining optimal security. Over time, codes can become vulnerable for various reasons such as sharing the code with multiple individuals or unauthorized observations.
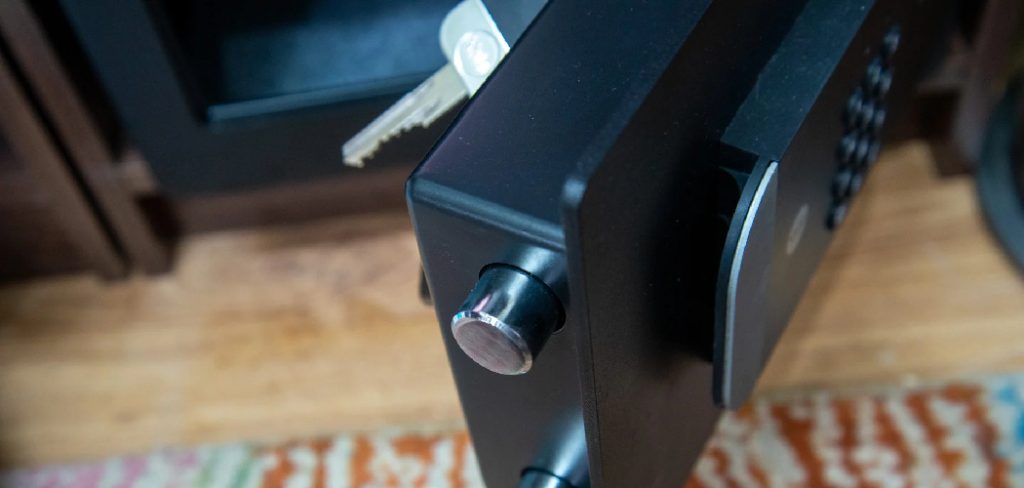
Updating the code periodically can significantly reduce the risk of unauthorized access, ensuring that your valuables remain protected. Digital safes come in various types, including wall, floor, and portable safes, each equipped with a digital keypad for easy and secure access.
Common features of these safes include numeric keypads, emergency backup keys, and battery-operated locking mechanisms. This article aims to provide a comprehensive, step-by-step guide on how to change code on safe digital keypad.
This guide aims to make the process straightforward and accessible, ensuring that you can confidently enhance the security of your safe.
Understanding Your Digital Safe
Types of Digital Safes
Various models and brands of digital safes are available on the market, each designed to cater to specific needs and preferences.
Popular types include wall safes, which can be installed within walls for discreet security; floor safes, which offer robust protection and are often anchored to the floor; and portable safes, which are compact and easy to transport.
Brands like SentrySafe, Honeywell, and Stack-On provide a range of options with varying levels of security and features. Regardless of the model, common features of digital keypads include backlit displays for ease of use in low light conditions, a reset button for code changes, and often a numeric keypad for code entry.
Some models also offer biometric options and additional security features like tamper alerts and time delay options.
Components of a Digital Keypad Safe
A digital keypad safe typically includes a few essential components: the keypad, battery compartment, and locking mechanism. The keypad is the interface where you enter your security code, usually consisting of a series of numbered buttons.
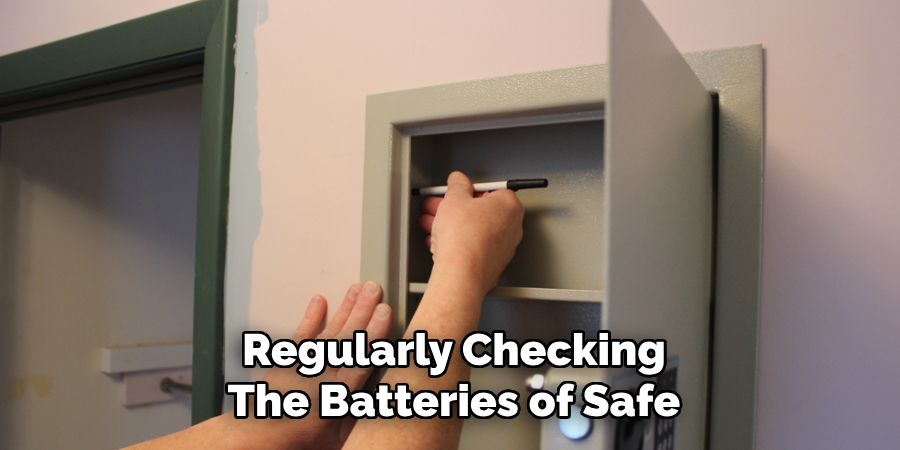
The battery compartment, easily accessible from the front or inside the safe door, houses the batteries that power the electronic components of the safe. Regularly checking and replacing the batteries ensures that the safe remains functional.
The locking mechanism is the critical component that secures the safe; it can be either motorized or solenoid-operated, depending on the model. Understanding your safe’s specific model and consulting the user manual is crucial for proper usage and maintenance, as different models may have unique features or steps for changing the code.
Preparation Before Changing the Code
Gathering Necessary Information
Before you begin the process of changing the code on your digital keypad safe, it is essential to gather all necessary information. Start by locating the user manual for your specific safe model.
This manual will provide you with model-specific instructions and any necessary steps unique to your safe. Understanding the current code is also crucial, as you will need it to enter the programming mode.
Additionally, familiarize yourself with the backup key procedure in case of any issues with the keypad. Having this information at hand will streamline the code-changing process and prevent any unnecessary complications.
Ensuring Power Supply
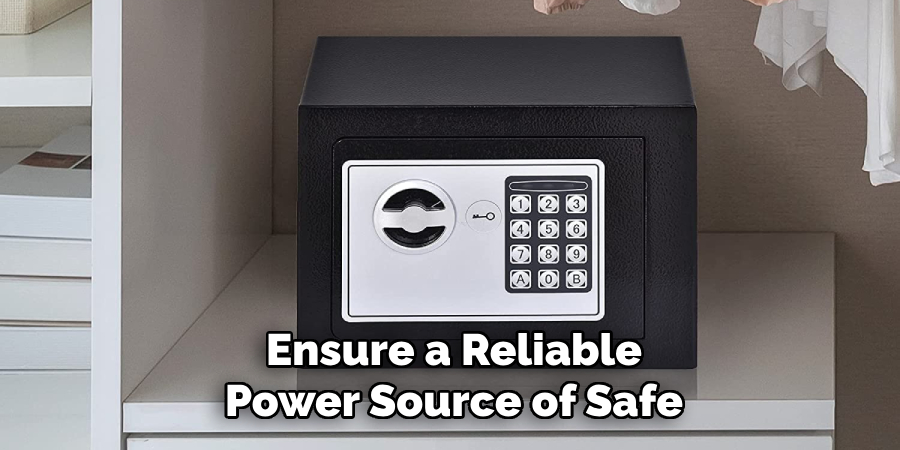
Next, ensure that your safe’s power supply is adequate by checking the batteries in the battery compartment. Low or dead batteries can hinder the functionality of the keypad, making it difficult or impossible to change the code.
Replace the batteries with new ones to ensure a reliable power source. To do this, open the battery compartment, which is typically located either on the front of the safe or inside the safe door.
Remove the old batteries and insert fresh ones, following the polarity markings. Regularly checking and replacing batteries can prevent power-related issues and ensure your safe operates smoothly.
How to Change Code on Safe Digital Keypad: Step-by-Step Guide
Entering the Current Code
To change the code on your digital safe, enter the current code to access the programming mode. Locate the numeric keypad and enter your existing security code. Double-check each entry to ensure accuracy, as an incorrect code will prevent access to programming mode.
-If your code is not recognized, ensure you press the buttons firmly and correctly. Occasionally, keypad wear or dirt can cause misentries, so clean the keypad if needed and try again.
If the code still isn’t accepted, refer to the user manual, as it may provide solutions such as using a master reset code or employing the backup key to open the safe. Successfully entering the current code should be indicated by an audible beep or a visual indicator such as a green light, signaling that you have access to the next step.
Accessing the Programming Mode
Once the current code is accepted, you must enter the programming mode to set the new code. This typically involves pressing a specific sequence of buttons or holding down a particular key.
For many models, you might need to hold down the ‘#’ key or the ‘*’ key until you hear a beep or see a flashing light. Some safes may require pressing and holding a reset button inside the battery compartment.
Refer to your user manual for the exact sequence required for your safe. The safe usually confirms that you have entered programming mode with a visual cue, such as a flashing display or an audio signal, like a series of beeps. Ensure you listen or look for these indicators to avoid any missteps in the process.
Setting the New Code
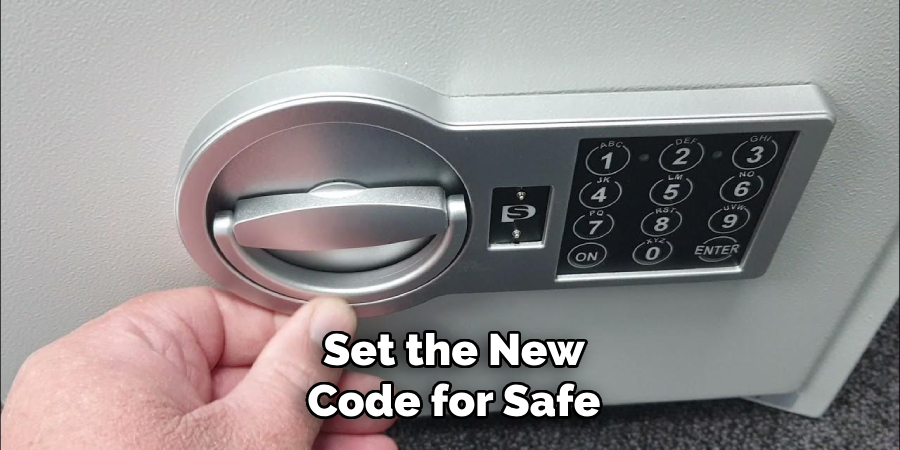
You can now set your new code with the safe in programming mode. Enter a new code of your choosing using the numeric keypad. It’s crucial to select a code that is both strong and memorable.
Avoid using obvious choices like “1234” or birthdates. Instead, consider a combination that is random yet easy for you to recall. After entering the new code, you will generally need to confirm it by pressing a specific key, such as ‘#’ or ‘*,’ or following another confirmation step as detailed in your user manual.
Double-check that the code is entered correctly, as one mistake can result in being locked out. The safe will typically confirm the change with a beep or a light, indicating that the new code has been successfully set. Test the new code by locking and unlocking the safe multiple times to ensure it functions correctly.
Testing the New Code
After setting your new code, testing it to ensure it works correctly is imperative. Begin by closing the safe door and attempting to lock it using the new code. Listen for an audible click or look for a visual indicator, like a green light, that confirms the locking mechanism has engaged.
Next, unlock the safe by entering the new code on the keypad. Carefully check each button press to ensure you’re inputting the correct sequence. If the safe unlocks successfully, the new code has been properly set.
Repeat this process multiple times—locking and then unlocking the safe with the new code—to verify its reliability. Consistent successful operations confirm that the new code is functional and that the keypad is responsive.
Additionally, write down the new code and store it in a secure place separate from the safe as a backup. Regularly testing the code in the weeks following the change can help identify potential issues early, enhancing your security.
Locking and Unlocking the Safe
To lock your safe using the new code, close the door and enter the new code on the numeric keypad. Upon successful entry, the safe should audibly click or display a visual confirmation like a flashing light.
To unlock, simply input the new code again, ensuring each key press is carefully verified. Hearing a beep or another confirmation sound will indicate the correct code entry and unlock the safe.
Testing the new code multiple times by locking and unlocking ensures the system functions correctly and helps familiarize you with the process.
Troubleshooting Issues
If you encounter issues, such as the code not being accepted or the keypad becoming unresponsive, several steps can help resolve them. Firstly, ensure the batteries are fresh and correctly installed.
Dirt or wear on the keypad can also impede functionality; gently cleaning the keypad with a soft cloth may help. Refer to your user manual for a master reset code, if available, or instructions on how to employ the backup key.
If problems persist, consult customer support for further assistance. They can guide you through more advanced troubleshooting steps or arrange a professional service if needed.
Additional Tips and Best Practices
Regularly changing the code on your safe is highly recommended to maintain optimal security. Set reminders to update the code periodically, such as every three to six months, to enhance protection against unauthorized access.
Keep the new code confidential and avoid sharing it with others unless absolutely necessary. Even then, ensure that the trusted individuals know the importance of keeping the code private.
Writing down the new code is advisable, but it should be stored in a secure location separate from the safe—an encrypted digital note or a sealed envelope kept in a locked drawer can be good options.
This ensures you have a backup while minimizing the risk of the code being easily found by potential intruders. Following these best practices significantly bolsters your safe’s security, providing peace of mind.
Conclusion
Changing the code on your digital keypad safe is a crucial step in maintaining the security of your valuable items. This article has detailed how to change code on safe digital keypad, providing clear instructions and tips for a seamless process.
We began by explaining the importance of entering the current code and accessing the programming mode, followed by setting a new, strong code that is easy to remember yet difficult for others to guess.
Testing the new code multiple times ensures the changes are effective and reliable. We also offered troubleshooting advice for any issues that might arise and best practices like regularly changing your code and securely storing it.
By following these steps and tips, you can significantly enhance the security of your safe, ensuring peace of mind. Regular maintenance and code updates are essential to prevent unauthorized access and safeguard your valuable possessions.
About
Safety Fic is a distinguished figure in the world of Diy design, with a decade of expertise creating innovative and sustainable Diy solutions. His professional focus lies in merging traditional craftsmanship with modern manufacturing techniques, fostering designs that are both practical and environmentally conscious. As the author of diy, Safety Fic delves into the art and science of Safety Fic-making, inspiring artisans and industry professionals alike.
Education RMIT University
(Melbourne, Australia) Associate Degree in Design (Safety Fic) Focus on sustainable design, industry-driven projects, and practical craftsmanship. Gained hands-on experience with traditional and digital manufacturing tools, such as CAD and CNC software.
Nottingham Trent University
(United Kingdom) Bachelor’s in diyfastly.com and Product Design (Honors) Specialized in product design with a focus on blending creativity with production techniques. Participated in industry projects, working with companies like John Lewis and Vitsoe to gain real-world insights.
Publications and Impact
In diy, Safety Fic his insights on indoor design processes, materials, and strategies for efficient production. His writing bridges the gap between artisan knowledge and modern industry needs, making it a must-read for both budding designers and seasoned professionals.
