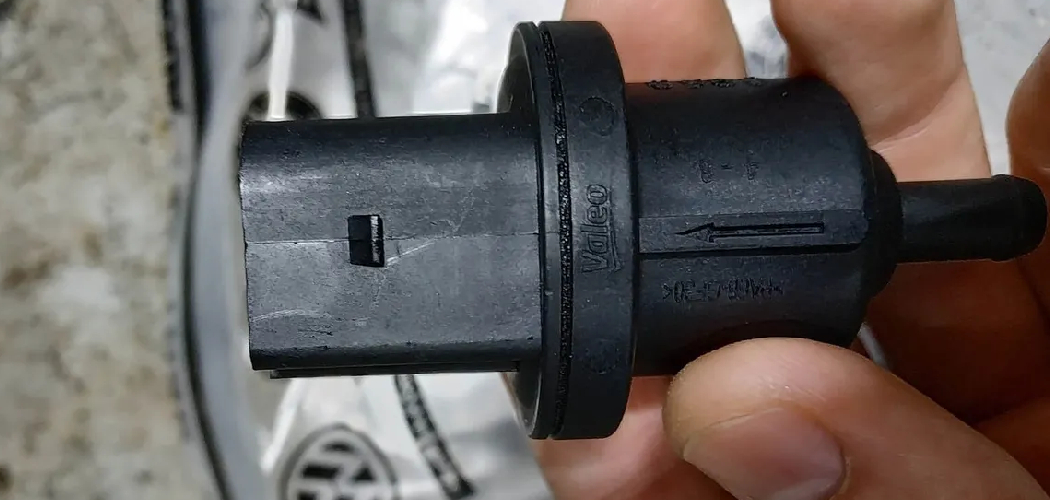
Are you experiencing issues with your car’s engine temperature? It could be due to a faulty coolant temperature sensor.
Changing a coolant temperature sensor is an essential maintenance task to ensure your vehicle’s engine operates efficiently. The coolant temperature sensor monitors the temperature of the engine’s coolant and sends this information to the engine control unit (ECU), helping regulate performance and preventing potential overheating issues. A faulty sensor can lead to poor fuel economy, inaccurate temperature readings, and even engine damage. Replacing it is a relatively straightforward process with the right tools and guidance.
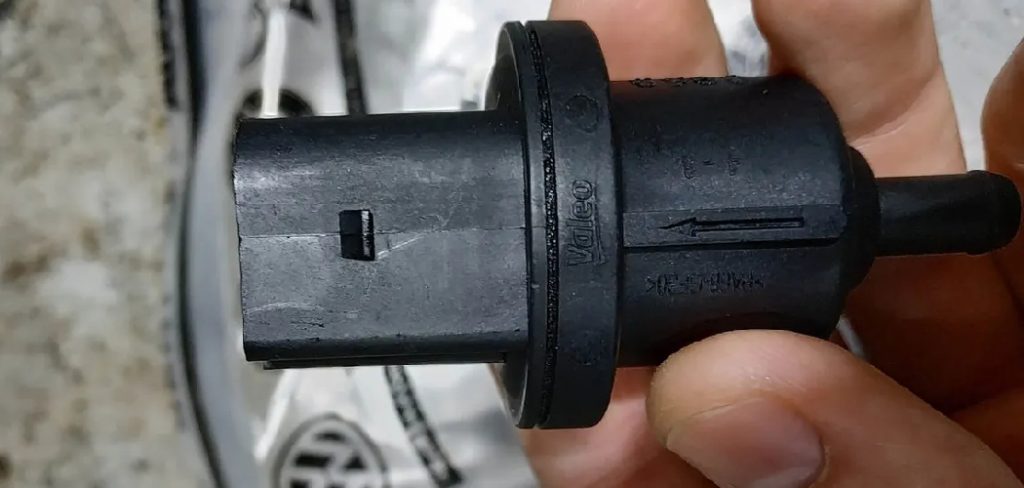
This guide how to change coolant temperature sensor will walk you through the steps to safely and effectively change your coolant temperature sensor. Let’s get started!
What Are the Benefits of Changing Your Coolant Temperature Sensor?
There are several benefits to changing your coolant temperature sensor, including:
- Improved Engine Performance: A faulty or failing coolant temperature sensor can cause inaccurate readings to be sent to the ECU, leading to poor engine performance. Replacing the sensor can help improve your car’s overall performance.
- Better Fuel Economy: When the sensor is not functioning correctly, it may signal the ECU to deliver more fuel than necessary. By replacing it, you can improve your car’s fuel efficiency.
- Prevents Potential Engine Damage: If a coolant temperature sensor fails, it can lead to overheating and subsequent engine damage. Regularly replacing this sensor can help prevent costly repairs in the future.
- Extends Engine Life: By ensuring that your car’s engine is running at optimal temperature, replacing the coolant temperature sensor can help extend the life of your engine.
- Safety: A faulty coolant temperature sensor can also affect other essential safety features in your vehicle. For example, it may not accurately detect when the engine is overheating, putting you at risk for potential accidents. Replacing this sensor can ensure all safety systems are functioning correctly.
What Will You Need?
You will need a few tools and materials to replace your coolant temperature sensor. These include:
- A New Coolant Temperature Sensor: This part can be purchased at an auto parts store or dealership.
- Pliers or a Wrench: You will need these to remove the old sensor from your engine.
- Coolant: It’s essential to have extra coolant on hand in case any spills occur during the replacement process.
- Clean Cloth or Rag: You may need this to clean up any spilled coolant or dirt around the sensor area.
It’s always helpful to consult your vehicle’s manual for specific instructions and diagrams before starting the replacement process.
8 Easy Steps on How to Change Coolant Temperature Sensor
Step 1. Locate the Coolant Temperature Sensor:
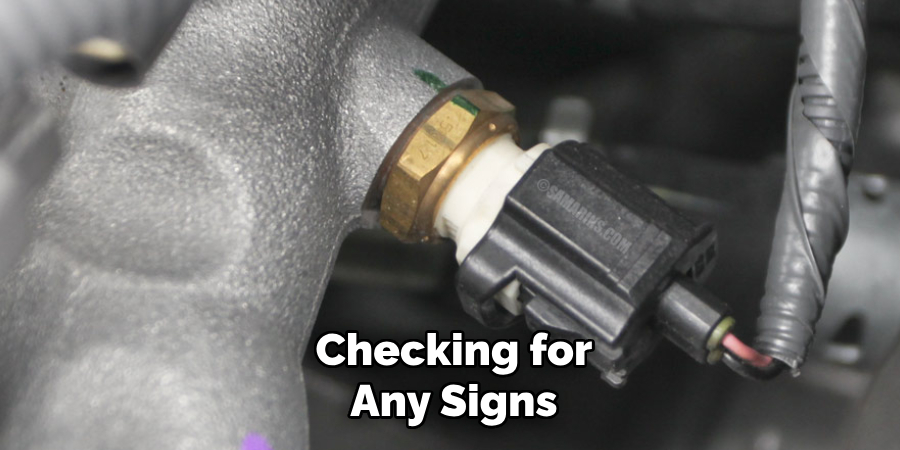
The first step in replacing the coolant temperature sensor is identifying its location in your vehicle. The sensor is typically found near the thermostat housing on the engine block, but the exact position may vary depending on your vehicle’s make and model.
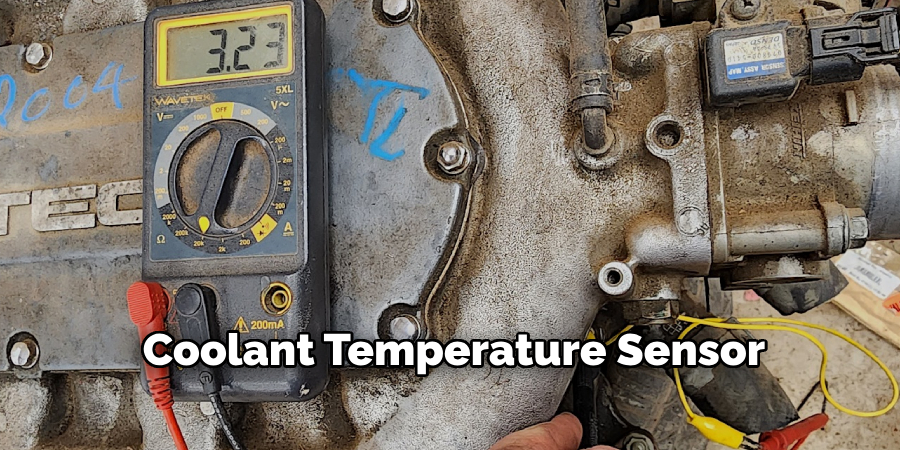
Refer to your vehicle’s manual for a detailed diagram to help pinpoint the sensor. It may also be helpful to use a flashlight to get a better view of the area. Ensure the engine is off and completely cool before starting to avoid burns or other injuries. Take time to familiarize yourself with the surrounding components to ensure you’re working on the correct part.
Step 2: Disconnect the Battery
Before proceeding with the replacement or inspection of the sensor, it’s crucial to disconnect the vehicle’s battery. Locate the battery’s negative terminal and use a wrench to loosen the nut securing the cable. Carefully remove the cable and set it aside, ensuring it doesn’t come into contact with the terminal or any other metal surface. This step minimizes the risk of electrical shocks or accidental short circuits during the process.
Step 3: Locate the Sensor
After disconnecting the battery, locate the sensor that requires replacement or inspection. Refer to the vehicle’s service manual to identify the exact location of the sensor, as its position may vary depending on the make and model of the car. Commonly, sensors can be found near the engine block, exhaust system, or other key components. Ensure the area around the sensor is clean and accessible before moving to the next step.
Step 4: Remove the Sensor
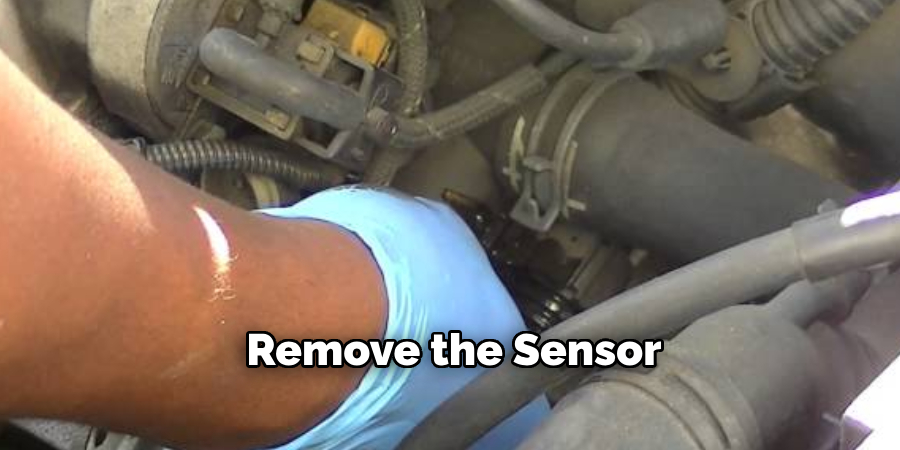
Once the sensor is located, use the appropriate tools to remove it carefully. Start by disconnecting any electrical connectors attached to the sensor, ensuring not to damage surrounding wires. Next, use a wrench or socket to unscrew the sensor from its mounting point. If the sensor is stuck, apply a penetrating oil to loosen it and avoid excessive force, which could damage the mounting area. Set the old sensor aside for inspection or disposal before proceeding.
Step 5: Install the New Sensor
Begin by preparing the new sensor for installation. Ensure it matches the specifications of the old sensor and is free from dust or debris. Align the sensor with the mounting point and carefully screw it in by hand to avoid cross-threading. Once securely in place, use a wrench or socket to tighten it, but be cautious not to overtighten it, as this may cause damage. Reconnect any electrical connectors, making sure they are firmly attached. Double-check all connections and the mounting to ensure proper installation before moving to the next step.
Step 6: Test the Sensor
After installing the sensor, turn on the system or vehicle to test its functionality. Monitor for any error codes, warning lights, or unusual behavior that might indicate an issue. If applicable, use a diagnostic tool to ensure the sensor communicates appropriately with the system. Perform a brief operational test to verify that data from the sensor is being accurately received and that everything is functioning as expected. If any problems persist, revisit the installation steps to check for loose connections or improper positioning.
Step 7: Final Inspection
Conduct a thorough visual inspection of the sensor and surrounding components to ensure everything is securely installed. Verify that all wires, connectors, and mounting points are properly secured and free from damage. Check for any signs of wear, corrosion, or interference that could impact performance. Once the installation and operational tests are satisfied, document the process and results for future reference.
Step 8: Regular Maintenance
To ensure the proper functionality and longevity of the sensor, it is essential to perform regular maintenance. This can include cleaning the sensor and surrounding components, checking for any signs of wear or damage, and recalibrating if necessary. It is also recommended to periodically check for updates from the manufacturer and implement them as needed.
The sensor can continue to provide accurate and reliable data by following a regular maintenance schedule.
5 Things You Should Avoid
- Skipping Safety Precautions
Always ensure the engine is completely cooled down before changing the coolant temperature sensor. Working on a hot engine can result in severe burns or injuries.
- Not Draining the Coolant
Failing to drain enough coolant before removing the sensor can cause spillage, leading to a mess and potential damage to surrounding components.
- Using the Wrong Tools
Avoid using incorrect or poorly fitting tools that can strip the threads of the sensor or damage nearby parts. Always use the recommended tools for the job.
- Neglecting the Sensor Seal
Forgetting to replace or adequately seat the sensor’s O-ring or seal can lead to leaks. Ensure the seal is intact and properly installed.
- Over-Tightening the Sensor
Applying excessive force while tightening the new sensor can damage the threads or the sensor itself. Always follow the manufacturer’s torque specifications to avoid issues.
What are the Causes of Sensor Failure?
There are various reasons why a sensor can fail, and understanding these causes can help prevent future failures. Some common causes of sensor failure include:
- Environmental Factors: Extreme temperatures, moisture, vibrations, and exposure to chemicals can all impact the performance of a sensor. It’s essential to choose sensors that are suitable for the specific environment they will be operating in.
- Wear and Tear: As with any mechanical component, sensors will eventually wear out over time due to constant use. Regular maintenance and replacement of worn-out sensors can help prevent unexpected failures.
- Electromagnetic Interference (EMI): EMI from nearby electronic devices or power sources can disrupt sensor signals, leading to inaccurate readings. It’s essential to properly shield and ground sensor components to minimize the impact of EMI.
- Signal Processing: The raw data collected by sensors may need to be processed before it can be used meaningfully. This involves converting analog signals into digital ones and applying filters or algorithms to remove noise and improve accuracy.
- Calibration: Sensors often require calibration to ensure their measurements are accurate and consistent over time. This involves comparing sensor readings against known reference values and adjusting the sensor accordingly.
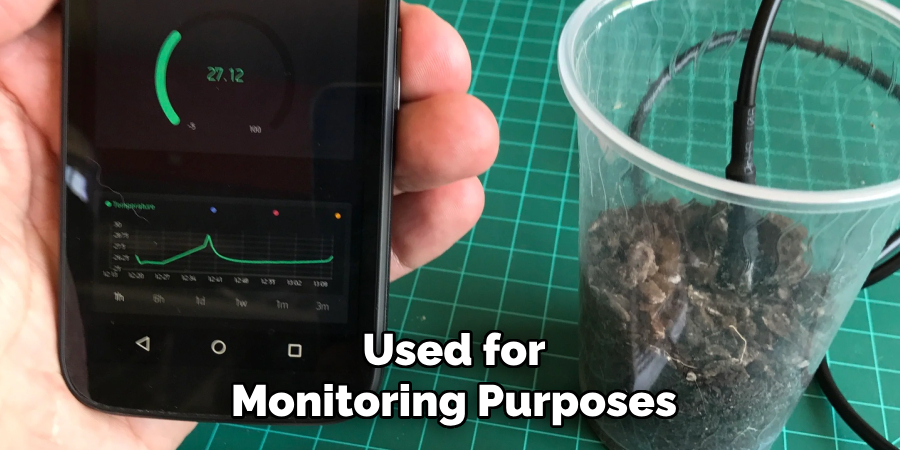
- Data Logging: In many cases, sensors are used for monitoring purposes, continuously collecting data over some time. Data logging refers to storing this data for future analysis and reference.
Conclusion
How to change coolant temperature sensor is a straightforward process that can help ensure your vehicle’s engine runs efficiently and avoids potential overheating issues.
Begin by locating the sensor near the thermostat housing or on the engine block. Ensure the engine is turned off and has cooled down to avoid burns. Disconnect the battery to prevent electrical hazards, then unplug the sensor’s electrical connector. Use a wrench or socket to carefully remove the old sensor, being mindful of any coolant that may spill. Install the new sensor by threading it into place securely, reconnect the electrical connector, and replace any lost coolant if necessary.
Finally, reconnect the battery and start the engine to verify the replacement was successful. Always consult your vehicle’s service manual for specific instructions related to your make and model.

