
The injection control pressure (ICP) sensor is a crucial component in modern vehicles, particularly those with diesel engines. It plays a vital role in ensuring the engine runs smoothly by accurately monitoring the pressure in the fuel injection system and sending this data to the engine control unit (ECU). When the ICP sensor is working correctly, it allows for optimal fuel delivery, combustion, and overall performance.

However, like any automobile part, the ICP sensor is subject to wear and tear over time. Exposure to heat, vibrations, contaminants, and regular use can eventually lead to sensor failure. When the ICP sensor malfunctions, you may notice a range of problems with your vehicle—from decreased performance to engine warning lights.
Understanding how to change ICP sensor is essential for anyone looking to maintain their vehicle’s reliability and save on costly repair bills. This comprehensive guide will walk you through each step of the replacement process. Whether you are a seasoned DIY enthusiast or someone exploring basic car repairs for the first time, the following sections provide clear instructions, troubleshooting tips, and maintenance advice to make sure your engine remains efficient and dependable.
By the end of this article, you’ll know exactly what an ICP sensor does, how to recognize when it needs to be replaced, and the safest and most effective way to change it. Gain confidence in your automotive skills while protecting your engine and prolonging your vehicle’s lifespan.
Understanding the ICP Sensor
What Is an ICP Sensor?
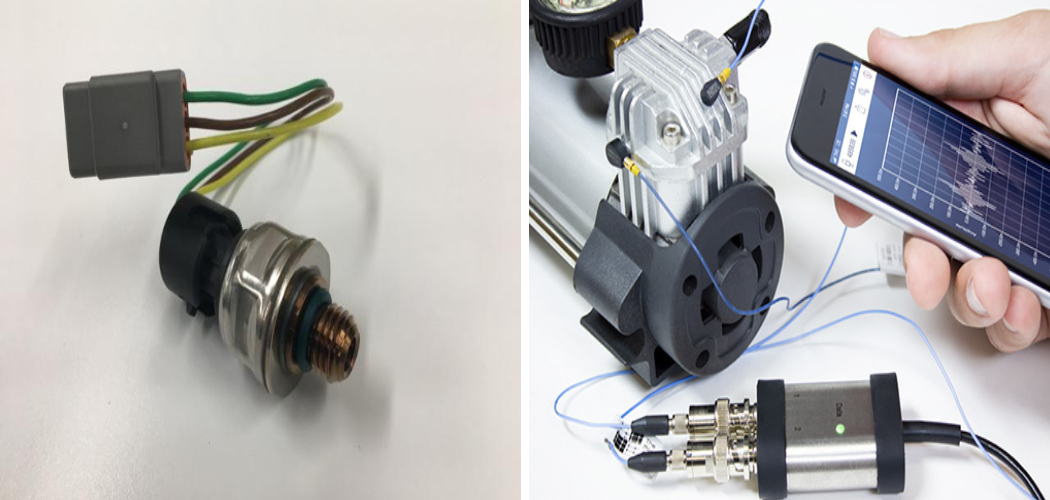
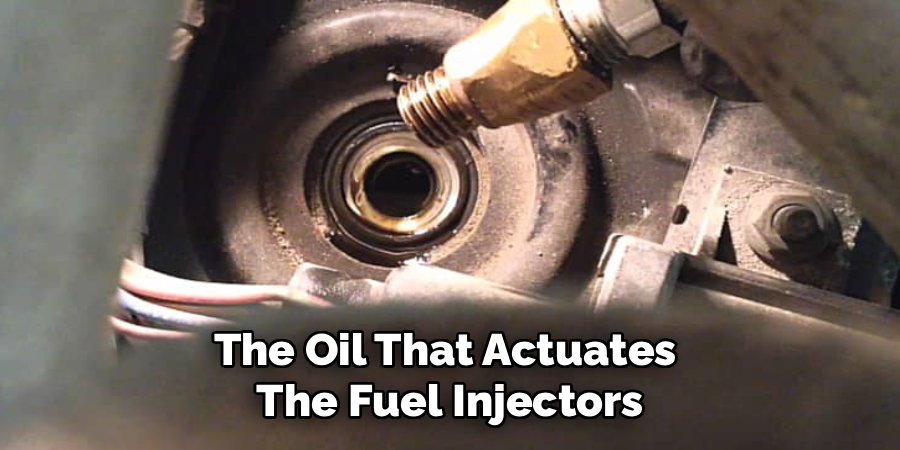
The ICP sensor, or Injection Control Pressure sensor, is a specialized device located on an engine’s high-pressure oil system. Its main function is to measure the pressure of the oil that actuates the fuel injectors, mainly in diesel engines. By constantly monitoring oil pressure, the ICP sensor feeds real-time information to the engine control module (ECM) or ECU. This data helps the system calculate the correct amount of fuel to inject into the cylinders, ensuring the engine operates efficiently and responds well to driving demands.
How It Affects Engine Performance
A properly functioning ICP sensor is critical for precise fuel delivery. It allows the ECU to adjust injection timing and fuel quantity based on actual engine conditions. If the ICP sensor goes bad, the ECU receives inaccurate information, which can lead to problems like poor fuel efficiency, sluggish performance, or even prevent the engine from running. In essence, the ICP sensor is at the heart of dependable engine operation and fuel management.
Signs That Your ICP Sensor Needs Changing
Warning Indicators
Several symptoms can signal that the ICP sensor on your vehicle is failing. One of the most common is a noticeable reduction in engine performance, such as lack of power when accelerating, irregular idling, or even stalling when stopped. Many drivers also experience starting trouble, where the engine may crank but struggles to fire up efficiently.
Another sign is decreased fuel economy, which often goes hand in hand with rough running. If the check engine light on your dashboard illuminates, it may indicate the ICP sensor, especially if you notice these other symptoms at the same time.
Common Diagnostic Findings
Modern vehicles are equipped with onboard diagnostic systems that can pinpoint issues quickly. Using a diagnostic scanner, you may find error codes like P2285 (ICP Sensor Circuit Low) or P2286 (ICP Sensor Circuit High), both of which relate to the ICP sensor. Mechanics may also measure inconsistent or incorrect fuel pressures when troubleshooting other engine problems. If diagnostic tests confirm the ICP sensor is not providing accurate readings, replacing it is usually the recommended solution.
Importance of Replacing a Faulty ICP Sensor
Avoiding Engine Problems
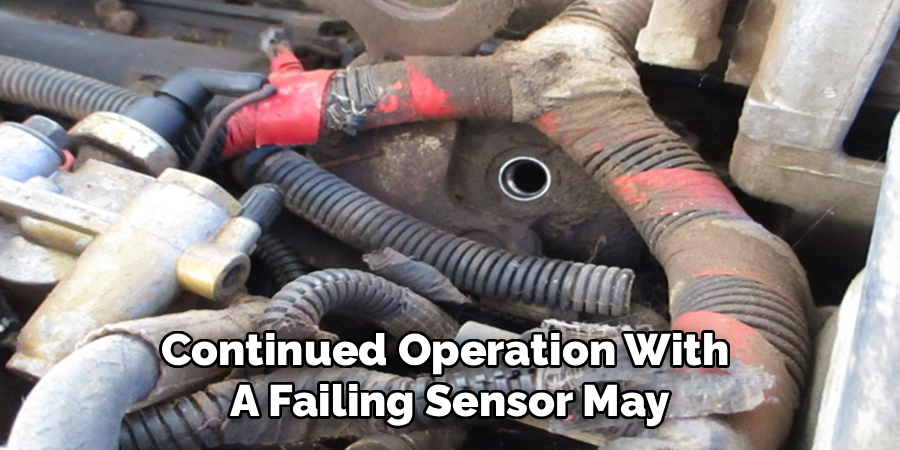
Allowing a bad ICP sensor to remain in your vehicle can have serious consequences. As the sensor continues to send erroneous pressure readings to the ECU, the engine can run too rich or too lean. Over time, this imbalance may cause misfires, excessive smoke, or damage to injectors and other costly parts. In worst-case scenarios, continued operation with a failing sensor may even lead to engine knock or complete engine failure.
Maintaining Efficiency
Timely replacement ensures the fuel injection system operates as designed, which helps you maintain optimal fuel economy and engine performance. A fresh ICP sensor provides the ECU with accurate data, resulting in smoother acceleration, responsive power, and overall reliability from your vehicle’s engine. By staying proactive, you extend the lifespan of your motor and avoid unexpected breakdowns.
Preparing to Replace an ICP Sensor
Tools and Materials Needed
Before beginning the replacement process, it’s important to have the right tools and materials on hand. Essential tools typically include a set of wrenches or a socket set, a torque wrench for proper tightening, a flathead screwdriver, and a digital multimeter for basic electrical tests. You’ll also need a replacement ICP sensor that matches your vehicle’s specifications, as well as a pair of gloves and protective eyewear for safety.
Having some rags on hand helps clean around the sensor area, and you may need a small container to hold any bolts or connectors you remove. Safety is paramount, so be prepared with whatever personal protective equipment or safety gear you require for working under the hood.
Safety Precautions
When working on your vehicle, especially around the engine and electrical components, safety comes first. Always disconnect the battery before beginning any work to prevent electrical short circuits and accidental startups. Let the engine cool completely before you begin so you avoid burns from hot engine parts or oil.
Ensure your vehicle is on a level surface and the parking brake is engaged. Have good ventilation if you’re working inside a garage, and keep a fire extinguisher nearby just in case. Following these basics will help keep you safe and prevent unintended damage to sensitive engine components.
Pre-Replacement Checks
Take a moment before starting the job to verify you have the correct kind of ICP sensor for your vehicle make and model. Consult your vehicle’s service manual or manufacturer’s documentation for sensor location and specifications. In some vehicles, the ICP sensor is easy to reach, while in others, you may need to remove engine covers or intake components to access it.
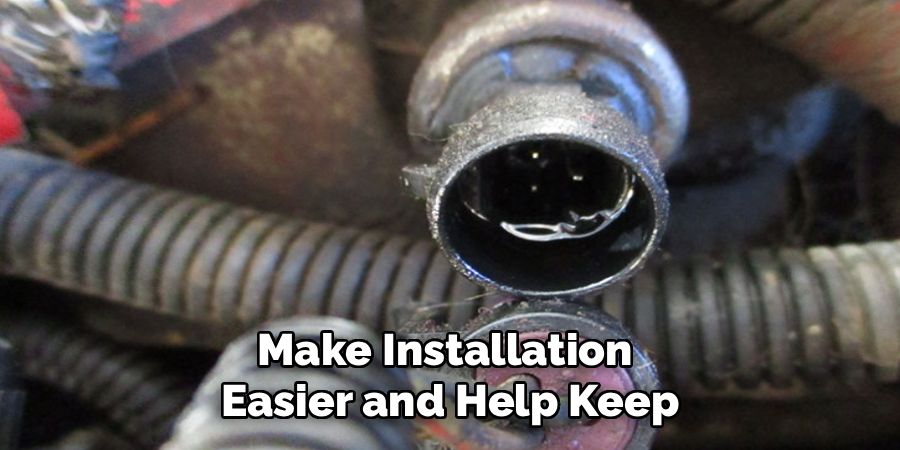
Double-checking fitment avoids unnecessary delays and ensures a smooth replacement. Inspect the area surrounding the sensor for excessive dirt or oil buildup; giving it a quick clean will make installation easier and help keep contaminants out of engine internals.
How to Change ICP Sensor: A Complete Guide
Step 1. Locate the ICP Sensor
Begin by identifying the exact location of the ICP sensor in your engine bay. Most often, it will be mounted somewhere along the high-pressure oil rail or near the cylinder head, depending on the engine design. For precise identification, refer to your owner’s manual or a trusted repair guide for your specific vehicle.
Step 2. Disconnect the Battery
Turn off the ignition and disconnect the negative terminal of your vehicle’s battery. This step protects you and your vehicle’s electronic systems from accidental surges or shorts.
Step 3. Remove Engine Covers or Components
If the sensor is blocked by engine covers, air intake tubing, or other components, remove these parts as needed. Keep all hardware organized so reassembly is straightforward afterward.
Step 4. Disconnect the Wiring Harness
Once the sensor is fully exposed, carefully press the release tab on the electrical connector and unplug the wiring harness from the ICP sensor. Take care not to damage the connector pins or wiring.
Step 5. Remove the Faulty ICP Sensor
Use the appropriate wrench or socket to unscrew the ICP sensor from its mounting point. Turn slowly and apply steady pressure to avoid stripping threads or causing other damage. If it is stuck, apply gentle force but avoid prying or twisting at odd angles.
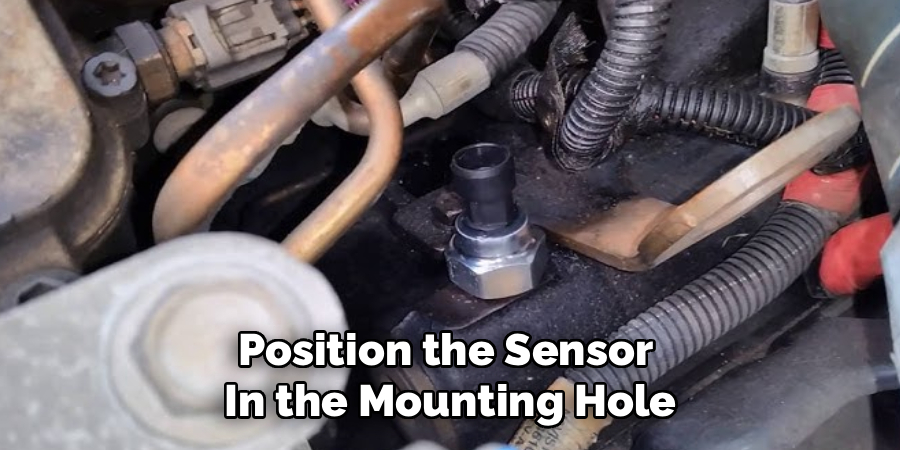
Step 6. Install the Replacement Sensor
Before installing the new ICP sensor, inspect its threads and ensure the sealing surface is clean. Position the sensor in the mounting hole and screw it in by hand to prevent cross-threading. Once finger-tight, use your torque wrench to bring it to the manufacturer’s recommended tightness, being careful not to overtighten.
Step 7. Reconnect Connections and Reassemble
Plug the wiring harness back into the new sensor until it clicks into place. Replace any engine covers or other components you removed. Finally, reconnect the negative battery terminal.
Tips for Efficiency
Patience is key when replacing sensors. Rushing can lead to mistakes such as broken connectors, stripped threads, or other avoidable errors. Work in a well-lit area and keep your workspace organized. After installation, double-check every connection and fastener before starting the engine. If your vehicle’s check engine light remains on after replacement, review your steps and verify all electrical connections are secure.
Testing the New ICP Sensor
Verifying Installation
With the new ICP sensor installed, it’s time to check your work. Ensure all components are firmly back in place and that the wiring harness is securely connected. Visually inspect the area for signs of loose bolts or potential leaks.
Using Diagnostic Tools
For peace of mind, use a diagnostic scanner or a basic multimeter to confirm proper sensor operation. Plug the scanner into the vehicle’s OBD-II port and scan for error codes. If none appear and the previous warnings are gone, the sensor is likely installed correctly. Some scanners allow you to monitor live fuel pressure data—if the readings match expected values, your job is successful.
Final Checks
Start your vehicle and observe its behavior. The engine should start without excessive cranking and run smoothly. Listen for irregular noises, check for leaks, and monitor the dashboard for any warning lights. Take the car on a brief test drive to confirm that performance has returned to normal. If earlier symptoms have disappeared, you have completed the replacement.
When to Seek Professional Help
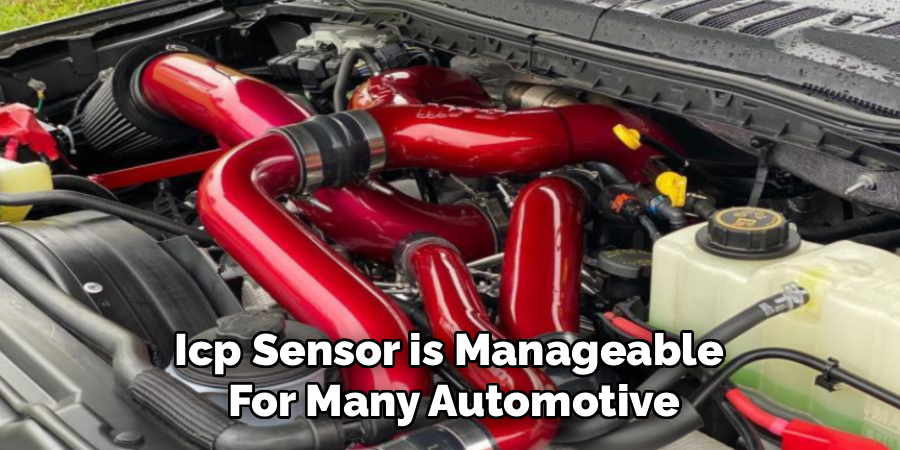
DIY Limitations
While changing an ICP sensor is manageable for many automotive enthusiasts, there are situations where it’s best to consult a professional. If the sensor is buried beneath major engine components, or if access requires specialty tools or knowledge, DIY replacement may not be practical.
Additionally, if you encounter persistent error codes or engine symptoms after following all the recommended procedures, deeper issues with the fuel or oil system could be at play. In these cases, an experienced mechanic will have the equipment and training necessary to diagnose and resolve complex problems.
Finding Trusted Mechanics
When seeking professional help, look for certified and well-reviewed auto repair shops familiar with your vehicle’s make and model. Ask for written estimates and confirm the shop uses quality replacement parts. Transparency, experience, and clear communication are your allies in getting the job done right.
Maintenance Tips for Preventing Future Sensor Issues
Routine Inspection and Cleaning
Routine under-hood inspections can significantly extend the lifespan of your ICP sensor and other engine components. Keep the engine bay clean by removing accumulated dirt, oil, and debris that may interfere with electronic connectors or sensor performance.
Selecting Quality Parts
Whenever you replace an ICP sensor or related parts, choose components from reputable brands or original equipment manufacturers (OEM). High-quality sensors are less prone to premature failure and often offer better compatibility with your engine’s electronics.
Regular Diagnostic Scans
Using a diagnostic tool periodically, even when the engine seems to run well, allows you to catch emerging issues early. Proactive monitoring can help prevent larger failures, saving you time and money on major repairs down the road. Keeping track of maintenance intervals and responding promptly to new symptoms is the hallmark of responsible vehicle ownership.
Benefits of Learning How to Change an ICP Sensor
Knowing how to change ICP sensor provides more than just immediate repair savings. The do-it-yourself approach empowers you to avoid inflated labor costs, minimize downtime, and gain direct insight into the condition of your engine. Acquiring these skills boosts your confidence and makes you better prepared to handle other common vehicle maintenance tasks.
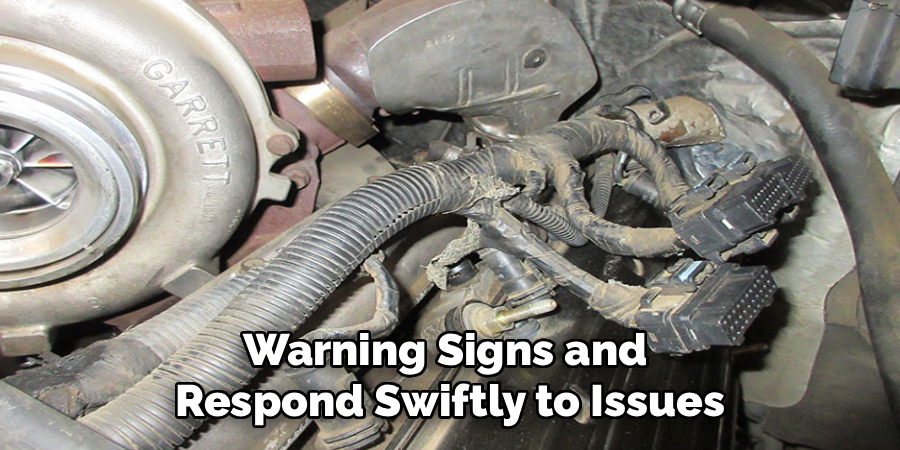
Feeling comfortable with automotive systems also encourages a more attentive and proactive attitude toward overall vehicle care. When you understand the mechanics of important components such as the ICP sensor, you’re more likely to spot early warning signs and respond swiftly to issues, ensuring your vehicle remains reliable for years to come.
Conclusion
Replacing a faulty ICP sensor is a straightforward yet meaningful maintenance task that safeguards engine health and efficiency. As this guide illustrates, with basic tools, the right preparation, and close attention to detail, you can complete the replacement safely and confidently at home.
If you’re committed to responsible vehicle ownership, knowing how to change ICP sensor is an essential skill. By addressing issues quickly and following best practices, you’ll enjoy improved performance, greater fuel efficiency, and peace of mind on every drive.
Ultimately, learning how to change an ICP sensor not only helps you avoid expensive repair bills but also gives you valuable insight into keeping your engine at its best. Whether you tackle the job yourself or seek help when needed, investing in your vehicle’s care pays dividends every time you hit the road.