

Maintaining outdoor security lighting is crucial for enhancing both safety and security around your property. Well-functioning security lights deter potential intruders and help prevent accidents by illuminating pathways and entry points. Understanding how to change outdoor security light bulb is an essential skill for homeowners, ensuring that lights remain operational when needed most.
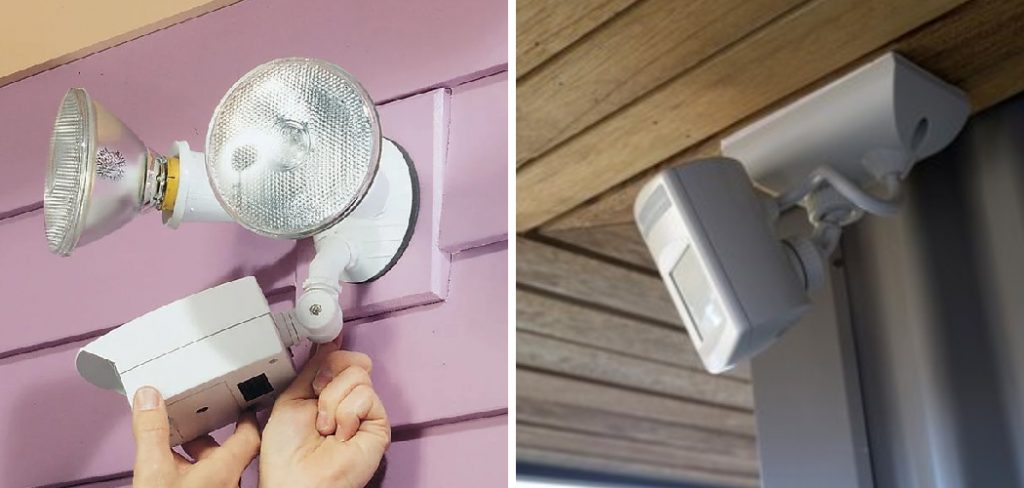
The process involves a few straightforward steps: identifying the right type of replacement bulb, gathering necessary tools and materials, ensuring safety precautions are in place, and methodically removing the old bulb and installing the new one. Crucially, always ensure the power is off before beginning work to avoid electrical accidents. By familiarizing yourself with these steps and prioritizing safety, you can efficiently maintain your outdoor security lighting and contribute to a safer home environment.
Understanding the Type of Security Light Bulb
Several types of outdoor security light bulbs are commonly used: LED, halogen, incandescent, and Compact Fluorescent Lamps (CFL). Each type has its own advantages and disadvantages. LED bulbs are highly energy-efficient, have a long lifespan, and provide bright, consistent light.
Halogen bulbs, while offering excellent brightness and a warm hue, tend to consume more energy and have a shorter lifespan than LEDs. Incandescent bulbs are the least efficient, using a high amount of energy and having a relatively short lifespan, but they are often preferred for their warm light. Lastly, CFL bulbs are energy-efficient but must be handled carefully due to the small amount of mercury they contain.
Examine your current bulb and the fixture’s specifications to identify the correct replacement bulb type and wattage. Look for information such as bulb type, wattage, and size, which are usually printed on the bulb base or the fixture itself. If this information is not visible, refer to the user manual of your light fixture, which will provide detailed specifications. Ensuring the replacement bulb matches these specifications is crucial for optimal performance and safety.
Tools and Materials Needed
Gathering the right tools and materials beforehand is essential for efficiently changing an outdoor security light bulb. You will need a sturdy ladder to safely reach the light fixture and a screwdriver for removing screws if the light cover is secured.
You are also advised to wear gloves to protect your hands and ensure a good grip on the bulb. The necessary materials include a replacement bulb that matches the specifications of the old one and a clean cloth or paper towel for handling the new bulb, especially for halogen bulbs to avoid oil from your hands. Optional safety glasses can provide added protection.
Safety Precautions
Before beginning the process of changing your outdoor security light bulb, ensuring your safety is paramount. First and foremost, ensure the power is turned off at the circuit breaker to prevent electrical shock.
Avoid attempting to change the bulb during wet or windy conditions to reduce the risk of slipping or other accidents. Using a sturdy ladder is crucial for safely reaching the light fixture; ensure the ladder is placed on a stable surface and, if possible, have someone assist you by holding the ladder in place.

Additionally, wearing gloves can provide better grip and protection for your hands. Following these safety precautions can minimize hazards and complete the bulb-changing process smoothly and safely.
How to Change Outdoor Security Light Bulb: Removing the Old Bulb
Step-by-Step Guide to Removing the Old Bulb
Removing the old bulb from your outdoor security light fixture involves several steps to ensure safety and efficiency. Here’s a detailed guide to help you through the process:
- Setting Up the Ladder Securely Under the Light Fixture: Position a sturdy ladder directly beneath the light fixture. Ensure the ladder is on a flat surface to prevent wobbles or slips. For added safety, have a second person steady the ladder while you work.
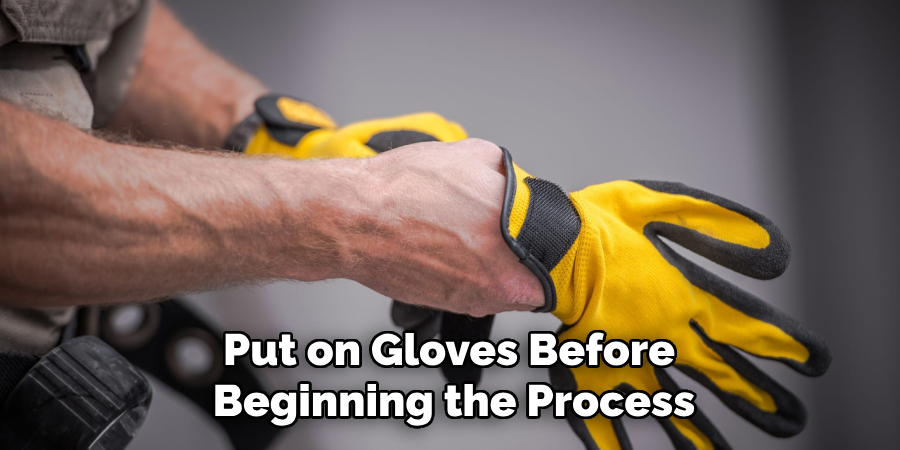
- Wearing Gloves to Protect Hands and Ensure a Good Grip: Put on gloves before beginning the process. Gloves will protect your hands from sharp edges and improve your grip on the bulb, preventing it from slipping and breaking.
- Unscrewing the Light Fixture Cover if Necessary (Using a Screwdriver): If your light fixture has a cover, use a screwdriver to carefully remove any screws holding it in place. Place the screws in a safe spot where they won’t get lost. Gently lift or slide the cover off to expose the bulb.
- Gently Twisting the Old Bulb Counterclockwise to Remove It: Grasp the old bulb firmly and twist it counterclockwise. Apply steady, gentle pressure to avoid breaking the bulb. Once it’s loose, carefully pull it out of the socket.
- Handling the Old Bulb Carefully to Avoid Breakage: Handle the old bulb carefully, as broken glass can pose a hazard. If the bulb does break, use a clean cloth and avoid touching the shards with your bare hands.
- Proper Disposal of the Old Bulb, Especially if It Contains Hazardous Materials (e.g., CFL Bulbs): Dispose of the old bulb according to local regulations, particularly if it contains hazardous materials like mercury. Many areas have specific disposal sites or recycling programs for different types of bulbs. Place the old bulb in a protective covering, such as its original packaging, to prevent breakage during disposal.
By following these detailed steps, you ensure the safe and effective removal of the old bulb from your outdoor security light fixture, setting the stage for installing a new, functional bulb.
How to Change Outdoor Security Light Bulb: Installing the New Bulb
Step-by-Step Guide to Installing the New Bulb
Now that the old bulb has been safely removed, it’s time to install the new one. Follow these steps to ensure smooth and proper installation:
- Checking the New Bulb for Any Damage Before Installation: Examine the new bulb for any signs of damage, such as cracks or defects, that may affect its performance or safety. If any damage is found, do not proceed with installation; replace the bulb with an undamaged one.
- Using a Clean Cloth or Paper Towel to Handle the New Bulb (Especially for Halogen Bulbs to Avoid Oils from Hands): Halogen bulbs are particularly sensitive to oils from your skin, which can shorten their lifespan. Use a clean cloth or paper towel to handle the new bulb, ensuring it remains free from oils and dirt during installation.
- Gently Inserting the New Bulb into the Socket and Twisting It Clockwise Until Snug: Carefully place the new bulb into the socket, aligning it properly. Gently twist the bulb clockwise, applying light pressure until it fits snugly in place. Ensure you do not overtighten, as this could damage the bulb or socket.
- Reattaching the Light Fixture Cover if Necessary: If your light fixture has a cover, align it back onto the fixture. Use the screws you previously set aside and a screwdriver to securely fasten the cover, ensuring it is properly sealed to protect the bulb from environmental elements.
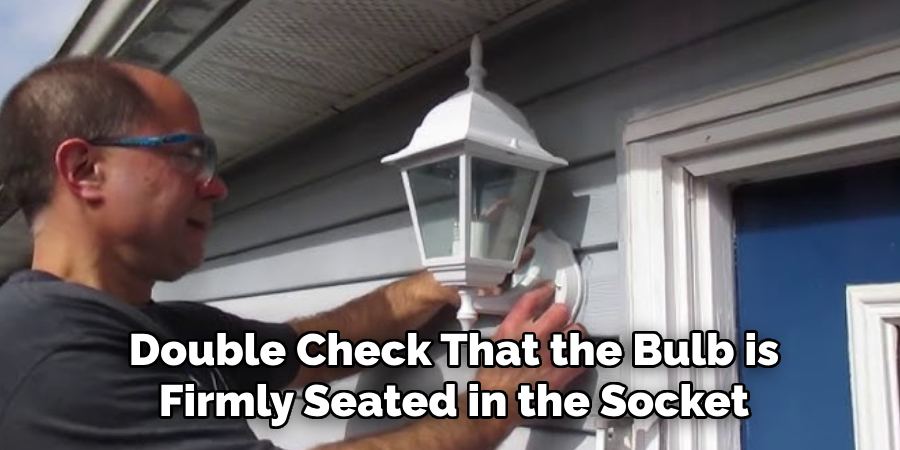
- Ensuring the Bulb Is Securely in Place and the Fixture Is Properly Closed: Double-check that the bulb is firmly seated in the socket and the fixture cover is attached correctly. This prevents any water ingress or loosening of the bulb.
By carefully following these steps, you can ensure the correct and secure installation of your new outdoor security light bulb, restoring proper illumination and security functionality to your exterior space.
Testing the New Bulb
Turning the Power Back On at the Circuit Breaker
After successfully installing the new bulb, testing it to ensure everything is working correctly is essential. Start by turning the power back on at the circuit breaker. This step is crucial to restoring electricity to the light fixture and allowing you to check the functionality of the new bulb.
Testing the Light to Ensure It Functions Correctly
With the power restored, turn on the light switch to see if the new bulb illuminates. Check for any flickering or dimming, which could indicate an improper installation or a faulty bulb. If the light operates smoothly, your new bulb is functioning correctly.
Adjusting Any Motion Sensors or Timers Associated with the Security Light
Finally, inspect and adjust any motion sensors or timers associated with your outdoor security light. These settings ensure that your light operates as intended, providing optimal security and convenience. Test the motion sensor by moving within its range to verify that it activates the light appropriately. Adjust the timer settings if necessary to suit your preferences.
Additional Maintenance Tips
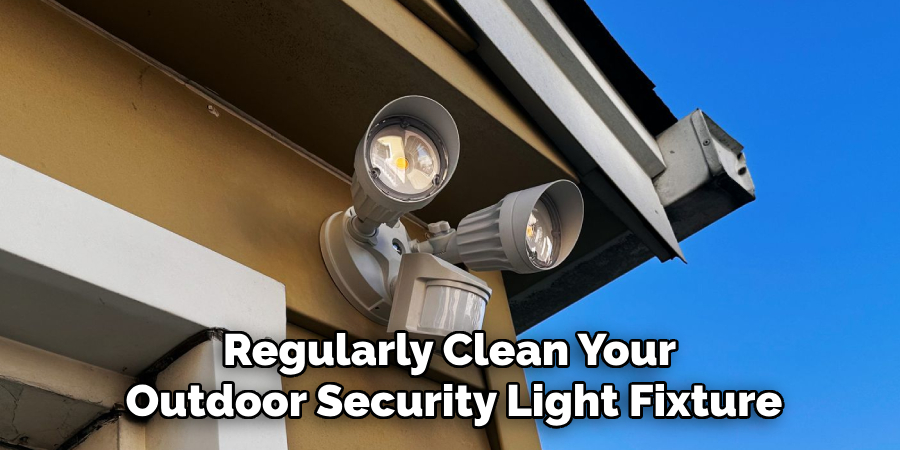
Regularly Cleaning the Light Fixture to Ensure Optimal Performance
To maintain optimal performance, it’s important to regularly clean your outdoor security light fixture. Dust, dirt, and debris can accumulate on the fixture and the bulb, diminishing the light output quality. Use a soft cloth or mild cleaning solution to periodically wipe down the fixture and bulb. Ensure the power is turned off before cleaning to avoid any electrical hazards.
Checking the Fixture and Wiring for Any Signs of Wear or Damage
Regular inspections of the light fixture and wiring are crucial for safety and functionality. Look for any signs of wear, corrosion, or damage in the wiring and connections. If you notice any exposed wires or frayed insulation, address these issues immediately by consulting a professional electrician. Maintaining the integrity of the wiring helps prevent electrical failures and potential fire hazards.
Replacing Bulbs in Pairs if Multiple Bulbs Are Used in the Same Fixture to Ensure Even Lighting
If your fixture uses multiple bulbs, consider replacing them in pairs, even if only one bulb has burned out. This practice ensures even lighting and consistent performance from all bulbs. Different bulbs may age at different rates, leading to imbalanced lighting and potential strain on the fixture.
Using Energy-Efficient Bulbs to Reduce Energy Consumption and Extend the Life of the Bulb
Switching to energy-efficient bulbs, such as LED or CFL bulbs, can significantly reduce energy consumption and extend the lifespan of your lighting setup. These bulbs consume less power while providing brighter illumination, contributing to lower electricity bills and fewer replacements over time. Energy-efficient bulbs are typically more environmentally friendly, reducing your overall carbon footprint.
Conclusion
Maintaining outdoor security lighting is essential for ensuring the safety and security of your property. By performing regular checks and maintenance, you can prevent potential issues and extend the lifespan of your security lighting. Understanding how to change outdoor security light bulb is an invaluable skill that saves time and cost while providing a well-lit exterior space.
Regular cleaning, inspections, and using energy-efficient bulbs are simple yet effective ways to keep your lights functioning optimally. Changing outdoor security light bulbs is a straightforward process, and following the provided steps makes the task even simpler. Embrace the benefits of well-maintained security lighting to enhance the safety of your home or business, and remember that a little effort goes a long way in ensuring consistent, reliable illumination for any outdoor area.
About
Safety Fic is a distinguished figure in the world of Diy design, with a decade of expertise creating innovative and sustainable Diy solutions. His professional focus lies in merging traditional craftsmanship with modern manufacturing techniques, fostering designs that are both practical and environmentally conscious. As the author of diy, Safety Fic delves into the art and science of Safety Fic-making, inspiring artisans and industry professionals alike.
Education RMIT University
(Melbourne, Australia) Associate Degree in Design (Safety Fic) Focus on sustainable design, industry-driven projects, and practical craftsmanship. Gained hands-on experience with traditional and digital manufacturing tools, such as CAD and CNC software.
Nottingham Trent University
(United Kingdom) Bachelor’s in diyfastly.com and Product Design (Honors) Specialized in product design with a focus on blending creativity with production techniques. Participated in industry projects, working with companies like John Lewis and Vitsoe to gain real-world insights.
Publications and Impact
In diy, Safety Fic his insights on indoor design processes, materials, and strategies for efficient production. His writing bridges the gap between artisan knowledge and modern industry needs, making it a must-read for both budding designers and seasoned professionals.