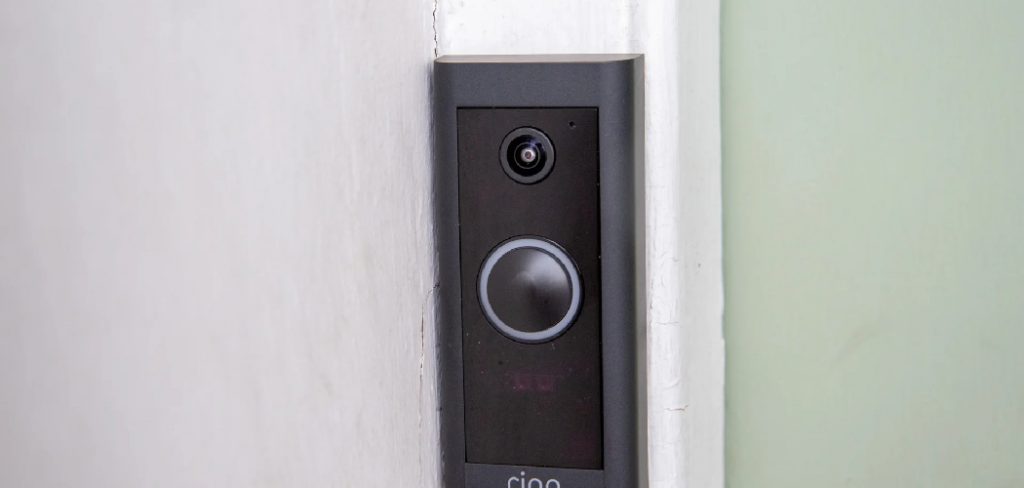
Are you experiencing slow internet connections or constantly dropping signals with your Ring device? One possible solution is to change the Ring device’s Wi-Fi network.

How to change WiFi network on ring is essential when you’ve recently upgraded your router, moved to a new home, or simply want to improve your device’s connectivity. Doing so ensures that your Ring device remains active, providing uninterrupted service and security notifications. This guide will walk you through the necessary steps to update your Wi-Fi settings on any Ring device, making it a straightforward process to keep your security system in sync with your home’s network changes.
Whether you’re a tech-savvy individual or a beginner, following these simple instructions will help you seamlessly transition your Ring device to a new Wi-Fi network.
What Will You Need?
Before we dive into the steps, here’s what you’ll need to change your Wi-Fi network on Ring:
- Your Ring device (e.g., Video Doorbell, Stick Up Cam, Floodlight Cam)
- Smartphone or tablet with the Ring app installed
- A stable internet connection and a new Wi-Fi network name and password
Once you have everything ready, let’s get started!
10 Easy Steps on How to Change WiFi Network on Ring
Step 1. Open the Ring App:
The first step in changing the Wi-Fi network for your Ring device is to open the Ring app on your smartphone or tablet. Ensure you have the latest app version installed to avoid any compatibility issues. The Ring app is your central command center, where you can manage all your Ring devices and settings. Once the app is open, log in with your credentials if you still need to do so. Having the app open and ready is crucial for smoothly navigating the subsequent steps to update your device’s network settings.

Step 2. Select Your Device:
After opening the Ring app, the next step is to select the specific Ring device for which you want to change the Wi-Fi network. From the app’s dashboard, locate the “Devices” tab, which usually displays a list of all the Ring devices connected to your account. Tap on the device name that you wish to update. Selecting the correct device ensures that your network changes will apply to the right Ring device, allowing it to reconnect to the new Wi-Fi network smoothly.
Step 3. Access Device Settings:
Once you’ve selected your device, you’ll be taken to the device’s main screen, where you can see a range of options related to its status and settings. Look for the gear icon or the “Device Settings” option, which is typically situated near the top or bottom of the screen. Tap on it to enter the device’s settings menu. This section lets you customize your device preferences, including changing the Wi-Fi network, adjusting motion settings, and more. Accessing the device settings is necessary to proceed to the next step, where you’ll configure the new network details.
Step 4. Change Wi-Fi Network:
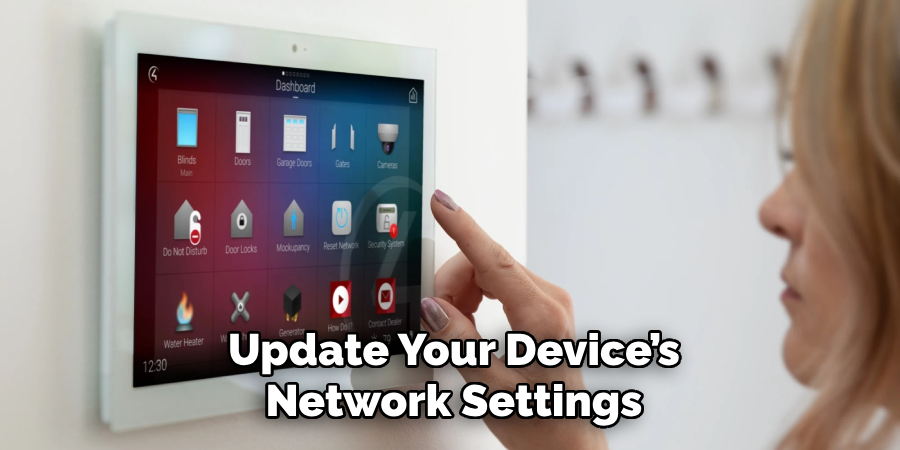
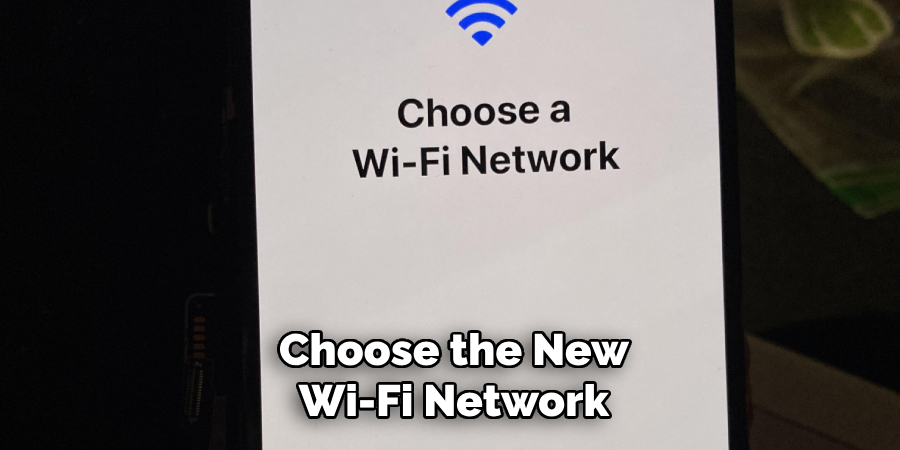
In the device settings menu, search for the “Network Settings” or “Change Wi-Fi Network” option. Tap on this option to begin setting up your new Wi-Fi network. The app might ask you to confirm your current network settings or prompt you to select a different network. Choose the new Wi-Fi network to which your Ring device will connect. Having your new network’s name and password handy for this step will be best. Enter these details carefully to ensure a successful connection. Changing the Wi-Fi network is critical to ensure your Ring device remains functional and stays updated with alerts and notifications.

Step 5. Enter Wi-Fi Password:
After selecting the new Wi-Fi network for your Ring device, the next step is to enter the network’s password. The app will prompt you to input the password for the chosen network. Ensure that you type the password accurately, paying attention to any upper-case and lower-case letters, special characters, or numbers, as Wi-Fi passwords are case-sensitive. A correct password entry is crucial for establishing a stable connection between your Ring device and the new network. Once the password is entered, follow the app’s additional prompts to finalize the connection.
Step 6. Wait for Device Connection:
Once you’ve entered the Wi-Fi password, the Ring app will connect your device to the new network. This step may take a few moments, so it’s essential to be patient and avoid interrupting the process. You’ll usually see a loading indicator on the screen, showing the progress of the connection. The app will confirm the change once the device successfully connects to the new Wi-Fi network. This confirmation will ensure that your Ring device has re-established its connection and is ready to function smoothly with the updated network settings.
Step 7. Test Device Functionality:
After successfully connecting your Ring device to the new Wi-Fi network, it’s essential to ensure everything functions correctly. Begin by checking the live view of your device through the app to confirm that the video stream is active and smooth. Depending on your Ring device model, you can also trigger a test notification by activating the motion sensors or pressing the doorbell. Verify that you receive alerts and that there are no connectivity issues. Testing your device ensures that the network change has been successful and that your security system continues to operate as expected.

Step 8. Update Device Firmware:
Once you’ve verified that your Ring device is functioning correctly, checking for any available firmware updates is a good practice. Firmware updates often include critical security patches and enhancements that can improve device performance. Within the device settings menu, look for an option labeled “Device Health” or similar. Tap this option to see the current firmware version and any available updates. If prompted, initiate the firmware update process. Ensuring your device’s firmware is up-to-date helps maintain optimal security and functionality across your home security system.
Step 9. Reconnect Linked Devices:
If your Ring device is connected to other smart home devices, such as Alexa for voice control or integrated intelligent lights, you should ensure that these linked devices are properly reconnected to work with the new Wi-Fi settings. Navigate to the “Linked Devices” section in the Ring app and verify that all related devices function as expected. You should re-pair some of these devices if their connectivity was disrupted during the network change. Keeping linked devices connected ensures a seamless smart home experience with automated and efficient interactions across your devices.
Step 10. Document Your Changes:
After completing the process of changing your Ring device’s Wi-Fi network and verifying that everything is functioning correctly, it’s beneficial to document the changes you made. Keeping a record of the new network settings, such as the network name and any adjustments to linked devices, can be helpful for future reference. Include details about when the change was made and any steps taken to resolve issues. This documentation can be invaluable for troubleshooting future connectivity problems or updating multiple devices. Proper record-keeping ensures your home security setup remains organized and manageable over time.

Following these steps, you can change your Ring device’s Wi-Fi network and maintain a secure and efficient home security system.
5 Things You Should Avoid
- Ignoring Security Protocols: Always ensure you are connected to a secure and private network before attempting to change the Wi-Fi settings on your Ring device. Failing to do so can expose your device to potential security threats.
- Using Incorrect Login Credentials: Before starting the process, make sure you have the correct login information for your Ring account and your Wi-Fi network. Mistakes in entering usernames or passwords can cause unnecessary delays.
- Overlooking Firmware Updates: Check that your Ring device has the latest firmware updates installed before changing the Wi-Fi network. Outdated firmware may cause compatibility issues and disrupt the setup process.
- Forgetting to Charge the Device: If the device is battery-powered, ensure it is sufficiently charged or connected to a power source. An undercharged device could power off during the Wi-Fi change, resulting in data loss or corrupted settings.
- Skipping the Network Compatibility Check: Before switching to a new Wi-Fi network, confirm that it is compatible with your Ring device, specifically regarding frequency bands (2.4GHz vs. 5GHz) and network settings such as SSID visibility.
By avoiding these common mistakes, you can ensure a smooth and successful Wi-Fi setup for your Ring device.
Conclusion
By carefully following the outlined steps and avoiding common pitfalls, changing the Wi-Fi network on your Ring device can be straightforward and hassle-free.
Begin by ensuring your device is fully powered and updated with the latest firmware. Then, prepare by confirming the compatibility of your new network and double-checking your login credentials. Always prioritize security by using a private connection during this setup. By taking these precautions, you can seamlessly switch your device to a new Wi-Fi network, maintaining its performance and security for optimal operation.
Hopefully, the article on how to change WiFi network on Ring device has equipped you with the necessary knowledge and tips to successfully complete this task. Thank you for choosing Ring for your home security needs! Happy monitoring!

