
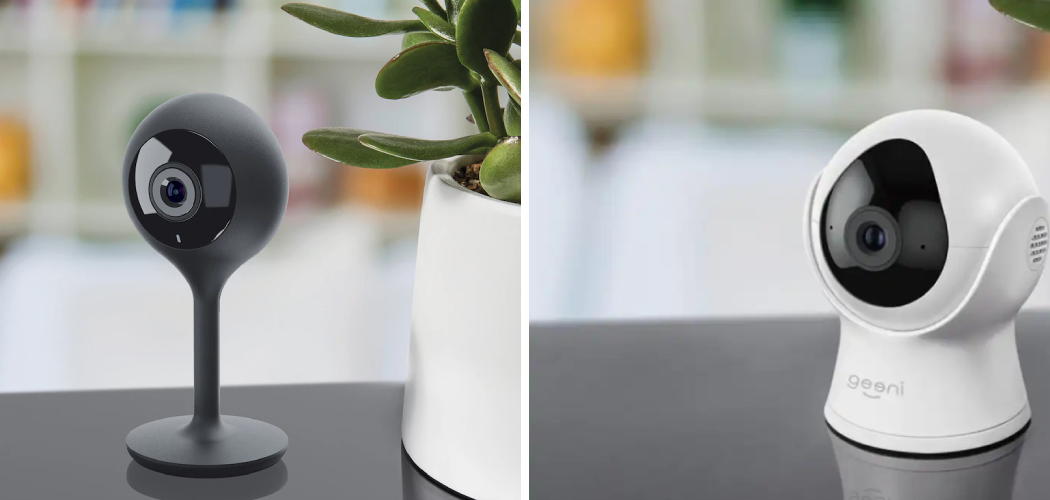
Smart home devices like Geeni cameras have made monitoring and managing home security more accessible. However, situations such as upgrading your internet router or changing network passwords can require a WiFi network update for your Geeni camera. Learning how to change WiFi on Geeni camera devices is a simple yet necessary task to ensure uninterrupted security monitoring.

To change the WiFi on your Geeni camera, you will first need to reset the device to enter pairing mode. This is typically done by holding down the reset button on the camera until the indicator light starts blinking. Next, open the Geeni app on your smartphone and follow the on-screen instructions to add a new device. During the setup process, you will be prompted to select your new WiFi network and enter the password. Ensure that your smartphone is connected to the same network you wish to pair with the camera. Once connected, the indicator light on the camera will stop blinking, signaling that the setup is complete.
This guide provides you with clear, beginner-friendly steps to update your Geeni camera’s WiFi settings seamlessly. You don’t need to be tech-savvy—just follow the instructions carefully, and your device will be back online in no time. Whether you’re troubleshooting connectivity issues or setting up your camera in a new location, this article will equip you with the knowledge to handle the process confidently.
Why Changing WiFi on a Geeni Camera Matters
Updating the WiFi settings on your Geeni camera is essential in scenarios where your network credentials change or you switch to a new internet service provider. The camera relies solely on its connection to the WiFi network to send live video feeds, receive commands, and store recordings through cloud services. Without proper configuration, your smart camera cannot function as intended.
Another reason to revisit your camera’s WiFi settings is network optimization. For example, ensuring your camera is connected to a strong, stable 2.4GHz signal can significantly improve its performance. Many smart cameras do not support the 5GHz band, so reconnecting your Geeni device to the correct frequency is crucial.
Properly updating the network settings assures uninterrupted monitoring and security. This makes your home safer while giving you the peace of mind that comes from knowing your device is functioning optimally.
Step-by-Step Guide: How to Change WiFi on Geeni Camera
Step 1: Reset the Camera
The first step in how to change WiFi on Geeni camera devices is resetting your camera. This ensures it disconnects from the previous network and is ready to pair with the new WiFi credentials. Locate the reset button, which is usually on the back or underside of the camera. Use a pin or small object to press and hold the button for about 5–10 seconds.
Once you release the button, the camera’s indicator light will blink, signaling that it has entered pairing mode. This step is critical because it clears previous settings, allowing the camera to start fresh with the updated network configuration. Waiting long enough for the camera to fully reset is essential for a successful setup.
Step 2: Open the Geeni Mobile App
After resetting the camera, open the Geeni app on your smartphone or tablet. If you haven’t already downloaded the app, it’s available on both iOS and Android platforms. Log in to your Geeni account or create one if you’re new to the device.
Once inside the app, select the option to add a new device. The app will guide you through choosing the correct device type, which in this case is a camera. Having the app ready speeds up the connection process while ensuring all network pairing steps occur without interruptions.
Step 3: Place the Camera in Pairing Mode
Although resetting the camera typically places it into pairing mode, some devices may require you to activate it manually in this step. Confirm the indicator light is blinking rapidly, as this signifies the camera is ready to establish a new connection.
If the light isn’t blinking, refer to the user manual for instructions on activating pairing mode (e.g., pressing and holding the reset button again). This step is essential for allowing your Geeni camera to detect and connect to your new WiFi network. Skipping it could result in the device failing to appear during the app pairing process.
Step 4: Connect to the Correct WiFi Network
The Geeni app will prompt you to connect the camera to a WiFi network. Ensure you select a 2.4GHz network, as most smart home devices, including the Geeni camera, are incompatible with 5GHz WiFi. Enter the new network name (SSID) and password carefully to avoid errors.
Pay close attention to case sensitivity and special characters in your WiFi password. The app’s screen will show a loading animation while the camera attempts to pair with the network. Keep your smartphone close to the camera during this step to maintain strong pairing signals and accelerate the connection process.
Step 5: Wait for the Camera to Confirm Connection
Once you’ve entered the WiFi credentials, allow the camera a few moments to establish a connection. You’ll know the connection is successful when the light on the camera turns solid (check the manual to confirm the specific light color or pattern for your model).
If the light continues blinking or the app displays an error, double-check the credentials entered and ensure your network meets the compatibility requirements. Retry the process if necessary. This waiting period tests the strength of the network and confirms that your new settings have been applied successfully.
Step 6: Name Your Camera
After connecting to the new WiFi network, the app will prompt you to assign a name to your camera. This is particularly helpful if you have multiple Geeni devices, as it allows you to easily differentiate between them in the app’s interface. Choose a descriptive name like “Front Door Camera” or “Living Room Camera.”
Naming the device makes navigation more intuitive and enhances your overall user experience. It also personalizes your smart home setup, making it easier to locate specific devices when viewing footage or adjusting settings.
Step 7: Test Connection and Video Feed
Once the setup is complete, verify that the camera is functioning properly on the new WiFi network. Open the live feed in the Geeni app to ensure the image quality is clear, and test features like motion detection or two-way audio to confirm everything is working as intended.
Move the camera slightly to ensure it remains connected despite minor changes in positioning. A stable connection during these tests is a good indicator that the new WiFi setup is reliable. Regularly testing your camera helps detect issues early and ensures uninterrupted home security.
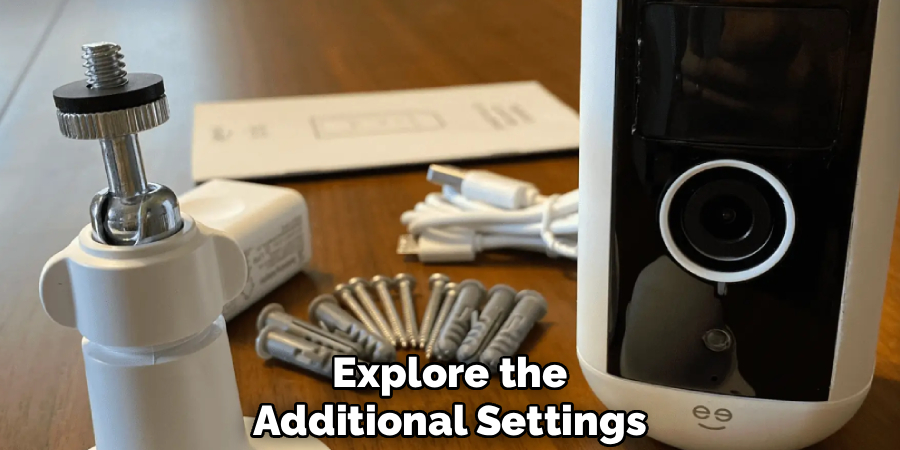
Step 8: Adjust Advanced Settings if Needed
After testing, explore the additional settings in the Geeni app. Depending on your model, you can fine-tune features like video resolution, motion sensitivity, and storage preferences. Adjusting these options ensures the camera is optimized for its location and intended use.
Take this opportunity to update your firmware if prompted by the app. Regular updates ensure your device has the latest features and security patches. Fine-tuning advanced settings completes the installation process, preparing your camera for day-to-day use.
Step 9: Monitor Regularly for Connectivity Issues
Maintaining a solid WiFi connection is key to effective monitoring. Periodically check your Geeni camera’s status in the app to ensure it remains connected. Environmental factors like signal strength or interference from nearby devices can occasionally disrupt the connection.
If issues arise, perform basic troubleshooting by restarting your router or repositioning the camera for better reception. Monitoring regularly keeps your camera performing optimally without recurring disruptions to network connectivity.
Maintenance and Updates Guidance
To ensure your Geeni camera operates efficiently, it’s essential to keep its firmware up to date. Regular updates often include important security patches and performance improvements. You can check for updates through the Geeni app by navigating to the settings of your connected device.
Additionally, clean the camera lens periodically with a soft, dry cloth to maintain clear video quality. Avoid using harsh chemicals that could damage the lens. Lastly, inspect the device and its power connections for any signs of wear or damage, and replace any faulty components promptly to prevent disruptions in functionality.
Frequently Asked Questions
What Happens if I Reset My Geeni Camera Accidentally?
Resetting your Geeni camera clears the saved WiFi credentials and settings, returning it to its factory state. You’ll need to repeat the pairing process to reconnect it to your network. Follow the steps in the app to reconfigure the device.
Why Won’t My Geeni Camera Connect to My Wifi Network?
This issue typically occurs when attempting to connect to a 5GHz network, which most Geeni cameras don’t support. Ensure you’re connecting to a 2.4GHz network and check for strong signal strength and correct password entry.
Do I Need to Reset the Camera to Change Its Wifi?
Yes, a reset is required to clear the old WiFi information and put the camera into pairing mode. Without resetting, the camera won’t disconnect from the previous network, preventing you from reconfiguring the WiFi.
How Can I Troubleshoot Poor Live Video Quality?
Low-quality video is often caused by weak WiFi signals. Reposition the camera closer to the router or use a WiFi extender to improve signal strength. Also, check that your home network isn’t congested by too many devices.
Can I Use the Same Wifi Settings for Multiple Geeni Cameras?
Yes, multiple Geeni cameras can share the same network. Each camera must be paired individually during setup. Naming them within the app makes managing multiple devices easier.
Conclusion
Learning how to change WiFi on Geeni camera devices is an essential skill to ensure your smart home security system runs smoothly. By resetting the camera, carefully entering new network credentials, and testing the connection, you can quickly update your device for uninterrupted functionality.
Proper maintenance of your Geeni camera is crucial for optimal performance. Regularly check for firmware updates within the app, as these updates often include important security patches and feature enhancements. Additionally, ensure that the camera’s placement avoids direct exposure to harsh weather conditions or consistent sunlight, which could damage the device over time.
With just a few simple steps, you’ll regain control of your Geeni camera, ensuring it works seamlessly within your updated network setup. Take the time to follow these guidelines, and enjoy peace of mind knowing your security system is always online and ready to protect your home!