

Changing the Wi-Fi network on your Google Nest Camera might seem daunting, but it’s an essential skill if you’ve upgraded your router or changed internet providers. By updating your camera’s Wi-Fi, you can keep your security system connected and functioning smoothly.
This guide on how to change wifi on google nest camera makes the process straightforward with clear instructions, practical tips, and solutions for common hiccups. Whether you’re a tech pro or a beginner, you’ll find each step detailed and easy to follow. Let’s get started and ensure your Nest Camera stays online and secure.
Prerequisites Before Changing Wi-Fi
Before you begin, make sure you have access to your Google account connected to the Nest Camera. You’ll also need to know your new Wi-Fi network name (SSID) and its password. It’s important to check that your camera is plugged in, working, and within range of the new network to avoid interruptions during setup.
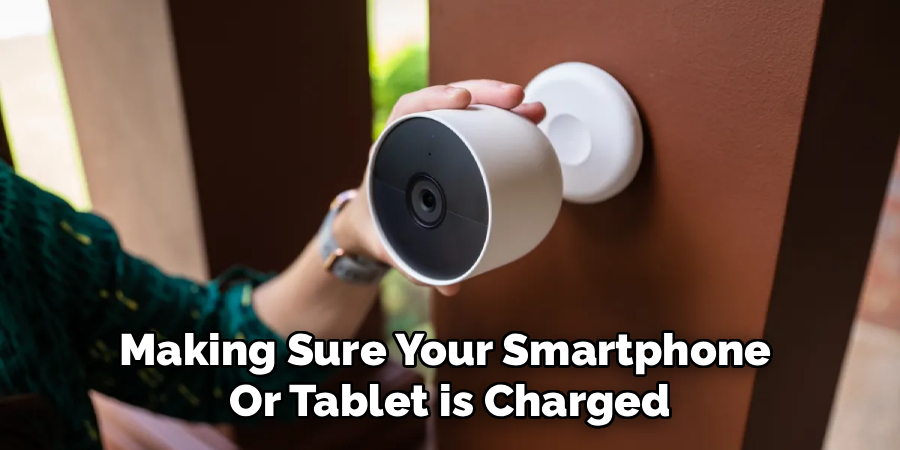
Have your smartphone or tablet with the Google Home app or Nest app installed and updated. Confirm that your internet is stable so you don’t lose connection partway through the process. Reviewing these prerequisites ahead of time will help ensure a smooth transition to the new Wi-Fi.
Tools and Materials You’ll Need
- A Smartphone or Tablet With the Google Home/Nest app
- Access to the Google Account Linked to the Camera
- The New Wi-fi Network Name (Ssid) and Password
- Google Nest Camera, Plugged in and Powered
- Reliable Internet Connection
7 Simple Step-by-step Guidelines on How to Change Wifi on Google Nest Camera
Step 1: Prepare Your Device
Start by making sure your smartphone or tablet is charged, connected to the internet, and has the Google Home or Nest app installed. Launch the app and sign in with the same Google account that you used for your Nest Camera.
Set aside some uninterrupted time for this task. If possible, move your device closer to your camera and Wi-Fi router for a stronger connection during the setup.
Step 2: Locate Your Nest Camera in the App
After logging in, look for your Nest Camera on the main dashboard of the app. Tap on your camera’s name or icon to open its settings and live feed view.
Ensuring you have selected the correct device is important, especially if you have multiple Nest devices. Navigating to the right camera will allow you to access the appropriate settings menu.
Step 3: Access Camera Settings
With the live feed open, find the settings gear icon—usually located in the upper right or left corner of the screen. Tap this icon to enter the full settings menu for your camera.
Inside this menu, scroll down to find network or Wi-Fi options. Take your time exploring the settings without making changes yet, so you’re confident about where everything is located.
Step 4: Remove or Reset the Old Wi-Fi Connection
Some Nest Cameras require you to remove the device from the app to change Wi-Fi networks. Tap the “Remove device” or similar option if it’s available. You may need to hold down the camera’s reset button for a few seconds to disconnect it from the old network.
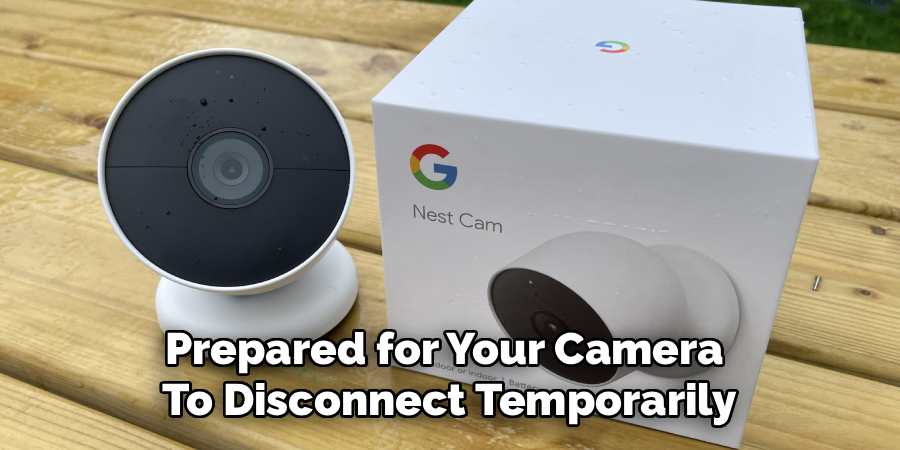
Be prepared for your camera to disconnect temporarily. Allow it a moment to power cycle or reset as required—this step sets the stage for connecting to the new Wi-Fi.
Step 5: Add the Device Back to the App
Return to your app’s main dashboard and select “Add new device” or the “+” icon. Follow the prompts to begin re-adding your camera. The app will guide you through scanning the camera’s QR code or manually entering its details.
This process ensures your camera is ready to pair with the new network. It’s helpful to have your phone and camera close together during this step for a reliable connection.
Step 6: Connect to the New Wi-Fi Network
When prompted, select your new Wi-Fi network from the list shown in the app. Carefully enter the network password and confirm the choice. Wait while your Nest Camera attempts to connect to the new Wi-Fi.
It’s normal for the camera to restart or blink while switching networks. Once connected, you should see a confirmation message in the app, and your camera’s live feed should resume.
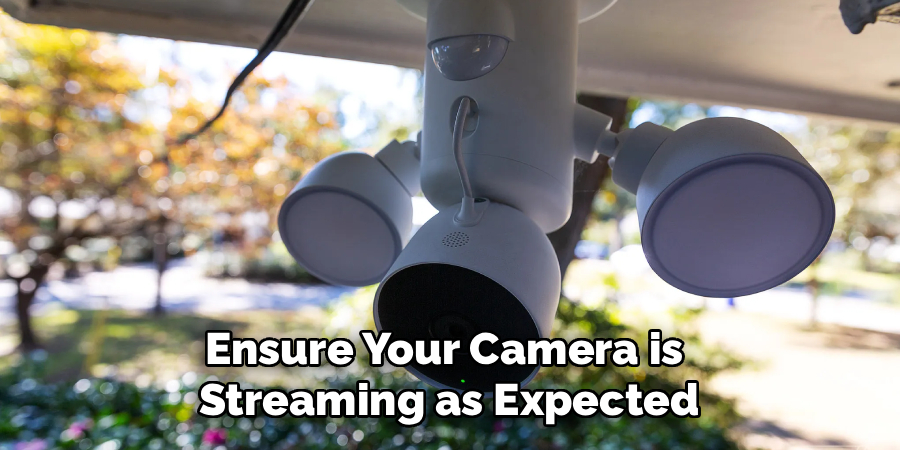
Step 7: Test the Camera and Finalize Setup
Check the live video feed in your app to ensure your camera is streaming as expected. Walk around the coverage area and verify video quality and connectivity. Test features like notifications to confirm everything is working smoothly.
If issues arise, revisit earlier steps or use the troubleshooting tips below. Taking a few minutes to double-check settings now will save time later and give you peace of mind.
Following these steps on how to change wifi on google nest camera ensures that your camera is properly connected to your wifi network and ready to use. Remember to periodically check for software updates and make necessary adjustments as needed.
Troubleshooting Tips
If your Nest Camera doesn’t connect, double-check your Wi-Fi name and password for errors. Make sure your camera is within range of the router, as weak signals can prevent successful connections. Reboot both your camera and your router if you encounter problems during the setup.
If the device doesn’t show up in your app, try reinstalling the Google Home or Nest app and repeating the process. Keep the camera plugged in and avoid disconnecting power during network changes. If all else fails, reach out to Google Support for further assistance.
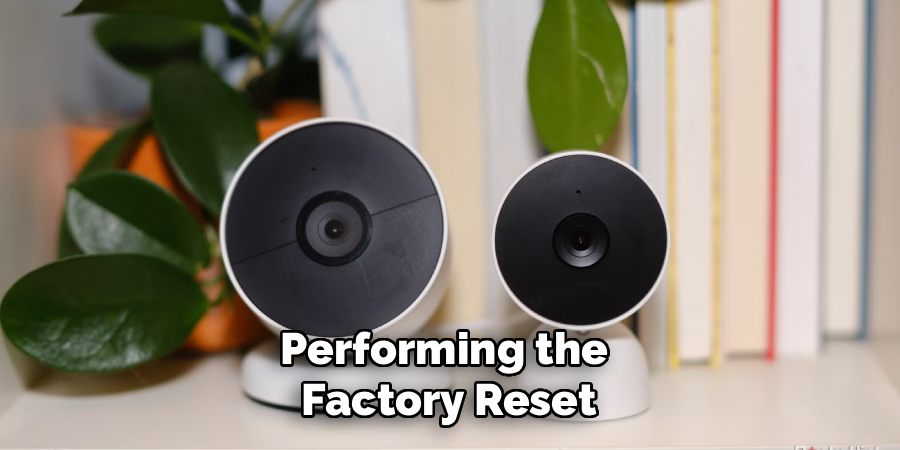
When a Factory Reset May Be Necessary
A factory reset may be required if all troubleshooting steps fail to resolve issues with your camera. This process is particularly useful if the device is unresponsive, consistently fails to connect to the network, or displays errors that cannot be addressed through basic resets. Performing a factory reset will erase all settings and preferences, returning the camera to its original state.
This can also help if you are transferring ownership of the device or setting it up on a new account. Be sure to follow the manufacturer’s instructions carefully when performing the reset to ensure a smooth reconfiguration process afterward.
Final Check & Confirmation
After performing the factory reset, take a moment to verify that the device has fully returned to its default settings. Check the device’s status indicators or perform a quick functionality test to ensure the reset was successful. If the device still exhibits issues or does not behave as expected, consult the manufacturer’s troubleshooting guide or reach out to customer support for further assistance.
Once you’re confident the reset process is complete, proceed with reconfiguring the device or transferring it as needed. Always double-check that any personal data has been completely removed if you are handing over the device to a new owner.
Frequently Asked Questions
Q1: How Long Does It Take to Change Wi-Fi on a Nest Camera?
Changing the Wi-Fi typically takes about 10-15 minutes, depending on your familiarity with the app and setup process. Having all the information and tools ready can speed things up. If you encounter issues, allow extra time for troubleshooting or software updates.
Q2: Do I Need to Remove the Camera from the App to Change Wi-Fi?
In most cases, you’ll need to remove the camera from your Google Home or Nest app before reconnecting it to a new Wi-Fi network. This ensures your camera doesn’t keep searching for the old network. Follow app prompts to guide you through removal and re-setup.
Q3: Will Changing Wi-Fi Erase My Camera’s Footage?
Generally, changing the Wi-Fi does not delete your camera’s stored footage if you have a Nest Aware subscription. However, some settings might revert to the default. Always double-check your cloud storage and backup options before proceeding.
Q4: What Should I Do If My Camera Won’t Connect After Changing Wi-Fi?
If your camera fails to connect, start by reviewing your Wi-Fi credentials and app instructions. Restart the camera and router, and consider moving closer to the router for setup. If problems persist, a factory reset or contacting Google Support may be necessary.
Conclusion
Changing your Google Nest Camera’s Wi-Fi is a straightforward process when you follow the right steps. From preparation to confirmation, taking your time at each stage will help you avoid common pitfalls. Remember to leverage the troubleshooting tips if you hit a snag and only resort to a factory reset if absolutely necessary.
With your camera successfully connected to the new network, you can enjoy peace of mind knowing your security system is back online and ready to keep your home safe. Thanks for reading this article on how to change wifi on google nest camera.