

Knowing how to change Wifi on Kangaroo Doorbell is an essential skill for keeping your smart home devices connected and functioning smoothly. The Kangaroo Doorbell is a simple, user-friendly security solution that relies on a steady Wifi connection to deliver alerts and footage to your smartphone.
However, situations like upgrading your router, moving to a new home, or troubleshooting connectivity issues might require you to update the Wifi settings on the device.

To change the Wifi on your Kangaroo Doorbell, you’ll need to access the Kangaroo app on your smartphone. Ensure the doorbell is powered on and within range of the new Wifi network. Follow the step-by-step instructions in the app to connect the device to the updated network, and ensure the connection is stable before completing the setup.
Changing the Wifi on your Kangaroo Doorbell may seem overwhelming, but it’s actually a straightforward process when broken down into manageable steps. Whether you’re a tech-savvy user or just starting your smart home setup, this guide will walk you through each step to ensure seamless connectivity. By the end, you’ll confidently reconnect your Kangaroo Doorbell to the new network and restore its functionality without any hassle.
Why Is Changing the Wifi on Your Kangaroo Doorbell Important?
Having your Kangaroo Doorbell connected to a stable Wifi network is vital for its performance. Without a proper connection, the doorbell won’t be able to send real-time alerts, stream video footage, or integrate with other smart home devices. When you change your network settings—such as installing a new router or altering the Wifi password—you must update the Kangaroo Doorbell accordingly to maintain functionality.
The process of changing Wifi on your Kangaroo Doorbell helps you avoid common problems like delayed or missing notifications, offline devices, and unresponsive app controls. It also ensures your device participates effectively in your broader smart home network, where multiple gadgets work together for security and convenience.
Additionally, understanding how to update these settings empowers you to troubleshoot connectivity issues quickly, saving you time and effort while boosting your doorbell’s reliability.
Whether you’re enhancing your network’s speed with a new router or addressing connectivity issues, knowing how to perform this update ensures your Kangaroo Doorbell stays optimized and continues to serve its purpose seamlessly.
Step-by-Step Guide: How to Change Wifi on Kangaroo Doorbell
Step 1: Access the Kangaroo App
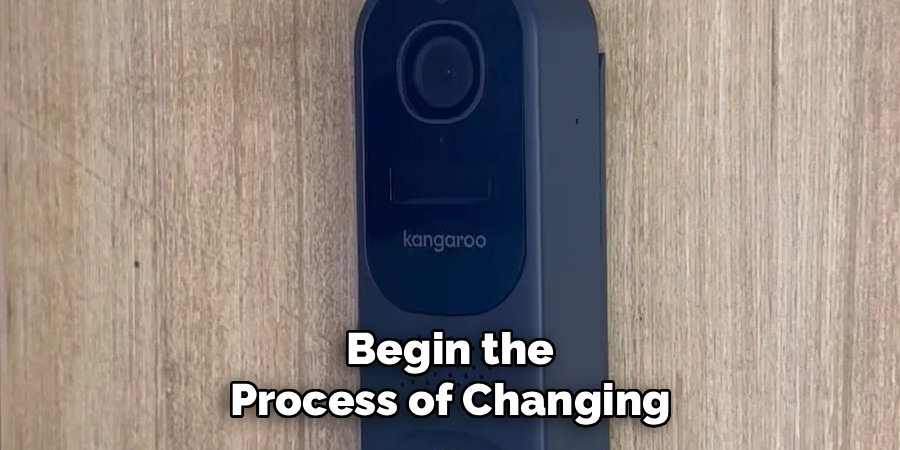
To begin the process of changing your Kangaroo Doorbell’s Wifi connection, the first step is accessing the dedicated Kangaroo app on your smartphone. Open the app and log in using your credentials if you haven’t already. Ensure your phone is connected to the same Wifi network you plan to use for the doorbell, as this simplifies the setup process.
Navigate to the section of the app that displays your connected devices, where you’ll find the Kangaroo Doorbell listed. Select the device to open its specific settings page, which contains various options for managing connectivity and other features. Ensuring you’re in the app’s device settings is the key starting point for making any updates to your Wifi configuration.
Step 2: Navigate to Network Settings
Once you’ve accessed the device settings within the Kangaroo app, look for the option labeled “Network Settings” or “Wifi Settings.” This section is where you configure or update the Wifi information for your Kangaroo Doorbell. Tap on it to proceed.
Allow the app to load your doorbell’s current network details, which might include the existing Wifi name and signal status. Confirm that you’re ready to make changes by selecting the “Change Wifi” or similar prompt. By navigating to network settings, you set the stage for updating the doorbell’s connection to the new network seamlessly.
Step 3: Disconnect the Current Network
Before connecting your doorbell to a new network, it’s often necessary to disconnect it from the existing one. The app may prompt you to confirm this step. Select “Disconnect” or “Forget Network,” ensuring the device is no longer linked to the old Wifi.
This disconnection allows the doorbell to reset its network configuration, preparing it to accept the new Wifi details. You’ll notice that the app displays a message indicating the device has been disconnected successfully. Carefully resetting the connection ensures no interference during the rest of the process.
Step 4: Restart the Kangaroo Doorbell
A restart is a crucial step in the process of successfully changing Wifi on your Kangaroo Doorbell. Locate the power button on the doorbell or remove and reinsert its batteries to reboot the device. Restarting clears any lingering configurations tied to the old network.
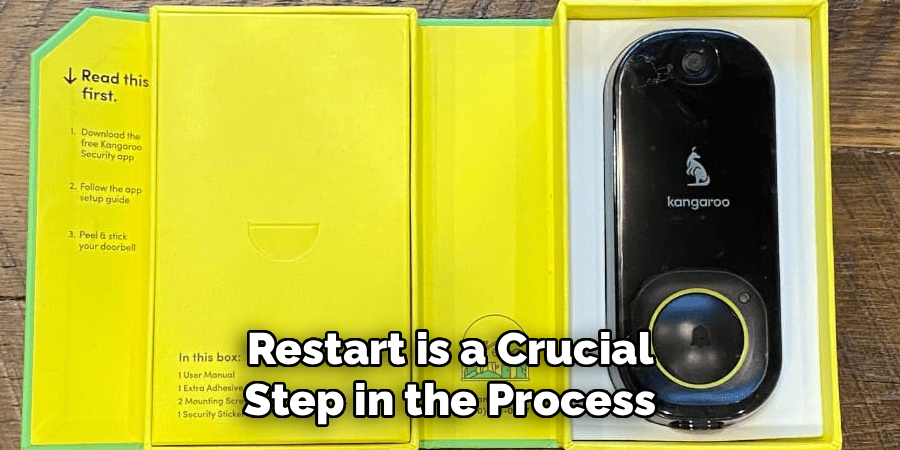
After the restart, the doorbell should be ready to pair with a new network. Ensure the device is powered on and in pairing mode, which is often indicated by a blinking light or a specific sound cue. Rebooting the doorbell helps stabilize its system, ensuring it’s prepared for a fresh Wifi configuration.
Step 5: Enter New Wifi Credentials
Return to the Kangaroo app and confirm that the doorbell is ready for setup. Select the option to connect to a Wifi network, and the app will display a list of available Wifi signals within range. Choose your new network and enter the Wifi password carefully.
Double-check the accuracy of the network name (SSID) and password to avoid connectivity errors. Once entered, tap “Connect” or an equivalent button to proceed. Providing the correct credentials is essential for establishing a secure and reliable connection between the doorbell and the new Wifi network.
Step 6: Complete the Pairing Process
The Kangaroo app will now attempt to pair the doorbell with the selected Wifi network. This process may take a minute or two as the system synchronizes. During this time, ensure your phone remains close to the device and avoid interrupting the setup process.
Once the pairing is complete, the app will confirm that the doorbell is successfully connected to the new network. You’ll also notice the device’s status changes to “Online” within the app. Completing this pairing step sets the foundation for your doorbell’s improved performance on the updated network.
Step 7: Test the Connection
Before concluding the process, take a moment to test the new connection. Use the app to access live-streamed footage from the Kangaroo Doorbell or check for responsiveness in its motion-detection features. Test the doorbell’s ability to send alerts and interact with other smart home devices.
By verifying the connection, you ensure that the new Wifi setup is functioning correctly. Identifying any glitches at this stage allows you to troubleshoot and address them before they become disruptive. Testing the connection guarantees the doorbell’s reliability and readiness.
Step 8: Save Settings for Future Use
Once satisfied with the updated Wifi connection, confirm and save the settings within the Kangaroo app. Some devices may ask if you’d like to back up this configuration for easier management in the future. Opting to save settings enhances convenience and allows for quick reconnection if the network changes again.

A saved configuration reduces the likelihood of Wi-Fi disruptions and minimizes the need for further troubleshooting. Securely storing these settings within the app closes out the process smoothly while ensuring continued connectivity.
Step 9: Monitor Performance Over Time
After updating the Wifi network, keep an eye on the doorbell’s performance over the next few days. Check for consistent motion triggers, timely alerts, and seamless app integration. Should any hiccups arise, revisit the Wifi settings and make adjustments as needed.
Long-term monitoring ensures your Kangaroo Doorbell operates as expected, providing reliable security and peace of mind. This ongoing diligence reinforces the value of having a stable and correctly configured Wifi connection.
Benefits to Your Kangaroo Doorbell’s
Updating your Wifi network can bring multiple benefits to your Kangaroo Doorbell’s performance and overall reliability. A stronger and more stable network enhances the doorbell’s ability to provide real-time alerts, ensuring you never miss important notifications. Improved connectivity also supports faster video streaming and reduces lag or delays when accessing live feeds or recorded footage.
Additionally, a refreshed network configuration can help resolve any lingering connectivity issues, making your doorbell more efficient and responsive. These benefits ultimately contribute to a better user experience and greater peace of mind when it comes to your home’s security.

Frequently Asked Questions
Why does my Kangaroo Doorbell lose Wifi connection?
A Kangaroo Doorbell may lose Wifi due to network interruptions, a weak signal, or updates to your router or network credentials. Ensure the router is close enough to the doorbell and avoid physical obstructions that reduce connectivity.
What do I do if the Kangaroo Doorbell won’t connect to Wifi?
Start by rebooting both the router and the doorbell. Ensure you input the Wifi credentials correctly and confirm the network is on a 2.4GHz band, which is typically required for most smart doorbells.
Do I need to reset the doorbell when changing Wifi?
Yes, resetting the doorbell often helps clear previous configurations and prepares it to accept new Wifi settings. Follow the app’s prompts or consult the device manual for resetting instructions.
Can I change the Wifi without disconnecting the current network?
It’s best to disconnect the device from its existing Wifi before connecting it to the new network. This ensures there are no conflicting configurations that might prevent a stable connection.
How long does it take to change Wifi on the Kangaroo Doorbell?
The process usually takes 5-10 minutes, depending on your familiarity with the Kangaroo app and the stability of your Wifi network. Following each step carefully ensures a smooth and quick setup.
Conclusion
Understanding how to change Wifi on Kangaroo Doorbell is a vital skill for maintaining your device’s reliability and performance. By following clear steps like using the Kangaroo app, entering the correct credentials, and testing the connection, you ensure seamless integration with your home network.
Take the time to master this process, and you’ll be ready to manage any future changes effortlessly. Enjoy consistent security and stay connected by keeping your Kangaroo Doorbell optimized for your network needs!
About
Safety Fic is a distinguished figure in the world of Diy design, with a decade of expertise creating innovative and sustainable Diy solutions. His professional focus lies in merging traditional craftsmanship with modern manufacturing techniques, fostering designs that are both practical and environmentally conscious. As the author of diy, Safety Fic delves into the art and science of Safety Fic-making, inspiring artisans and industry professionals alike.
Education RMIT University
(Melbourne, Australia) Associate Degree in Design (Safety Fic) Focus on sustainable design, industry-driven projects, and practical craftsmanship. Gained hands-on experience with traditional and digital manufacturing tools, such as CAD and CNC software.
Nottingham Trent University
(United Kingdom) Bachelor’s in diyfastly.com and Product Design (Honors) Specialized in product design with a focus on blending creativity with production techniques. Participated in industry projects, working with companies like John Lewis and Vitsoe to gain real-world insights.
Publications and Impact
In diy, Safety Fic his insights on indoor design processes, materials, and strategies for efficient production. His writing bridges the gap between artisan knowledge and modern industry needs, making it a must-read for both budding designers and seasoned professionals.