

Changing the batteries in your Yale lock is an essential maintenance task to ensure your lock continues to operate smoothly and securely. Whether it’s a smart lock or an electronic deadbolt, knowing how to replace the batteries can save you from unexpected lockouts and keep your home secure. This guide will walk you through the step-by-step process for how to change yale lock batteries with ease.
What Is a Yale Lock?
A Yale lock is a trusted and widely recognized type of locking mechanism, acclaimed for its durability and innovation. Named after Linus Yale Jr., who pioneered the modern pin tumbler lock in the 19th century, Yale locks have become synonymous with security across the globe.
Today, the brand offers a broad range of locking solutions, including traditional key-operated locks, digital locks, and smart lock systems. These locks are often used on residential and commercial doors, delivering a reliable combination of convenience and safety. With their sleek designs and advanced features, such as touchscreen keypads and integration with smart home systems, Yale locks continue to set the standard in modern security.
When to Change Yale Lock Batteries
Changing the batteries in your Yale lock is essential to ensure uninterrupted functionality and security. Most Yale smart locks provide notifications or indicators when the battery level starts running low, such as beeping sounds, flashing lights, or app alerts if connected through a smart home system.
It is recommended to replace the batteries as soon as these warnings appear to prevent being locked out or losing access. Additionally, if the lock starts responding sluggishly or the keypad becomes unresponsive, it could be another indication of weak batteries. Regularly checking and maintaining the battery life, especially before extended trips or during extreme weather conditions, will help avoid any inconvenience or potential security issues.
Tools and Materials You’ll Need
To ensure your smart lock remains operational and is properly maintained, you’ll need the following tools and materials:
- Replacement Batteries – Check the manufacturer’s recommendations for the correct battery type (e.g., AA, AAA, or specific rechargeable models).
- Screwdriver Set – Depending on the lock model, a small Phillips or flathead screwdriver may be required to access the battery compartment.
- Soft Cloth – Use this to clean the battery contacts or wipe down the lock’s exterior during maintenance.
- Battery Tester (Optional) – Helps verify the charge level of your existing batteries.
- Manufacturer’s Manual – Keep this on hand to reference any specific instructions for your lock model.
Having these tools and materials readily available will make the battery replacement process seamless and ensure your lock continues to function reliably.
10 Methods How to Change Yale Lock Batteries
1. Understand the Type of Batteries Used in Your Yale Lock

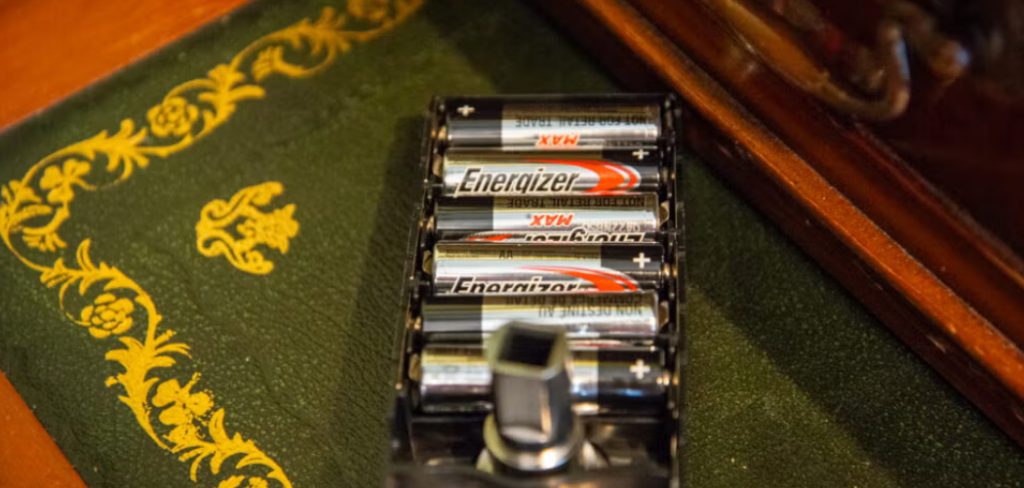
Before you start the process of changing the batteries, it’s essential to know what type of batteries your Yale lock uses. Most Yale smart locks operate with AA batteries, but there are some models that might use different battery types, such as 9-volt batteries. Refer to the lock’s user manual or the battery compartment itself to identify the correct battery type. Understanding the exact specifications is critical to avoid buying the wrong size or type of batteries, which could prevent the lock from functioning properly.
2. Check for Low Battery Indicators
Most Yale locks have built-in low battery indicators to notify you when it’s time to change the batteries. These indicators often include a warning light, sound notifications, or alerts sent to your mobile device through the Yale Access App. For example, the lock may flash a red light or beep at regular intervals when the battery is low. If you’ve received these alerts or have noticed the lock not working properly, it’s time to replace the batteries. However, even if you haven’t received a low-battery alert, it’s still a good idea to change the batteries every 6-12 months to ensure consistent performance.
3. Gather the Necessary Tools
To change the batteries in your Yale lock, you’ll need a few basic tools. First, make sure you have the correct replacement batteries on hand. Yale locks typically use AA batteries, but make sure to double-check your model’s requirements. You will also need a screwdriver to open the lock’s battery compartment. Depending on the model, you may need a flathead or Phillips screwdriver. If your lock features an emergency power port or a backup power supply, you might also need a 9-volt battery or external power supply to temporarily power the lock while you replace the batteries.
4. Remove the Lock Cover
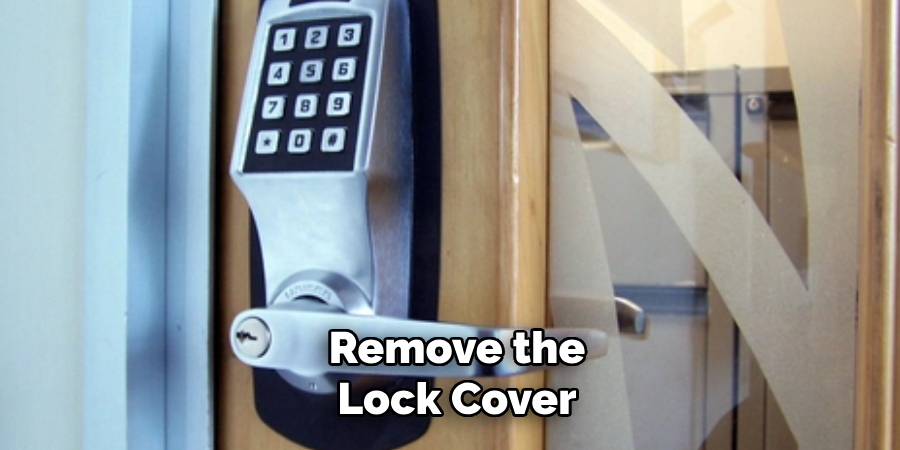
To access the battery compartment, you’ll need to remove the cover of the Yale lock. This is typically done by unscrewing the screws that hold the cover in place. Depending on the model of your lock, the cover may be located on the interior or exterior of the lock. For most models, the screws are located near the edge of the lock, and you’ll need to remove them with your screwdriver to lift off the cover. Take care not to damage the cover or any surrounding components as you remove it, as this could affect the functionality of your lock.
5. Take Note of the Battery Orientation
Once you’ve removed the lock cover, you’ll see the battery compartment with the old batteries inside. Before you remove the old batteries, it’s important to note how they are positioned within the compartment. Typically, batteries are inserted with the positive (+) side facing a particular direction and the negative (-) side facing the other. Pay close attention to the orientation of the batteries to ensure that the new ones are placed correctly. Incorrect battery placement can prevent the lock from working and could even damage the internal components.
6. Remove the Old Batteries
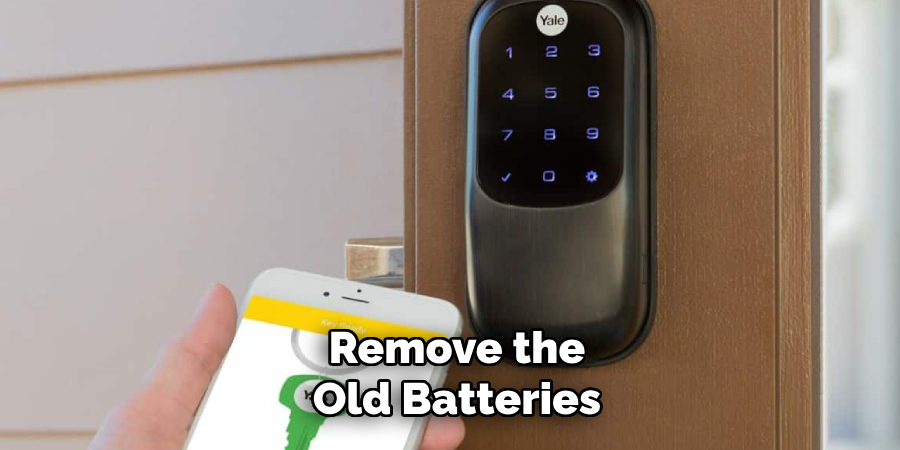
Now that you’ve noted the orientation of the batteries, it’s time to remove the old ones. Depending on the model, you may be able to simply pull the batteries out, or you may need to use a small tool to help you lift them out of their compartment. If you encounter resistance, be gentle to avoid damaging the battery contacts. Take care to dispose of the old batteries properly by recycling them according to your local recycling guidelines. Never dispose of batteries in the regular trash, as they can be harmful to the environment.
7. Install the New Batteries
Once the old batteries are removed, it’s time to install the new ones. Take your new batteries and place them in the compartment, ensuring they are oriented correctly. For AA batteries, the positive (+) side should be facing the spring or metal contact inside the compartment, while the negative (-) side should face outward. If your Yale lock uses a 9-volt battery or another type of battery, ensure that it is securely connected to the terminals or power connectors. A firm connection is essential for proper operation, so make sure the batteries are seated correctly and don’t shift out of place once the cover is reattached.
8. Replace the Lock Cover
After the new batteries are in place, it’s time to reattach the lock cover. Carefully position the cover back onto the lock, ensuring it lines up with the screw holes. Use your screwdriver to tighten the screws and secure the cover in place. Be cautious not to overtighten the screws, as this could damage the lock or cause the cover to become misaligned. Once the cover is secured, check to ensure there are no gaps or loose parts around the cover, as this could interfere with the lock’s operation.
9. Test the Lock
Once the batteries are replaced and the cover is back in place, it’s important to test the lock to ensure that everything is working correctly. Try locking and unlocking the door using your standard method—whether that’s using the keypad, smartphone app, or traditional key. If the lock functions smoothly, the batteries have been installed correctly.
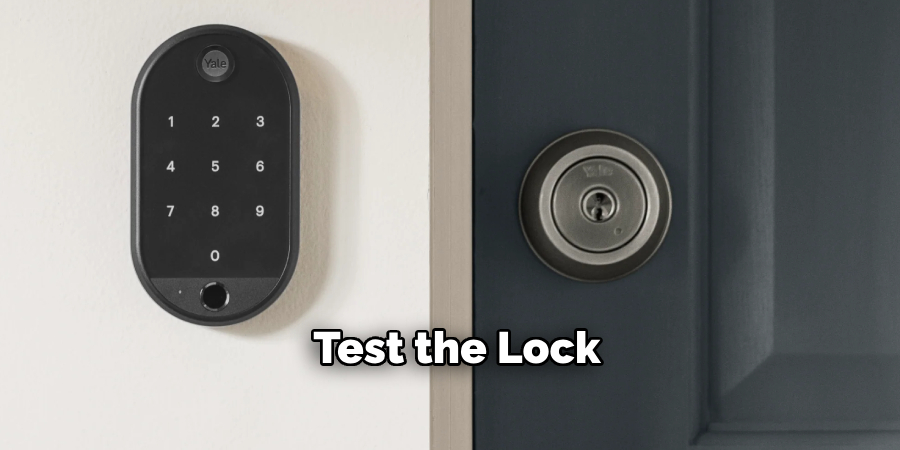
Additionally, if your lock is connected to a smart home system like Google Assistant or Amazon Alexa, check to ensure that the lock responds to voice commands as expected. If the lock doesn’t operate as intended, double-check the battery installation and ensure the batteries are new and properly seated.
10. Consider Replacing the Batteries Regularly
To avoid running into battery issues in the future, it’s a good practice to replace the batteries in your Yale lock regularly. Even if you haven’t received a low-battery alert, it’s recommended to replace the batteries every 6 to 12 months, depending on your usage. Regular battery replacement ensures that your lock continues to function optimally and provides reliable security for your home. Set a reminder on your phone or calendar to check the batteries periodically, so you never have to worry about a dead battery locking you out.
Conclusion
Changing the batteries in your Yale lock is an easy and essential part of maintaining its functionality. By following these 10 methods, you can ensure that your lock remains secure and reliable for years to come. Always use the correct battery type, take care when removing and installing the new batteries, and test the lock afterward to confirm it’s working properly. Regular maintenance, including battery replacement, will ensure that your Yale smart lock continues to provide excellent security without any interruptions. Thanks for reading, and we hope this has given you some inspiration on how to change yale lock batteries!
About
Safety Fic is a distinguished figure in the world of Diy design, with a decade of expertise creating innovative and sustainable Diy solutions. His professional focus lies in merging traditional craftsmanship with modern manufacturing techniques, fostering designs that are both practical and environmentally conscious. As the author of diy, Safety Fic delves into the art and science of Safety Fic-making, inspiring artisans and industry professionals alike.
Education RMIT University
(Melbourne, Australia) Associate Degree in Design (Safety Fic) Focus on sustainable design, industry-driven projects, and practical craftsmanship. Gained hands-on experience with traditional and digital manufacturing tools, such as CAD and CNC software.
Nottingham Trent University
(United Kingdom) Bachelor’s in diyfastly.com and Product Design (Honors) Specialized in product design with a focus on blending creativity with production techniques. Participated in industry projects, working with companies like John Lewis and Vitsoe to gain real-world insights.
Publications and Impact
In diy, Safety Fic his insights on indoor design processes, materials, and strategies for efficient production. His writing bridges the gap between artisan knowledge and modern industry needs, making it a must-read for both budding designers and seasoned professionals.