

Charging your Google Nest Camera properly is essential for keeping your home security system functioning at its best. Whether you are new to smart home devices or simply want to ensure you’re caring for your camera correctly, learning the steps to charge it is important for long-lasting performance. Taking a few extra minutes to follow the right procedure can make a big difference.

In this guide on how to charge google nest camera, we’ll cover everything you need to know to charge your Google Nest Camera efficiently. From gathering the proper materials to following step-by-step instructions, you’ll have peace of mind and a fully powered device. Let’s get started on keeping your property safe and your camera ready for action.
Tools and Materials You’ll Need
- Google Nest Camera (compatible model)
- Official Nest charging cable (or compatible USB-C cable)
- Power adapter or USB charging block
- Access to a power outlet
- Cleaning cloth (optional, for cleaning the charging port)
- Stable surface for placing the camera
10 Simple Step-By-Step Guidelines on How to Charge Google Nest Camera
Step 1: Locate the Charging Port
Begin by carefully inspecting your Google Nest Camera to find the charging port. Usually, the port is located on the back or underside of the device, protected by a rubber cover or flap. Handle the camera gently to avoid damaging any sensitive areas.
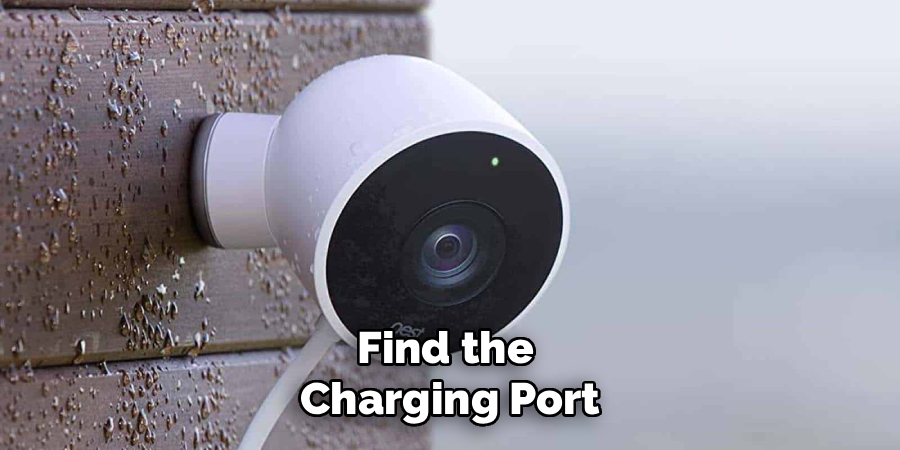
If you are unsure where the charging port is, check the user manual or visit the official Google support website for more detailed diagrams. Properly locating the port will ensure a secure and stable connection when charging.
Step 2: Prepare the Charging Cable and Adapter
Take the official Nest charging cable out of its packaging. If you are using a third-party USB-C cable, verify that it is compatible with your model to prevent potential charging issues. Inspect the cable and adapter for any visible damage or debris.
Before plugging anything in, clean the ends of the cable and make sure the adapter is functioning properly. Using clean and undamaged charging components is crucial for a safe and effective charging process.
Step 3: Connect the Charging Cable to the Camera
Gently insert the USB-C charging cable into the designated charging port on the camera. Avoid forcing the connector, as doing so might damage the port or the cable itself. Make sure the connection feels secure but not too tight.
A correct and stable connection guarantees that the charging process starts smoothly. If you notice any resistance, double-check that you are using the correct port and cable orientation.
Step 4: Plug the Adapter Into a Power Source
Connect the other end of the charging cable to the power adapter, then plug the adapter into a power outlet. Select a location that is dry and free of clutter to avoid tripping over cords or knocking the camera off its surface. Ensure that the outlet you use is functional and not overloaded with other devices.
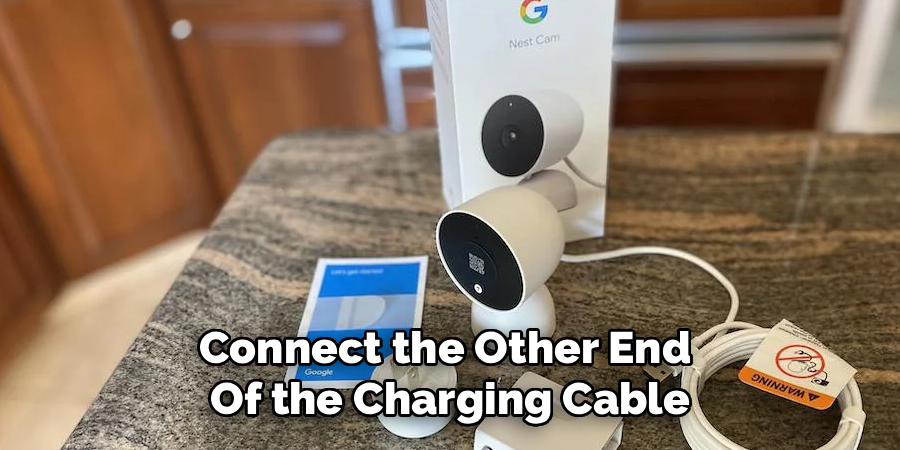
Using a surge protector can also help safeguard your camera from potential electrical issues. Once everything is plugged in, check for any indicator lights that show the camera is charging.
Step 5: Monitor the Charging Indicator
Most Google Nest Cameras have an LED indicator that signals charging status. Watch for the light to either turn on or change color (refer to your camera’s manual for specific meanings). This visual cue lets you know that the charging process has successfully begun.
If the indicator does not light up, double-check all the connections and try using a different outlet. Monitoring the indicator will help you ensure the camera is charging and not experiencing any issues.
Step 6: Allow Sufficient Charging Time
Charging your Google Nest Camera fully may take a few hours, depending on the battery’s current level. Refer to the manufacturer’s guidelines for recommended charging times to avoid undercharging or overcharging the device.
During charging, avoid unplugging the camera or disturbing the connections. This patience will help your camera reach its optimum battery level and perform better over time.
Step 7: Inspect Charging Progress Occasionally
It’s good practice to check the camera’s progress every hour or so. Look for changes in the LED indicator or use the app to monitor battery status if supported. This will alert you if there are any charging interruptions.
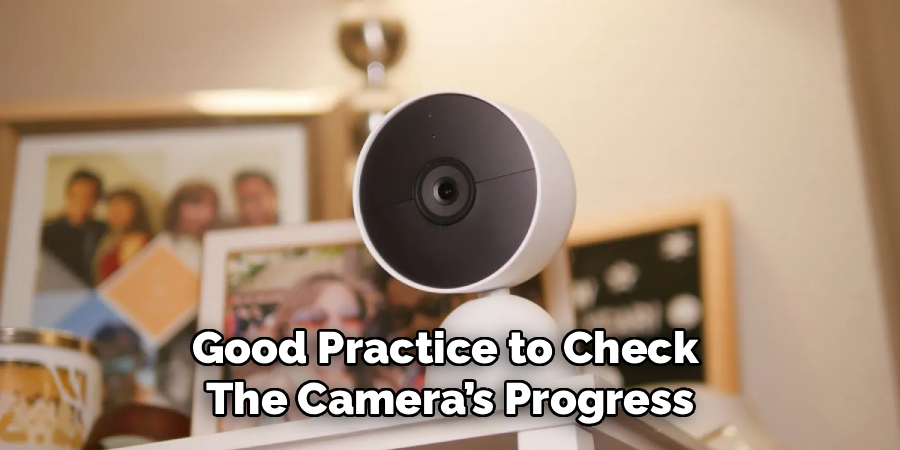
Regular inspections help you identify any problems early, such as a loose cable or power interruptions, which could prevent a full charge. Keeping an eye on things can extend the lifespan of your device.
Step 8: Disconnect the Charging Cable Safely
Once your camera is fully charged, gently unplug the cable from both the camera and the adapter. Try not to yank the cord, as this can damage the port or cable. After disconnecting, replace any covers or flaps on the charging port to protect it from dust and moisture.
Storing the cable properly and keeping it untangled ensures it remains usable for future charging sessions. A little care now can prevent headaches later.
Step 9: Reposition the Camera as Needed
After charging, reposition the camera in its original mounting location or wherever needed for optimal surveillance. Ensure it is securely fastened and aimed in the desired direction. Double-check that the camera is working through the companion app or web portal.
Repositioning may also involve readjusting angles or settings to maintain proper coverage. Take a moment to confirm your camera’s field of view and adjust if necessary.
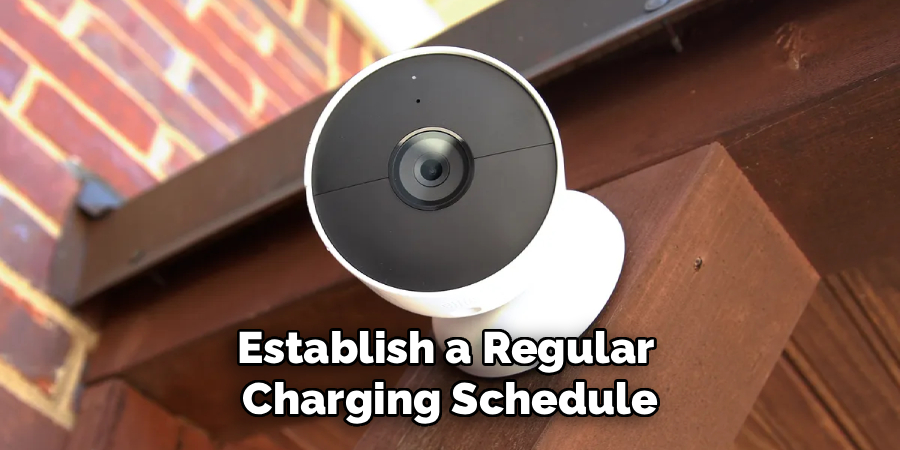
Step 10: Regularly Schedule Charging Sessions
To keep your Google Nest Camera running at peak performance, establish a regular charging schedule based on your usage patterns and battery life. Mark reminders in your calendar or set alerts in the app to help you remember.
Routine maintenance and charging will minimize downtime and ensure your camera is always ready to protect your home. Staying consistent with this routine can also help you spot any potential battery issues early.
Following these steps on how to charge google nest camera, you can keep your camera functioning well and provide you with peace of mind.
Additional Tips
Use Original Chargers
Always use the original Google Nest Camera charger or a compatible alternative to prevent potential damage to the battery or device.
Avoid Overcharging
Once the battery is fully charged, unplug the camera to prevent overcharging, which can degrade the battery over time.
Charge in Optimal Conditions
Ensure the charging environment is neither too hot nor too cold, as extreme temperatures can adversely affect battery performance.
Keep Charging Ports Clean
Regularly inspect and clean the charging ports to prevent dust or debris from interfering with the connection.
Monitor Battery Levels
Regularly check the battery percentage in the app to stay ahead of charging needs and avoid the camera going offline unexpectedly.
By incorporating these additional tips, you can prolong the life of your Google Nest Camera and ensure it performs optimally.
Frequently Asked Questions
Q1: How Long Does It Take to Fully Charge a Google Nest Camera?
The typical charging time for most Google Nest Cameras is between 4 to 6 hours. This can vary based on battery capacity and how depleted the battery was prior to charging. Using the official Nest charger is recommended for optimal results. Always refer to the user manual for model-specific guidance.
Charging too quickly or with unofficial chargers may lead to reduced battery health in the long run. Setting aside adequate charging time will ensure consistent performance.
Q2: Can I Use the Camera While It Is Charging?
Yes, many Google Nest Camera models can continue recording or live streaming while plugged in and charging. However, doing so may extend the time needed to reach a full charge. Some users prefer to turn off recording during charging to accelerate the process.
It is important to verify your model’s capabilities to avoid any risk of overheating or functional limitations. Always monitor the device for any excessive heat when using it during charging.
Q3: What Should I Do If The Camera Is Not Charging?
If your camera does not appear to be charging, start by double-checking all connections and cables. Ensure the charging port is clean and free of debris. Try a different power outlet or adapter if the problem persists.
Consulting the official troubleshooting documentation or contacting customer support is the next best step if the issue remains unresolved. Regular inspection of your equipment helps prevent such issues in the future.
Q4: Will Frequent Charging Harm The Battery Life?
Frequent charging generally does not harm most modern lithium-ion batteries in Google Nest Cameras, as they are designed for regular top-ups. However, always try to avoid keeping the camera plugged in constantly for days at a time. It’s best to disconnect once the battery is full.
By following the manufacturer’s guidelines and maintaining a healthy charging routine, you can maximize your camera’s battery lifespan. Awareness and moderation are key to long-term battery health.
Conclusion
Charging your Google Nest Camera is a straightforward process that ensures your home stays protected and your security system operates seamlessly. By following the outlined steps on how to charge google nest camera and maintaining a consistent routine, you can avoid common pitfalls and extend the life of your device.
Proper care and regular charging not only keep your camera running efficiently but also give you peace of mind in knowing your property is monitored. Stay proactive, follow best practices, and your Google Nest Camera will be ready to serve you for years to come.
About
Safety Fic is a distinguished figure in the world of Diy design, with a decade of expertise creating innovative and sustainable Diy solutions. His professional focus lies in merging traditional craftsmanship with modern manufacturing techniques, fostering designs that are both practical and environmentally conscious. As the author of diy, Safety Fic delves into the art and science of Safety Fic-making, inspiring artisans and industry professionals alike.
Education RMIT University
(Melbourne, Australia) Associate Degree in Design (Safety Fic) Focus on sustainable design, industry-driven projects, and practical craftsmanship. Gained hands-on experience with traditional and digital manufacturing tools, such as CAD and CNC software.
Nottingham Trent University
(United Kingdom) Bachelor’s in diyfastly.com and Product Design (Honors) Specialized in product design with a focus on blending creativity with production techniques. Participated in industry projects, working with companies like John Lewis and Vitsoe to gain real-world insights.
Publications and Impact
In diy, Safety Fic his insights on indoor design processes, materials, and strategies for efficient production. His writing bridges the gap between artisan knowledge and modern industry needs, making it a must-read for both budding designers and seasoned professionals.