
An oxygen sensor is a critical component in many modern vehicles, as it monitors the amount of oxygen in the exhaust gases and helps optimize engine performance and fuel efficiency. Over time, these sensors can wear out or malfunction, leading to reduced engine performance and increased emissions. Checking an oxygen sensor with a multimeter is a simple and effective way diagnose potential issues. This guide will walk you through the necessary steps on how to check an oxygen sensor with a multimeter and ensure your vehicle runs smoothly.
What is an Oxygen Sensor, and How Does it Work?
An oxygen sensor, commonly referred to as an O2 sensor, is a vital component of a vehicle’s exhaust system. It is designed to monitor the level of oxygen in the exhaust gases as they exit the engine. This information is critical because it allows the vehicle’s engine control unit (ECU) to adjust the air-to-fuel ratio for optimal combustion. When the air-to-fuel mixture is balanced, the engine runs efficiently, reduces emissions, and prevents damage to other components like the catalytic converter.
The oxygen sensor operates by producing a voltage signal based on the oxygen concentration in the exhaust. This signal fluctuates depending on whether the mixture is too rich (more fuel than needed) or too lean (more air than fuel). Modern vehicles typically use more than one oxygen sensor—one before the catalytic converter and one after—to provide more accurate data for emissions control and performance optimization. By continuously monitoring and adjusting, the oxygen sensor ensures the engine operates as cleanly and efficiently as possible.
Importance of the Oxygen Sensor in a Vehicle
The oxygen sensor plays a pivotal role in maintaining a vehicle’s overall efficiency and environmental compliance. By measuring the oxygen levels in the exhaust gases, it provides critical feedback to the engine control unit (ECU). This data allows the ECU to adjust the air-fuel mixture, ensuring optimal combustion, improved fuel economy, and reduced harmful emissions. A malfunctioning oxygen sensor can lead to poor engine performance, increased fuel consumption, and a higher release of pollutants into the atmosphere. Regularly monitoring and maintaining the oxygen sensor not only enhances the longevity of your engine but also contributes to a cleaner environment.
Types of Oxygen Sensors
There are several types of oxygen sensors used in vehicles, each designed to meet specific performance and regulatory requirements. The most common types include:
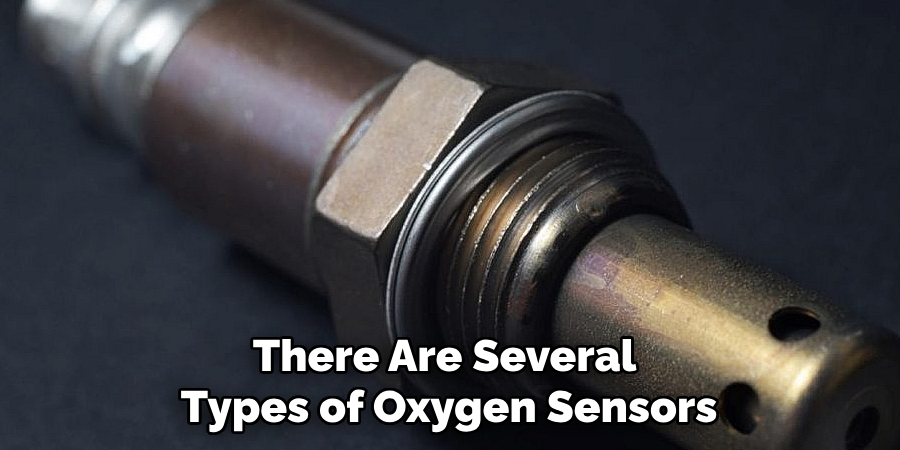
- Zirconia Oxygen Sensors
Zirconia sensors are the most commonly used type and rely on a zirconium dioxide ceramic element to measure oxygen levels in the exhaust. These sensors produce a voltage signal that varies depending on the air-fuel mixture, typically ranging from 0.1 volts for a lean mixture to 0.9 volts for a rich mixture. Zirconia sensors are known for their durability and accuracy, making them ideal for most vehicle applications.
- Wideband Oxygen Sensors
Wideband sensors, also known as air-fuel ratio sensors, offer more precise measurements compared to traditional zirconia sensors. These sensors provide a broader range of data, allowing the engine control unit (ECU) to adjust the air-fuel ratio more accurately. Wideband sensors are commonly found in more modern or high-performance vehicles where maintaining an optimal air-fuel ratio is crucial.
- Titania Oxygen Sensors
Unlike zirconia sensors, titania oxygen sensors use titanium dioxide to measure oxygen levels. These sensors work by changing their electrical resistance based on the oxygen concentration in the exhaust gases. Titania sensors require an external voltage source and are generally less common but still used in some vehicle models.
10 Methods How to Check an Oxygen Sensor with a Multimeter
1. Gather the Necessary Tools
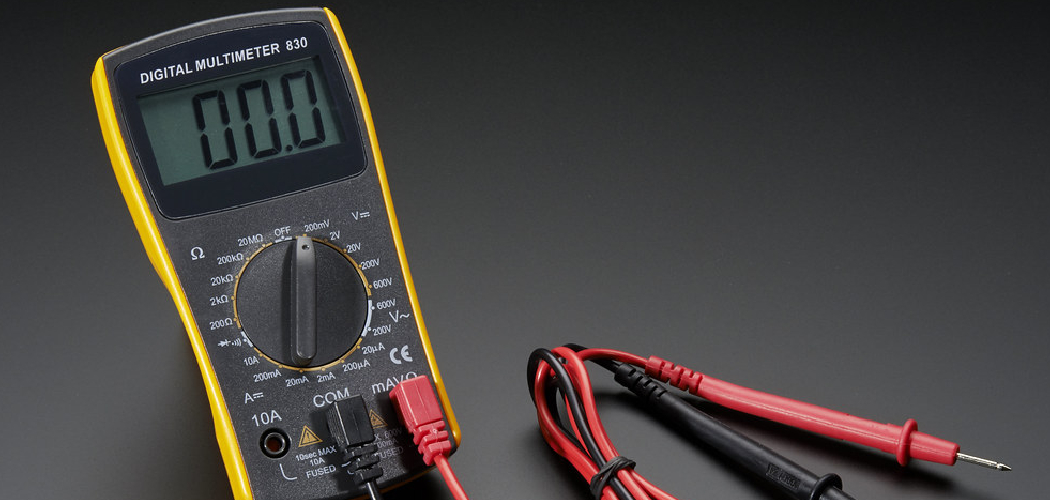
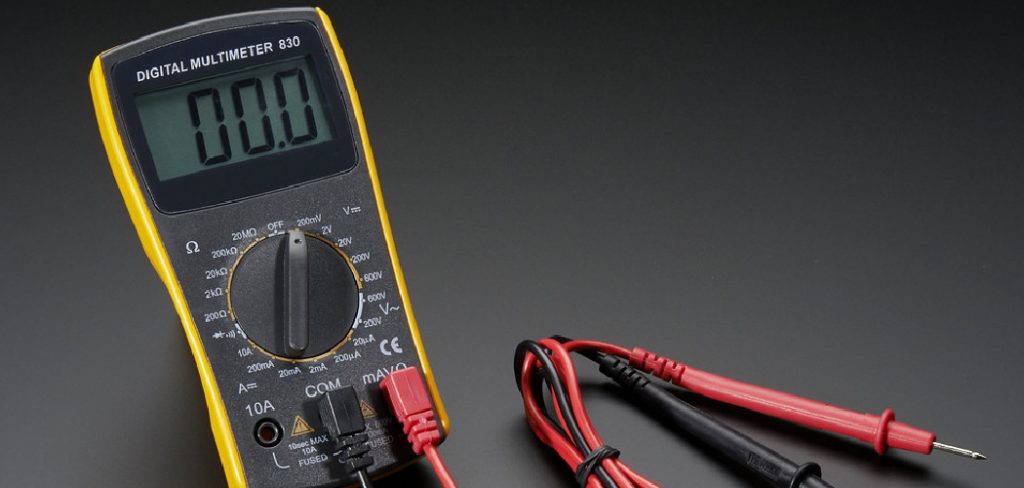
Before beginning, assemble the tools you’ll need: a reliable digital multimeter, insulated gloves, safety goggles, and your vehicle’s repair manual. A digital multimeter is preferred for its accuracy and ease of use compared to analog models. Your repair manual will help identify the location and wiring of the oxygen sensor in your specific vehicle. Safety equipment is vital to protect you during the process, especially when working near a hot engine.

2. Locate the Oxygen Sensor
Identify the oxygen sensor in your vehicle. Most vehicles have one or more oxygen sensors, typically located in the exhaust system—either upstream (before the catalytic converter) or downstream (after the catalytic converter). Use your vehicle’s manual to pinpoint the exact location. Ensure the vehicle is parked on a level surface, and let the engine cool if it has been running, as the exhaust system can become extremely hot.
3. Inspect the Oxygen Sensor for Physical Damage
Before using the multimeter, perform a visual inspection of the sensor. Look for signs of wear, corrosion, frayed wires, or physical damage to the sensor’s body or connector. Damaged sensors may not give accurate readings, making further testing redundant. If visible damage is evident, consider replacing the sensor rather than proceeding with the multimeter test.
4. Set the Multimeter to the Correct Mode
Turn on your digital multimeter and set it to measure voltage in the DC (direct current) range. Oxygen sensors typically produce a voltage range between 0.1 volts (lean mixture) and 0.9 volts (rich mixture). Ensure your multimeter can read values within this range for accurate results. Familiarize yourself with the multimeter’s settings and probes before proceeding to avoid errors during testing.
5. Warm Up the Engine
Start the engine and let it reach its normal operating temperature. Oxygen sensors function correctly only when heated to a specific temperature, usually between 600°F and 900°F. Allowing the engine to warm up ensures that the sensor operates within its designed range, providing accurate readings during the test. Use caution when working near the engine to avoid burns or injuries.

6. Test the Signal Wire Voltage
Locate the oxygen sensor’s signal wire by consulting the repair manual. With the engine running, connect the multimeter’s positive (red) probe to the signal wire and the negative (black) probe to a good ground, such as the vehicle’s chassis. Observe the voltage readings on the multimeter. A healthy oxygen sensor should show a fluctuating voltage between 0.1 and 0.9 volts as the engine runs, indicating proper operation.
7. Check for Consistent Fluctuations
Monitor the voltage readings over a period of time. The sensor should continuously fluctuate between 0.1 volts (indicating a lean air-fuel mixture) and 0.9 volts (indicating a rich mixture). Consistent fluctuations indicate that the sensor is functioning correctly. If the voltage remains constant or outside this range, the sensor may be faulty or there could be an issue with the vehicle’s fuel or exhaust systems.
8. Perform a Rich Fuel Test
To further evaluate the sensor’s responsiveness, perform a rich fuel test. Increase the fuel mixture by briefly revving the engine or spraying a small amount of carburetor cleaner into the intake. The voltage should rise toward 0.9 volts in response to the richer mixture. This step confirms that the oxygen sensor responds correctly to changes in the air-fuel ratio.
9. Perform a Lean Fuel Test
Similarly, perform a lean fuel test to check the sensor’s lower range. Temporarily create a lean mixture by introducing a controlled vacuum leak (e.g., disconnecting a small vacuum hose). The voltage should drop toward 0.1 volts as the sensor detects the lean condition. If the voltage fails to respond, it indicates that the sensor may not be functioning properly.
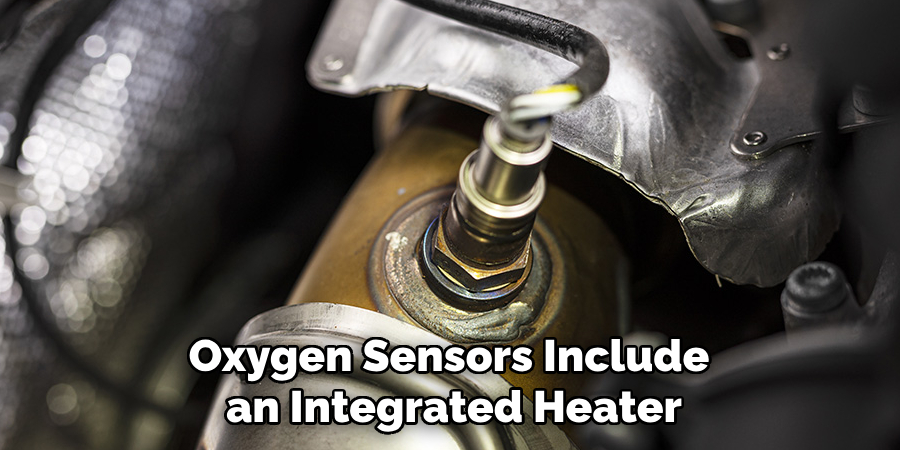
10. Test the Sensor’s Heater Circuit
Many oxygen sensors include an integrated heater to help them reach operating temperature quickly. To test the heater circuit, set the multimeter to the resistance (ohms) setting. Disconnect the sensor’s electrical connector and locate the heater wires using the repair manual. Measure the resistance between the heater wires. A typical value ranges from 5 to 10 ohms. If the resistance is outside this range or shows no continuity, the heater circuit is faulty, and the sensor should be replaced.
When to Contact a Professional
While testing an oxygen sensor with a multimeter is a task that many vehicle owners can handle, there are situations where professional assistance is advisable. If the sensor readings are inconsistent but you are unable to pinpoint the issue, it could be an indication of a more complex problem in the vehicle’s fuel or exhaust systems. Similarly, if the oxygen sensor is difficult to access or requires specialized tools for removal, consulting a mechanic is a safer option.
Additionally, modern vehicles often have advanced diagnostic systems, and professionals can use tools like OBD-II scanners to identify faults more accurately. If you suspect multiple components are malfunctioning or if you are unsure about performing tests, seeking help from a qualified automotive technician is the best course of action.
Conclusion
Testing an oxygen sensor with a multimeter can be an effective way to diagnose issues with your vehicle’s air-fuel mixture or exhaust system. By following the proper steps, you can identify whether the sensor is functioning correctly or if it requires replacement. Regular maintenance and timely checks of the oxygen sensor not only ensure optimal engine performance but also improve fuel efficiency and reduce harmful emissions. Thanks for reading, and we hope this has given you some inspiration on how to check an oxygen sensor with a multimeter!