

Are you tired of your garage door not closing correctly? Does it constantly stop and reverse when trying to close? If so, chances are your garage door sensors may be dirty.
Garage door sensors play a crucial role in ensuring your garage door’s safe and efficient operation. Over time, these sensors can accumulate dirt, dust, and debris, which may interfere with their performance and cause malfunctions. Regular cleaning is essential to maintain their functionality and prevent potential damage. Cleaning your sensors can also help extend their lifespan and save you from costly repairs or replacements.
This guide on how to clean garage door sensors will provide you with simple, step-by-step instructions on how to clean your garage door sensors effectively, keeping your garage door operating smoothly and reliably.
What Are the Causes of Dirty Garage Door Sensors?
Before we jump into the cleaning process, it’s essential to understand what can cause garage door sensors to become dirty in the first place. Here are some common causes:
- Dust and Debris Buildup: Over time, dust, dirt, and other debris can accumulate on your sensors due to their location near the ground. This buildup can interfere with the sensor’s ability to detect objects in its path.
- Insects or Spider Webs: Small insects and spiders may find their way onto your garage door sensors and build webs that block the sensor’s beam. This can disrupt its performance and cause false detections.
- Weather Elements: Rain, snow, and extreme temperatures can also impact the functionality of your garage door sensors. Moisture can cause rust or corrosion, while extreme temperatures can affect the wiring and components inside the sensor.
- Physical Damage: Accidental bumps, hits, or even tampering with the sensors can result in physical damage that affects their performance. It is important to regularly check the condition of your sensors and ensure they are free from any physical damage.
- Power Outages or Electrical Issues: In some cases, power outages or electrical issues can disrupt the functionality of your garage door sensors. This could be due to a power surge or a malfunction in your home’s electrical system.
- Improper Alignment: If your garage door sensors are not properly aligned, it could result in them not functioning correctly. This can happen if they have been bumped or moved out of place.
What Will You Need?
Before you begin troubleshooting your garage door sensors, it’s crucial to have the following tools on hand:
- Screwdriver
- Level
- Cleaning supplies (such as rubbing alcohol and cotton swabs)
- Replacement batteries (if needed)
Once you have these items, you can begin the troubleshooting process.
8 Easy Steps on How to Clean Garage Door Sensors
Step 1: Turn Off the Power
Before starting any work on your garage door sensors, ensuring safety is crucial. Locate the power supply to your garage door opener and turn it off to prevent accidental activation while you work.
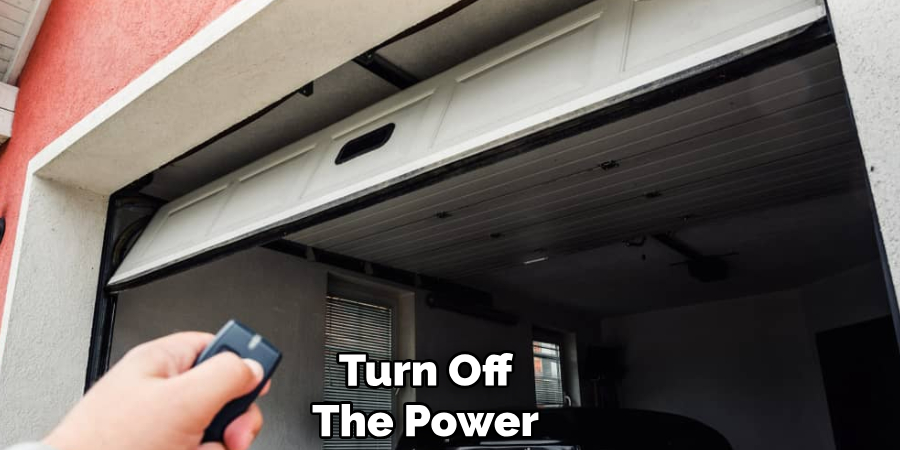
This step minimizes the risk of electric shock and makes the troubleshooting process safer for everyone involved. If your garage door is hardwired, you may need to switch off the breaker associated with the garage. Double-check that the opener is no longer operational by attempting to use the remote or wall control.
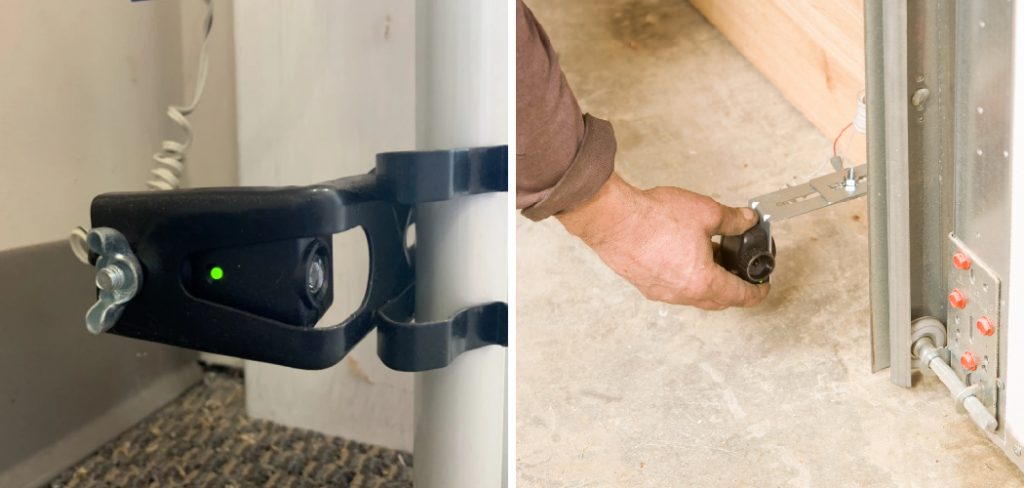
Step 2: Inspect the Sensor Alignment
Garage door sensors rely on proper alignment to function effectively. Examine both sensors near the bottom of the garage door tracks to ensure they directly face each other.
If either sensor appears tilted or out of position, gently adjust it until the indicators or lights on the sensors are steady, which typically signals correct alignment. Use a level if necessary to confirm their positioning. Misaligned sensors commonly cause garage door malfunctions, so this step is essential for restoring proper operation.
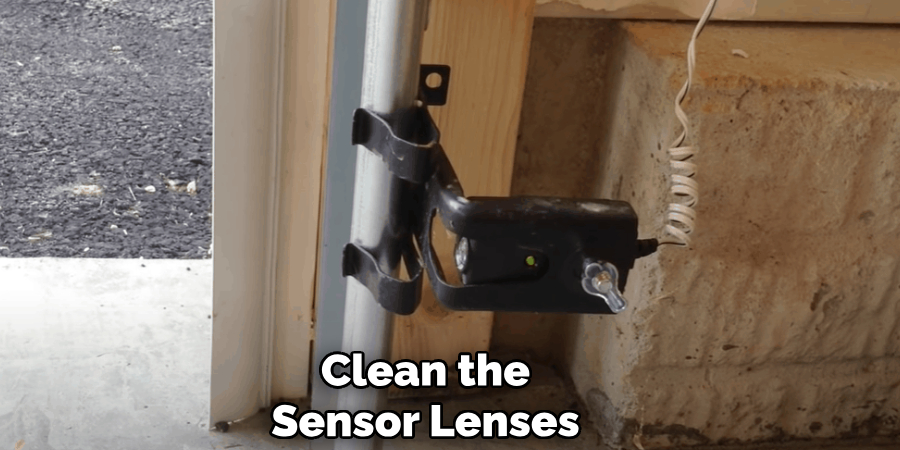
Step 3: Clean the Sensor Lenses
Dust, dirt, and debris can accumulate on the lenses of the garage door sensors over time, interfering with their ability to communicate appropriately. To clean the lenses, use a soft, dry cloth to wipe away any grime gently.
For more persistent dirt or smudges, slightly dampen the cloth with water or a mild glass cleaner, ensuring no liquid drips into the sensor casing. Avoid using abrasive materials or harsh chemicals, which can scratch the lens or damage the sensor. Once cleaned, ensure the lenses are dry and free of streaks.
Regularly cleaning the sensor lenses can help maintain their effectiveness and prevent potential issues with your garage door’s functionality.
Step 4: Test the Sensors
After cleaning the sensor lenses, it is important to ensure they function correctly. Begin by realigning the sensors if necessary, making sure they directly face each other and the indicator lights on both units are steady. Test the garage door by using the opener to close it, placing an object, such as a broom, in the sensor’s path.
The garage door should stop and reverse if the sensors are operating correctly. If the door does not respond as expected, consult the manufacturer’s manual or seek professional assistance. Regular testing ensures the sensors continue working effectively for safe operation.
Step 5: Use a Battery Backup
It is important to have a battery backup for your garage door opener in case of power outages. This will ensure that you can still operate the door even when there is no electricity. Most modern garage door openers come with built-in battery backups, but if yours does not have one, consider purchasing and installing one.
To test the battery backup, unplug the opener from the power source and try opening and closing the door with the remote or wall control. If it works properly, then your battery backup is functioning correctly. If not, consult the manufacturer’s manual or seek professional assistance for further troubleshooting.
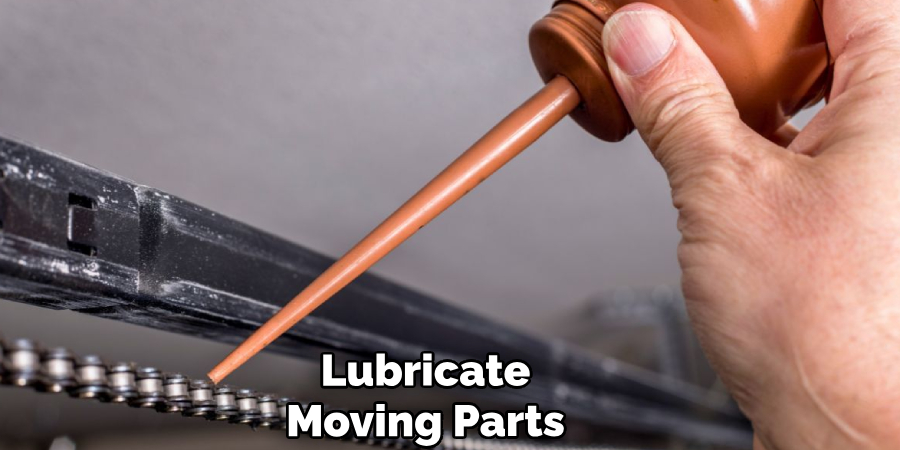
Step 6: Lubricate Moving Parts
Proper lubrication of moving parts is crucial for maintaining your garage door’s smooth operation and longevity. Begin by inspecting all the moving components, including the rollers, hinges, tracks, and springs. Use a high-quality silicone-based or lithium-based lubricant specifically designed for garage doors. Apply the lubricant sparingly to metal parts like the rollers and hinges, ensuring even coverage. Avoid applying lubricant to plastic parts, as it may cause deterioration over time.
Additionally, do not lubricate the tracks themselves, as this can attract dirt and debris, impeding the door’s movement. Regular lubrication, ideally every six months, can reduce noise, prevent wear and tear, and ensure your garage door operates efficiently. Always follow the manufacturer’s recommendations for best results.
Step 7: Test the Garage Door’s Balance
To ensure your garage door operates correctly, it’s essential to test its balance regularly. First, disconnect the opener by pulling the release handle, allowing you to manage the door manually. Lift the garage door halfway and then release it.
If the door stays in place, it is appropriately balanced. If it falls or moves upward, the door may be out of balance and require adjustment. Contact a professional technician to address any balance issues, as attempting to fix it yourself can be hazardous. Regular balance checks can prolong the life of your garage door and its components.
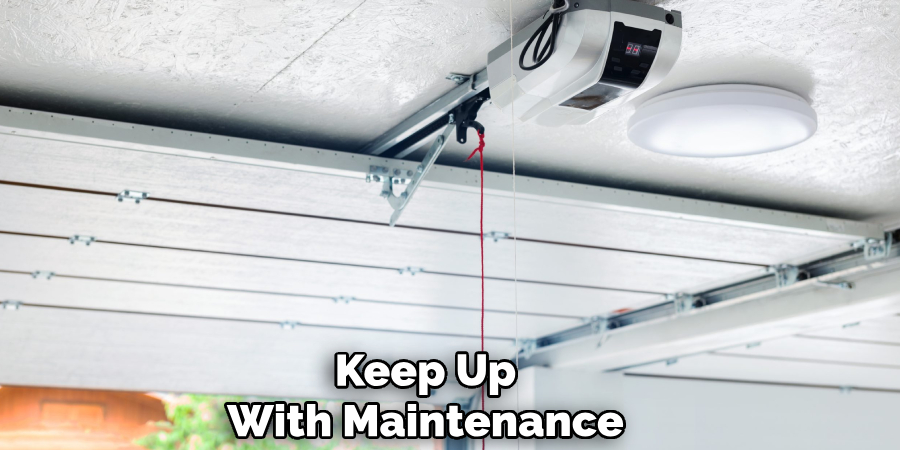
Step 8: Keep Up with Maintenance
Regular maintenance is essential for keeping your garage door in good condition. This includes checking the balance and inspecting the springs, cables, rollers, and tracks for any signs of wear or damage. Addressing these issues as soon as possible is essential to prevent further damage and potential safety hazards.
In addition to visual inspections, it’s recommended to lubricate all moving parts of the garage door at least twice a year. This will help keep everything running smoothly and prolong the life of your door.
By following these maintenance tips, you can extend the lifespan of your garage door and avoid costly repairs.
5 Things You Should Avoid
- Using Abrasive Cleaners
Avoid harsh or abrasive cleaning products, as they can scratch or damage the sensor’s surface, leading to improper functioning.
- Applying Excessive Water
Do not soak the sensors or spray them with too much water. Excess moisture can seep into the internal components, causing malfunctions.
- Neglecting to Power Off the Garage Door Opener
Always turn off the garage door opener before cleaning the sensors to prevent accidental activation, which could be dangerous.
- Forgetting to Use a Soft Cloth
Avoid using rough cloths or paper towels that might leave residue or scratches. A microfiber cloth is ideal for gently wiping the sensors.
- Ignoring Sensor Alignment Post-Cleaning
After cleaning, ensure the sensors are still correctly aligned. Misaligned sensors can lead to operational issues, such as the door not closing correctly.
By avoiding these mistakes, you can keep your garage door sensors functioning properly and ensure the safe operation of your garage door.
Conclusion
Cleaning garage door sensors is a straightforward but crucial task to ensure your garage door’s safe and efficient operation.
Regularly inspecting and gently cleaning the sensors with a microfiber cloth can prevent malfunctions caused by dirt or debris. Always remember to realign the sensors and exercise caution to avoid damaging the delicate components. Proper maintenance will help extend the lifespan of the sensors and keep your garage door functioning smoothly.
Hopefully, the article on how to clean garage door sensors has been helpful in guiding you through this important maintenance task.