
Maintaining accurate grey water tank sensors is essential for ensuring your RV or camper operates smoothly. Over time, residue from soap, grease, and other debris can build up on the sensors, causing them to give false readings. Cleaning your grey water tank sensors regularly helps improve their accuracy and prevents potential maintenance issues. This guide will walk you through the steps for how to clean grey water tank sensors properly.

The Purpose of Grey Water Tank Sensors
Grey water tank sensors are designed to monitor the waste water levels in your RV or camper’s grey water tank. This ensures that you are aware of how full the tank is, helping to prevent overflows or unpleasant backups. By providing real-time feedback, these sensors allow you to manage your water usage more effectively and plan timely tank dumps. Accurate readings from the sensors are essential for maintaining the convenience and functionality of your RV’s water system.
How Grey Water Tank Sensors Work
Grey water tank sensors typically operate using electrical conductivity or ultrasonic technology. Sensors are installed at specific levels along the interior of the tank. When water makes contact with these sensors, it completes an electrical circuit or reflects ultrasonic waves, signaling how full the tank is. Conductivity-based sensors measure the presence of liquid at various heights, while ultrasonic sensors use sound waves to detect the tank’s water level without direct contact. Modern sensors are designed to provide precise and reliable readings, even in challenging conditions where debris or soap scum could interfere. These technological advancements ensure a more seamless and efficient monitoring process for your grey water system.
10 Methods How to Clean Grey Water Tank Sensors
1. Understand the Function and Location of the Sensors
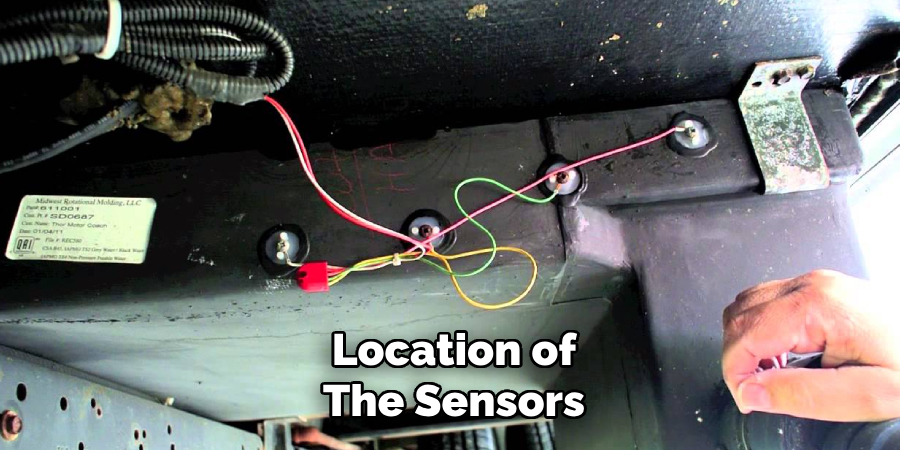
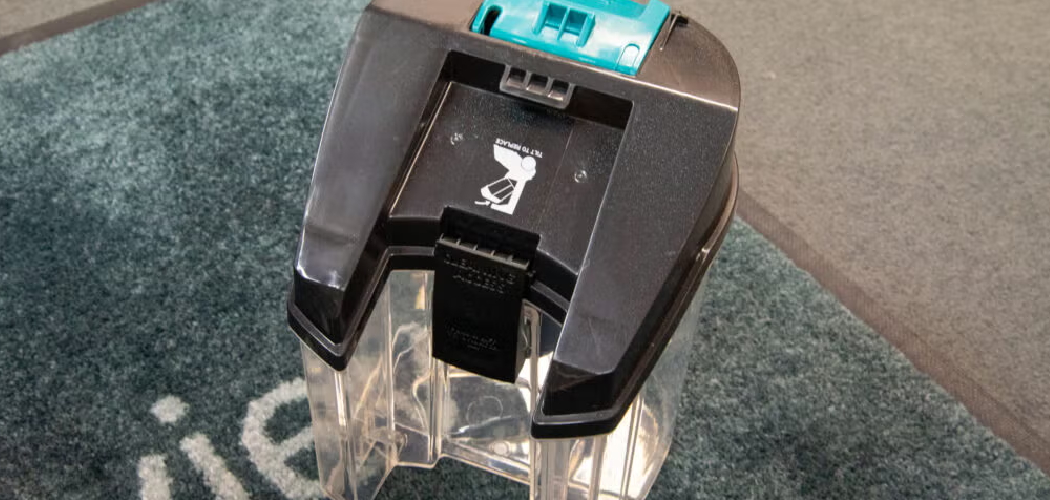
Before initiating any cleaning process, it’s important to comprehend the role grey water tank sensors play in your RV or camper. These sensors are typically mounted on or inside the grey water tank and are designed to measure the water level so you can monitor waste buildup and manage drainage. Over time, these sensors become coated with soap scum, grease, and organic residue, resulting in inaccurate readings—often showing the tank as perpetually full. Understanding their function helps direct your cleaning efforts more efficiently and prevent unnecessary replacements.
2. Perform a Thorough Visual Inspection of the Tank System
Start by inspecting your grey water system, including the sensor wiring, the tank’s surface (if sensors are externally mounted), and the condition of the sensor panels or probes. This assessment will help you determine whether buildup is internal or external, and if there’s any damage requiring attention. Look for signs of corrosion, cracked sensor covers, or any misplaced sealants that might interfere with sensor function. If you can access your tank’s interior through a removable top or clean-out port, use a flashlight to inspect the extent of grime buildup.
3. Use a Sensor-Safe Chemical Cleaner
One of the simplest and most popular ways to clean tank sensors involves adding a commercial grey tank sensor cleaner to the tank. These cleaners are specially formulated to break down residue like soap film and grease without damaging plastic components or sensitive sensors. To use this method, add the cleaner to the grey tank along with a few gallons of warm water, drive the RV around to allow the mixture to slosh around, and then let it sit for several hours or overnight before draining. This loosens debris clinging to the tank walls and sensors.
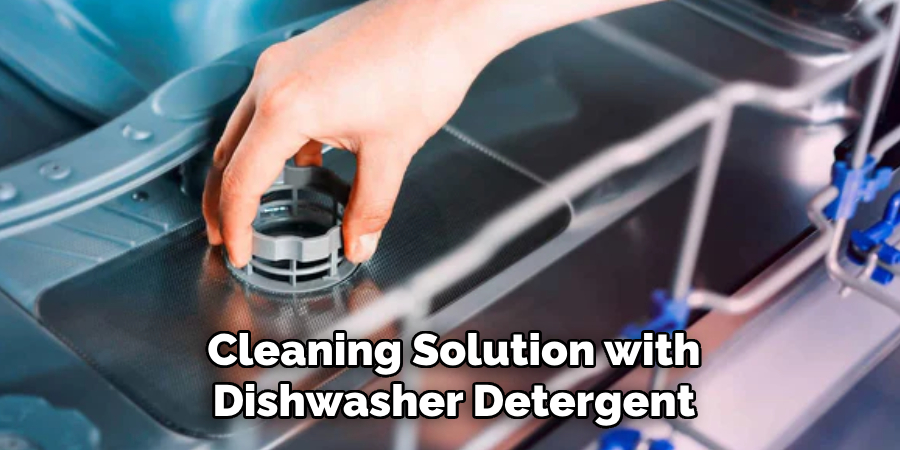
4. Make a Homemade Cleaning Solution with Dishwasher Detergent
For a more economical option, you can make a DIY solution using powdered dishwasher detergent and warm water. Add 1–2 cups of detergent into the grey tank along with 3–5 gallons of hot water. As with the chemical cleaner, take a drive to agitate the solution and coat the sensors. Let the solution sit in the tank overnight if possible. Dishwasher detergents are effective at cutting through grease and soap scum without foaming excessively, making them ideal for tank and sensor cleaning.
5. Add Ice Cubes and Detergent for a Mechanical Scrub
An old RV maintenance trick involves pouring several pounds of ice cubes into the grey water tank, followed by a few ounces of dish soap or detergent. As you drive, the ice physically scrubs the interior surfaces of the tank—including the sensors—while the soap breaks down grime. This method works best when done right before driving to a new site, giving the mixture time to work without requiring special equipment. Drain the tank after driving for an hour or more, and follow up with a clean water rinse.
6. Use a Tank Wand or Flusher for Targeted Cleaning
If your RV is equipped with a tank flush system or you can access the tank interior, a cleaning wand designed for RV tanks can be highly effective. These wands spray high-pressure water jets and are ideal for removing stubborn buildup directly from sensor surfaces. Insert the wand through a designated port or open pipe and slowly rotate it inside the tank. Be cautious not to use excessive pressure that could damage the sensors or tank walls. Repeat flushing until the water runs clear and the sensor readings improve.
7. Try Vinegar and Baking Soda for Natural Cleaning
If you prefer natural cleaning solutions, a mixture of vinegar and baking soda can be used to clean and deodorize grey tank sensors. Add 1 cup of baking soda followed by 2 cups of white vinegar into the tank. Allow the mixture to fizz and bubble, helping to lift grime from the sensors. Let it sit for a few hours, then rinse with warm water. While not as aggressive as chemical cleaners, this method is gentle and environmentally friendly—great for regular maintenance and odor control.
8. Let Enzyme Cleaners Work Overnight
Enzyme-based grey tank cleaners use bacteria and enzymes to digest organic waste materials like food particles, hair, and soap residue. Add the recommended amount to your grey tank with several gallons of warm water, and allow it to sit overnight. These cleaners are safe for both your sensors and the environment, and they are particularly effective when used regularly to prevent buildup. They can also help maintain the entire drainage system and reduce odors.
9. Perform Regular Maintenance Flushes
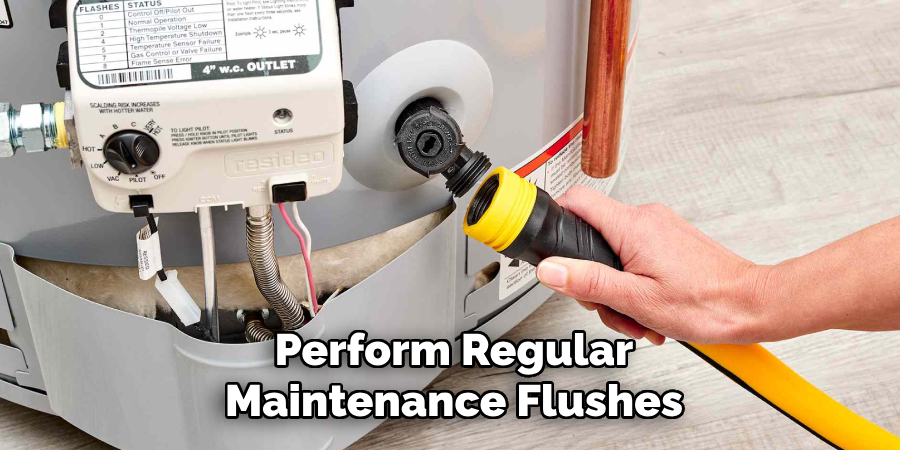
Even after a deep cleaning, maintenance is key to keeping grey water tank sensors working properly. Develop a habit of flushing your grey tank after every trip or at least once a month if the RV is in regular use. Use a combination of warm water and a mild detergent or a commercial rinse product to keep buildup at bay. Avoid letting food scraps, greasy dishwater, or lint accumulate in the system—these contribute significantly to sensor fouling.
10. Replace or Upgrade Sensors If Needed
If your sensors remain inaccurate after multiple cleaning attempts, they may be permanently damaged or too corroded to function properly. In this case, consider replacing them with upgraded models, such as external or electronic sensors that are less prone to contamination. Many modern systems offer continuous monitoring or external adhesive sensors that never come into contact with waste. Upgrading may be the most cost-effective long-term solution if cleaning fails to resolve the problem.
Things to Consider When Upgrading Sensors
When deciding to upgrade your sensors, there are several factors to keep in mind. First, evaluate the compatibility of the new sensors with your existing system to ensure seamless integration. Next, consider the environmental conditions in which the sensors will operate, such as exposure to moisture, temperature variations, or chemicals, to select models specifically designed for durability in those settings. Additionally, assess the maintenance requirements of the new sensors to ensure they align with your operational capabilities. Lastly, factor in the long-term cost savings of upgraded sensors, including reduced maintenance efforts and improved accuracy, against the initial investment. By carefully weighing these considerations, you can make an informed decision that best suits your needs.
Common Mistakes to Avoid
When upgrading sensors, several common mistakes can hinder the success of your investment. One critical error is neglecting to conduct a thorough compatibility check with existing systems, which can lead to costly integration issues. Another frequent mistake is prioritizing cost over quality—choosing the cheapest option may result in unreliable performance or a shorter lifespan.
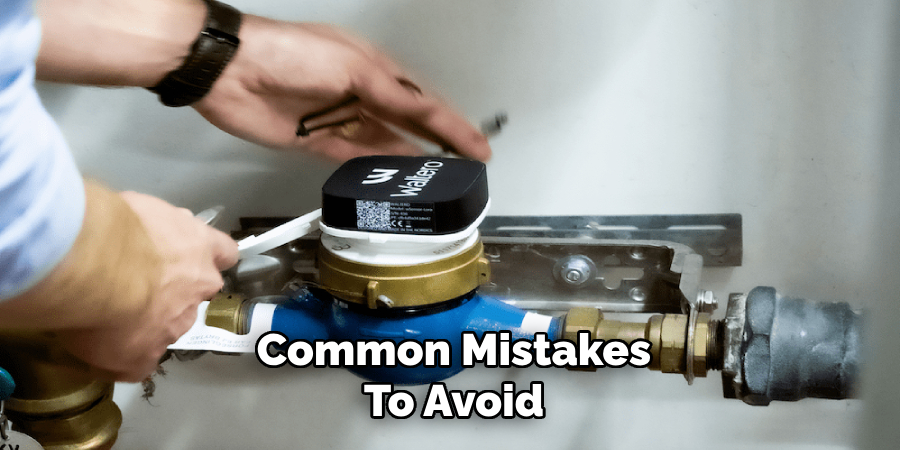
Additionally, insufficient training for staff on the new sensors can reduce their effectiveness and lead to operational inefficiencies. Overlooking post-installation support, such as warranties and technical assistance, is another misstep that can leave you vulnerable to unexpected challenges. Avoiding these pitfalls ensures a smoother transition and maximizes the value of your sensor upgrades.
Conclusion
Cleaning your grey water tank sensors is a crucial yet often overlooked part of RV maintenance. Through a combination of mechanical scrubbing, chemical treatments, and regular maintenance, you can restore sensor accuracy and prevent frustrating false readings. Thanks for reading our blog post on how to clean grey water tank sensors! We hope you found it helpful and informative.