
A persistent “hood open” warning light on your dashboard can be a confusing and annoying problem, especially when you know the hood is securely closed. This common issue is often not a sign of a major mechanical failure but rather a simple problem with a dirty sensor. The hood latch sensor is a small but vital component of your vehicle’s safety system, and over time, it can become clogged with dirt, grease, and road grime, causing it to malfunction.
Learning how to clean hood latch sensor components is a straightforward and effective piece of preventive maintenance that any car owner can perform. This simple task can resolve false warnings, prevent potential issues with your car alarm, and save you a costly and unnecessary trip to the mechanic. This guide will walk you through the easy, step-by-step process to safely and effectively clean this important sensor, restoring its proper function and giving you peace of mind.
Why Cleaning Your Hood Latch Sensor Matters
A clean hood latch sensor is crucial for the proper functioning of your vehicle’s safety system. This sensor communicates with your car’s computer to confirm whether the hood is open or closed. When it’s dirty, it can send false signals, leading to an incorrect “hood open” warning on your dash, which can be distracting and concerning. More importantly, a malfunctioning sensor can sometimes prevent you from locking your car or may cause the alarm to go off unexpectedly. Regular sensor maintenance is a simple preventive care task that ensures your vehicle’s security features work as intended.
9 Step-by-Step Guide: How to Clean Hood Latch Sensor
Step 1: Ensure the Vehicle Is Off and Cool
Before you begin any work under the hood, your first priority is safety. Make sure your vehicle’s engine is turned off, the key is removed from the ignition, and the parking brake is engaged. It is also essential that the engine is completely cool to the touch.
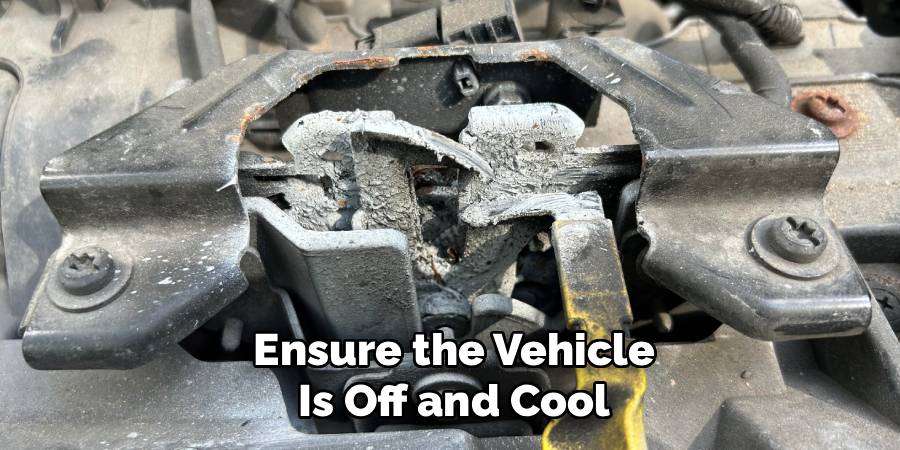
Working on a hot engine can lead to serious burns. This simple precaution creates a safe environment for you to work in and prevents any accidental electrical shorts while you are cleaning the sensitive electrical contacts of the sensor. Give the car at least 30-60 minutes to cool down after driving.
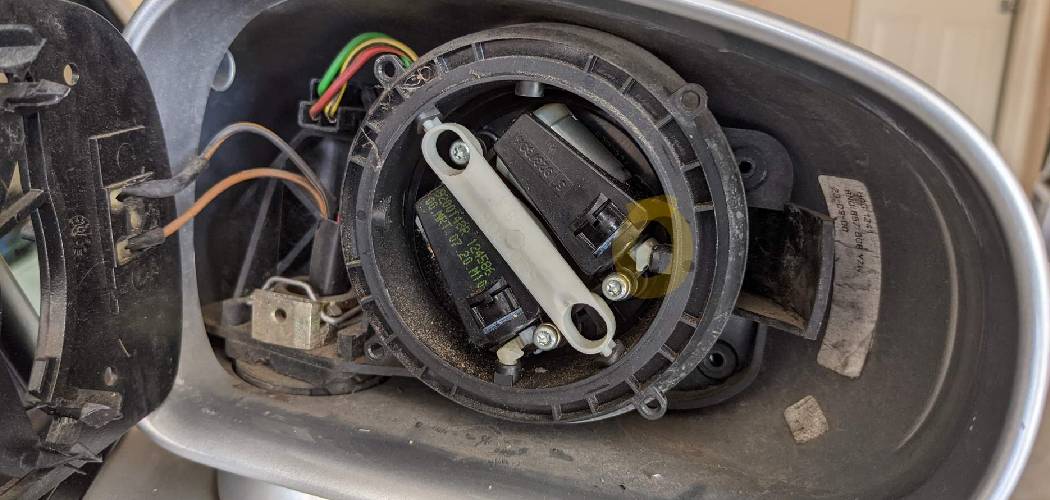
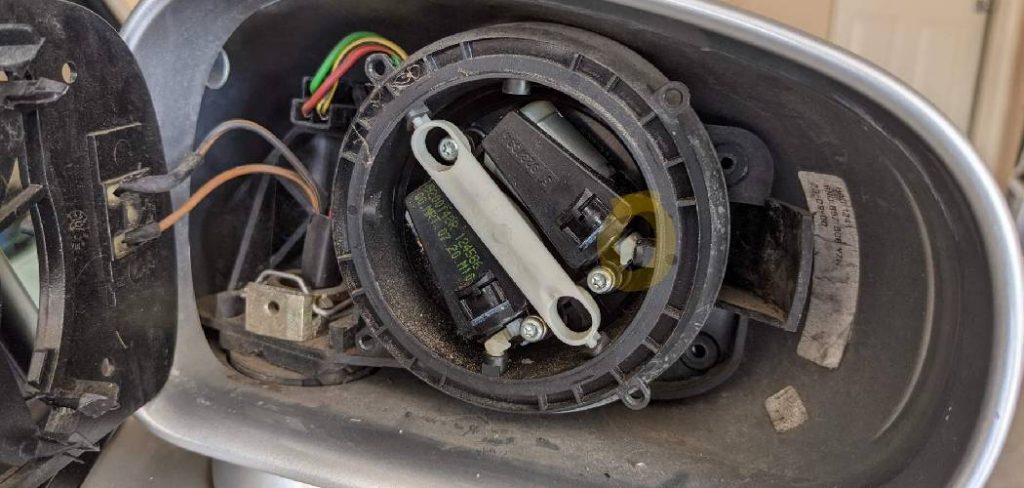
Step 2: Locate the Hood Latch Mechanism and Sensor
Open the hood of your vehicle and secure it firmly with the prop rod. The hood latch mechanism is typically located at the front and center of the engine bay, right behind the grille. It’s the metal assembly that the hood hook latches onto when you close it. The hood latch sensor itself is a small electrical component, often a plunger-style switch or a magnetic sensor, integrated directly into or mounted right next to this main latch assembly. It will have one or more wires leading from it, connected to a plastic electrical connector.
Step 3: Disconnect the Battery as a Precaution
While not always strictly necessary for this simple task, disconnecting the negative terminal of your car’s battery is a highly recommended safety measure. This step completely eliminates the risk of an accidental electrical short while you are working with the sensor’s wiring and cleaning solution. Use a wrench to loosen the nut on the negative battery terminal (usually marked with a “-” sign) and slide the cable off the post. Tuck the cable aside to ensure it doesn’t accidentally come back into contact with the terminal while you are working on your sensor maintenance.
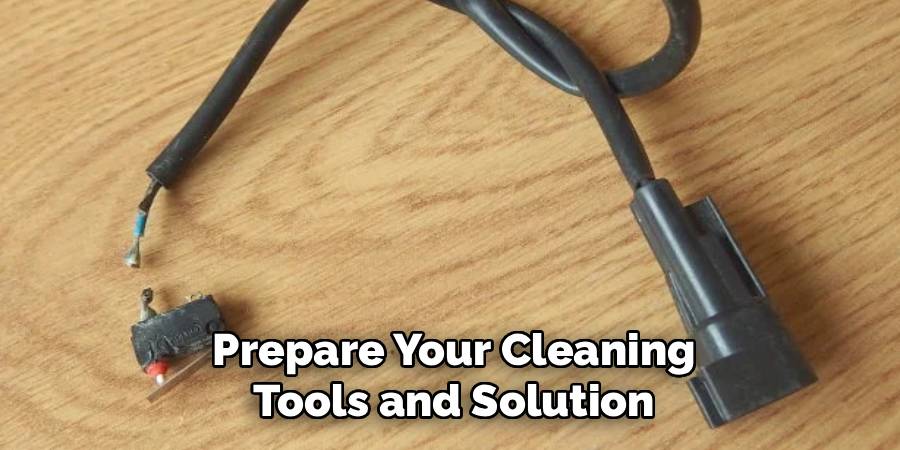
Step 4: Prepare Your Cleaning Tools and Solution
For this job, you will need a few basic supplies. Gather a can of electrical contact cleaner, a soft-bristled brush (like an old toothbrush), some clean microfiber cloths or shop rags, and a can of compressed air if available. The electrical contact cleaner is specifically designed to clean sensitive electronic parts without leaving a residue. Avoid using harsh, all-purpose degreasers like brake cleaner, as they can damage the plastic components of the sensor or its wiring. Having all your tools ready will make the process of learning how to clean hood latch sensor parts much smoother.
Step 5: Clean the Mechanical Latch Assembly
Before focusing on the sensor itself, it’s a good idea to clean the entire mechanical latch assembly. This area accumulates a lot of dirt and old grease, which can easily migrate onto the sensor. Spray a general-purpose degreaser onto a rag (not directly on the latch) and wipe down all the accessible metal parts of the mechanism. Use your soft brush to scrub away any stubborn grime or built-up gunk. Cleaning the surrounding area first prevents you from re-contaminating the sensor after you have just cleaned it, ensuring a longer-lasting repair.
Step 6: Carefully Clean the Hood Latch Sensor
Now, focus on the sensor itself. Spray a generous amount of the electrical contact cleaner directly onto the sensor, including any moving parts like a plunger, and into the area where the electrical connector plugs in. Use your soft-bristled brush to gently scrub the sensor and its contacts. This will help dislodge any corrosion, dirt, or grease that is interfering with the electrical connection. Pay close attention to cleaning the electrical contacts thoroughly, as this is where the signal interruption often occurs. Proper cleaning here is the most important part of how to clean hood latch sensor assemblies.
Step 7: Clean the Electrical Connector

Disconnect the sensor’s electrical connector by pressing the release tab and pulling it apart gently. Inspect both ends of the connector for any signs of corrosion (which might look like green or white powder) or dirt. Spray electrical contact cleaner into both the male and female ends of the connector. If you have a can of compressed air, use it to blow out any loosened debris and to help dry the connector completely. A clean, secure connection is just as important as a clean sensor for proper operation of the vehicle safety system.
Step 8: Reassemble and Lubricate the Latch
Once the sensor and connector are clean and completely dry, plug the electrical connector back together firmly. You should hear a click as it locks into place. Next, apply a small amount of white lithium grease or a similar lubricant to the moving mechanical parts of the hood latch assembly itself. Do not apply lubricant directly to the electrical sensor or its contacts. Lubricating the latch ensures smooth operation and helps prevent it from sticking, which can also contribute to sensor issues.
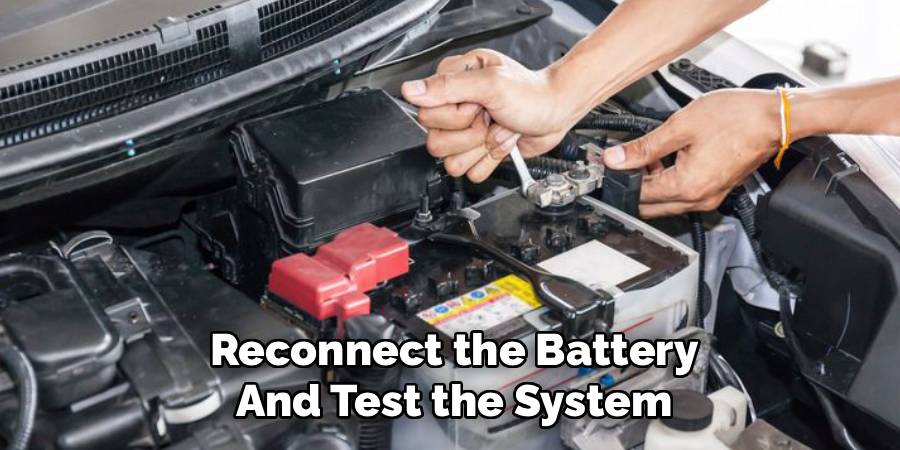
Step 9: Reconnect the Battery and Test the System
With all the cleaning and lubricating complete, it’s time to reconnect the battery. Re-attach the negative battery cable to the terminal and tighten the nut securely. Close the vehicle’s hood, ensuring it latches firmly. Now, get inside the car and start the engine. Check the dashboard to see if the “hood open” warning light has turned off. If the light is gone, your cleaning was successful. If the light remains on, the sensor itself may have failed and could require replacement.
Frequently Asked Questions (FAQs)
What Are the Symptoms of a Dirty Hood Latch Sensor?
The most common symptoms include:
- A “hood open” or “hood ajar” warning light that stays on even when the hood is fully closed.
- The car alarm going off randomly, as the system incorrectly thinks the hood is being tampered with.
- The remote start feature failing to work, as it’s a safety feature that requires all doors and the hood to be closed.
- Interior dome lights staying on in some vehicle models.
Can I Use WD-40 to Clean the Sensor?
It is not recommended to use standard WD-40 for this task. While it can displace water, it leaves behind an oily residue that can attract more dust and dirt over time. It is also not designed for cleaning sensitive electrical contacts. Always use a dedicated electrical contact cleaner, which is formulated to clean electronics effectively and evaporate completely without leaving any residue that could interfere with the connection.
How Often Should I Clean My Hood Latch Sensor?
There is no strict maintenance schedule for this task. A good rule of thumb is to inspect and clean the hood latch sensor as part of your annual preventive care routine, or whenever you are performing other under-hood maintenance like changing your oil or checking fluids. If you live in an area with harsh winters where road salt is used, or in a dusty, rural environment, you may want to check it more frequently, perhaps every six months.
What If Cleaning the Sensor Doesn’t Fix the Problem?
If the “hood open” warning light remains on after you have thoroughly cleaned the sensor and its connector, the sensor itself may have failed electronically or mechanically. The wiring leading to the sensor could also be damaged. At this point, the next logical step is to test the sensor with a multimeter to check for continuity. If you are not comfortable with this, the part will likely need to be replaced by you or a qualified mechanic.
Is a Hood Latch Sensor Expensive to Replace?
The cost of the sensor part itself is generally not very expensive, often ranging from $20 to $60, depending on your vehicle’s make and model. If you are comfortable performing the replacement yourself, it can be a very affordable repair. If you take it to a dealership or mechanic, you will also have to pay for labor, which could bring the total cost to anywhere from $100 to $250 or more.
Conclusion
Knowing how to clean hood latch sensor components is a valuable and practical skill for any car owner, allowing you to solve a common and frustrating problem with minimal effort and expense. This simple maintenance task can eliminate false dashboard warnings, prevent your car alarm from acting up, and ensure your vehicle’s safety features are working correctly. It’s a perfect example of how a little bit of preventive care can save you from a headache and a costly repair bill down the road.
Don’t let a small amount of dirt cause a big problem. The next time you see that persistent “hood open” light, take a few minutes to perform this easy cleaning procedure. You’ll gain confidence in your DIY abilities and enjoy the satisfaction of fixing the issue yourself.