

Smoke alarms serve as critical components in ensuring the safety of homes and their inhabitants by detecting and alerting them to the presence of smoke well before a fire becomes unmanageable. This early warning system grants residents valuable time to evacuate and call for help, potentially saving lives and reducing property damage.
However, smoke alarms require regular maintenance to function effectively like any other safety device. Dust, cobwebs, and other particulates can accumulate on and within the device, compromising its sensitivity to smoke and delaying its response time during critical moments.
Thus, understanding how to clean smoke alarm units is not just a matter of routine home maintenance—it’s a crucial step in safeguarding your home against fire hazards. Regular cleaning ensures that these vigilant guardians are always ready to perform at their best, offering peace of mind that your home safety measures are both active and effective.
Types of Smoke Alarms
When considering how to clean smoke alarm devices, it’s vital first to understand the various types available, as the approach may slightly differ depending on the model.
Smoke alarms typically fall into three main categories: Ionization, Photoelectric, and Dual-Sensor alarms. Each type uses different technologies to detect fires, which can affect their maintenance and cleaning process.
A. Ionization Smoke Alarms
Ionization smoke alarms are designed to detect fast-flaming fires – those that generate more flame than smoke, such as those fueled by paper or kitchen grease. These alarms house a small amount of radioactive material between two electrically charged plates, ionizing the air and creating a current between the plates.
When smoke enters the chamber, it disrupts this current, triggering the alarm. To maintain their effectiveness, keeping the ionization chamber free of dust and debris is crucial.
B. Photoelectric Smoke Alarms
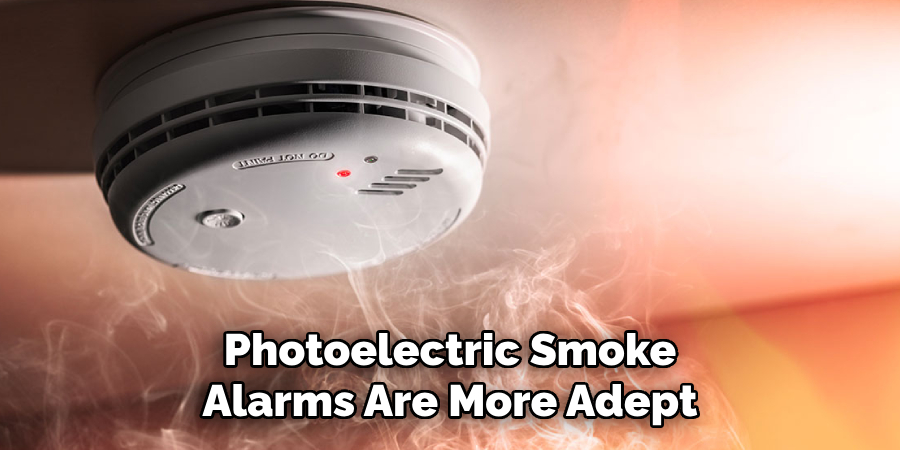
Photoelectric smoke alarms are more adept at detecting slow-burning, smoky fires, such as those ignited by smoldering foam-filled upholstery or overheated wiring. They work by using a light source that is aimed away from a sensor in a sensing chamber.
When smoke enters this chamber, it scatters the light, causing some to hit the sensor and activate the alarm. Regular cleaning of the optical chamber is essential to ensure the light beam remains unobstructed.
C. Dual-Sensor Smoke Alarms
For comprehensive fire detection, dual-sensor smoke alarms combine both ionization and photoelectric technologies, providing the benefits of both in a single unit.
This type of alarm is ideal for detecting a wide range of fires quickly. Due to their dual functionality, both the ionization chamber and optical sensor require regular inspection and cleaning to maintain the unit’s sensitivity and reliability.
Understanding the type of smoke alarm you have is crucial in determining the appropriate cleaning methods to ensure continuous and effective operation.
Importance of Cleaning Smoke Alarms
Regular maintenance and cleaning of smoke alarms are crucial for several reasons which directly impact their effectiveness and reliability in protecting your home and family.
A. Ensuring Proper Functionality
First and foremost, cleaning smoke alarms is vital for ensuring their proper functionality. Dust, spider webs, or other debris can block the sensors, significantly diminishing their sensitivity to smoke.
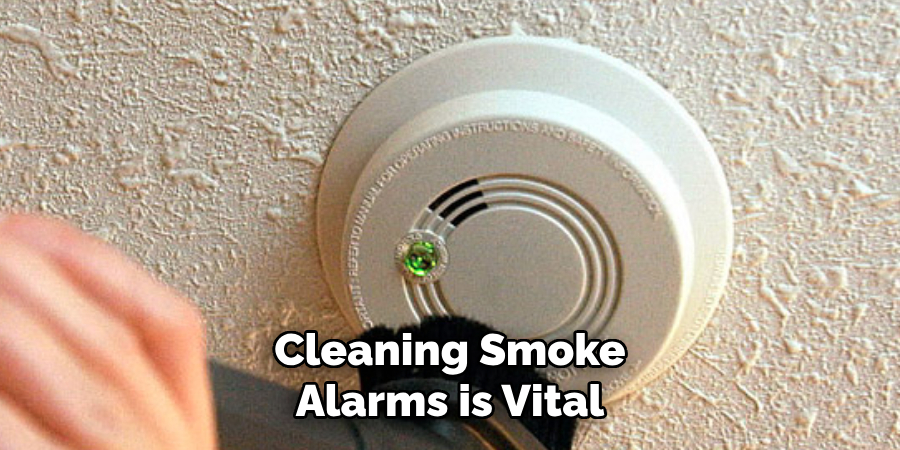
This can delay the detection of a fire, reducing the valuable time needed for you and your loved ones to safely evacuate. By learning how to clean smoke alarm units effectively, homeowners can maintain the device’s sensitivity, assuring that it will work swiftly and accurately when needed most.
B. Preventing False Alarms
Accumulated dust and debris can also lead to false alarms, which, besides being a nuisance, may desensitize residents to the sound of the alarm, potentially leading to a dangerous disregard during an actual fire.
Regular cleaning helps to minimize these unnecessary activations by keeping the sensing technology within the alarm clear of any obstructions that could mistakenly trigger the device.
C. Extending the Lifespan of the Alarm
Lastly, regular cleaning contributes significantly to extending the lifespan of smoke alarms. Like any electronic device, smoke alarms can deteriorate over time, but maintaining them free of dirt and dust can prevent premature aging and malfunction.
Beyond just changing batteries, proper cleaning ensures that every component of the smoke alarm, from the sensors to the alarm mechanism itself, remains in good working condition, potentially extending the device’s life beyond the manufacturer’s estimated lifespan.
Overall, understanding and applying the proper cleaning techniques for smoke alarms not only enhances the safety and efficacy of these devices but also serves as a cost-effective practice for homeowners by preventing false alarms and extending the units’ operational life.
Frequency of Cleaning
Determining the optimal frequency for cleaning smoke alarms is crucial in maintaining their functionality and ensuring they are ready to alert you in case of a fire. The general recommendation is to clean smoke alarms at least once every six months.
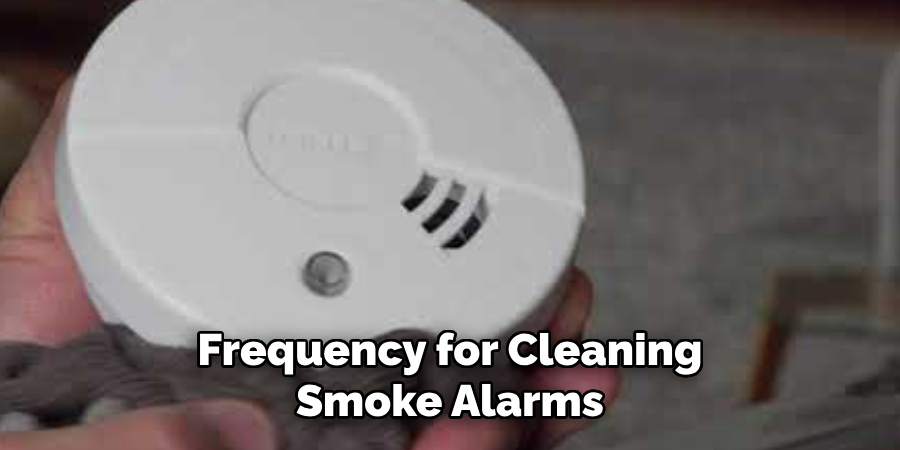
However, this frequency may be influenced by several factors, including your environment, pets’ presence, and the amount of dust and airborne particles in your home.
A. Environmental Factors
Homes situated in areas with high levels of pollution, pollen, or construction dust may require more frequent cleaning. If you notice a build-up of debris on the alarm’s external parts, it’s a good indication that the internal components may also be affected.
B. Presence of Pets
Pet owners might find that fur and dander contribute to the accumulation of debris within smoke alarms. Increasing the cleaning frequency to once every three months in households with furry pets can help mitigate this issue.
C. Dust and Airborne Particles
The amount of dust in a home can significantly affect smoke alarms. Homes with higher levels of dust due to either the home’s age or lack of air filtration systems should consider more frequent cleaning schedules to ensure the optimal performance of these devices.
By adhering to these guidelines and adjusting the cleaning schedule based on specific household needs, you can ensure that your smoke alarms remain sensitive and fully operational, ready to protect you and your loved ones in case of an emergency.
Precautions Before Cleaning
Before proceeding with the cleaning of your smoke alarms, it is crucial to take certain precautionary steps to ensure both your safety and the integrity of the alarm. These steps help prevent accidental damage to the alarm and reduce the risk of injury.
A. Disarming the Alarm
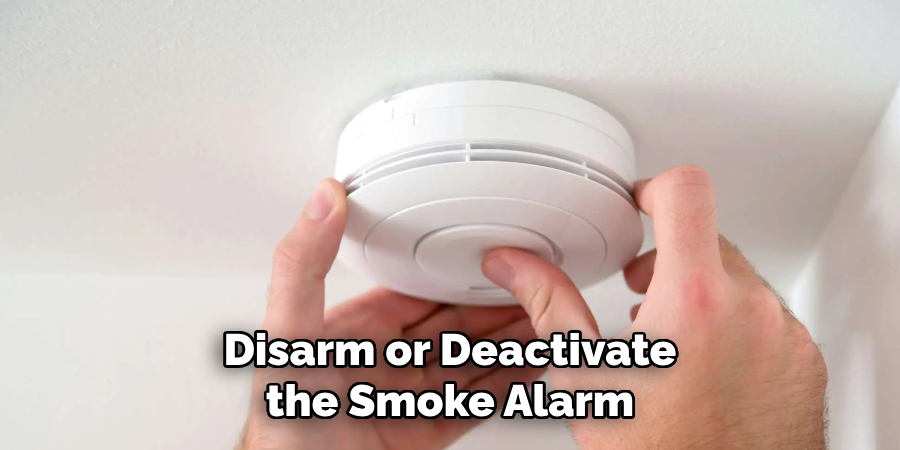
Prior to cleaning, it is essential to disarm or deactivate the smoke alarm to prevent it from being triggered during the process, which could result in unnecessary noise and potential confusion among household members.
This can often be accomplished by simply removing the battery for battery-operated alarms. However, you may need to temporarily disable the alarm from the main control panel for hardwired systems.
B. Turning Off Power Source
In the case of hardwired smoke alarms, ensure the power source to the alarm is turned off at the circuit breaker. This step is critical to avoid the risk of electrical shock while cleaning. Always use a non-contact voltage tester to confirm the power is off before beginning your cleaning procedure.
C. Using Protective Gear
Wearing protective gear such as a dust mask and safety goggles is advisable to protect yourself from potential allergens or irritants that may be dislodged during cleaning. This is particularly important in environments with high amounts of dust or in homes with pets, where dander and fur might be present in the alarm.
By following these precautions, you can safely and effectively clean your smoke alarms, ensuring they continue to operate correctly and safeguard your home.
How to Clean Smoke Alarm: Cleaning External Surfaces
After taking the necessary precautions to ensure the safety and integrity of the smoke alarm, the next step is to begin the cleaning process, focusing primarily on the alarm’s external surfaces.
A. Removing Dust and Debris
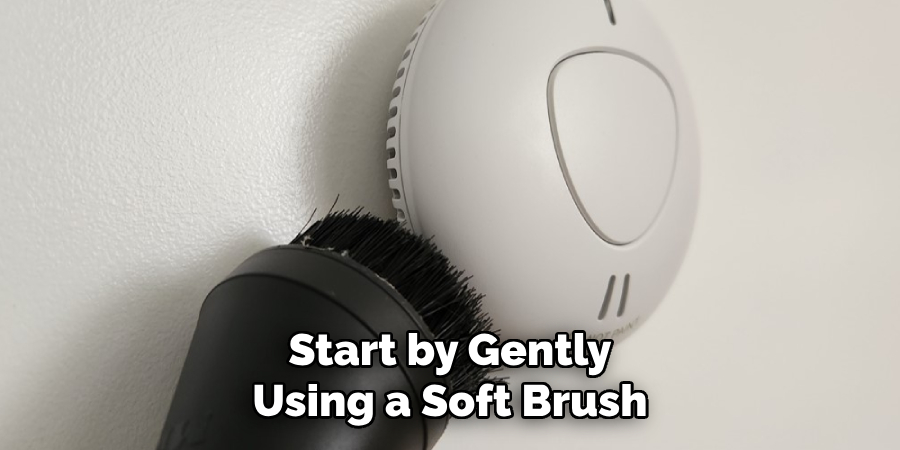
Start by gently using a soft brush attachment on a vacuum cleaner to remove dust and loose debris from the exterior of the smoke alarm. This should be done carefully to avoid pushing dirt into the internal components of the alarm.
For areas that are difficult to reach with the vacuum brush, a can of compressed air can be used to blow dust away, again being cautious not to force debris into the device.
B. Using Mild Cleaning Solutions
A mild cleaning solution can be effective for grime that cannot be removed by vacuuming. Prepare a solution by diluting a small amount of mild dish soap in water. Dampen a soft, clean cloth with the solution and gently wipe the surface of the alarm.
It’s important to ensure the cloth is not overly wet to prevent moisture from seeping into the interior of the alarm. Never spray any cleaning solution directly onto the alarm, as this could damage the device’s electronic components.
C. Drying the Alarm Thoroughly
After cleaning, it’s crucial to dry the alarm thoroughly to avoid any moisture buildup, which could affect its functionality. A dry, soft cloth should be used to gently pat the exterior of the alarm. Allow the alarm to air dry completely before reactivating it.
If the alarm is battery-operated, the battery should only be reinserted once the alarm is completely dry. The power should remain off for hardwired systems until the alarm has fully dried.
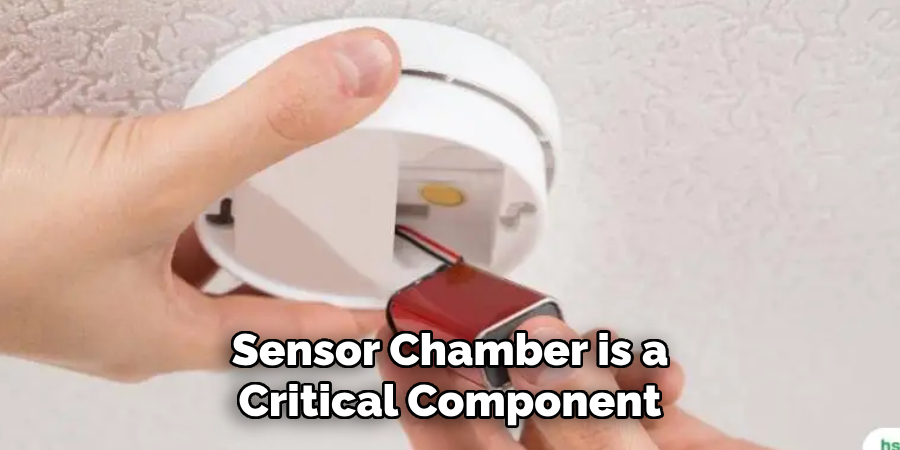
How to Clean Smoke Alarm: Cleaning the Sensor Chamber
The sensor chamber is a critical component of a smoke alarm, responsible for detecting smoke and initiating the alarm. This section involves careful cleaning to ensure that the sensor remains sensitive to smoke without being impaired by dust or debris.
A. Understanding Sensor Placement
Before proceeding with cleaning, it’s important to understand the placement of the sensor within the smoke alarm. Typically, the sensor is located inside the alarm, protected by a cover or mesh that prevents large particles from entering while allowing smoke to penetrate.
The exact location can vary between models, so consulting the manufacturer’s manual or website for guidance is advisable. Recognizing the sensor’s placement will help you clean more effectively and avoid accidental damage.
B. Using Compressed Air for Dust Removal
Once you’ve identified the sensor’s location, using compressed air is the safest way to clean it. A can of compressed air can gently dislodge dust and debris from the sensor chamber without the need for direct contact, which could risk damage. When using compressed air, hold the canister upright and use short bursts of air directed into the sensor chamber from a moderate distance.
This technique helps to blow away particles without pushing them deeper into the alarm. It’s crucial to avoid tilting the can as you spray, as this may release moisture into the chamber, potentially damaging the sensor.
C. Avoiding Damage to Sensors
The sensors in smoke alarms are delicate and can be easily damaged by physical contact or exposure to liquids. When cleaning, ensure that no objects, including cotton swabs or cloths, are inserted into the sensor chamber, as this can lead to damage.
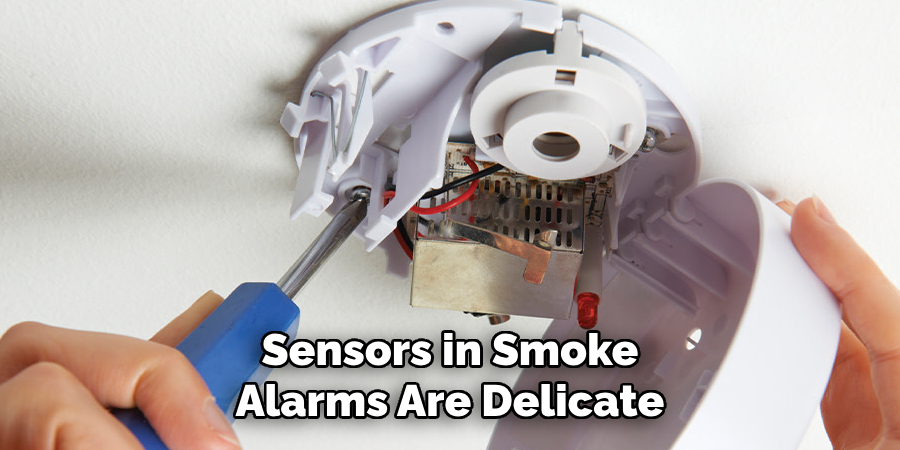
Additionally, refrain from using any liquids or cleaning agents directly inside the chamber since these substances can impair the sensor’s function. Your goal is to gently remove dust and debris without compromising the sensor’s integrity.
By following these guidelines for cleaning the sensor chamber, you can help maintain your smoke alarm’s sensitivity and reliability. A well-maintained sensor is essential for the smoke alarm to function correctly, providing peace of mind that your home is protected against the dangers of fire.
Testing the Alarm After Cleaning
Testing your smoke alarm after cleaning is a crucial step to ensure it functions correctly and safeguards your home against fire risks. A clean alarm might still encounter issues if debris obstructs the sensor or if any components were inadvertently damaged during the cleaning process.
To test the alarm effectively, follow these steps:
- Check the Manufacturer’s Instructions: Begin by consulting the alarm’s manual for any specific testing recommendations. Some models have a test button that simulates smoke conditions safely.
- Press the Test Button: Find the test button on the smoke alarm—usually prominently placed and marked. Press and hold it until the alarm sounds. This test confirms that the alarm’s electronic circuitry, horn, and battery are functioning.
- Use Smoke Test Aerosol (Optional): For more thorough testing, use a smoke test aerosol available at hardware stores. Spray it near the alarm to ensure the sensor activates it. This step simulates actual smoke conditions more closely than the test button.
- Check Interconnected Alarms: If your smoke alarms are interconnected, verify that triggering one alarm sets off the others. This ensures that all alarms will sound throughout your home in the event of a fire.
- Regular Maintenance Reminder: Lastly, use this opportunity to set a reminder for regular maintenance and testing of your smoke alarm to ensure ongoing protection.
By following these steps, you help ensure your smoke alarm remains a reliable safeguard for your home, ready to alert you at the first sign of danger.
Reassembling and Reinstalling the Smoke Alarm
A. Reassembling the Alarm
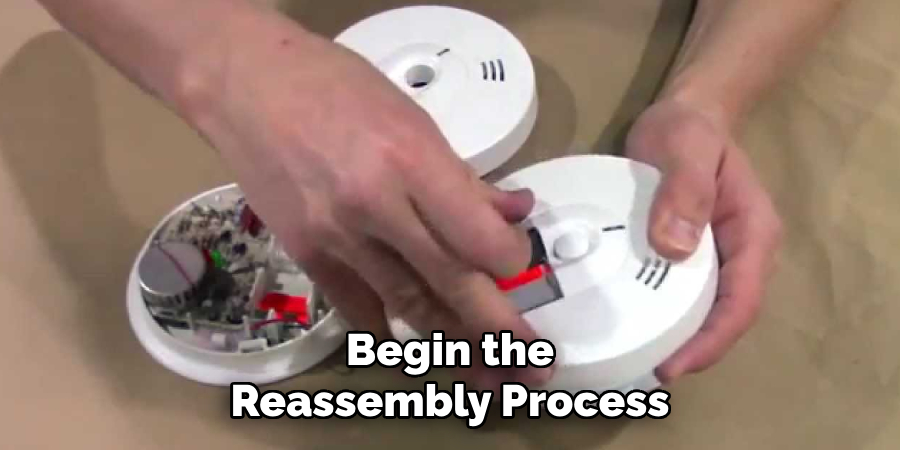
After ensuring your smoke alarm and its components are thoroughly clean and completely dry, carefully begin the reassembly process. Start by carefully placing any removed parts back into their original positions. If your alarm has a detachable sensor chamber or cover, securely fasten it back onto the main body.
Ensure that all pieces fit snugly together and there are no loose parts. If your smoke alarm uses a battery, reinstall it, ensuring the positive and negative terminals are correctly aligned according to the device’s instructions.
B. Reinstalling the Alarm Properly
- Positioning the Alarm: When reinstalling your smoke alarm, place it back in its original location. If you’re unsure where to install it, avoid corners and windows. Proper positioning is typically on the ceiling in the center of a room or on the wall, at least 4 inches but not more than 12 inches from the ceiling.
- Securing the Alarm: Use the mounting bracket that comes with your smoke alarm. If screws are used to secure the bracket, ensure they are tightened appropriately so the alarm is firmly attached but not overly tight, which could damage the unit or its mounting bracket.
- Restoring Power: For hardwired systems, restore power at the circuit breaker. Ensure there are no loose connections and that the alarm is receiving power.
- Final Testing: After reassembling and reinstalling, conduct one more test using the test button to confirm that the alarm is operational. Make certain that there is an audible sound indicating the alarm is functional.
By meticulously reassembling and reinstalling your smoke alarm following these steps, you can rest assured that your device is correctly positioned and functional, continuing to provide essential protection to your home.
Maintenance Tips for Smoke Alarms
Proper maintenance is crucial for ensuring that your smoke alarms remain in optimal working condition and are ready to alert you at the first sign of smoke or fire. By adhering to the following guidelines, you can extend the lifespan of your alarms and enhance your home’s safety.
A. Regular Testing and Battery Replacement
Test each smoke alarm in your home monthly by pressing the test button until the alarm sounds. This simple step verifies the alarm’s operational capability. Additionally, the batteries should be replaced at least once a year, even if the alarm hasn’t signaled a low battery.

Consider using a memorable date, such as the start of daylight saving time, as a reminder for this important task. For alarms sealed with a non-replaceable battery, plan to replace the entire unit every ten years or as recommended by the manufacturer.
B. Keeping Surrounding Area Clean
Ensure the area around your smoke alarms is free from dust and cobwebs, which can interfere with the alarm’s ability to detect smoke. Use a vacuum with a soft brush attachment to gently clean the exterior of the alarm periodically. Avoid painting or decorating over smoke alarms, as this can block smoke from entering the unit and reduce its effectiveness.
C. Professional Inspection and Maintenance
While regular homeowner maintenance is vital, having your smoke alarms professionally inspected at least once a year can provide an additional layer of security. A certified professional can identify and rectify any issues that may not be apparent during routine tests and battery replacements.
This is particularly important for hardwired smoke alarm systems, which require inspection to ensure all components are functioning correctly and interconnected alarms are properly synced.
Troubleshooting Common Issues
Troubleshooting common issues with smoke alarms can help restore their functionality and ensure they continue to provide essential safety alerts. Here, we address some typical problems and their solutions.
A. Alarm Beeping Despite Cleaning
If your smoke alarm continues to beep even after a thorough cleaning, first check the battery. A persistent beep often signals a low battery, so replace it with a new one if necessary. If the beeping persists with a fresh battery, unseen particles might still block the sensor.
In this case, try using compressed air to carefully blow out any remaining dust or debris. If the problem remains unresolved, it may be a sign of a malfunctioning alarm requiring replacement.
B. Alarm Not Responding After Cleaning
An alarm that doesn’t respond post-cleaning may have a disconnected or depleted battery. Ensure the battery is properly installed with the correct polarity. Check that the power hasn’t been inadvertently turned off during cleaning for hardwired systems.
If these steps don’t resolve the issue, inspect the device for any visible damage that could have occurred during cleaning. Damaged units should be replaced immediately to maintain home safety.
C. Addressing False Alarms
False alarms can often be traced back to the alarm’s location. Smoke detectors placed too close to kitchens or bathrooms can be triggered by cooking smoke or steam. Consider relocating the alarm to a more suitable location if false alarms persist. Additionally, ensuring the detector is clean and free from dust can reduce the likelihood of false alerts.
Suppose your smoke alarm frequently activates without an apparent cause. In that case, it may be overly sensitive, and adjusting the sensitivity settings—if available—or replacing the unit with a photoelectric type that is less sensitive to steam and cooking emissions might be necessary.
By effectively addressing these common issues, homeowners can maintain their smoke alarms in peak condition, ensuring they are ready to alert at the first sign of smoke or fire.
Final Thoughts
Ensuring the safety of your home hinges on the small but critical task of regular maintenance, especially when it comes to your smoke alarms. Understanding how to clean smoke alarm units properly and ensuring their functionality through routine checks can significantly mitigate the risks of fire in your home.
This guide underscores not only the straightforward steps involved in such maintenance but also highlights the importance of a proactive approach to safety.
By dedicating a small portion of your time to the cleaning and maintenance of your smoke alarms, you are investing in the well-being and protection of your home and loved ones. Take action today, and mark your calendar for regular check-ups and cleanings.
Prioritizing these tasks and educating yourself on best practices, like how to clean smoke alarm systems effectively, will keep your alarms in optimal working condition, providing peace of mind and a safer living environment.
About
Safety Fic is a distinguished figure in the world of Diy design, with a decade of expertise creating innovative and sustainable Diy solutions. His professional focus lies in merging traditional craftsmanship with modern manufacturing techniques, fostering designs that are both practical and environmentally conscious. As the author of diy, Safety Fic delves into the art and science of Safety Fic-making, inspiring artisans and industry professionals alike.
Education RMIT University
(Melbourne, Australia) Associate Degree in Design (Safety Fic) Focus on sustainable design, industry-driven projects, and practical craftsmanship. Gained hands-on experience with traditional and digital manufacturing tools, such as CAD and CNC software.
Nottingham Trent University
(United Kingdom) Bachelor’s in diyfastly.com and Product Design (Honors) Specialized in product design with a focus on blending creativity with production techniques. Participated in industry projects, working with companies like John Lewis and Vitsoe to gain real-world insights.
Publications and Impact
In diy, Safety Fic his insights on indoor design processes, materials, and strategies for efficient production. His writing bridges the gap between artisan knowledge and modern industry needs, making it a must-read for both budding designers and seasoned professionals.