Are you having trouble opening your garage door with the remote? Is it stuck or not responding to your commands? This can be frustrating, but try clearing your garage door opener before you call for professional help.
Clearing a garage door opener’s memory is essential for maintaining its proper functionality and security.
Whether you are moving into a new home and need to reset the existing openers or you’ve lost a remote and want to ensure it can no longer access your garage, knowing how to clear the opener’s memory can provide peace of mind.
This guide on how to clear a garage door opener will walk you through the steps to safely and effectively clear the memory of your garage door opener, ensuring any unauthorized remotes are removed and your system is ready for new programming.
What Will You Need?
To clear your garage door opener, you will need the following:
- A ladder (if your opener is mounted high)
- Your garage door remote(s)
- A small object such as a paper clip or pen
Once you have these items, follow the steps below to clear your garage door opener.
10 Easy Steps on How to Clear a Garage Door Opener
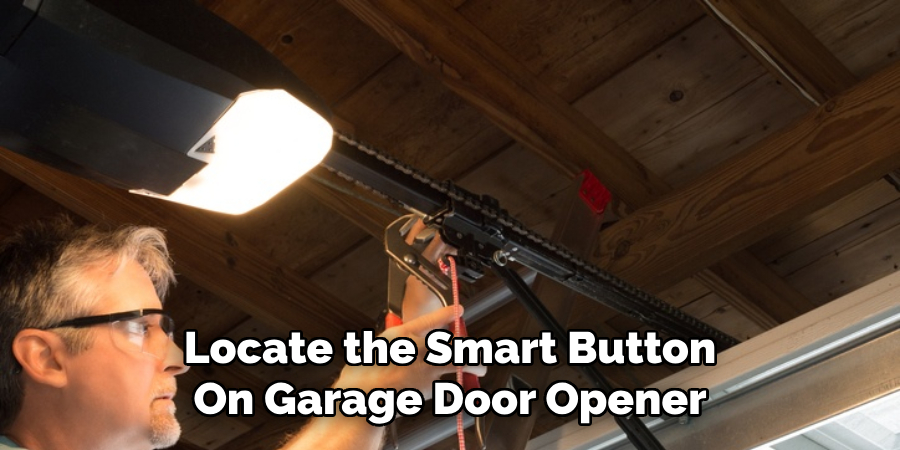
Step 1. Find the “Learn” or “Smart” Button:
Locate the “Learn” or “Smart” button on your garage door opener. This button is typically found near the antenna wire on the back or side of the motor unit.
Depending on the brand and model of your garage door opener, this button may be labeled differently. It may be hidden behind a light cover or a small panel. Refer to your garage door opener’s manual if you have trouble finding it.
Step 2. Press and Hold the “Learn” or “Smart” Button:
Once you have located the button, press and hold it for approximately 6 to 10 seconds. You may see an LED light either turn on or start flashing.
This indicates that the opener is in the process of clearing its memory. Hold the button until the LED light turns off, signaling that the memory has been successfully cleared.
Step 3. Release the Button:
After the LED light turns off, promptly release the “Learn” or “Smart” button. This action confirms that the garage door opener’s memory has been successfully cleared.
By doing so, you have effectively erased all previously programmed remotes and keypads from the system. Additionally, this step secures your garage by ensuring that any lost or stolen remotes can no longer be used to access it.
Step 4. Test the Memory Clearing:
To ensure that the memory has been properly cleared, test the garage door opener by attempting to open the garage using your remote(s).
The memory has been successfully wiped if the garage door does not respond to any of the remotes. This is a critical step in verifying the effectiveness of previous actions before reprograming your remotes.
Step 5. Reprogram Your Remotes:
With the memory cleared, you must now reprogram your existing remotes to the garage door opener. Press the “Learn” or “Smart” button again; this time, press it briefly (do not hold it).
The LED light will turn on or begin flashing, indicating that the opener is in “learning mode.” Within 30 seconds, press and hold the button on your remote until the LED light on the opener turns off. This will link your remote to the garage door opener.
Step 6. Test Your Remote:
After reprogramming your remote, testing its functionality is important to ensure it is properly linked to your garage door opener. Stand a reasonable distance away from the garage door and press the button on your remote.
The garage door should respond by opening or closing. If the door does not move, repeat the reprogramming process, ensuring that you press the “Learn” or “Smart” button briefly and follow the timing instructions carefully.
Testing guarantees that the remote is synced correctly and will work as expected.
Step 7. Reprogram Additional Remotes or Keypads:
If you have multiple remotes or keypads, you must reprogram each one individually. For each additional remote or keypad, press the “Learn” or “Smart” button on the motor unit briefly to put it back into “learning mode.”
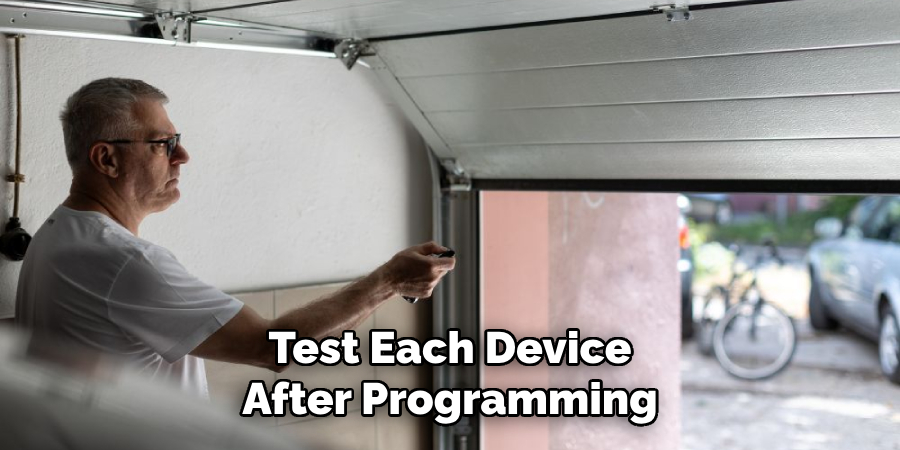
Then, within 30 seconds, press and hold the button on the new remote or enter the code on the keypad until the LED light on the motor unit turns off. Test each device after programming to ensure it operates the garage door correctly.
Step 8. Secure the Motor Unit:
Once all remotes and keypads are reprogrammed, ensure the motor unit is securely closed if you have to open any panels to access the “Learn” or “Smart” button.
Reattach any light covers or panels to protect the internal components from dust and damage. Ensuring the motor unit is closed properly helps maintain the longevity of your garage door opener system.
Step 9. Check Battery Life:
For optimal performance, check the battery life of your remotes. Weak batteries can cause intermittent operation issues, making it seem like your remotes aren’t properly programmed.
Replace any weak or dead batteries with new ones to ensure smooth functionality. Refer to the manual for the correct battery type and replacement procedure.
Step 10. Record Your New Programming:
It’s always a good idea to record your new programming for future reference. You can write down the steps or keep the reprogramming instructions handy if you need to re reprogram the remotes.
Having this information on hand can save time and avoid frustration if you experience any issues in the future.
By following these 10 easy steps, you can successfully clear your garage door opener’s memory and safely reprogram it for optimal performance.
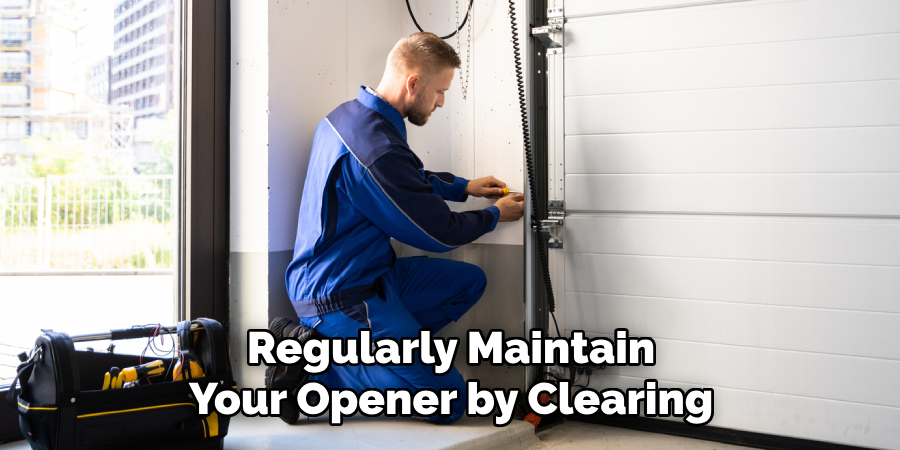
Remember to regularly maintain your opener by clearing its memory and reprogramming your remotes as needed to keep your garage secure and functioning properly.
5 Additional Tips and Tricks
- Reset the Opener: Locate the reset button on your garage door opener unit, usually found on the rear or the side. Hold the button down for 10-15 seconds until you see a light blink or hear a beep, indicating that the opener has been reset.
- Clear the Memory: Many modern openers have a memory function that stores remote control codes. Refer to the manual to locate the “Learn” button, then press and hold it until the indicator light turns off. This action will clear all stored codes.
- Check for Obstructions: Sometimes, debris or objects can obstruct the garage door opener’s sensors or track. Ensure that the area is free from any blocks or buildup that might prevent smooth operation.
- Replace Remote Batteries: Weak or dead batteries can impede the proper functioning of your remote controls. Replace the batteries in all remotes associated with the opener to ensure they are fully operational.
- Check for Power Outages: In the event of a power outage, your garage door opener may not function properly. Check the main power source and reset the opener if necessary.
These additional tips and tricks can help you troubleshoot any issues with your garage door opener and ensure smooth operation. It is important to regularly maintain and check for any potential problems to avoid costly repairs or replacements in the future.
5 Things You Should Avoid
- Ignoring the User Manual: Always refer to the user manual provided by the manufacturer for specific instructions. Ignoring these guidelines can lead to improper handling and potential damage to the garage door opener.
- Using Excessive Force: Avoid using excessive force when pressing buttons or handling the device. Using too much force can damage the delicate internal components of your garage door opener.
- Skipping Safety Precautions: Ensure you follow all safety precautions, such as disconnecting the power before performing any maintenance tasks. Skipping these steps can lead to serious injury or electrical hazards.
- Neglecting Sensor Alignment: Sensors play a crucial role in the operation of your garage door opener. Failing to check or align them properly can result in the opener not functioning correctly or safely.
- Overlooking Environmental Factors: Environmental factors like dust, moisture, and temperature extremes can affect the performance of your garage door opener. Avoid neglecting these factors by ensuring proper installation and storage conditions.
By avoiding these common mistakes, you can prolong the lifespan of your garage door opener and ensure efficient and safe operation.
Conclusion
How to clear a garage door opener is a straightforward process that significantly enhances the security and efficiency of your garage door system.
By diligently following the steps outlined—from locating the “Learn” or “Smart” button to reprogramming each remote—homeowners can ensure their garage door opener operates smoothly and securely.
Regular maintenance checks, such as verifying battery life and sensor alignment, are equally crucial in maintaining optimal performance. By avoiding common mistakes and adhering to the detailed instructions provided, you can prevent potential issues and prolong the life of your garage door opener.
Overall, taking the time to clear and reprogram your garage door opener not only fortifies the security of your home but also provides peace of mind, knowing that your system is functioning correctly.

