

Are you looking for an easy way to remotely monitor the activity in your environment, whether at home or in the workplace? Then, a WiFi panorama camera is what you need! With a Wi-Fi camera’s field of view up to 360° and its ability to connect to any network, regardless of geographical location, these cameras represent a viable solution for keeping track of activities around your premises.

In this blog post, we’ll share our top tips on how to connect a WiFi Panorama Camera – from simplifying the process with step by step instructions right through to connecting multiple cameras on one network – so you can get started enjoying all the benefits.
So, let’s dive into everything about getting started with WiFi Panoramic Cameras!
What Will You Need?
To easily connect your WiFi panorama camera, you will need a few things:
- A reliable Wi-Fi connection: As the name suggests, these cameras rely on a wireless network. Therefore, having a stable and strong connection is crucial for seamless use.
- Smartphone or device: You’ll need some sort of screen with internet access to complete the setup process. This can be a smartphone, tablet or laptop.
- Network credentials: You will need your Wi-Fi network’s name (SSID) and password to connect the camera.
Now that you have everything you need,, let’s connect your WiFi panorama camera.
10 Easy Steps on How to Connect a Wifi Panorama Camera
Step 1. Unbox and Install the Camera:
Carefully unpack your WiFi panorama camera from its box and follow the manufacturer’s instructions to install it in your preferred location. Ensure that the camera is within range of your Wi-Fi signal for seamless connectivity. Additionally, ensure that you have a power source for the camera, as it must be plugged in.
Step 2. Install the Camera’s App:

Install the app specific to your WiFi panorama camera using a smartphone or tablet from either Google Play Store or Apple App Store. If you use a laptop, find and install the necessary software directly from the manufacturer’s website. Additionally, the camera’s packaging should have instructions on how to find and install the app or software.
Step 3. Set Up the App:
Once you’ve installed the app, open it and create an account if required. This often involves providing an email and creating a password. Follow the app’s prompts to navigate the setup process. You may be asked to grant certain permissions to the app for it to function optimally; these requests are usually standard and necessary for the camera to function properly.
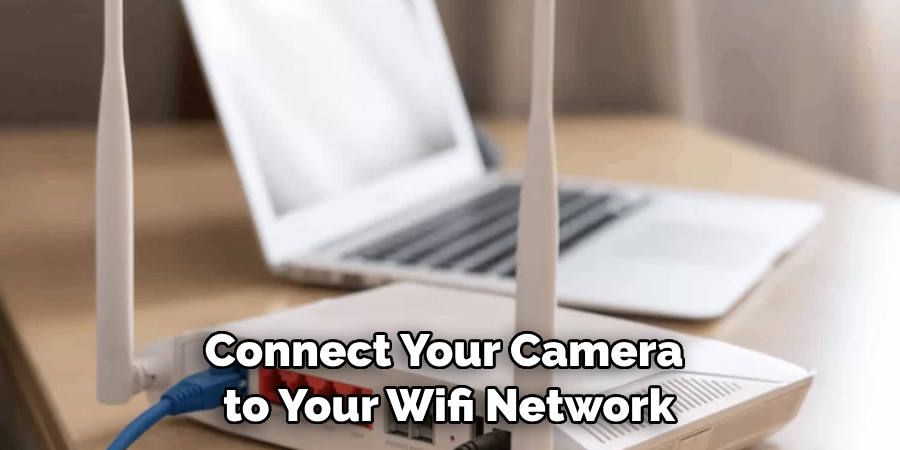
Step 4. Connect to Your WiFi Network:
In the app, find and select the option to add a new device or camera. The app will then ask for the credentials of your Wi-Fi network. Enter your SSID and password to let the camera connect to your network.
During this process, it’s important to ensure that the camera and your smartphone or device are connected to the same Wi-Fi network. Follow the instructions in the app to complete the Wi-Fi setup and ensure the camera is successfully connected.
Step 5. Pair the Camera with the App:
Once your camera is connected to the Wi-Fi network, the next step is to pair it with the app on your smartphone or device. This is usually achieved by scanning a QR code. You can typically find this QR code on the camera itself or in its user manual. Scan the QR code using the app.
After a successful scan, the app will recognize your camera and add it to your device list. The process can vary slightly depending on the specific camera model and app, so be sure to follow the instructions provided within the app.
Step 6. Configure Camera Settings:
After successfully pairing, it’s time to adjust the camera settings to your liking. This could include changing the camera’s name, adjusting the video quality, setting motion detection sensitivity, or setting up email alerts.
The available settings depend on your camera model and the app’s features. Make sure to go through all the settings to understand what each one does and how it can be customized to meet your needs. Save your changes once you’re satisfied with the settings configuration.
Step 7. Test the Camera:
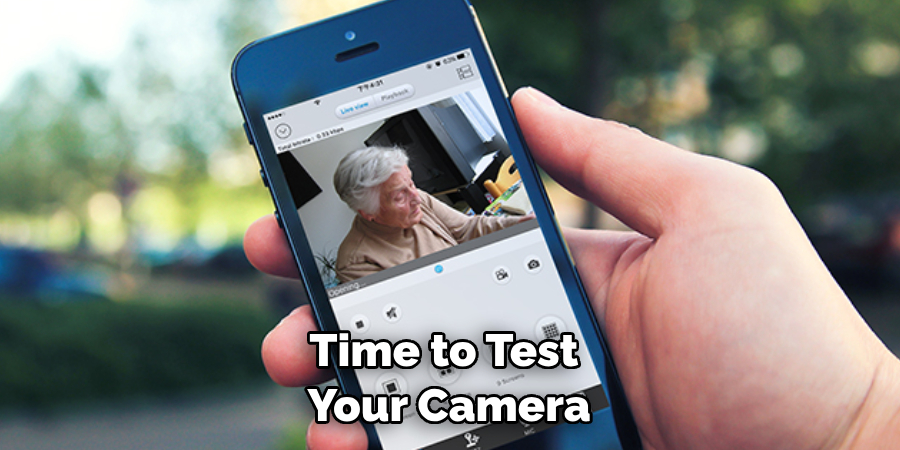
Now, it’s time to test your camera to ensure it’s capturing and transmitting video as expected. Navigate to the live view section in the app to see what your camera is currently capturing.
Move around in the camera’s field of view to check the video quality and responsiveness. If your camera includes audio features, test those as well. If everything looks and sounds good, congratulations! Your WiFi panorama camera is now properly set up.
Step 8. Install Additional Cameras (Optional):
If you have more than one WiFi panorama camera, you can now repeat the process from step 1. Most apps allow you to manage multiple cameras from the same account. Simply add a new device in the app and follow the same steps for each camera. This way, you can monitor multiple areas of your premises simultaneously.
Step 9. Monitor Your Camera:
You’re all set! You can now monitor your surroundings using your WiFi panorama camera. The app should allow you to view live footage, playback recorded videos, take screenshots, and more. Remember to check for app and camera updates regularly to ensure optimal performance.
Step 10. Troubleshoot If Necessary:
If you encounter any issues during setup or use, don’t panic. Most manufacturers offer comprehensive website support, including FAQs, video tutorials, user manuals, and customer service contacts.
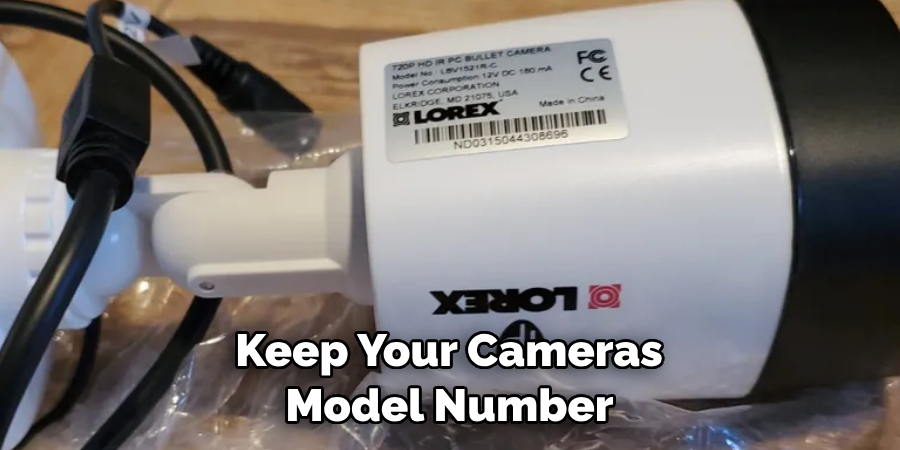
It’s also worth checking online forums and communities for advice from other users who may have experienced similar issues. Keep your camera’s model number and other relevant details handy for reference. Remember, persistence pays off!
By following these simple steps, you can easily connect your WiFi panorama camera and start monitoring your premises from anywhere with an internet connection.
5 Additional Tips and Tricks
- Positioning is Key: Ensure that your WiFi panorama camera is placed strategically, offering a wide and unobstructed view of the area.
- Stable WiFi Connection: A stable and robust WiFi connection is crucial for the smooth functioning of your panorama camera. Position your camera close to your WiFi router or use WiFi extenders for optimal connectivity.
- Adjust Camera Settings: Most WiFi panorama cameras have adjustable lens angles and image quality settings. Experiment with different settings to get the best results.
- Explore Different Apps: Depending on your camera model, multiple apps may be available for controlling and viewing your footage. Feel free to try out different apps until you find one that suits your needs.
- Utilize Cloud Storage: Some WiFi panorama cameras offer the option of storing your footage on the cloud, ensuring you never lose important recordings, even if your camera is damaged or stolen. It’s a great way to keep your memories safe.
With these additional tips and tricks, you can now connect and use your WiFi panorama camera like a pro!
5 Things You Should Avoid
- Ignoring Software Updates: Manufacturers often release updates to improve performance and add new features. Avoiding these updates can lead to sub-par performance and security risks.
- Using Weak Passwords: The security of your camera is paramount. Using weak or common passwords can make your device an easy target for hackers.
- Overlooking Privacy Settings: Ensure to configure the privacy settings properly. Avoid public sharing of your camera feed unless it’s essential.
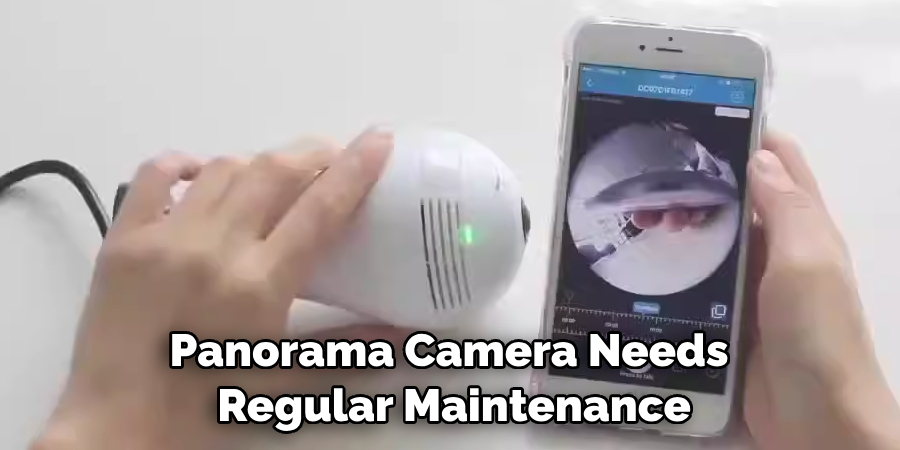
- Neglecting Regular Maintenance: Like any electronic device, your WiFi panorama camera needs regular maintenance. Avoiding cleaning the lens or updating the firmware may affect its longevity and performance.
- Not Checking Compatibility: Before buying a WiFi panorama camera, ensure it is compatible with your devices and WiFi network. Only purchase by checking this crucial aspect.
By avoiding these common mistakes and following the additional tips, you can make the most out of your WiFi panorama camera and enjoy high-quality panoramic footage anytime, anywhere.
Do You Need Internet for Wifi Camera?
Yes, a WiFi connection is necessary to use your WiFi panorama camera. Without it, you cannot monitor or control your camera remotely. The cloud storage feature and software updates also require an internet connection. However, some cameras also offer the option of recording footage onto a memory card, which can be viewed later without an internet connection.
So, if you plan to use your WiFi panorama camera outdoors or in a location where an internet connection may not be available, check if it has the option of local storage. With an internet connection, you can access and control your camera from anywhere, making it a convenient and versatile tool for capturing stunning panoramic views.
How Do You Find Your Wifi Camera IP Address?
To find the IP address of your WiFi panorama camera, follow these steps:
- Connect your camera to your WiFi network.
- Install and install an IP scanner app on your smartphone or computer.
- Open the IP scanner app and scan for all connected devices on your network.
- Look for a device with a name similar to your camera model or manufacturer. Note down the IP address associated with it.
- Open a web browser and type in the IP address in the URL bar.
- You should now be able to access your camera’s interface and make any necessary configurations.
If you cannot find your camera’s IP address using an IP scanner, you can also try accessing your router’s admin page and checking for connected devices. Alternatively, refer to your camera’s user manual for specific instructions on finding the IP address.
Conclusion
In conclusion, connecting a wifi panorama camera to your home internet network is quite simple. With just a few steps, you can easily set up a camera and begin monitoring the inside or outside of your home immediately. Plus, there is no need to worry about pesky wires being strung around the house – the Wi-Fi connection is all you need.
Get started today and take advantage of this convenient and secure way to keep watch over your home. Share your experiences in connecting a panorama camera with friends and family or if you have any tips or tricks that worked especially well for you!
Hopefully, the article on how to connect a wifi panorama camera has been helpful and informative. Always refer to the manufacturer’s instructions for specific details on connecting your camera model. With these tips, you can capture stunning panoramic footage and have peace of mind knowing that your home is protected.