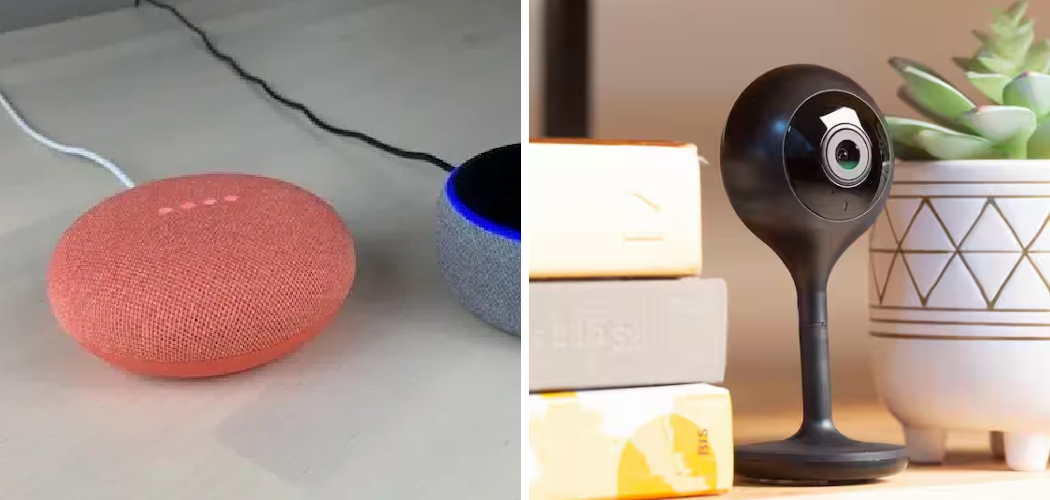
Setting up a smart home is easier than ever, especially when you know how to connect Geeni to Alexa. Geeni smart devices, ranging from bulbs to cameras, offer convenience and control at your fingertips. Pairing them with Alexa takes automation to the next level, allowing you to manage your devices using simple voice commands.
To begin, ensure that your Geeni device is properly set up and connected to the Geeni app. Check that your Alexa device is powered on and tied to an active Amazon account. Next, open the Alexa app on your smartphone or tablet and navigate to the “Skills & Games” section. Use the search bar to find the Geeni skill and enable it. Once activated, you’ll be prompted to log in using your Geeni account credentials. After successful login, Alexa will automatically detect your connected Geeni devices. You can then assign them to specific groups or rooms for easier control.
Integrating Geeni with Alexa is straightforward, even for beginners. By following a few simple steps, you can link your devices and enjoy seamless hands-free control. Whether it’s turning off lights without getting out of bed or adjusting settings on your smart camera while cooking, this integration enhances your daily life. This guide will walk you through every step to connect Geeni to Alexa, ensuring your smart home setup is as smooth as possible.
Why Connecting Geeni to Alexa Matters
Smart home devices like Geeni are all about convenience and efficiency, but connecting them to Alexa makes these benefits even more impactful. Alexa enables you to control your Geeni devices through hands-free voice commands, integrating them into your existing smart home ecosystem effortlessly.
For example, imagine arriving home with your hands full. Instead of fumbling for a light switch, you can say, “Alexa, turn on the living room lights!” With Alexa, you can group multiple Geeni devices, such as smart plugs and bulbs, creating smart routines that activate several devices at once.
Beyond convenience, connecting Geeni to Alexa makes your home more accessible for all users. From helping someone with physical disabilities control devices independently to managing time-sensitive tasks more efficiently, this integration transforms your day-to-day activities. It’s an essential step in maximizing the potential of your modern home.
Step-by-Step Guide: How to Connect Geeni to Alexa
Step 1: Download the Geeni App
Before you begin, downloading the Geeni app is your first priority. This application acts as the control hub for your smart devices, enabling you to pair them with services like Alexa. Visit your device’s app store, whether it’s the Google Play Store or Apple App Store, and search for “Geeni.”
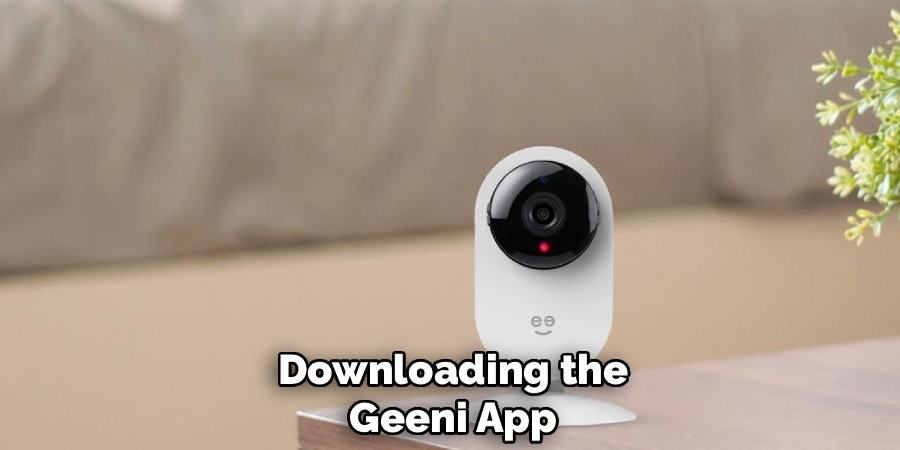
Install the app and create an account if you’re a new user. Upon registration, you’ll be prompted to add your Geeni devices. Follow the on-screen instructions to pair them with your home Wi-Fi network. Ensuring your devices are properly set up in the Geeni app is critical for successfully linking them to Alexa later in the process.
Step 2: Ensure Your Devices Are Alexa-Compatible
Next, confirm that your Geeni products are compatible with Alexa. Most Geeni devices support integration with smart assistants, including lights, cameras, plugs, and switches. Check the product packaging or manual for an Alexa logo or list of supported features.
If you’re unsure about compatibility, explore the Geeni app, where compatible devices often include links or prompts related to Alexa pairing. Ensuring compatibility not only prevents complications but also prepares you for smooth integration later in the process.
Step 3: Open the Alexa App
To start the connection process, open the Alexa app on your smartphone or tablet. If you don’t already have the app, download it from your device’s app store. Sign in to your Amazon account, or create a new one if required.
The Alexa app serves as the control center for all your Echo devices and integrations. Familiarize yourself with the app’s layout, especially the “Devices” tab, as it will be central to linking Geeni to Alexa. A fully set-up Alexa app ensures you’re ready to initiate the pairing without delays.
Step 4: Enable the Geeni Skill
Within the Alexa app, tap on the “More” menu and select “Skills & Games.” Use the search bar to find the Geeni skill by typing “Geeni.” Once located, click “Enable.” You will then be prompted to log into your Geeni account. Enter the same credentials you used to set up the Geeni app.
This step connects Alexa to your Geeni account, which is necessary for integrating all your devices. Enabling the Geeni skill acts like a handshake between the apps, allowing them to communicate seamlessly and share device information.
Step 5: Authorize Alexa to Access Your Geeni Devices
After enabling the Geeni skill, Alexa will request permission to access your Geeni devices and settings. Review the permissions carefully before confirming. Once authorized, Alexa can identify and control the devices connected to your Geeni account.
This step is important because it establishes trust between the two systems. Without proper authorization, Alexa won’t be able to send commands or manage your devices effectively. Authorizing access ensures all future interactions are seamless, from turning lights on to activating routines.
Step 6: Discover Geeni Devices
Now that Alexa has access, you’ll need to discover your Geeni devices. Stay within the Alexa app and go to the “Devices” tab. Click “Add Device,” and Alexa will automatically scan for compatible devices linked through the Geeni app.
Give the discovery process a minute or two to complete. Once finished, you’ll see a list of your Geeni devices. Verify all devices have been added successfully and named appropriately for easier identification later. This step ensures every compatible device is ready for use with Alexa commands.
Step 7: Assign Devices to Rooms or Groups
To maximize efficiency, organize your Geeni devices within the Alexa app by assigning them to specific rooms or creating groups. For example, group all living room devices or associate a smart camera with an entryway.
Grouping makes voice commands more intuitive, allowing you to manage several devices with a single phrase. For instance, saying “Alexa, turn off the bedroom” can deactivate all connected lights and plugs in that group. Smart organization simplifies daily tasks and enhances your smart home setup.
Step 8: Test Voice Commands
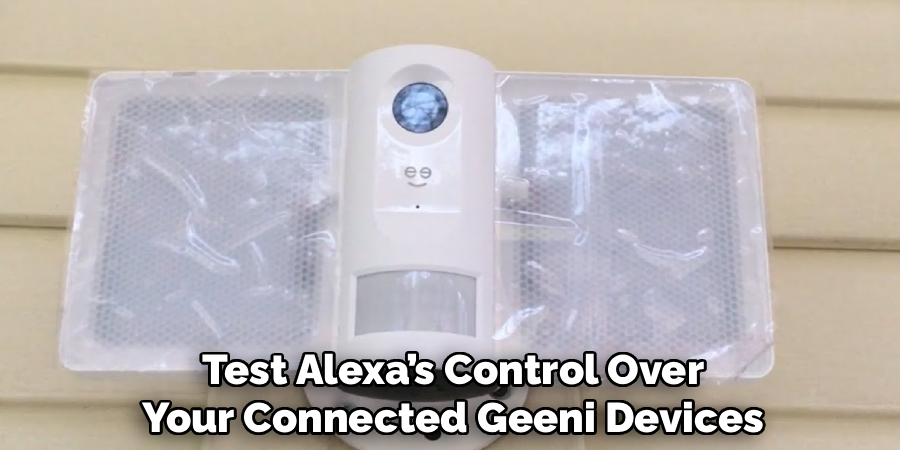
After successful integration, test Alexa’s control over your connected Geeni devices. Start with simple commands like, “Alexa, turn on the kitchen light,” or, “Alexa, turn off the smart plug.” Testing ensures the devices are functioning optimally and responding to your instructions.
If a device isn’t functioning as expected, recheck its setup in both the Geeni and Alexa apps. Resolving connectivity issues early guarantees a smoother experience when relying on these devices daily. Testing builds confidence and helps fine-tune your smart home system.
Step 9: Create Routines for Automated Efficiency
The final step to mastering how to connect Geeni to Alexa is leveraging the “Routines” feature in the Alexa app. Routines allow you to automate multiple actions based on a single trigger, such as a specific time, event, or Alexa command.
For instance, you can create a bedtime routine that dims the lights, turns off the TV, and activates your smart camera. Routines add convenience and elevate your smart home experience by customizing interactions to suit your lifestyle. Experiment with various setups to discover what works best for you.
Common Connection Issues
While Alexa can greatly enhance your smart home experience, users may occasionally encounter connection issues that disrupt functionality. Common problems include Wi-Fi interruptions, outdated software, or device compatibility issues. To resolve these, ensure your Alexa device is connected to a stable Wi-Fi network and positioned within range of the router.
Regularly check for and install firmware updates via the Alexa app to keep your device operating smoothly. Additionally, verify that linked smart devices are compatible and correctly integrated with Alexa. If problems persist, restarting the device or resetting factory settings can often resolve more complex issues.
Troubleshooting Tips
If you encounter any difficulties while using your Alexa device, there are several troubleshooting tips that can help resolve common issues. Here are some steps to follow:
- Check your Wi-Fi connection: The first step in troubleshooting an Alexa device is to ensure it is connected to a stable Wi-Fi network. A weak or unstable connection can cause issues with voice recognition and other features.
- Position your device correctly: Make sure your Alexa device is positioned within range of the router for optimal performance. Objects like walls and furniture can interfere with the signal, so try moving the device closer to the router if needed.
- Update firmware: Regularly check for and install firmware updates for your Alexa device. These updates can fix bugs and improve performance, so it’s important to keep your device up-to-date.
- Check the power source: If your Alexa device is not turning on or responding, check the power source. Make sure the device is plugged in and that the outlet is functioning properly.
- Reset the device: If all else fails, try resetting your Alexa device. This will restore it to its factory settings and can often resolve any issues you may be experiencing.
Frequently Asked Questions
Do I need Wi-Fi to connect Geeni to Alexa?
Yes, a stable Wi-Fi connection is essential for pairing Geeni with Alexa. Both the Geeni app and Alexa app rely on Wi-Fi to synchronize devices and enable seamless communication for voice commands.
What if Alexa can’t find my Geeni devices?
If Alexa fails to detect your Geeni devices, ensure they are set up correctly in the Geeni app and that the Geeni skill is enabled in the Alexa app. Restarting both apps or reconnecting to Wi-Fi may also resolve the issue.
Can I control Geeni devices with Alexa when I’m away from home?
Yes, as long as your Alexa and Geeni apps are connected to the internet, you can control your devices remotely. This feature works through the Alexa app, giving you access wherever you have a signal.
Conclusion
Learning how to connect Geeni to Alexa is a straightforward process that unlocks the full potential of your smart home. By pairing these devices, you can enjoy hands-free control, enhanced routines, and a seamless integration of smart technology into your daily life.
To ensure optimal performance, regularly update your devices and apps to the latest firmware. Staying current with updates not only resolves potential bugs but also introduces new features and improvements, keeping your smart ecosystem running efficiently. Additionally, consider organizing your device names logically within the Alexa app to make voice commands more intuitive and easy to use.
Whether you’re turning off lights, checking your smart camera, or automating tasks, this connection empowers you with convenience and efficiency. Start pairing your Geeni devices with Alexa today to create a smarter, more intuitive home environment!

