

Are you wondering how to connect an IP camera to your DVR? It’s easier than you think! With a few simple steps, you’ll be able to get the setup complete and start connecting your surveillance system with all the features of modern IP cameras.
Whether this is for home security or business monitoring, our guide will help make sure that everything is up and running in no time. Read on to learn more about how to connect ip camera to dvr!
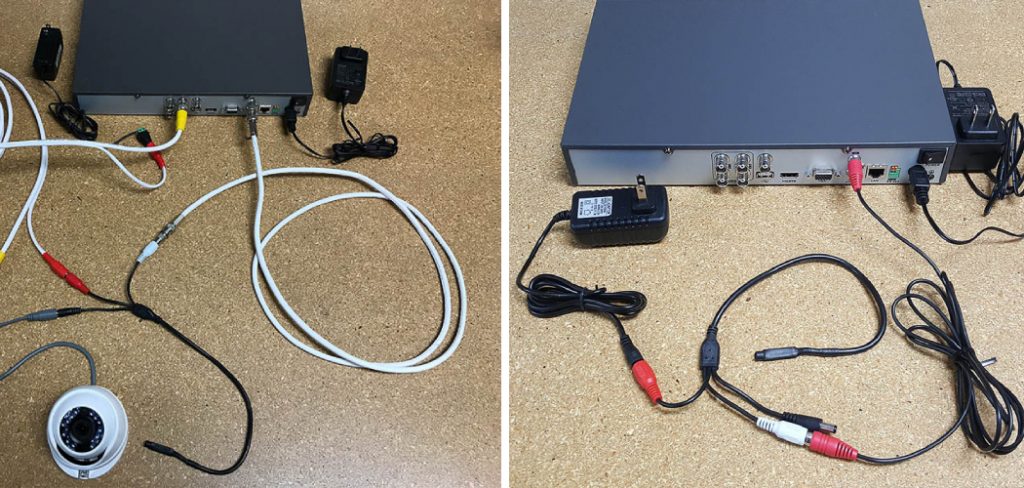
Necessary Materials
Given below is the list of materials that you would require for setting up your IP camera with DVR:
- IP camera
- DVR
- Ethernet cable
- Power supply for IP camera and DVR
- HDMI cable (optional)
- Monitor/TV (optional)
10 Step-by-step Guidelines on How to Connect Ip Camera to DVR
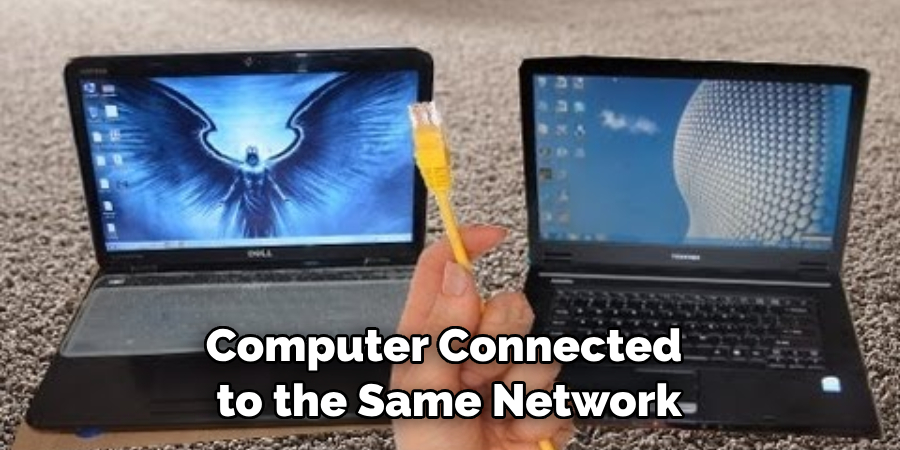
Step 1: Connecting the IP Camera to the Router
The first step in connecting your IP camera to your DVR is to make sure that the IP camera is connected to the same network as your router. This can be done by using an Ethernet cable to connect the IP camera directly to the router or by connecting it wirelessly through Wi-Fi. It is recommended to use an Ethernet cable for a more stable connection.
Step 2: Connecting the DVR to the Router
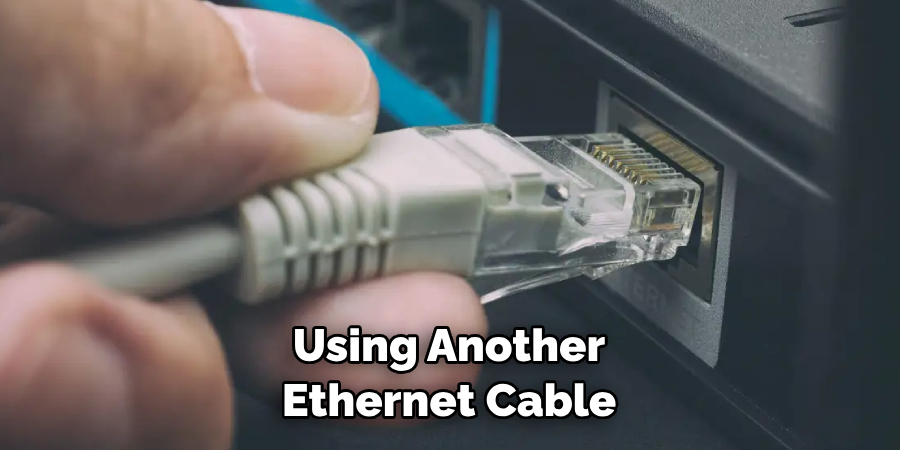
Next, you’ll need to connect your DVR to the router using another Ethernet cable. This will allow the DVR to access the same network as your IP camera. This step is crucial for the DVR to be able to communicate with the IP camera. You can also use a Wi-Fi adapter for the DVR if it is not located close to the router. But, again, a wired connection is preferred for better stability.
Step 3: Power Up Your IP Camera and DVR
Now that the IP camera and DVR are connected to the router, it’s time to power them up. Make sure to use the appropriate power supply for each device. You can also use a UPS (Uninterruptible Power Supply) to ensure a stable and continuous power supply in case of any power outages.
This will prevent any interruptions in your surveillance system. It is recommended to keep the IP camera and DVR on separate power circuits to avoid any interference.
Step 4: Configure Your IP Camera
Once the IP camera is powered up, you’ll need to access its settings to configure it. This can be done by entering the IP address of the camera into a web browser on a computer connected to the same network. From there, you can set up your desired settings such as resolution, frame rate, and motion detection. Make sure to save any changes made. Otherwise, they won’t take effect.
Step 5: Access the DVR’s Menu
To access the DVR’s menu, you will need to connect it to a monitor/TV using an HDMI cable. This step is optional if your DVR has a built-in display. Otherwise, connecting it to a monitor/TV will allow you to navigate through the DVR’s menu and set up your desired settings. It is recommended to use a mouse for easier navigation.
Step 6: Configure the DVR’s Settings
Similar to the IP camera, you can now configure your DVR’s settings such as recording schedule and resolution. You can also connect multiple cameras to the DVR if desired. Make sure to save any changes made.
This will ensure that the DVR is set up according to your preferences. But, don’t worry if you need to make changes later on. You can always access the menu again. You’re not locked into any settings permanently.
Step 7: Connect the IP Camera to the DVR
Now that both devices are configured, it’s time to connect them. On the DVR’s menu, you’ll find an option to add a camera. Select this option and follow the prompts to add your IP camera to the DVR. This will establish a connection between the two devices. Although the steps may vary depending on the brand and model of your DVR, this process is usually straightforward.
Step 8: Test the Connection
After connecting the IP camera to the DVR, you can test the connection by viewing live footage from the IP camera on your DVR’s monitor/TV. Make sure everything looks good before proceeding to the next step.
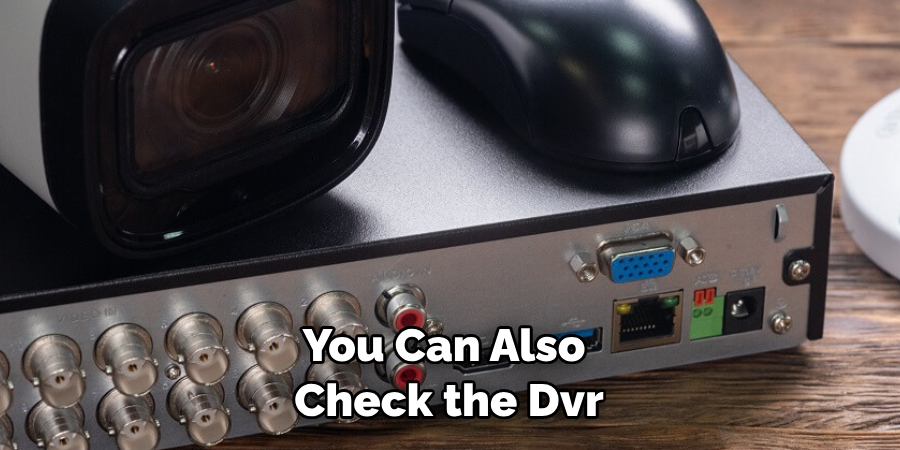
You can also check the DVR’s menu to ensure that the IP camera is recognized and connected. It should show up as a new camera in the list. It is recommended to test each camera individually.
Step 9: Configure Remote Viewing
One of the advantages of connecting an IP camera to a DVR is the ability to view your surveillance footage remotely. To do this, you’ll need to configure remote viewing on both devices.
There are different ways to do this depending on the brand and model of your DVR, so make sure to consult the manufacturer’s manual for specific instructions. You may need to set up port forwarding on your router to allow access from outside the network.
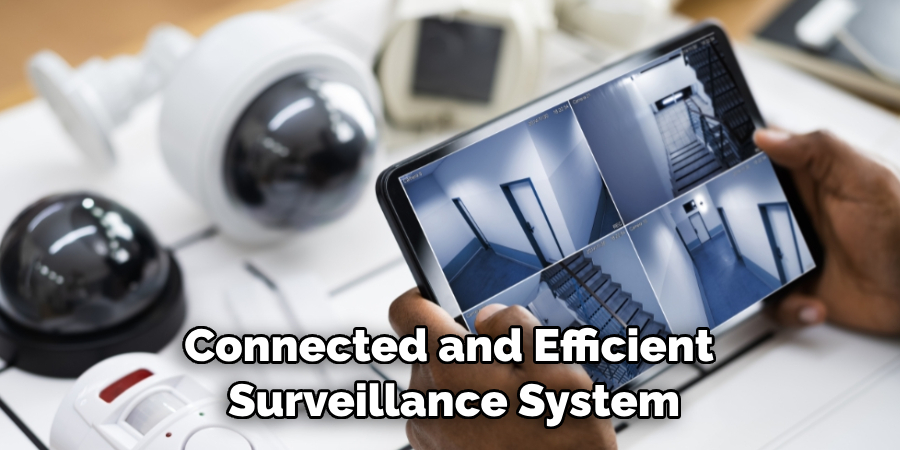
Step 10: Enjoy Your Fully Connected Surveillance System!
Congratulations! You have successfully connected your IP camera to your DVR. Now, you can enjoy all the features of modern IP cameras such as high-resolution footage, remote viewing, and motion detection on your surveillance system.
Make sure to regularly check and update your settings for optimal performance. Otherwise, sit back and relax knowing that your property is being monitored and secured. So, if you ever find yourself wondering how to connect IP camera to DVR, just follow these simple steps for a hassle-free setup!
Following these guidelines, you can easily connect your IP camera to a DVR and have a fully functioning surveillance system in no time. Remember to always consult the manufacturer’s manual for specific instructions and troubleshoot any issues that may arise during the setup process. With a stable connection, regular maintenance, and updates, you can have peace of mind knowing that your property is protected 24/7.
Do You Need to Take the Help of an Expert?
It is always recommended to seek help from a professional if you are unsure or facing difficulties in connecting your IP camera to your DVR. They can provide assistance in setting up the system and troubleshooting any technical issues. This will ensure that your surveillance system is set up correctly and functioning properly for optimal security and peace of mind.
Don’t hesitate to reach out for help if needed! Overall, connecting an IP camera to a DVR may seem daunting at first but with the right tools and knowledge, it can be easily accomplished. So go ahead and set up your surveillance system today for added security and peace of mind!
Keep in mind that technology is constantly evolving, so make sure to stay updated on any new methods or techniques for connecting IP cameras to DVRs for the best performance and protection.
Happy monitoring! So, don’t be afraid to explore and experiment with your surveillance system to find the perfect setup for your needs. With these steps, you’re on your way to having a fully connected and efficient surveillance system in no time! Keep learning and stay safe. Happy monitoring!
Frequently Asked Questions
Q1: Can I Connect Multiple IP cameras to One DVR?
Yes, most DVRs have the capability to support multiple IP cameras. Just make sure that your DVR has enough channels for the number of cameras you want to connect. It is also recommended to use cameras from the same brand to ensure compatibility.
Q2: Can I Connect My IP Camera Wirelessly?
Yes, you can connect your IP camera wirelessly through Wi-Fi. However, a wired connection is preferred for better stability and less interference. This is especially important for surveillance systems that require constant monitoring.
Q3: Can I Access My Surveillance System From Anywhere?
Yes, with remote viewing set up on your DVR and IP camera, you can access your surveillance system from anywhere as long as you have an internet connection. This allows you to check in on your property even when you’re away from home or the office.
Q4: How Do I Troubleshoot Connection Issues?
If you encounter any connection issues, make sure that both your IP camera and DVR are properly powered and connected to the same network. You can also try restarting both devices and checking for firmware updates. If the problem persists, consult the manufacturer’s manual or contact customer support for further assistance.
Remember to always test your connection before leaving your surveillance system unattended. With regular maintenance and troubleshooting, you can ensure that your surveillance system is always up and running for maximum security. Now you’re ready to enjoy the benefits of a fully connected surveillance system!
Conclusion
In conclusion, with the help of this blog post, it should be easier to connect IP cameras to DVRs. This method is especially useful when there are multiple cameras that must be connected at once, as it allows all devices to sync up. Don’t hesitate to reach out for an additional source of assistance if needed.
Utilizing the knowledge attained in this blog post will cut down the stress and frustration of connecting your networked IP camera to your DVR! Now that you are equipped with all the necessary information, why not go ahead and get started? After all, quality surveillance footage is only a few clicks away. Thanks for reading this article on how to connect ip camera to dvr.