

Understanding how to connect Merkury camera to WiFi is essential for anyone hoping to set up a smooth and functional smart home security system. Merkury cameras are designed to provide convenience and peace of mind by allowing users to monitor their homes remotely via their smartphones. However, before you can enjoy these features, the camera must be connected to your home WiFi network.
To begin the setup process, ensure that your smartphone is connected to the same 2.4GHz WiFi network that you plan to use for the camera. Next, download the Geeni app from your device’s app store and create an account if you haven’t already. Power on your Merkury camera and make sure it is in pairing mode, typically indicated by a blinking LED light. Open the Geeni app, select the option to add a device, and follow the on-screen instructions to connect the camera to your WiFi network. Ensure your WiFi password is handy, as you’ll need it during this process. Once the connection is established, you’ll be able to access the camera’s live feed and other features through the app.
While the setup process may sound complicated, it’s actually straightforward and user-friendly. Whether you’re setting up a camera for the first time or upgrading your smart home devices, this guide will walk you through the entire process. By the end, you’ll have the skills and confidence to connect your Merkury camera to WiFi and monitor your home with ease.
Why Learning to Connect Merkury Camera to WiFi Is Important
Merkury cameras are designed to enhance your home security by offering real-time monitoring, motion detection, and video recording capabilities—all of which depend on a reliable WiFi connection. Properly setting up your camera ensures you can access live feeds, receive notifications, and store footage securely in the cloud or on local storage.
Connecting your Merkury camera to WiFi is the first and most critical step toward utilizing these features. Without a stable connection, the camera cannot transmit footage to your device, rendering its functionality limited. Additionally, learning to connect the camera correctly can save you from technical frustration, ensuring that the setup is hassle-free.
Consequently, understanding how to connect Merkury camera to WiFi is pivotal for maintaining a secure and connected home. By mastering this process, you’ll unlock the full potential of your smart camera and take the first step toward a comprehensive smart home ecosystem.
Step-by-Step Guide: How to Connect Merkury Camera to WiFi
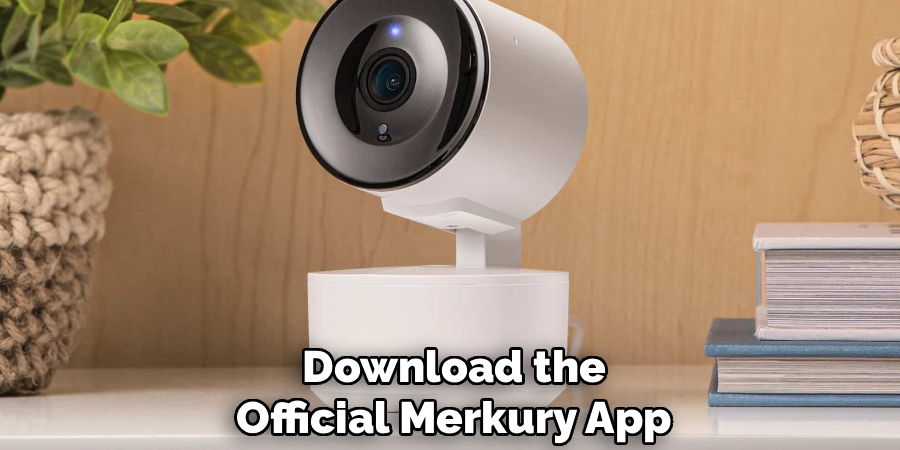
Step 1: Download the Merkury Smart App
The first step in connecting your Merkury camera to WiFi is downloading the Merkury Smart app. This app is the central tool for managing your camera’s settings and accessing video footage. It is available for free on both iOS and Android platforms. Open your smartphone’s App Store or Google Play Store, search for “Merkury Smart,” and install the application.
Once downloaded, launch the app and create a new account if you don’t already have one. Use a valid email address and set up a secure password. After verifying your account, log in to the app to access its features. With the app installed and ready, you’ll simplify the camera setup process and gain full functionality over your Merkury smart devices.
Step 2: Power on Your Merkury Camera
After installing the app, the next step is to power on your Merkury camera. Plug the camera into a power source using the included adapter and cable. Wait until the indicator light on the camera turns on, signaling that the device is ready for pairing.
Ensure the camera is placed in a location near your WiFi router for a smooth connection during setup. A closer proximity prevents interference and reduces the chances of connectivity issues. Watching for the blinking light on the camera, which usually indicates it is in “setup mode,” ensures you’re ready to proceed.
Step 3: Open the App and Add a New Device
With the Merkury Smart app open, locate the “+” or “Add Device” option on the main screen. Tap this option to start adding your camera. The app will display a list of compatible devices, so select your camera model from the list provided.
Follow the prompts, such as selecting your device type and confirming that the camera is powered on. This step ensures the app is aware of the camera you’re pairing and prepares the connection interface. Properly initializing this process sets the foundation for a smooth and accurate pairing experience.
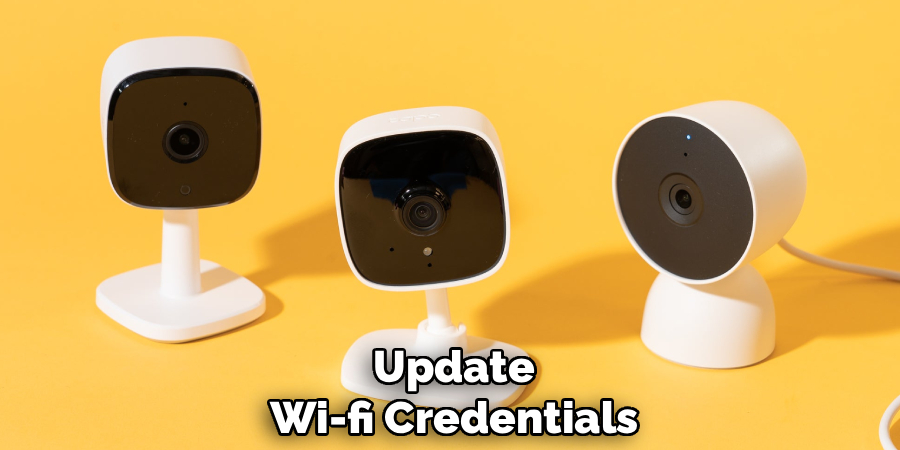
Step 4: Connect to Your WiFi Network
The app will prompt you to enter your WiFi credentials to connect the Merkury camera to your network. Ensure you’re connecting to a 2.4GHz WiFi network, as most smart cameras do not support 5GHz connections. Enter your WiFi name (SSID) and password accurately to proceed.
Confirm that the smartphone you’re using is also connected to the same WiFi network. Once the credentials are entered, the app will begin transmitting the information to the camera. This process links the camera directly to your home network, enabling real-time data transfer.
Step 5: Use the QR Code for Pairing
After entering your WiFi details, most Merkury cameras use a QR code scanning system for pairing. The app will generate a unique QR code on your smartphone screen. Hold your phone up to the camera lens, ensuring the QR code is within the camera’s field of view.
The camera will scan the QR code, which acts as a bridge for transferring the WiFi credentials securely. Wait for the camera to emit a confirmation tone or display a flashing indicator light, signaling a successful scan. QR code scanning is a quick and secure way to pair your device without requiring manual configurations.
Step 6: Confirm Connection
Once the QR code is scanned, the app will work to establish a connection between the camera and your WiFi network. This process typically takes a few minutes. During this time, ensure the camera remains powered on and within range of the router to prevent interruptions.
Once the connection is established, the app will notify you with a success message. At this stage, you can name your device for identification purposes, especially if you own multiple cameras. With the connection confirmed, your camera is now online and ready for use.
Step 7: Configure Settings in the App
After connecting the Merkury camera to WiFi, configure its settings in the app. Options include adjusting motion detection sensitivity, enabling notifications, and selecting storage preferences like cloud or local microSD storage.
Take time to explore these settings to customize the camera for your needs. For example, enable motion detection alerts to receive real-time updates whenever the camera detects activity. Configuring these features ensures you get the most out of your smart camera system.
Step 8: Test the Camera
Before finishing, perform a quick test to ensure the camera and app are functioning as expected. Use the live view option in the app to check the camera’s video feed. Move around in front of the camera to see if motion detection triggers any notifications.
If the camera performs as intended, it confirms that the setup process was successful. If any issues arise, review the steps or reset the camera to try again. Testing your Merkury camera ensures it is ready to monitor and secure your home effectively.
Step 9: Explore Advanced Features
Once you’re confident your camera is working, explore additional features available in the Merkury Smart app. Some cameras offer two-way audio, night vision, or scheduling options for recording times. Familiarizing yourself with these features enhances your experience and adds value to your device.

Experiment with these options to discover the full range of capabilities your camera offers. Advanced features like two-way audio can be especially useful for communicating with family members or pets while away from home. Exploring these functions empowers you to make the most of your smart camera system.
Troubleshooting Tips
When using your smart camera system, you might occasionally encounter issues. Here are some troubleshooting tips to help resolve common problems:
Connection Issues: If your camera loses connection, check your Wi-Fi signal strength and ensure the camera is within range of the router. Restarting both your camera and router can often resolve connectivity problems.
App Malfunctions: If the app controlling the camera is not functioning correctly, try closing and reopening it. Updating the app to the latest version or reinstalling it may also solve the issue.
Power Supply Problems: Ensure your camera is adequately powered. For battery-powered cameras, check that the batteries are charged. For wired cameras, inspect the power adapter and cables for any damage.
Video Quality Issues: If the video feed appears blurry or pixelated, adjust the camera’s position to eliminate obstructions and verify that your internet connection supports high-quality streaming.
Two-Way Audio Not Working: Confirm that your microphone and speaker permissions are enabled in the app settings. Test the feature in a quiet environment to ensure proper functionality.
Firmware Updates: Regularly check for and apply firmware updates to keep your camera system running smoothly and securely.
By following these tips, you can address most problems you might encounter while using your smart camera system, ensuring continuous and reliable performance.
Frequently Asked Questions
Why won’t my Merkury camera connect to WiFi?
Ensure you are connecting to a 2.4GHz network, as 5GHz networks are not supported. Check that the WiFi name and password are entered correctly. Also, move the camera closer to the router during setup to improve signal strength.
Can I connect my Merkury camera to a mobile hotspot?
Yes, you can use a mobile hotspot as long as it provides a stable 2.4GHz connection. However, this may result in slower performance compared to a traditional home network.

What does the blinking light on my Merkury camera mean?
A blinking light usually indicates that the camera is in setup mode and ready to pair with the app. If the light continues to blink after setup, it may suggest a connectivity issue.
Conclusion
Connecting your Merkury camera to WiFi is an essential step for unlocking its full functionality and keeping your home secure. By following this guide, you can confidently handle the setup process and ensure a smooth connection.
From downloading the app to adjusting advanced features, the steps outlined here provide everything you need to get started. Take the first step today, and enjoy the peace of mind that comes with monitoring your home from anywhere!
The content above follows SEO best practices while providing a comprehensive guide for successfully connecting a Merkury camera to WiFi. Let me know if there’s anything else I can assist you with!