
Setting up a Tapo camera and connecting it to your WiFi network can elevate your home security and provide peace of mind. Whether you’re a tech enthusiast or a beginner with minimal experience in smart home devices, the process is straightforward and user-friendly. Tapo cameras are known for their reliability, versatile features, and ease of installation, making them a popular choice in many households.

If you’ve purchased a Tapo camera recently or are considering getting one, the first important step is to connect it to your WiFi. This ensures your camera can deliver real-time monitoring, send notifications, and store recordings via cloud or local storage. This guide will walk you through every step of how to connect Tapo camera to WiFi, ensuring the process is simple and stress-free.
Why Connecting Tapo Camera to WiFi Matters
Having a Tapo camera operating on WiFi provides access to its full capabilities, from live streaming to playback and remote monitoring. This integration allows you to check in on your home, office, or any other monitored space, regardless of where you are.
Connecting a Tapo camera to WiFi ensures seamless communication between the device and your Tapo app. This connection is crucial for real-time alerts when it detects motion or sound. Additionally, WiFi connectivity is essential for storing recorded footage online if you’re subscribed to cloud storage. Without a WiFi connection, the functionality of Tapo cameras is significantly limited, as you’ll miss out on remote access and continuous recording features.
Finally, connecting your Tapo camera to WiFi helps integrate with other smart home ecosystems. Many Tapo models are compatible with platforms like Google Assistant and Amazon Alexa, which require an active connection for automation and voice control functionalities. The better your camera is integrated into your WiFi setup, the smoother your smart home systems operate.
10 Step-by-Step Guide on How to Connect Tapo Camera to WiFi
Step 1: Gather Necessary Materials
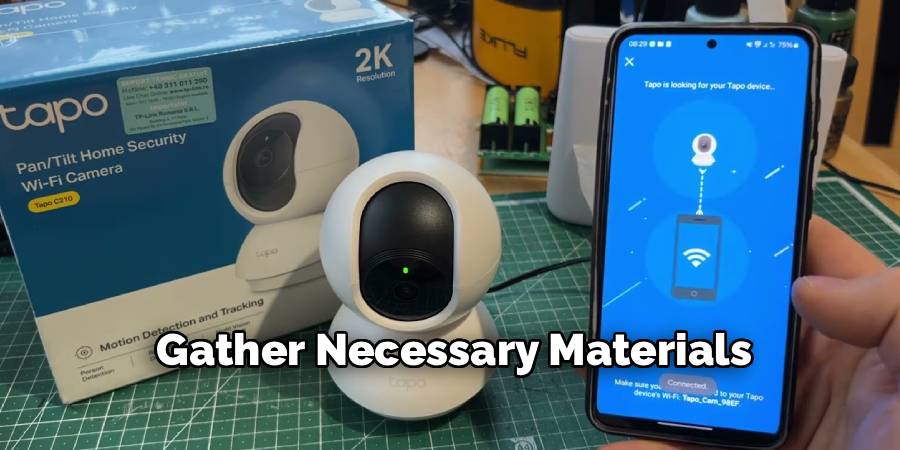
Before initiating the setup process, ensure you have everything you need. This includes your Tapo camera, a stable WiFi connection, the power adapter provided with the camera, and a smartphone with the Tapo app installed. A little preparation eliminates unnecessary hiccups down the line.
Step 2: Install the Tapo App
Begin by downloading and installing the Tapo app on your smartphone. The app is available on both the Apple App Store and Google Play Store. Once downloaded, launch the app, and either sign in with an existing Tapo account or create a new one if you don’t have one already.
Step 3: Power Up Your Camera
Plug your Tapo camera into a power outlet using the adapter that came in the box. Once powered on, the camera will begin its boot-up process, which typically takes a few seconds. Ensure the LED indicator begins to blink, as this means the camera is ready for setup.
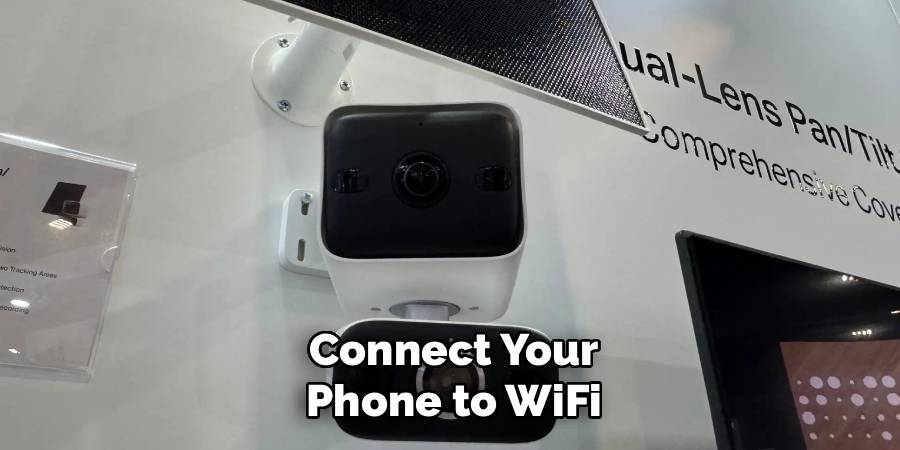
Step 4: Connect Your Phone to WiFi
For the best results, make sure your smartphone is connected to the same 2.4GHz WiFi network that you intend to pair with the Tapo camera. Most Tapo cameras do not support 5GHz networks, so confirm that the correct frequency band is selected on your WiFi router.
Step 5: Add the Camera to Your Tapo App
Open the Tapo app and tap the “+” or “Add Device” option on the main screen. The app will present a list of Tapo devices to select from. Choose your camera model from the list, which will prompt the app to begin the pairing process.
Step 6: Reset the Camera (If Needed)
If the camera has been used before or was not successfully paired on the first attempt, perform a factory reset. You can do this by holding down the reset button on the device, typically located at the rear or base, until the indicator light begins to blink rapidly. This action resets the camera to default settings, ensuring a smooth fresh start.
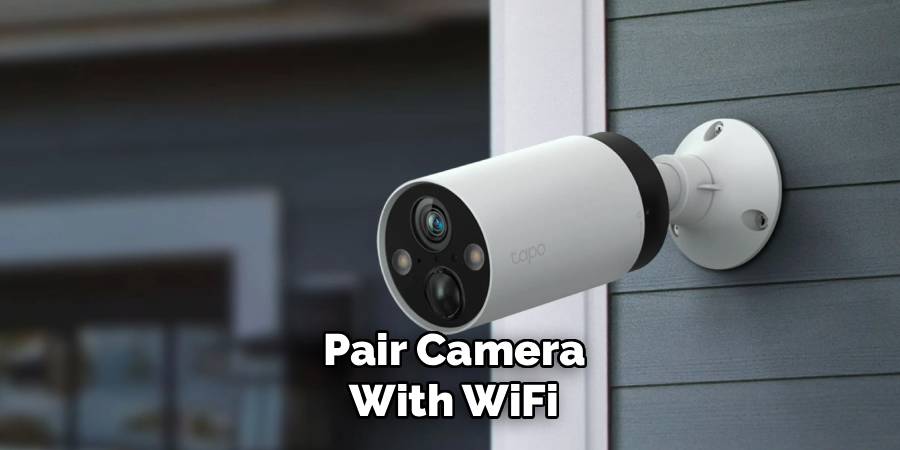
Step 7: Pair Camera with WiFi
The app will ask you to connect the camera to your WiFi. Enter the network name (SSID) and password in the designated fields. Double-check the credentials to avoid common errors that can disrupt the pairing process.
Step 8: Wait for the Connection to Establish
Once your camera starts connecting to your WiFi, the app will display the progress. During this step, ensure your camera, phone, and router remain close to each other for a stable signal. The indicator light on your camera will change its pattern—usually turning solid green—when the connection is successfully established.
Step 9: Adjust Camera Settings
Once connected, the app allows you to customize various settings for your Tapo camera. Adjust parameters such as motion detection sensitivity, video recording quality, and notification preferences. These settings help tailor the camera’s functionality to your specific requirements.
Step 10: Test the Connection
Conduct a final test to confirm everything is working as expected. Use the Tapo app to check the live video stream and ensure motion detection is operational. A few minutes spent verifying ensures your camera is fully functional and integrated into your WiFi network.
Troubleshooting Common Connection Issues
If you encounter connection issues during or after setting up your Tapo camera, there are several steps you can take to resolve them. First, ensure that your WiFi network is functioning properly by checking if other devices can connect to it without problems. If the WiFi is working but your camera still won’t connect, try restarting both the camera and your router. Power them off, wait for a few seconds, and then power them back on.
Next, double-check that the camera is within range of your WiFi signal. Weak signals can hinder the connection, so consider relocating the camera closer to the router or installing a WiFi extender to improve coverage. Confirm that you are using the correct WiFi credentials during the setup process, as any errors in the SSID or password can prevent the camera from connecting.
If the camera still fails to connect, ensure that your router is set to broadcast on a 2.4GHz band, as some devices are incompatible with 5GHz networks. Additionally, verify that the firmware on both the camera and router is up to date, as outdated software can sometimes interfere with connectivity.
Finally, if all else fails, reset the camera to its factory settings and repeat the setup process from the beginning. Consult the user manual or reach out to Tapo customer support if the issue persists. Taking these steps should help resolve most connection issues and ensure the smooth functioning of your camera.
Frequently Asked Questions
Can a Tapo camera work without WiFi?
While some features of Tapo cameras might function without WiFi, the majority of their capabilities rely on an active internet connection. Without WiFi, you lose access to live streaming, cloud storage, and notifications—rendering the camera far less effective.
What should I do if my Tapo camera won’t connect to WiFi?
Start by troubleshooting common issues. Verify that you’re using the correct WiFi frequency (2.4GHz) and double-check your password for accuracy. Ensure the camera is in pairing mode and within range of the router. Restarting the router, resetting the camera, or reinstalling the Tapo app can often address persistent problems.
How close should my Tapo camera be to the router?
To maintain a strong signal, the camera should ideally be within 30 feet of the router. Additionally, reduce interference caused by walls, appliances, and neighboring WiFi networks. If your camera is far from the router, consider using a WiFi extender to boost the signal strength.
Is Tapo camera setup secure?
Yes, Tapo cameras are designed with security features to protect your data, including encrypted cloud storage and password-protected apps. However, it’s essential to use strong and unique passwords for both your WiFi and Tapo account to safeguard against potential breaches.
Can I connect multiple Tapo cameras to the same WiFi network?
Absolutely. Tapo cameras are designed to support multi-camera setups on a single WiFi network. Simply repeat the setup process for each camera using the same app account. Multiple cameras allow comprehensive monitoring across various locations within your property.
Conclusion
Connecting your Tapo camera to WiFi is a straightforward process that unlocks its full range of features, from remote monitoring to motion-triggered alerts. By following the steps outlined in this guide, you’ll have your camera connected and ready to secure your space in no time.
For optimal performance, it’s important to ensure your Tapo camera is placed within a strong WiFi signal range. Avoid obstructions such as thick walls or metal objects that might interfere with the connection. Regularly updating the firmware through the app can also enhance functionality and security, ensuring that your camera operates efficiently and effectively over time.
Now that you know how to connect Tapo camera to WiFi, don’t wait to put this knowledge into action. Enjoy the benefits of a smart, connected camera and the added peace of mind it provides for your home or office security.