

If you’ve been wondering how to connect Yale Lock to Nest Connect, you’re not alone. Integrating smart devices can often feel overwhelming, but this process is straightforward and user-friendly with the right guidance. By pairing your Yale Lock with Nest Connect, you’ll enhance your home’s security and enjoy seamless control through the Nest app.
To begin the setup process, ensure that your Yale Lock and Nest Connect are both properly installed and powered. Open the Nest app on your smartphone and log in with your account credentials. Navigate to the settings menu and select “Add Product.” Follow the on-screen instructions to scan the QR code on your Nest Connect or manually enter the setup code. Once your Nest Connect is added, proceed by selecting your Yale Lock from the list of compatible devices and follow the prompts to link the two. Make sure your devices are within range of each other for a smooth connection process.
The Yale Lock with Nest compatibility combines the convenience of digital locking with the power of smart home technology. This integration allows you to lock and unlock your door remotely, check activity logs, and even grant temporary access to visitors—all with the touch of a button. Whether you’re a smart home enthusiast or just starting to explore the world of connected devices, this guide will walk you through the setup process, making it simple and stress-free.
Why Should You Connect Your Yale Lock to Nest Connect?
Integrating your Yale Lock with Nest Connect brings multiple benefits that elevate your security and convenience. The primary advantage is remote access. By connecting these devices, you can control your lock from anywhere, whether you’re at work or away on vacation. This feature ensures you never have to worry about forgetting to lock your door or being locked out.
Another key benefit is the Nest app’s ability to provide real-time notifications. You’ll know exactly when someone enters or exits your home, allowing for enhanced monitoring and peace of mind. Additionally, the ability to create and manage temporary access codes means you can grant entry to family, friends, or service providers without sharing physical keys.
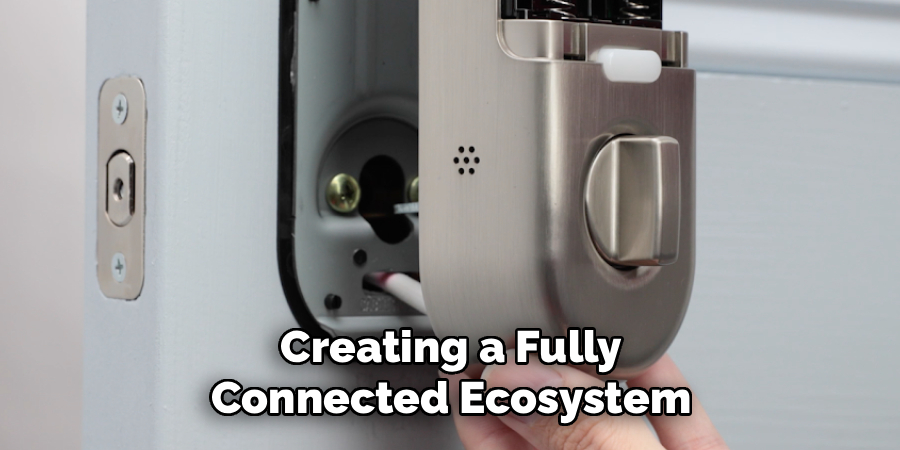
From a technological standpoint, combining your Yale Lock with Nest Connect integrates seamlessly with other Nest products, such as thermostats and cameras, creating a fully connected ecosystem. This smart home compatibility allows you to automate tasks, like locking your door when you set your thermostat to “away” mode, streamlining daily routines and maximizing efficiency. Ultimately, connecting your Yale Lock to Nest Connect transforms your home security into a more modern and adaptable system.
Step-by-Step Guide: How to Connect Yale Lock to Nest Connect
Step 1: Install the Yale Lock
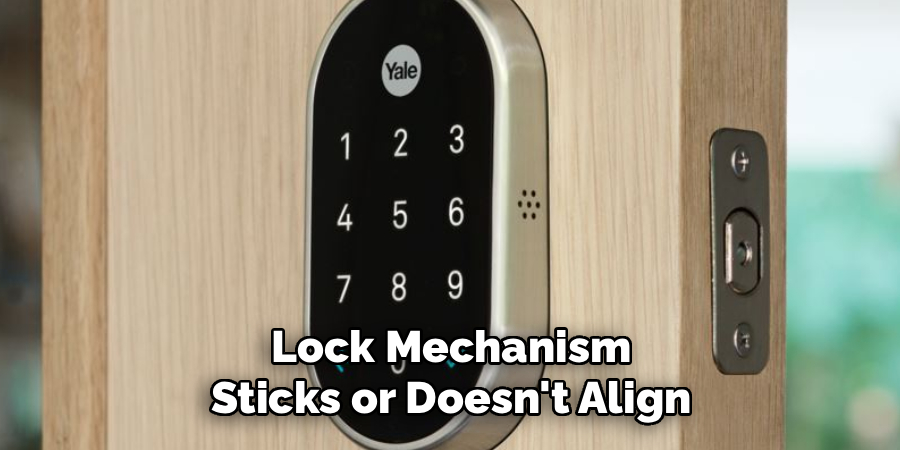
Before pairing the Yale Lock with Nest Connect, ensure the lock is correctly installed. Begin by removing your existing deadbolt and replacing it with the Yale Lock’s hardware, following the provided installation guide. Mount the interior and exterior components securely, ensuring all screws are tightened and the lock functions smoothly.
Test the lock’s manual operation to confirm proper alignment and functionality. If the lock mechanism sticks or doesn’t align with the strike plate, make adjustments to avoid issues during pairing. Installing the Yale Lock correctly provides the foundation for a trouble-free connection process with Nest Connect.
Step 2: Power Up the Lock
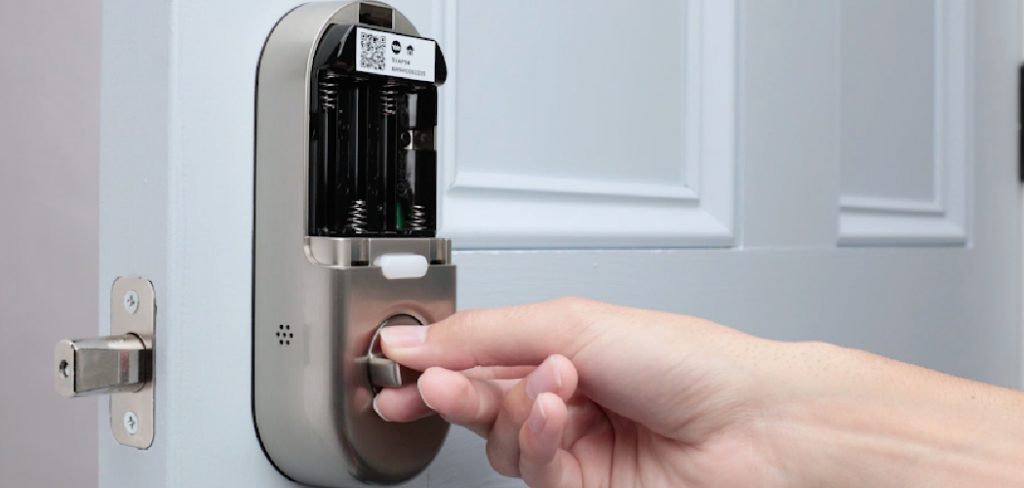
Once the Yale Lock is installed, insert the provided batteries into the interior module to power the device. Be sure to use high-quality alkaline batteries for reliability and longevity. The lock will emit a sound or flash to indicate it’s ready for the next steps.
After powering up the lock, check for any error signals or unusual behavior. If the lock doesn’t activate as expected, consult the user manual for troubleshooting tips. A fully functional lock ensures readiness for pairing with Nest Connect.
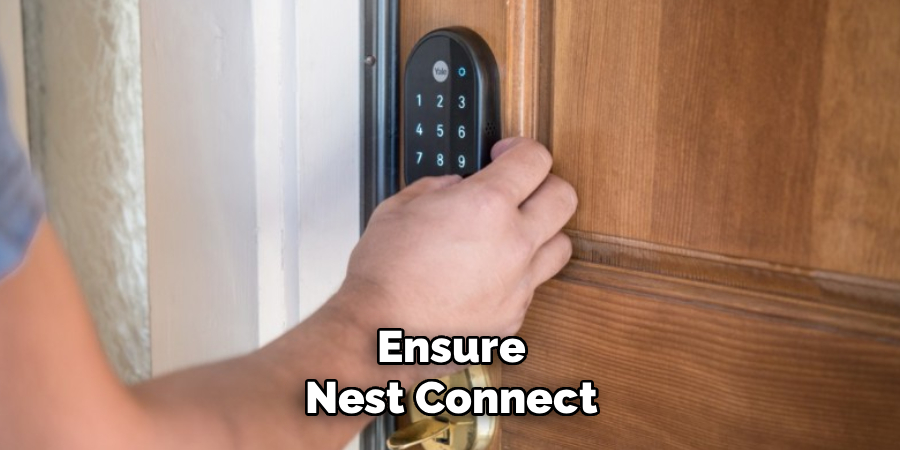
Step 3: Plug in the Nest Connect
The Nest Connect device is essential for enabling communication between your Yale Lock and the Nest app. Plug Nest Connect into a power outlet near the lock, ensuring it’s within range. The placement of Nest Connect should ideally be within 15–20 feet of the lock for a stable connection.
The device will display its status via an indicator light. A blinking light typically signals that it’s ready for pairing. Setting up Nest Connect correctly ensures smooth communication between your lock and Wi-Fi network, enabling advanced features through the Nest app.
Step 4: Download and Open the Nest App
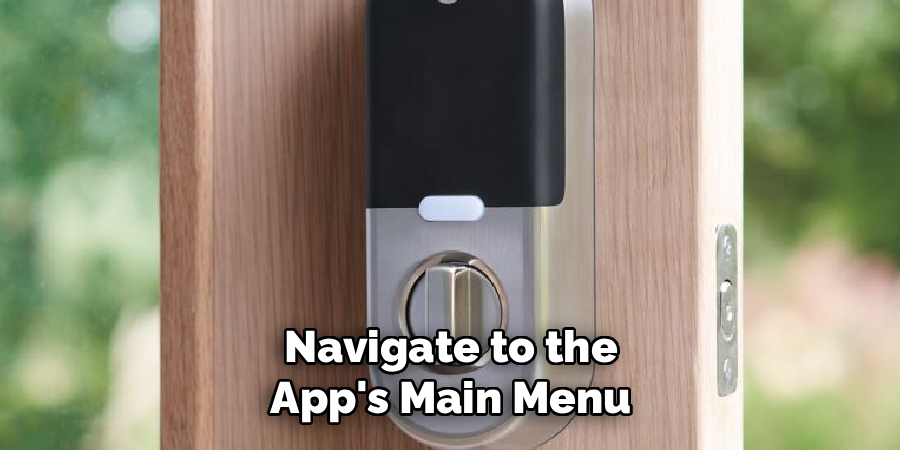
If you haven’t already, download the Nest app on your smartphone or tablet from your device’s app store. Create a Nest account or log in to your existing account to access the app’s full features. Once logged in, make sure your Wi-Fi connection is stable, as this is crucial for the pairing process.
Navigate to the app’s main menu to locate the option for adding a device. Familiarize yourself with the app’s interface to streamline the pairing process. The Nest app acts as the central hub for managing your lock and other connected devices, facilitating control and monitoring at your fingertips.
Step 5: Add the Yale Lock to the App
To initiate pairing, select the “Add Product” option in the Nest app and choose Yale Lock from the list of compatible devices. The app will prompt you to scan a QR code located on the lock or its user manual.
Align the QR code with your device’s camera to scan it successfully. The app will then guide you through the connection process. Ensure your phone remains connected to Wi-Fi during this step to avoid interruptions. Pairing the lock to the app establishes its connection to your smart home system, enabling remote control and monitoring.
Step 6: Pair the Lock with Nest Connect
This critical step involves linking the Yale Lock to Nest Connect. The app will detect nearby Nest Connect devices and prompt you to select the one closest to your lock. Confirm your choice to begin the pairing process.
During pairing, the lock may beep or flash to indicate progress. If the connection fails, reposition the Nest Connect device closer to the lock and try again. Successful pairing allows secure communication between the lock and your Wi-Fi network, completing the setup process.
Step 7: Calibrate and Test the Lock
After pairing, the app will walk you through calibrating your Yale Lock. This involves testing the lock’s open and close functions to ensure smooth operation. Follow the on-screen prompts to complete calibration.
Once calibration is complete, test the lock by locking and unlocking it through the app. Check for responsiveness and address any delays or malfunctions. Testing the lock confirms that the pairing was successful and that your Yale Lock is ready for use with Nest Connect.
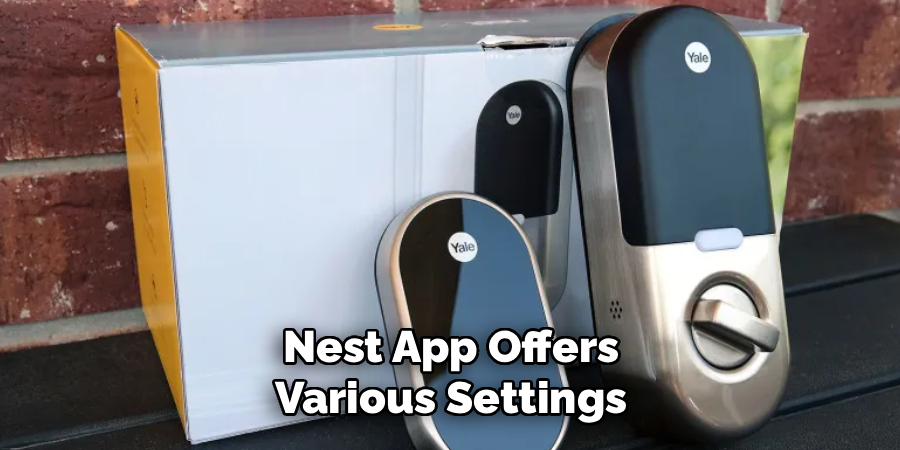
Step 8: Customize Settings
The Nest app offers various settings to personalize how your Yale Lock operates. Explore options like creating custom entry codes, setting lock schedules, and enabling notifications for activity monitoring. Adjust these settings to match your preferences and security needs.
Experiment with the app’s features to discover additional tools like remote access and integration with other Nest devices. Customizing your settings enhances the lock’s functionality, tailoring it to suit your lifestyle.
Step 9: Maintain the Connection
To ensure long-term functionality, maintain your lock and Nest Connect setup by keeping the devices and app updated. Check for firmware updates through the app periodically, as these address bugs and enhance performance.
Replace the batteries in your lock as needed to prevent interruptions in operation. Maintaining the connection ensures consistent performance and reliable security for your home, making the most of your integrated smart lock system.
Benefits of Smart Locks
Smart locks offer numerous advantages that enhance both convenience and security for your home. One major benefit is keyless entry, eliminating the need to carry physical keys or worry about losing them. This feature is especially useful for families, as unique access codes can be assigned to each member, providing personalized access while maintaining control over who enters your home.
Additionally, smart locks allow for remote access, meaning you can lock or unlock your doors from anywhere using a smartphone app. This is particularly helpful for letting in guests, service providers, or family members when you’re not home. Many smart locks also come with activity tracking, allowing you to monitor when doors are locked or unlocked, adding an extra layer of security and awareness.
With features like integration with other smart home devices—such as cameras, thermostats, and alarms—smart locks provide comprehensive home automation. They streamline daily life, help protect your home, and offer peace of mind knowing that your security is literally at your fingertips.
Frequently Asked Questions
Do I need Wi-Fi to connect Yale Lock to Nest Connect?
Yes, a Wi-Fi network is essential for connecting your Yale Lock to Nest Connect. The Wi-Fi allows the lock to communicate with the Nest app, enabling remote control and monitoring features.
What do I do if my Yale Lock won’t pair with Nest Connect?
Ensure Nest Connect is within the recommended range of 15–20 feet from the lock. Restart both the lock and Nest Connect, and check your Wi-Fi stability. If issues persist, reset the lock and follow the pairing steps again.
Can I control the Yale Lock remotely after pairing it with Nest Connect?
Yes, once the Yale Lock is successfully connected to Nest Connect, you can lock and unlock it remotely using the Nest app. Ensure the lock remains connected to Wi-Fi for uninterrupted remote functionality.
How do I create temporary access codes for my Yale Lock?
The Nest app allows you to create and manage temporary access codes under the lock’s settings. These codes can be customized for specific guests and set to expire after a chosen time period.
Is Nest Connect compatible with other smart devices?
Yes, Nest Connect integrates with various Nest products like thermostats and cameras. This creates a cohesive smart home ecosystem, allowing for advanced automation and seamless device interaction.
Conclusion
Knowing how to connect Yale Lock to Nest Connect simplifies smart home integration while boosting your home’s security. By following the steps outlined in this guide, you can install, pair, and customize your smart lock system with ease.
With smart home technology continually evolving, maintaining compatibility and ensuring proper functionality remains crucial. Regular software updates not only enhance performance but also bolster security, protecting your devices from potential vulnerabilities. Staying informed about new features and advancements in your connected devices can help you maximize their potential and enjoy a truly integrated smart home experience.
Experience the convenience of remote access, personalized settings, and seamless compatibility with other Nest devices. Start connecting your Yale Lock today, and enjoy the enhanced peace of mind that comes with modern smart home technology!
About
Safety Fic is a distinguished figure in the world of Diy design, with a decade of expertise creating innovative and sustainable Diy solutions. His professional focus lies in merging traditional craftsmanship with modern manufacturing techniques, fostering designs that are both practical and environmentally conscious. As the author of diy, Safety Fic delves into the art and science of Safety Fic-making, inspiring artisans and industry professionals alike.
Education RMIT University
(Melbourne, Australia) Associate Degree in Design (Safety Fic) Focus on sustainable design, industry-driven projects, and practical craftsmanship. Gained hands-on experience with traditional and digital manufacturing tools, such as CAD and CNC software.
Nottingham Trent University
(United Kingdom) Bachelor’s in diyfastly.com and Product Design (Honors) Specialized in product design with a focus on blending creativity with production techniques. Participated in industry projects, working with companies like John Lewis and Vitsoe to gain real-world insights.
Publications and Impact
In diy, Safety Fic his insights on indoor design processes, materials, and strategies for efficient production. His writing bridges the gap between artisan knowledge and modern industry needs, making it a must-read for both budding designers and seasoned professionals.