

Are you looking for an easy step-by-step guide to connect your Zmodo camera? Installing a security camera can be intimidating if you don’t have any experience with it. Don’t worry – we have all the tools and tips that you need in order to get up and running quickly.
This blog post on how to connect zmodo camera will provide a comprehensive overview of how to install your Zmodo camera – from picking the right device, configuring it on your Wi-Fi network, creating an account, testing out features, and more. Keep reading for everything you need to feel confident setting up your new home surveillance system in no time!
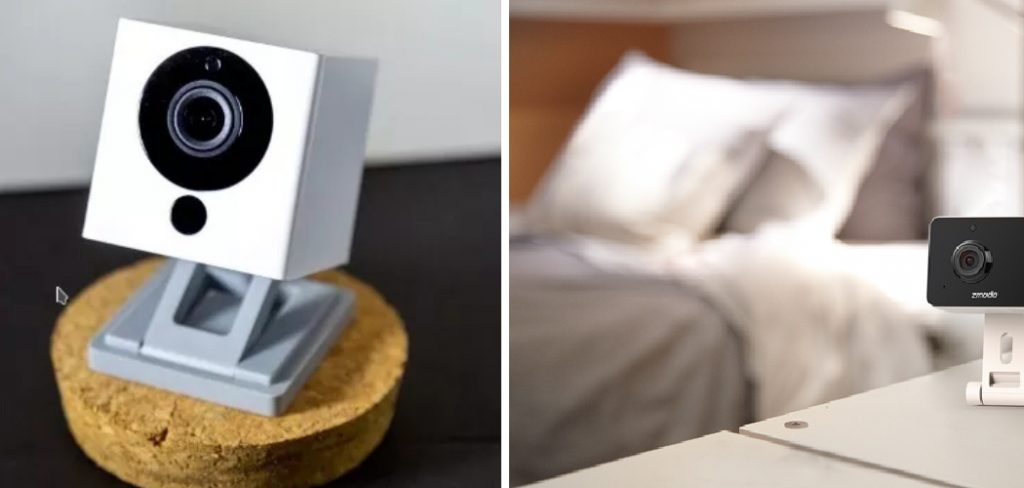
What is Zmodo Camera?
Before we dive into the steps for connecting your Zmodo camera, let’s first understand what it is. Zmodo is a leading company in the home security industry that specializes in smart cameras and video doorbells.
They offer a range of products to fit different needs, from basic indoor cameras to more advanced outdoor options with additional features such as night vision, motion detection, and remote access. With a Zmodo camera, you can monitor your home or property remotely and receive alerts on your phone whenever there is any suspicious activity.
10 Simple Step-by-step Guidelines on How to Connect Zmodo Camera
Step 1: Choose the Right Zmodo Camera
The first step to connecting your Zmodo camera is choosing the right device for your needs. There are plenty of options to choose from, so take some time to research and decide which model is best for you. Do you want an indoor or outdoor camera? Do you need night vision or motion detection features? Once you have selected your Zmodo camera, make sure it is compatible with your Wi-Fi network.
Step 2: Install the Zmodo App
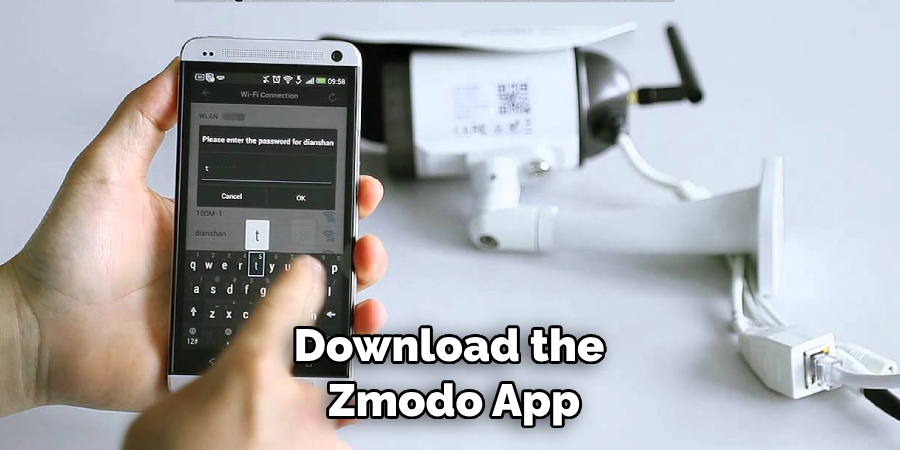
Next, install the Zmodo app on your smartphone or tablet. The app is available for both iOS and Android devices, and you can find it in the App Store or Google Play. It’s free to install and use, but you will need to create an account to access all features. This account will also be used to connect your Zmodo camera to your Wi-Fi network. You can create an account directly on the app or through the Zmodo website.
Step 3: Power Up Your Zmodo Camera
Once you have your camera and app ready, it’s time to power up your Zmodo camera. Depending on the model, you may need to connect it to a power outlet or insert batteries. Make sure the device is fully charged before proceeding.
It is also recommended to place the camera near your Wi-Fi router during setup for a stronger connection. You can move it to its desired location once everything is set up. It’s also a good idea to read the user manual for your specific Zmodo camera model at this point for any additional instructions.
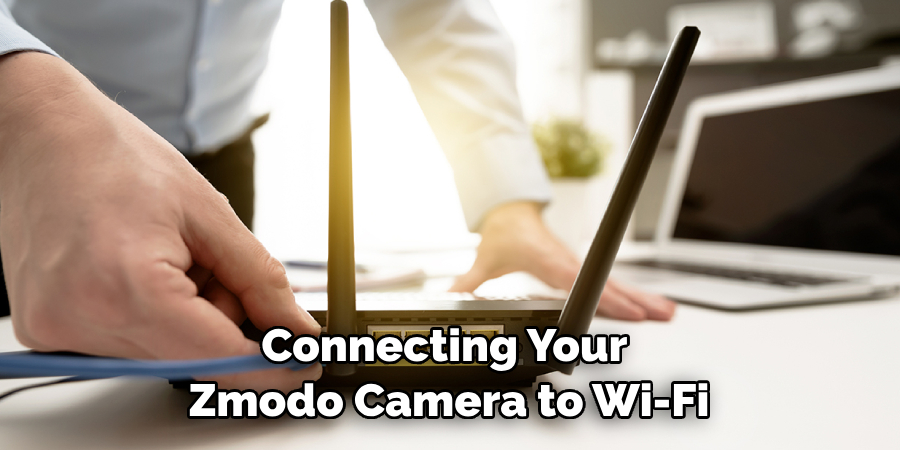
Step 4: Connect Your Camera to Wi-Fi
Now it’s time to connect your Zmodo camera to your Wi-Fi network. Open the Zmodo app and log in using your account credentials. Follow the on-screen prompts to add your device. You will need to input your Wi-Fi network information, such as the name and password, for the camera to connect. Make sure to select a strong and secure password for added protection. This step may take a few minutes, so be patient.
Step 5: Name Your Camera
After successfully connecting your Zmodo camera to Wi-Fi, you can now name your camera for easy identification. This will also help if you have multiple cameras set up in different locations. You can choose from preset names or create a custom one. It’s recommended to choose a name that reflects the camera’s location for easy management. You can always change the name later if needed.
Step 6: Test Your Camera
Before mounting your camera in its permanent location, it’s a good idea to test it out. Use the live viewing feature on the Zmodo app to make sure everything is working properly. Check for any dead zones or areas without a clear view. You can also adjust settings such as brightness and motion detection sensitivity at this point. It’s always better to catch any issues now rather than later.
Step 7: Mount Your Camera
Once you are happy with the camera’s location and settings, it’s time to mount it in its permanent spot. Zmodo cameras come with mounting hardware, making them easy to install on walls or ceilings.
Follow the instructions provided by Zmodo for your specific model for a secure and stable installation. Double-check that the camera is still connected to Wi-Fi and working correctly after mounting. It’s also a good idea to periodically check and clean your camera for optimal performance.
Step 8: Set Up Alerts
Zmodo cameras come with various features such as motion detection, night vision, and two-way audio. To make the most of these features, you will need to enable alerts on your Zmodo app. This will ensure that you receive notifications on your phone if any suspicious activity is detected by your camera. You can customize the type of alerts you receive, such as sound and motion, for each camera. You can also choose to turn off alerts during certain times, such as when you are home.
Step 9: Explore Additional Features
Once your Zmodo camera is set up and running smoothly, take some time to explore the additional features that come with it.
You can access your camera’s footage remotely through the app, view live video feeds, and even talk or listen through the two-way audio feature. You can also customize settings for each camera and add multiple cameras to your Zmodo account for a comprehensive home surveillance system.
Step 10: Keep Your Camera Up to Date
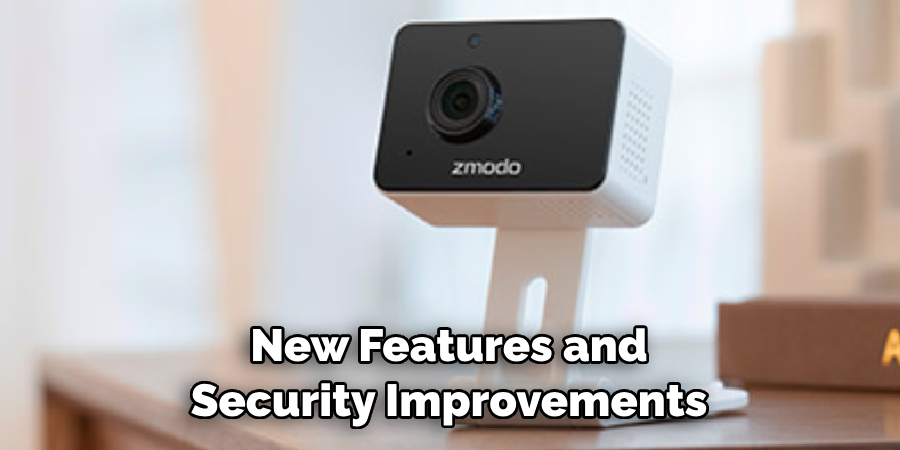
Last but not least, make sure to keep your Zmodo camera’s firmware up to date. Zmodo regularly releases updates with new features and security improvements, so it’s essential to stay updated for optimal performance.
The Zmodo app will notify you when updates are available, and you can easily install them through the app. Regularly checking for updates is an essential step in keeping your home security system up-to-date and secure.
With these ten simple steps on how to connect zmodo camera, you can easily connect your Zmodo camera and start monitoring your home or property remotely.
Tips to Keep in Mind
- Make Sure Your Wi-Fi Network is Secure With a Strong Password.
- Regularly Check and Clean Your Camera for Optimal Performance.
- Keep Your Zmodo App and Camera Firmware Up to Date. This Ensures That You Have Access to the Latest Features and Security Updates.
- Don’t Forget to Enable Alerts on Your Zmodo App for Added Security. You Can Customize Which Types of Alerts You Receive and When.
- Take Some Time to Explore All the Features and Settings Available in the Zmodo App for a Customized Home Surveillance Experience.
- If You Encounter Any Issues or Have Questions, Refer to the User Manual or Contact Zmodo Customer Support for Assistance. They Are Happy to Help With Any Concerns or Troubleshooting.
- Consider Adding Multiple Cameras to Your Home Surveillance System for Comprehensive Coverage.
- Remember to Periodically Check and Clean Your Camera for Optimal Performance. A Dirty Lens Can Affect the Quality of Footage.
- Regularly Checking for Updates is Essential for Keeping Your Home Security System Up-to-date and Secure.
- If You Have Any Concerns About Privacy, Make Sure to Research and Understand Zmodo’s Data Protection Policies. Your Privacy is Important, and It’s Essential to Know How Your Data is Being Used and Protected.
Frequently Asked Questions
Q1. Do I Need a Zmodo Account to Connect My Camera?
A. Yes, you will need a Zmodo account to connect your camera to Wi-Fi and access all features. It’s free to create an account, and you can do so directly on the Zmodo app or through their website. You will also need an account for each additional Zmodo camera you add to your home surveillance system.
Q2. Can I Access My Camera’s Footage Remotely?
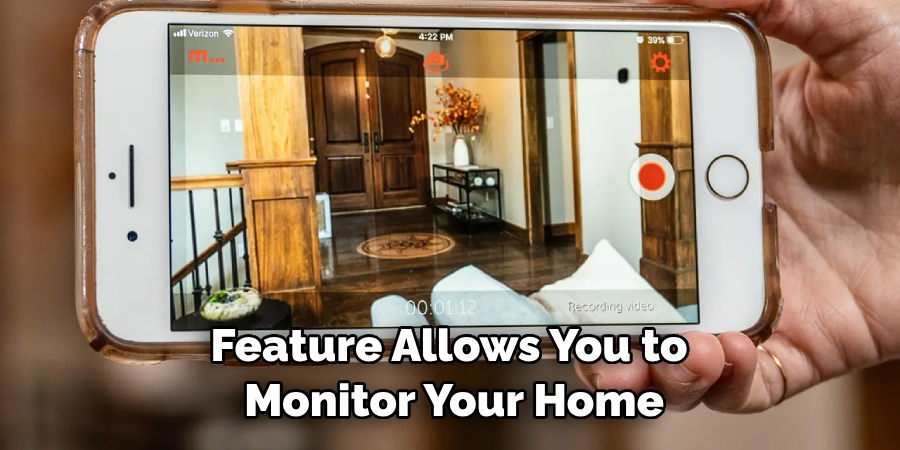
A. Yes, you can access your Zmodo camera’s footage remotely through the app on your smartphone or tablet. This feature allows you to monitor your home or property anytime, anywhere, as long as you have an internet connection.
Q3. Can I Add Multiple Cameras to My Zmodo Account?
A. Yes, you can add multiple cameras to your Zmodo account for a comprehensive home surveillance system. This feature allows you to monitor different areas of your home or property simultaneously through the app. You can also customize settings and receive alerts for each camera individually.
Q4. Can I Turn Off Alerts During Certain Times?
A. Yes, you can customize the type of alerts you receive and choose to turn them off during certain times through the Zmodo app. This feature is convenient for when you are at home or don’t want to be disturbed by notifications.
Conclusion
All in all, the process of connecting a Zmodo camera is not difficult, but it does require taking specific steps that should be followed closely. With proper guidance, which this post has hopefully provided, you can quickly and easily connect and use your new Zmodo camera system.
While it might seem intimidating at first to install or switch to a whole new camera system, with some research and knowing how you can get up and running within minutes.
Before you know it, you’ll be enjoying the latest security technology being used in homes worldwide. Now that you have an understanding of how to connect Zmodo camera properly let’s start improving our home’s safety and realize the advantages of having a secure home surveillance system. So let’s get started!
About
Safety Fic is a distinguished figure in the world of Diy design, with a decade of expertise creating innovative and sustainable Diy solutions. His professional focus lies in merging traditional craftsmanship with modern manufacturing techniques, fostering designs that are both practical and environmentally conscious. As the author of diy, Safety Fic delves into the art and science of Safety Fic-making, inspiring artisans and industry professionals alike.
Education RMIT University
(Melbourne, Australia) Associate Degree in Design (Safety Fic) Focus on sustainable design, industry-driven projects, and practical craftsmanship. Gained hands-on experience with traditional and digital manufacturing tools, such as CAD and CNC software.
Nottingham Trent University
(United Kingdom) Bachelor’s in diyfastly.com and Product Design (Honors) Specialized in product design with a focus on blending creativity with production techniques. Participated in industry projects, working with companies like John Lewis and Vitsoe to gain real-world insights.
Publications and Impact
In diy, Safety Fic his insights on indoor design processes, materials, and strategies for efficient production. His writing bridges the gap between artisan knowledge and modern industry needs, making it a must-read for both budding designers and seasoned professionals.