

Deactivating your garage door opener may be necessary for various reasons, such as maintenance, security concerns, or during a long vacation. Ensuring that your garage door is properly deactivated can prevent unauthorized access and potential damage.
This guide on how to deactivate garage door opener will walk you through the straightforward steps to safely and effectively deactivate your garage door opener, providing peace of mind and added security for your home.
Why Deactivate Your Garage Door Opener?
There are several reasons why you may need to deactivate your garage door opener. Some of the most common ones include:
Maintenance:
If you are planning to do any maintenance work on your garage door or opener, it is important to deactivate the opener for safety reasons. This will prevent the door from accidentally opening or closing while you are working, reducing the risk of injury.
Security:
If you are going away on vacation or extended trips, deactivating your garage door opener can provide an extra layer of security for your home. This will ensure that no one can use a remote control to open your garage door and gain access to your home.
Malfunction:
In some cases, a malfunctioning garage door opener may need to be deactivated in order to make necessary repairs or replacements. This will prevent any accidental movements of the door while repairs are being made.
8 Step-by-step Guidelines on How to Deactivate Garage Door Opener
Step 1: Locate the Power Source
The first step in deactivating your garage door opener is to locate its power source. Typically, garage door openers are plugged into an electrical outlet on the ceiling near the motor unit. Ensure you find this outlet and verify that you can easily access it.
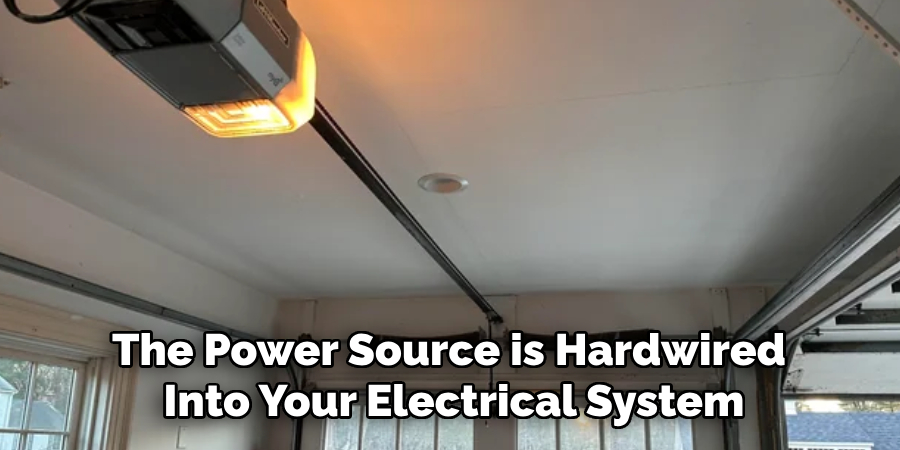
If the power source is hardwired into your electrical system, make sure you know where the circuit breaker for the garage door is located. Identifying the power source is crucial as it allows you to disconnect the power and prevent any accidental operation of the garage door during the deactivation process.
Step 2: Unplug the Power Cord
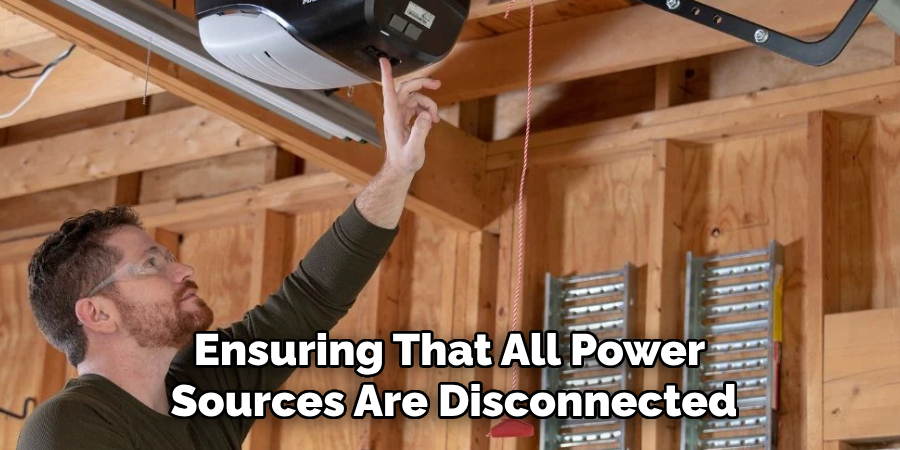
Once you have located the power source, the next step is to unplug the power cord of the garage door opener from the electrical outlet. This ensures that the opener is completely disconnected from the power supply, eliminating any chance of accidental activation. If the opener is hardwired, you will need to switch off the corresponding circuit breaker to cut the power.
Double-check to ensure that there is no power flowing to the garage door opener before proceeding to the next steps. This important measure will help you safely continue with the deactivation process without any risk of electrical hazards.
Step 3: Disconnect the Emergency Release
Most garage door openers have an emergency release mechanism that allows you to manually open or close the door in case of a power outage or malfunction. Before moving on to disconnecting the opener from the door, locate and pull down on this release cord to disengage it. This will allow you to move the door manually without any interference from the opener.
You can now safely proceed with disconnecting the opener from the door without any tension or resistance.
Step 4: Remove Batteries from Remote Controls
If you have a remote control for your garage door opener, it is important to remove the batteries before deactivating the opener. This will ensure that no one can use the remote control to open or close the door while it is deactivated. It is also a good idea to store these batteries in a safe place until you reactivate your opener.
But if your opener is operated by a keypad or a wall-mounted button, you can skip this step.
Step 5: Disconnect the Opener from the Door
After ensuring that all power sources are disconnected and the emergency release is engaged, it is time to disconnect the opener from the garage door. This will allow you to manually operate the door without any interference from the opener.
To do this, locate the attachment point of the opener arm to the top of your garage door. You may need a ladder for this step. Once located, pull on the manual release cord hanging down from it until it clicks into place, releasing the arm.
Step 6: Test the Door
Before leaving your garage, it is important to test if the door is properly deactivated and can be operated manually. Gently lift the door with your hands from the bottom until it is fully open or closed. If it moves smoothly without any resistance, you have successfully deactivated your opener.
If there is any difficulty in operating the door manually, double-check all previous steps to ensure everything has been disconnected properly.
Step 7: Secure Your Garage Door
With your garage door opener successfully deactivated, it is crucial to secure your garage door to prevent any unauthorized access. Start by ensuring that the door is fully closed. Once closed, install a manual locking mechanism if your door does not already have one. Many garage doors come equipped with built-in locks on the inside, usually operated by latching a bolt into a side rail.
If your garage door lacks a built-in lock, consider using a padlock and a latch mechanism to secure the door from the inside. Loop the padlock through the appropriate holes and lock it to provide an additional layer of security. Additionally, you can use a C-clamp on each side of the door tracks, positioning the clamps tightly just above the rollers. This will prevent the door from being forcibly opened from the outside.
By taking these extra precautions, you ensure that your garage and home remain secure while the opener is deactivated.
Step 8: Reactivate Your Garage Door Opener
When returning from your trip or completing repairs on your opener, it is time to reactivate it. Follow the reverse of the above steps to reconnect all power sources and disengage any manual locks or clamps. Once everything is connected, test the remote control or keypad to ensure that the opener is working correctly.
If you have installed a padlock for added security, do not forget to remove it before attempting to open the door with your remote control or keypad.
Following these simple steps on how to deactivate garage door opener will help you safely and correctly deactivate your garage door opener whenever necessary. By taking the time to properly disconnect the opener, you not only prevent any accidental movements of the door but also ensure that your home remains secure in your absence. Remember to always take caution when working with electrical systems and consult a professional if needed. Happy deactivating!
Additional Tips on Garage Door Opener Deactivation
Label Circuit Breaker:
If your garage door opener is hardwired into your electrical system, it might be helpful to clearly label the corresponding circuit breaker. This can save time and prevent confusion during future deactivation or troubleshooting.
Emergency Manual Operation:
Familiarize yourself with the manual operation of your garage door before actually needing it. Practicing the emergency release mechanism when everything is functioning properly can make a real emergency much less stressful.
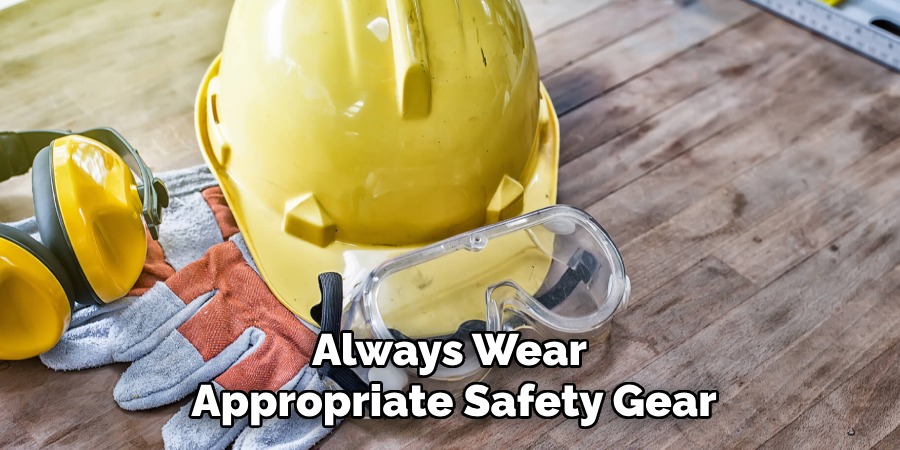
Safety Gear:
Always wear appropriate safety gear, such as gloves and safety glasses, when working on your garage door or opener. This will help protect you from any unexpected hazards during the deactivation process.
Periodic Checks:
Regularly test the emergency release and other manual operation features of your garage door. Ensuring that these systems function correctly before an emergency arises can be essential to maintaining garage door safety.
Secure Remote Controls:
Keep your remote controls secure and out of reach of children. Unintentional activation can be prevented by simply ensuring that remote controls are stored safely when not in use.
Consult the Manual:
Always refer to the garage door opener’s user manual for specific instructions and safety guidelines. Different models may have specific steps or requirements that need to be followed for safe deactivation.
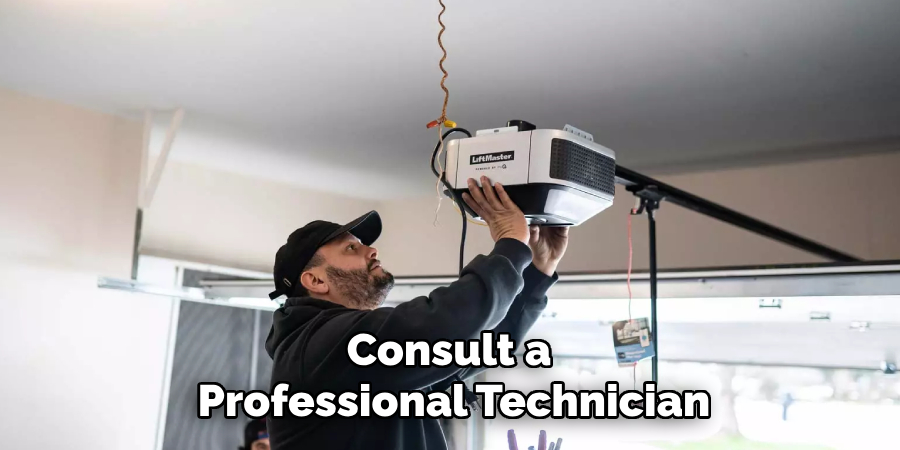
Professional Help:
When in doubt, consult a professional technician. Garage door systems can be complex and sometimes require expert handling, especially when it comes to electrical components and safety mechanisms.
By following these additional tips on how to deactivate garage door opener, you can enhance the safety and effectiveness of deactivating and managing your garage door opener.
Conclusion
Deactivating your garage door opener is a task that requires a careful and methodical approach to ensure safety and security. By meticulously following each step on how to deactivate garage door opener and implementing the additional tips provided, you can confidently deactivate your garage door opener, whether you’re preparing for an extended trip or conducting necessary repairs.
Always prioritize your safety by using appropriate gear and consulting your opener’s manual for specific guidelines. In complex situations, seeking professional assistance can provide added security and peace of mind. Through these measures, you not only protect your property but also maintain the integrity and functionality of your garage door system for years to come.
About
Safety Fic is a distinguished figure in the world of Diy design, with a decade of expertise creating innovative and sustainable Diy solutions. His professional focus lies in merging traditional craftsmanship with modern manufacturing techniques, fostering designs that are both practical and environmentally conscious. As the author of diy, Safety Fic delves into the art and science of Safety Fic-making, inspiring artisans and industry professionals alike.
Education RMIT University
(Melbourne, Australia) Associate Degree in Design (Safety Fic) Focus on sustainable design, industry-driven projects, and practical craftsmanship. Gained hands-on experience with traditional and digital manufacturing tools, such as CAD and CNC software.
Nottingham Trent University
(United Kingdom) Bachelor’s in diyfastly.com and Product Design (Honors) Specialized in product design with a focus on blending creativity with production techniques. Participated in industry projects, working with companies like John Lewis and Vitsoe to gain real-world insights.
Publications and Impact
In diy, Safety Fic his insights on indoor design processes, materials, and strategies for efficient production. His writing bridges the gap between artisan knowledge and modern industry needs, making it a must-read for both budding designers and seasoned professionals.