
CCTV footage plays a crucial role in securing properties and tracking activities, but there are times when it may be necessary to delete video recordings. Whether it’s to free up storage space, comply with privacy guidelines, or simply remove unwanted files, understanding how to delete CCTV footage can save you time and ensure compliance with usage policies.

Before proceeding, it’s essential to check the specific model and brand of your CCTV system, as the process for deleting footage can vary. Most modern systems allow users to access recordings through a digital video recorder (DVR) or network video recorder (NVR). Log in to your device’s interface using the administrator credentials, locate the playback or storage menu, and identify the files you wish to erase. Once selected, follow the provided options to delete the recordings. Always double-check the files before deletion to avoid accidentally removing crucial footage.
This guide is aimed at beginners and casual users who need a clear and simple walkthrough. By the end, you’ll know how to handle this process safely without unintentionally affecting important recordings. Let’s explore straightforward methods tailored to various CCTV systems.
Why You Might Need to Delete CCTV Footage
CCTV systems have become a standard feature for homes, businesses, and public spaces. However, storage limitations or specific legal situations often call for the removal of certain recordings. Why should you care about proper deletion methods?
First, CCTV recordings can take up a significant amount of storage space. Once the device’s storage reaches capacity, it may automatically overwrite old footage, potentially losing critical information. Understanding how to delete unwanted footage selectively preserves storage for essential recordings.
Additionally, compliance with local privacy laws or organizational policies might require you to remove videos that record sensitive or unauthorized content. Businesses, for example, must handle surveillance data responsibly to honor customer and employee privacy.
By learning how to delete CCTV footage effectively, you can better manage your system while safeguarding personal, operational, and legal concerns.
Step-by-Step Guide on How to Delete CCTV Footage
Step 1: Determine the System Type
Before you can delete any footage, take time to identify the type of CCTV system installed. Systems typically fall into two categories—standalone devices with internal storage or systems that upload recordings to a cloud platform. Knowing this will determine the procedure you’ll need to follow.
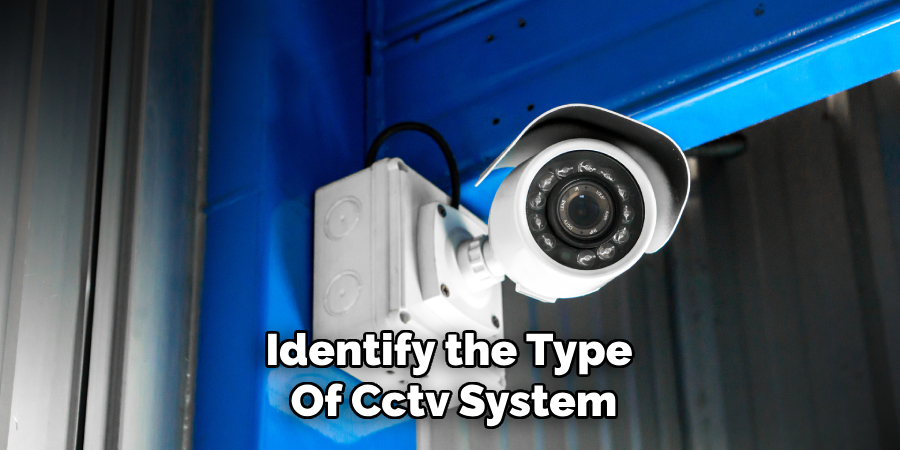
Standalone systems often include a digital video recorder (DVR) or network video recorder (NVR) that stores footage locally. These systems require direct access to delete videos. Cloud-based CCTV systems, on the other hand, typically require online account access and credentials for removing files.
Step 2: Access the Control Interface
Once you’ve identified your system, locate its control interface. For DVR or NVR setups, this often involves using a physical control panel or connected monitor. Cloud systems will require you to log in through an app or a web browser with your username and password.
To avoid complications, ensure you have administrative privileges. Many systems restrict access to video editing or deletion functions to admins for security purposes.
Step 3: Navigate to Recorded Footage
After entering the system’s control interface, locate the section that stores or lists recorded footage. On a DVR or NVR, this is often labeled “Playback,” “Recordings,” or “Archives.” Cloud platforms may include folders or timelines that display saved videos chronologically.
Search for the specific date and time of the footage you want to delete. Most systems enable filtering by timeframes, cameras, or tags, making it easier to isolate the file(s) in question.
Step 4: Back Up Important Files
Before proceeding with any deletion, consider backing up the necessary footage you might want to retain. On DVR/NVR setups, you can export selected recordings using an external hard drive or USB stick. Cloud-based systems often allow you to download footage to local storage.
This step helps protect important video data while giving you peace of mind during the deletion process. Unintended deletions can be irreversible, so safeguarding vital files first is always good practice.
Step 5: Select the Footage for Deletion
Now, focus on the footage you intend to remove. Use the selection tools provided by your specific system. DVRs and NVRs may require you to highlight or mark the recordings manually, while cloud systems provide checkbox options or a “Delete” button for each file.
Ensure you’ve picked only the videos meant for deletion. Double-check the file date and time to avoid accidental errors.
Step 6: Confirm Deletion Command
Most systems include a confirmation step to prevent accidental deletion of critical recordings. After you select the footage, the interface will likely prompt a confirmation message asking you to verify the action.
Prior to confirming, review the selection to ensure no important footage is being deleted. This is your last opportunity to cancel or back out if any doubt arises.
Step 7: Delete Footage from External Drives
If your DVR/NVR system uses an external drive, you may need to delete files stored on that device as well. Plug in the external drive to a computer and browse through its folders to locate the recordings. Once found, delete files directly through the operating system.
Remember to empty the computer’s recycling bin or trash folder afterward to ensure complete removal. You don’t want deleted files lingering in secondary storage.
Step 8: Erase Older Overwritten Files
For DVR systems that overwrite older footage automatically, it may also be necessary to purge remaining metadata. Some systems retain traces of removed files, which can take up unnecessary space even if they’re no longer viewable.
Explore the settings menu to reset or format the hard disk entirely. This ensures no residual after-effects of prior footage while optimizing the storage for future recordings.
Step 9: Set Up Schedule Policies
Once the footage is deleted, consider managing future recordings with built-in scheduling or overwrite policies. Many advanced systems allow users to set time limits for how long recordings are stored before they’re replaced automatically.
This automation not only saves time but also avoids the manual clean-up process in the future.
Step 10: Perform Regular System Maintenance
To maintain optimal performance, schedule check-ins for your CCTV system. Regularly inspect storage capacity, review recent footage for critical highlights, and update your knowledge about any newly introduced features from the system provider.
Continual familiarity with your CCTV system keeps it running efficiently while preventing emergencies related to storage failures.
Data Privacy Concerns
While CCTV systems provide enhanced security, they also raise important questions about data privacy. Surveillance footage often contains sensitive information, including identifiable faces, vehicle details, and other private activities, making it crucial to manage and store the data responsibly. Unauthorized access or breaches can lead to misuse of the footage, violating the privacy of individuals being recorded. To address these concerns, ensure that the system complies with local data protection laws and regulations. Implement robust encryption protocols, restrict access to authorized personnel only, and regularly audit who has access to the system. Transparency with stakeholders, such as employees or residents, about where and how the cameras operate also fosters trust while respecting privacy rights.
Video Retention Policies
Establishing clear video retention policies is essential to balance security needs with privacy concerns. Determine an appropriate retention period based on the purpose of the recordings, such as security monitoring or incident investigation, while adhering to local laws and regulations. Avoid keeping footage longer than necessary to reduce the risks of unauthorized access or data breaches. Regularly review and update retention policies to ensure they remain compliant and relevant. Additionally, implement automated systems to delete old footage securely, ensuring proper disposal of data to protect privacy and maintain efficiency.
Frequently Asked Questions
Can deleted CCTV footage be recovered?
Yes, in some cases, it is possible. Deleted footage from an NVR or DVR may still exist in the system’s hard drive until it’s overwritten. Professional recovery tools or services can sometimes retrieve these files. If deleted from cloud storage, recovery depends on whether the platform offers a trash bin or archive feature. It’s best to act quickly if recovery is needed since overwritten data cannot be restored.
How can I delete specific sections of footage rather than entire videos?
Most modern CCTV systems provide editing tools for cropping and partially deleting videos. Check your system’s manual or online resources for “clip editing” or similar terms. Smaller files can be managed more efficiently while retaining essential details.
Do all systems allow the deletion of footage?
No, not all systems permit direct deletion. Certain models use built-in overwriting methods exclusively, which replace old footage over time without user intervention. Additionally, some commercial systems may restrict deletion rights to authorized personnel, ensuring data protection compliance.
Will deleting CCTV footage affect system performance?
Deleting footage can free up storage space and maintain optimal system performance. However, improper deletion (e.g., mid-operation) may cause glitches or system crashes. Always follow the recommended deletion steps for your specific system to avoid technical issues.
Is it legal to delete CCTV footage?
That depends on where and why the footage was recorded. Legal restrictions vary by location and purpose (e.g., residential versus commercial). Businesses should consult their local privacy laws and confirm if they must retain recordings for a required period. Deleting evidentiary footage in active investigations is prohibited in most jurisdictions.
Conclusion
Managing video storage is a vital part of keeping your CCTV system efficient and reliable. Knowing how to delete CCTV footage not only helps you free up memory but also ensures compliance with privacy rules and operating best practices.
Regular maintenance and checks of your CCTV system are equally important to ensure optimal performance. Periodically reviewing your storage settings, updating software, and inspecting hardware can help prevent issues before they arise. Being proactive with system upkeep enables seamless operation and extends the lifespan of your surveillance equipment.
With the steps outlined above, you can confidently clean up unnecessary recordings while safeguarding critical data. Whether you’re a homeowner or managing a business, maintaining control over your CCTV footage gives you peace of mind—and a streamlined system ready for future use. Secure your setup today!