
Disconnecting a garage door opener may seem daunting, but it is an essential skill for maintenance, troubleshooting, or ensuring safety during manual operation.
This guide on how to disconnect a garage door opener will walk you through the straightforward steps to safely and efficiently disconnect your garage door opener.
Whether you need to perform repairs, conduct an inspection, or manage a power outage, understanding the process will help you maintain control over your garage door system.
Why Is Disconnecting a Garage Door Opener Important?
Before diving into the steps of disconnecting a garage door opener, it is essential to understand why this process is necessary.
First and foremost, disconnecting the opener will prevent any accidental operation while you are performing maintenance or repairs.
Additionally, in case of a power outage, disconnecting the opener allows you to manually open and close your garage door without relying on electricity.
Moreover, if your garage door opener has malfunctioned, disconnecting it can help troubleshoot the issue and potentially resolve it.
Needed Materials
To disconnect a garage door opener, you will need:
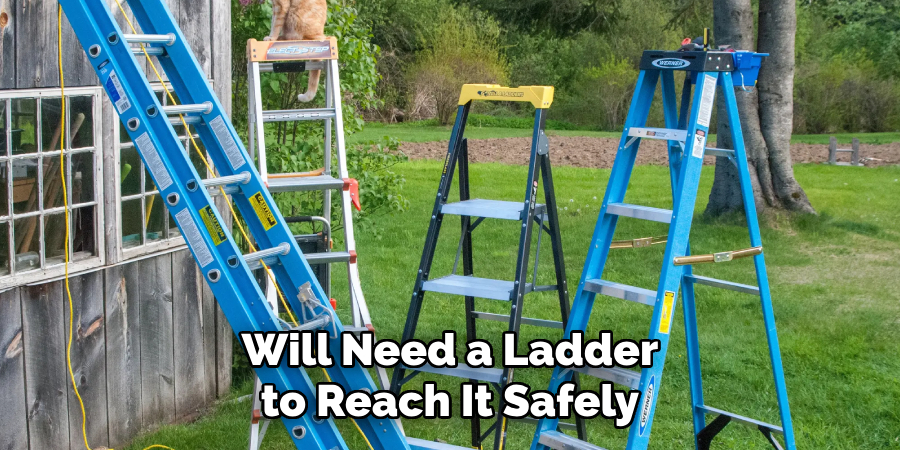
A Sturdy Ladder:
Since the garage door opener is typically installed on the ceiling, you will need a ladder to reach it safely.
A Winding Bar:
You may also need a winding bar if your garage door has torsion springs. This tool will help release tension from the springs before disconnecting the opener.
8 Step-by-step Guide on How to Disconnect a Garage Door Opener
Step 1: Ensure Safety
Before you begin the process of disconnecting your garage door opener, safety should be your top priority. Start by ensuring that the area around your garage door is clear of any obstructions, such as vehicles, tools, or other items, to prevent tripping hazards. Additionally, it’s crucial to disconnect the power to the garage door opener by unplugging it from the electrical outlet or turning off the circuit breaker. This step will minimize the risk of accidental activation and electric shock.
Always wear safety gloves and protective eyewear to shield yourself from potential injuries during the disconnection process. Taking these precautions will help you to safely and efficiently proceed with disconnecting your garage door opener.
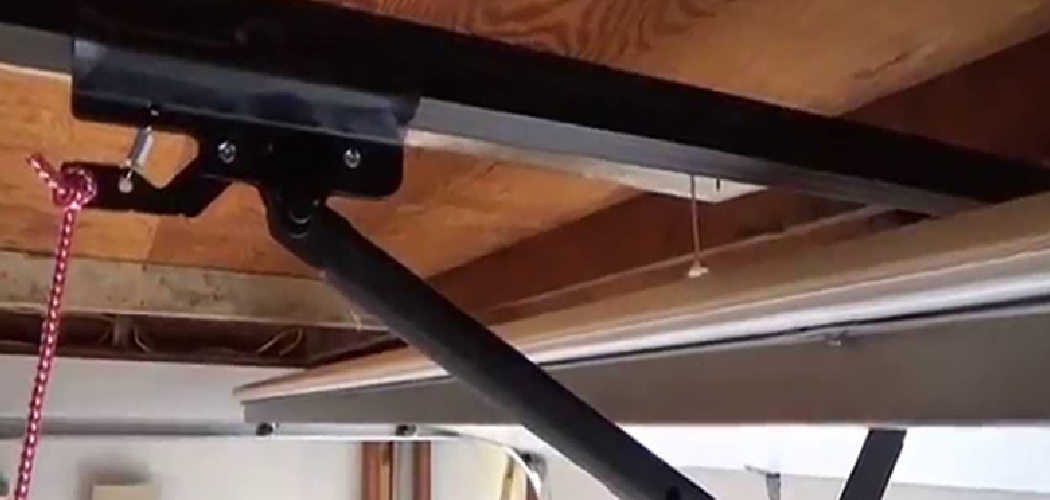
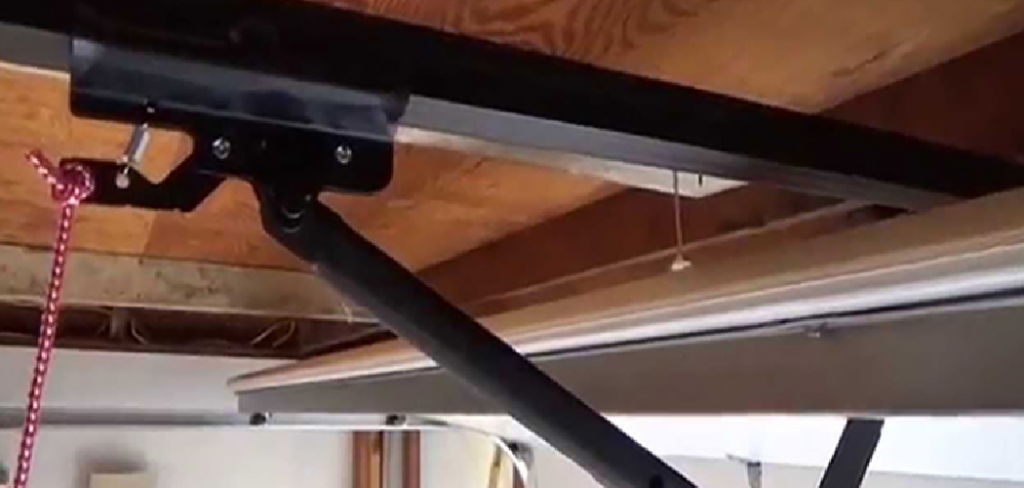
Step 2: Locate the Emergency Release Cord
Next, you will need to locate the emergency release cord. This cord is usually red and hangs down from the garage door opener’s trolley mechanism, which is connected to the rail along the ceiling. The emergency release cord is designed specifically for manual operation of the garage door and serves as a crucial component in disconnecting the door opener.
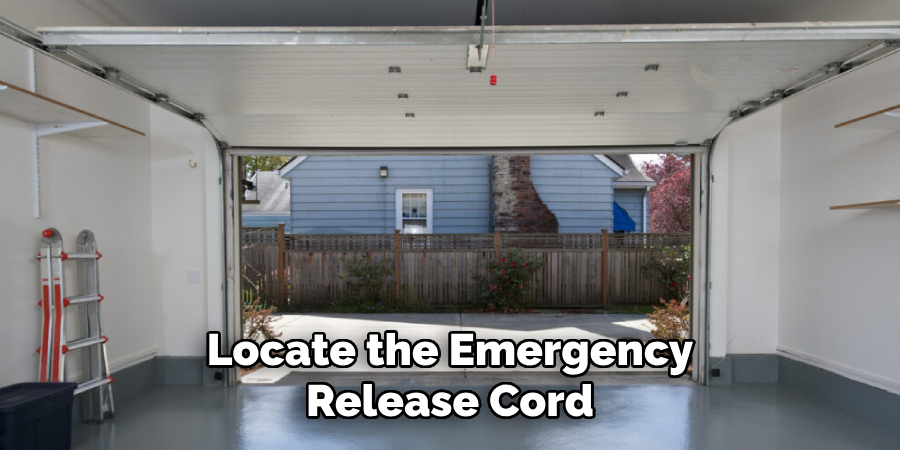
Pulling this cord will disconnect the trolley from the opener, allowing you to manually open and close the garage door. Ensure you have a firm grip on the cord before pulling, as the mechanism might require a slight amount of force.
Step 3: Release the Trolley
After pulling the emergency release cord, you should be able to move the garage door manually. However, before doing so, you must release the trolley entirely from the opener rail. To do this, push the trolley towards the motor unit and then downwards until it disconnects from the opener’s arm bracket. You will know that it has been successfully released when there is some slack in the chain or belt drive.
It is essential to keep the trolley in a released position to prevent any accidental activation of the opener while you are working.
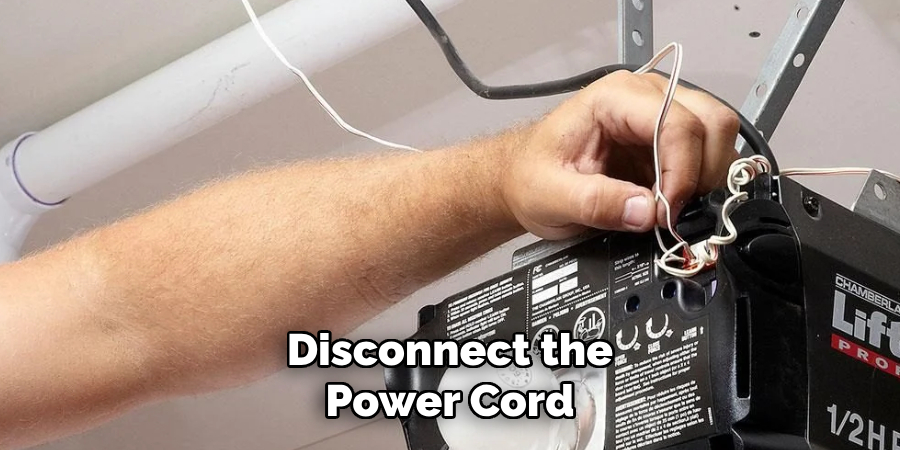
Step 4: Disconnect the Power Cord
With the trolley now released, the next step is to completely disconnect the power cord to ensure total safety. Locate the power cord connected to your garage door opener and unplug it from the electrical outlet. Alternatively, if your garage door opener is hardwired into the electrical system, turn off the circuit breaker that supplies power to the garage door opener.
By disconnecting the power cord, you eliminate any chance of accidental operation of the opener during the disconnection process. This step is critical for safeguarding yourself against electrical hazards and ensuring that no electricity flows to the garage door opener while you proceed with the remaining steps.
Step 5: Disconnect the Sensors
Many modern garage door openers come equipped with safety sensors that are installed near the bottom of each side of the garage door. These sensors prevent the garage door from closing if there is an obstruction in the doorway, such as a person or object. To disconnect these sensors, you will need to locate them and remove any mounting brackets or screws that attach them to the wall.
Once removed, carefully disconnect the wires connecting them to the opener. You may use electrical tape to secure these wires out of harm’s way until you are ready to reconnect them.
Step 6: Remove Wall-mounted Control Panel
If your garage door opener has a wall-mounted control panel, you will need to remove it before proceeding. Most control panels are attached with screws that can be easily removed using a screwdriver or drill. Once the control panel is disconnected, carefully remove any wires connecting it to the opener and secure them out of the way.
It is essential to remove the control panel to prevent any accidental activation of the opener during the disconnection process.
Step 7: Disconnect the Opener from the Torsion Springs (if applicable)
If your garage door has torsion springs, you will need to disconnect them from the opener before proceeding. To do this, use a winding bar in one hand and a pair of pliers in the other to loosen and release tension from each spring. Once both springs are disconnected, carefully lower them onto the floor.
It is crucial to release tension on these springs before disconnecting them as they can be dangerous and cause injury if not handled correctly.
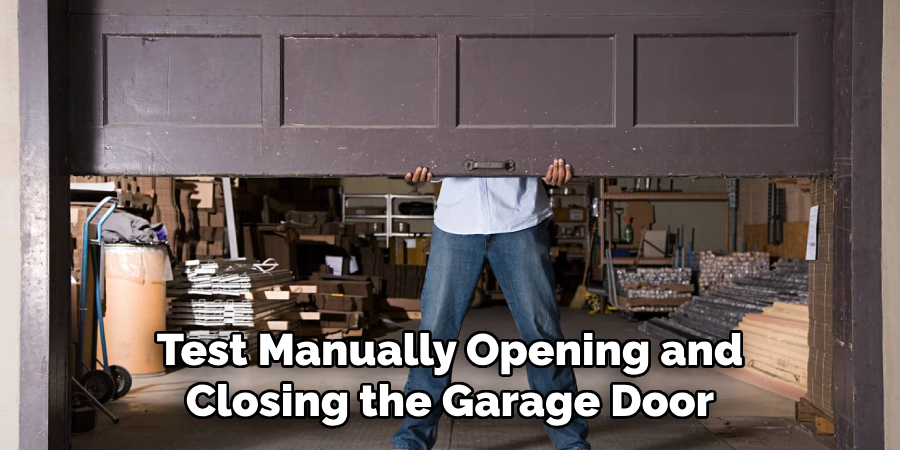
Step 8: Test Manually Opening and Closing the Garage Door
After completing all the steps above, you can now test manually opening and closing your garage door to ensure that it has been successfully disconnected from the opener. Use the handle on the bottom of the door to lift it up and down, ensuring it moves smoothly and without any resistance. Once tested, carefully lower the door back onto its tracks.
Following these steps on how to disconnect a garage door opener will ensure that your garage door is safely disconnected from the opener and can be operated manually if needed. If you encounter any issues or difficulties during this process, it’s best to seek professional assistance to avoid any accidents or injuries.
Additional Tips and Considerations
- When disconnecting the emergency release cord, make sure to hold onto the handle tightly as the trolley may release with force.
- For their safety, keep children and pets away from the garage door and opener during the disconnection process.
- If you are unsure about any step or feel uncomfortable disconnecting your garage door opener, it’s best to seek professional help. They have the necessary knowledge and equipment to safely disconnect your garage door opener.
- Regular maintenance of your garage door and opener can help prevent issues that may require disconnection in the future. Consider scheduling annual tune-ups with a professional technician to keep your garage door functioning properly.
By following these steps and considering these additional tips, you can safely and confidently disconnect your garage door opener when needed. Remember to always prioritize safety and caution during the disconnection process to avoid any accidents or injuries. So, make sure to familiarize yourself with these steps and keep them in mind for future reference.
Frequently Asked Questions
Q: Can I Still Use My Garage Door Opener if I Have Disconnected It Manually?
A: No, once the garage door opener has been disconnected, it can only be operated manually until it is reconnected and powered on again.
Q: Do I Need to Disconnect My Garage Door Opener if It’s Not Working?
A: Yes, it is essential to disconnect the opener before attempting any repairs or maintenance on your garage door. This will prevent any accidental activation of the opener while you work and ensure your safety.
Q: How Often Should I Test Manually Opening and Closing My Garage Door?
A: It is recommended to test manually operating your garage door at least once a month to ensure it can still be opened and closed smoothly without any issues. However, if you notice any difficulties or strange noises while operating the door manually, it’s best to schedule a professional inspection for potential problems.
Q: Can I Reconnect My Garage Door Opener by Myself?
A: While it is possible to reconnect a garage door opener by yourself, it is recommended to seek professional assistance to ensure safe and proper reconnection. The torsion springs, in particular, can be dangerous to handle without proper training and equipment.
Conclusion
Disconnecting a garage door opener is a relatively simple process that anyone can do with proper precautions and tools. Whether for troubleshooting purposes or simply wanting to switch to manual operation, disconnecting a garage door opener can be done in just eight easy steps. Remember always to prioritize safety when working with any electrical equipment and follow these steps carefully to prevent accidents or injuries.
With this guide on how to disconnect a garage door opener, you can confidently disconnect your garage door opener and proceed with any necessary maintenance or repairs. So, the next time you need to disconnect your garage door opener, follow these steps for a safe and hassle-free process.