

Unlocking the audio capabilities of your Lorex camera adds an extra layer of security and surveillance, allowing you to not only see but also hear what’s happening in and around your monitored space.
Whether you’re using Lorex cameras for home security or business monitoring, enabling audio can provide valuable context to the visual feed. In this article, we delve into the step-by-step process of how to enable audio on Lorex cameras.
From configuring settings on the camera itself to ensuring compatibility with your recording device or monitoring platform, understanding the nuances of audio activation ensures that you harness the full potential of your Lorex camera system.
Whether you seek to enhance situational awareness or simply desire comprehensive surveillance, mastering the art of enabling audio brings a new dimension to your security setup.
Importance of Enabling Audio on Lorex Camera
There are various features that come with a Lorex camera, such as high-definition video recording, night vision capabilities, and motion detection alerts. However, one feature that is often overlooked but can be crucial in certain situations is the audio recording function.
Enabling audio on your Lorex camera allows for not only visual but also auditory surveillance. This means being able to hear what is happening in the monitored area, providing an added layer of security and peace of mind.
In this document, we will discuss the importance of enabling audio on a Lorex camera and how it can enhance your overall surveillance experience.
Enhanced Security
Enabling audio on your Lorex camera allows for more comprehensive surveillance. In addition to being able to see what is happening, you can also hear any sounds or conversations taking place. This is particularly useful in areas where there may be blind spots or limited visibility.
Having both audio and video recording capabilities can provide valuable evidence in case of a break-in, theft, or other security incidents. It also allows for real-time monitoring and the ability to assess potential threats quickly.
Remote Monitoring
With the rise of smart home technology, many Lorex cameras now offer remote monitoring capabilities. This means you can access your camera’s live feed and recordings from anywhere with an internet connection.
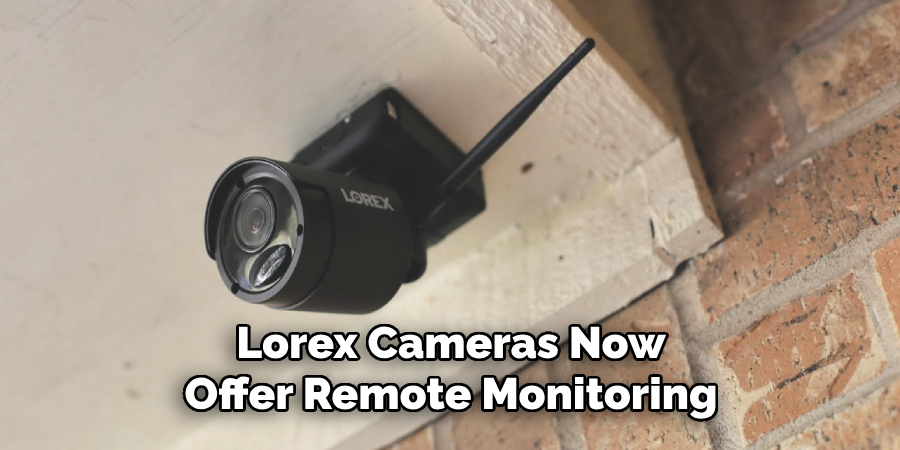
Enabling audio on your Lorex camera enhances remote monitoring by allowing you to not only see but also hear what is happening in real-time. This is particularly useful for parents who want to keep an ear on their children playing in another room or for business owners who want to monitor employee interactions.
Peace of Mind
Having audio enabled on your Lorex camera can provide peace of mind, knowing that you have a complete view of what is happening in your home or business. Whether it’s listening for potential intruders or being able to communicate with someone through the camera’s built-in speaker, audio recording adds an extra layer of security and control.
Legal Purposes
In some cases, audio recording on a Lorex camera may be necessary for legal purposes. For example, in the event of a dispute or incident, having both video and audio evidence can help provide a more accurate account of what occurred. It can also be used as a deterrent for potential wrongdoers, knowing that their actions are being recorded.
10 Methods How to Enable Audio on Lorex Camera
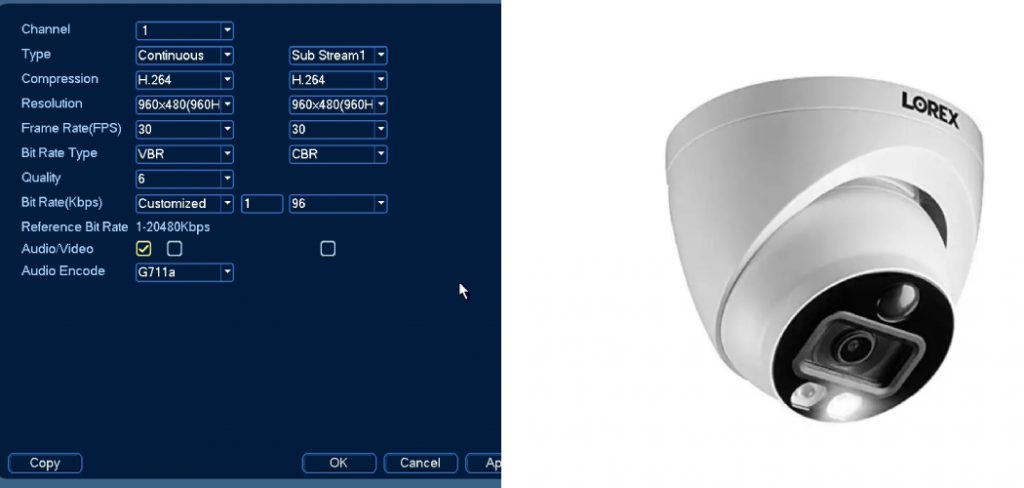
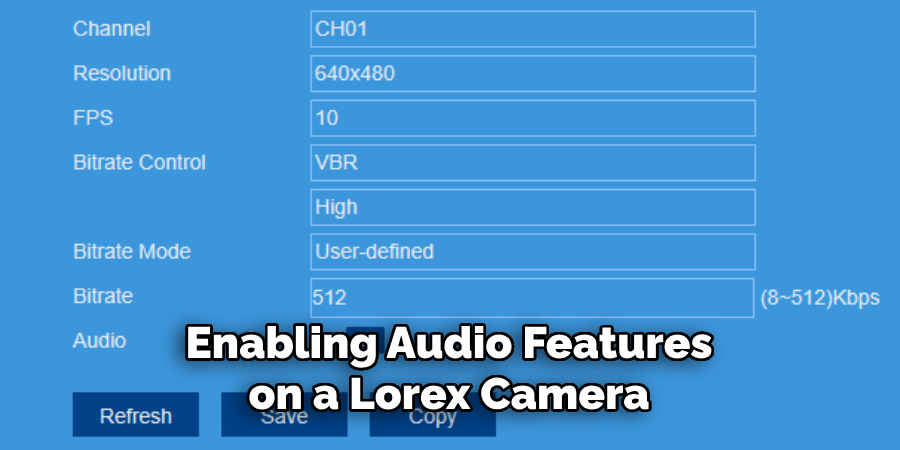
1. Check the Audio Input Setting
The first step to enable audio on a Lorex camera is to check the audio input setting. This setting can be found in the camera’s settings menu and should be set to “on” or “enabled.” If it is not, then audio will not be enabled on the camera. Additionally, make sure that the microphone is connected properly and that any external speakers are turned on.
2. Adjust Volume Settings
Once you have ensured that the audio input setting is enabled, you may need to adjust the volume settings for both the microphone and speakers. These settings can also be found in the camera’s settings menu. Make sure that both of these settings are set at an appropriate level so that they can pick up sound clearly without distortion or feedback.
3. Connect an External Microphone
If your Lorex camera does not have an internal microphone, then you may need to connect an external one in order to enable audio on it. There are several different types of microphones available, including USB microphones, wireless microphones, and plug-in microphones.
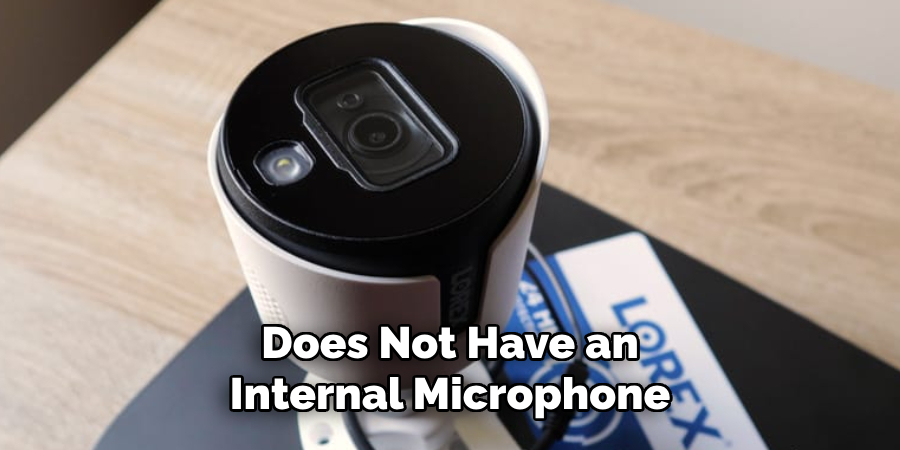
Depending on your specific setup, you may need to purchase a separate adapter in order to use a particular type of microphone with your Lorex camera.
4. Enable Audio Recording
In addition to enabling audio input, you may also need to enable audio recording on your Lorex camera in order for sound to be recorded when motion is detected or when recordings are manually triggered by pressing a button or using a voice command. This setting can also be found in the camera’s settings menu and should be set to “on” or “enabled.”
5. Set Up Voice Commands
If your Lorex camera has voice recognition capabilities, then you will need to set up voice commands in order for them to work properly with audio enabled on your system. To do this, open up the voice recognition menu within your system’s settings and follow the instructions provided there for setting up voice commands for your specific model of Lorex camera.
6. Check System Compatibility
It is important to ensure that all components of your system are compatible with each other before attempting to enable audio on your Lorex camera system. Make sure that all cables and connectors are securely connected and that any software updates have been installed correctly before proceeding with enabling audio features on your system.
7. Adjust Audio Quality Settings
Your Lorex camera may also have adjustable quality settings for its audio features which can help improve sound clarity when recording video footage or live flowing video from the device itself or from another connected device such as a smartphone app or computer program interface like Skype or Zoom conference calls.
To adjust these settings, access them through either the main menu of your device’s software interface or through its dedicated mobile app, if available.
8. Check Power Supply
Before attempting any other troubleshooting steps related to enabling audio features on a Lorex Camera System it’s essential that you first check its power supply connections as well as make sure it’s plugged into a working power outlet.
If either of these two things isn’t true, then no matter what else you try won’t work until they’re corrected. So double-check everything related here before moving on to anything else.
9. Test Audio Outputs
Once all necessary connections have been made and power has been verified as being supplied correctly, it’s time now for testing out various outputs such as listening directly from built-in speakers if so equipped (or via headphones/earbuds) as well as checking sound levels via remote devices like smartphones/tablets via their associated apps.
This way, you can make sure everything is working properly before relying too heavily upon it during actual operations.
10. Troubleshoot Further Issues
If after following all of these steps above still no sound output can be heard, then more detailed troubleshooting steps will likely need to be taken, such as checking wiring connections between components (including those related specifically towards connecting external microphones) along with verifying proper network configurations (if applicable) among other things.
In some cases, simply resetting/restarting certain pieces of equipment might do wonders, while in others, more advanced techniques like reinstalling drivers/software might become necessary.
Things to Consider When Enabling Audio on Lorex Camera
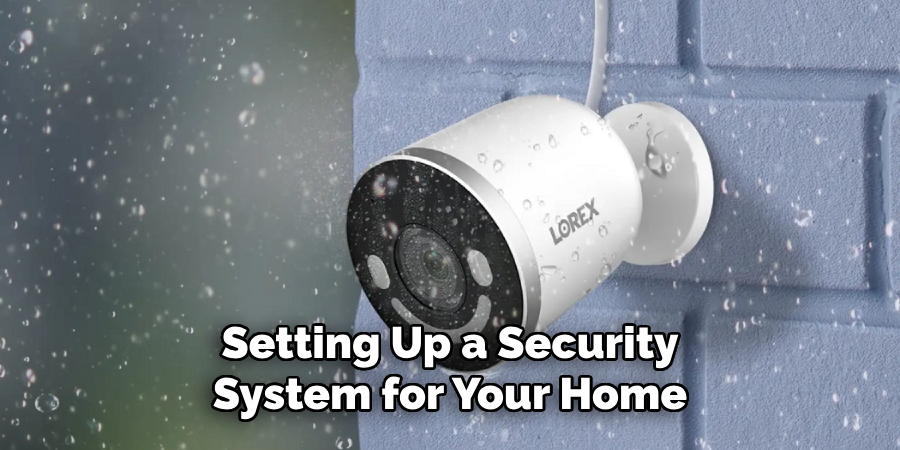
When setting up a security system for your home or business, one of the features that you may want to have is audio recording. This can be useful in identifying potential threats and providing evidence in case of a break-in or other incident.
Legal Considerations
Before enabling audio recording on your Lorex camera, it is important to understand the legal implications of doing so. Laws regarding audio recording vary by state and country, so be sure to research and understand the laws in your specific location.
Privacy Concerns
Along with legal considerations, it is also important to think about privacy concerns when enabling audio recording on your Lorex camera. If you are using the camera for surveillance purposes, be sure to inform anyone who may be in the camera’s range that audio recording is taking place. This includes employees, visitors, and even family members if the camera is located in a common area of your home.
Audio Quality
Another factor to consider when enabling audio on your Lorex camera is the quality of the audio. It is important to test the audio recording capabilities before relying on it for any important purposes. This can help you determine if there are any issues with background noise, range, or clarity.
Common Mistakes to Avoid When Enabling Audio on Lorex Cameras
When it comes to setting up audio on your Lorex camera, there are a few common mistakes that users tend to make. These mistakes can prevent the audio from working properly or cause other issues with your camera.
Not Checking Compatibility
Before enabling audio on your Lorex camera, it is important to make sure that the device and camera are compatible with each other. Some older cameras may not support audio or may require additional equipment to enable audio. It is always a good idea to check the product specifications before attempting to set up audio on your camera.
Not Adjusting Volume Settings
Another common mistake is not adjusting the volume settings on your camera properly. If the volume is too low, you may not be able to hear anything or if it’s too high, there could be distortion and feedback. Make sure to carefully adjust the volume settings to achieve optimal audio quality.
Not Using Quality Microphones
The microphone used for your Lorex camera plays a critical role in the audio quality. Using a low-quality or incompatible microphone can result in poor audio quality or no sound at all. It is recommended to use high-quality microphones that are specifically designed for your Lorex camera model.
Conclusion
After going through all the steps in our guide, you now know how to enable audio on Lorex camera so that you can monitor sound as well as video. Taking advantage of this feature will make your security setup stronger and more efficient, greatly increase surveillance efforts and provide an additional layer of protection for your family or business.
We hope this tutorial has been helpful and encourages you to explore all available settings that the Lorex camera has to offer. Let us know if you have any questions in the comment section and don’t forget to check out our other compatibility doorbells and IP cameras!
You Can Check It Out to Spot a Fake Security Camera
About
Safety Fic is a distinguished figure in the world of Diy design, with a decade of expertise creating innovative and sustainable Diy solutions. His professional focus lies in merging traditional craftsmanship with modern manufacturing techniques, fostering designs that are both practical and environmentally conscious. As the author of diy, Safety Fic delves into the art and science of Safety Fic-making, inspiring artisans and industry professionals alike.
Education RMIT University
(Melbourne, Australia) Associate Degree in Design (Safety Fic) Focus on sustainable design, industry-driven projects, and practical craftsmanship. Gained hands-on experience with traditional and digital manufacturing tools, such as CAD and CNC software.
Nottingham Trent University
(United Kingdom) Bachelor’s in diyfastly.com and Product Design (Honors) Specialized in product design with a focus on blending creativity with production techniques. Participated in industry projects, working with companies like John Lewis and Vitsoe to gain real-world insights.
Publications and Impact
In diy, Safety Fic his insights on indoor design processes, materials, and strategies for efficient production. His writing bridges the gap between artisan knowledge and modern industry needs, making it a must-read for both budding designers and seasoned professionals.