

Are you trying to factory reset your Arlo hub but can’t seem to figure out how? You must have come across many suggestions online, some promising a quick and easy solution, only to leave you feeling completely lost and frustrated. Well, don’t worry: today, we will walk you through the steps needed to factory reset your Arlo hub in no time!
Arlo Hub is a wireless smart home security system that provides 24/7 monitoring and alerts for your home. It is easy to install, configure, and use, making it a popular choice among homeowners.
Learn useful tips on how to factory reset arlo hub with minimal disruption in our comprehensive guide. With the help that we provide here on our blog post, soon enough, you should be able to complete the process quickly and effectively.
Why Factory Reset Your Arlo Hub?
You might want to factory reset your Arlo hub for a few reasons. Perhaps you are experiencing technical issues and have been advised by the customer support team to do a factory reset.
Or, maybe you are selling your hub and want to ensure all your personal information is wiped clean before handing it over to someone else. Whatever the reason, performing a factory reset is a straightforward and effective solution.
Additionally, if you are facing trouble connecting your Arlo hub to the internet, performing a factory reset can help resolve the issue. It will clear out any previously saved settings and give you a fresh start.
What Will You Need?
Before we dive into the steps, you must gather a few things to prepare for the factory reset process. These include:
- Your Arlo hub
- A paperclip or SIM ejector tool
- Stable internet connection
Once you have these items ready, let’s move on to the actual process of performing a factory reset on your Arlo hub.
10 Easy Steps on How to Factory Reset Arlo Hub
Step 1. Unplug the Arlo Hub:
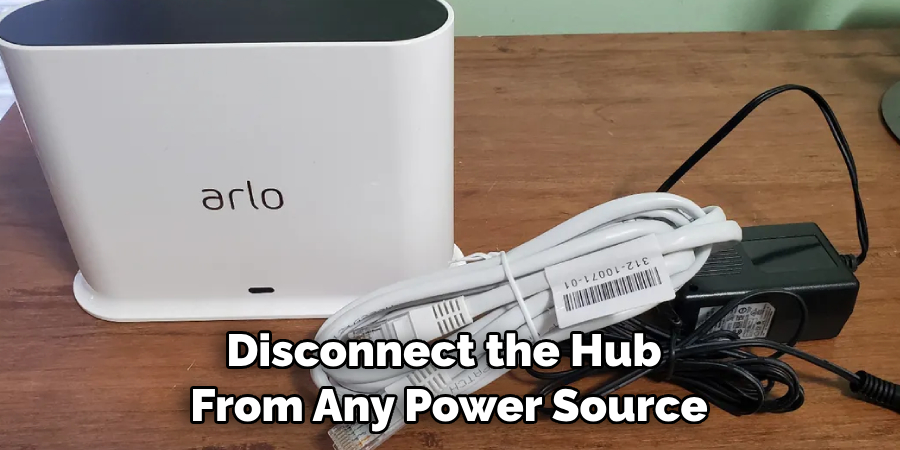
The first step in the factory reset process is to disconnect the hub from any power source. This ensures that the hub is completely powered down and ready for the reset process. If the hub is plugged into a wall outlet, unplug it from there. If it is connected to your router, remove the Ethernet cable.
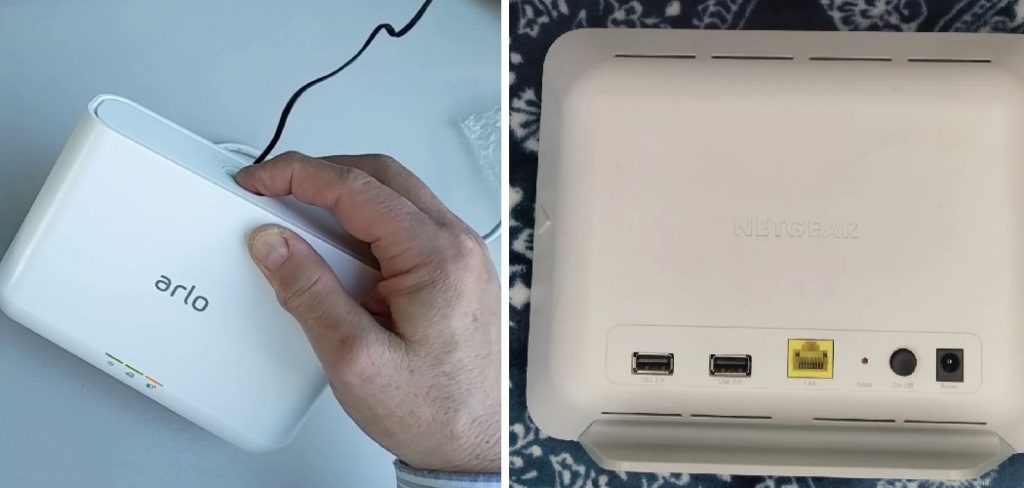
Step 2. Locate the Reset Button:
After you’ve unplugged the hub, turn it over and look for the reset button. This button is usually located at the back or bottom of the device. It’s often small and recessed, so you might need a flashlight if it’s not easily visible. Once you’ve found the reset button, prepare your paperclip or SIM ejector tool for the next step.
Step 3. Press and Hold the Reset Button:
Using your paperclip or SIM ejector tool, press and hold the reset button. Remember, it has to be pressed and held down for about 10 seconds to initiate the factory reset process. As you hold the reset button, you should notice the power LED start blinking. This indicates that the factory reset process has begun. Be patient and wait to release the button until you are sure that the process has started.
Step 4. Wait for the Reset to Complete:
Once the factory reset process has started, it is important not to interrupt it. Just sit back and wait for it to complete. This usually takes about a couple of minutes. The power LED on the Arlo hub will blink rapidly during this time, and once the reset is complete, the LED will stop blinking and turn solid.
Step 5. Reconnect the Arlo Hub:
After the reset process is complete and the power LED light on the Arlo hub is solid, it’s time to reconnect the device. Plug the hub back into the power source. If it was previously connected to your router via an Ethernet cable, reconnect that as well. The hub will begin to power up. Note that the Arlo hub might take a few minutes to fully restart and regain its functionality.
Step 6. Access the Arlo App:
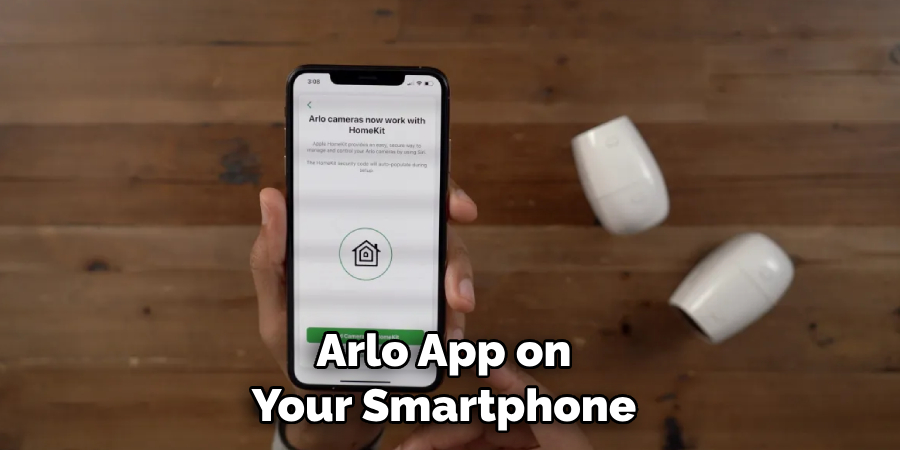
Once your hub is powered up and online, open your Arlo App on your smartphone or tablet. Remember, you must have the latest version of the Arlo app for this process. If you still need to install the app, install it from the App Store or Google Play, register your account, and sign in. If you’re already a registered user, simply sign in to your account.
Step 7. Add the Arlo Hub to Your Account:
In the Arlo App, locate and tap the “Add Device” option. From the list of available devices, select “Arlo Hub.” You’ll be guided through a series of on-screen prompts to name your hub, set up an optional password, and confirm your location. Follow these prompts, filling in the necessary details to complete the setup process.
Step 8. Test Your Settings:
After successfully reconnecting and setting up your Arlo Hub, it’s time to ensure everything functions as expected. Test the connectivity, alerts, and live feed to ensure everything works correctly. If you encounter any issues, consult Arlo’s customer support for additional troubleshooting tips.
Step 9. Factory Reset Confirmation:
At this point, your Arlo hub should be successfully reset and reconnected. To confirm this, go to the “Device Settings” of your Arlo hub in the app. The settings should reflect the default factory settings if the hub was properly reset. Any previous custom settings or configurations should have been cleared. If you notice any old information still present, you may need to repeat the factory reset process.
Step 10. Reconfigure Your Arlo Hub Settings:
The final step involves reconfiguring your Arlo Hub settings. Navigate to your hub’s settings in the Arlo App. Here, you can customize your preferences, set your notification settings, and reconnect any previously linked devices.
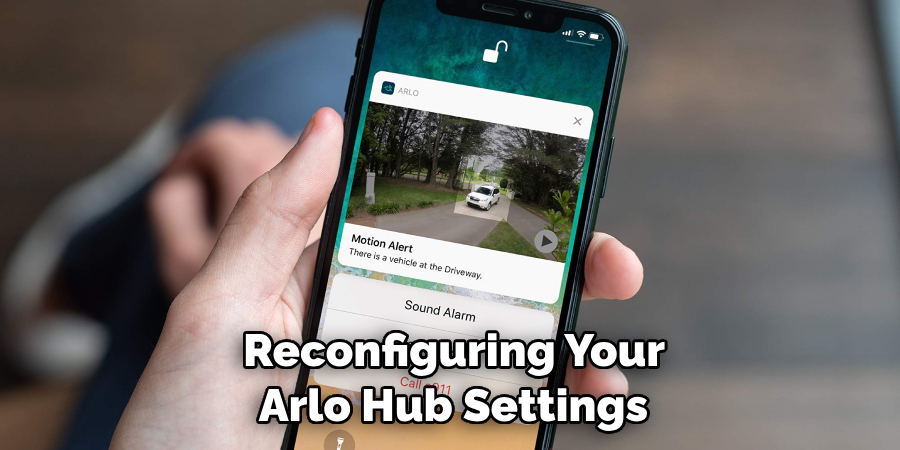
Remember, it’s essential to configure these settings according to your needs since the factory reset erased all previous configurations. Once you’ve set everything up to your satisfaction, your Arlo Hub has been factory reset and is ready for use.
Following these ten simple steps, you can easily factory reset your Arlo Hub and return it to its default settings. Whether you’re experiencing connectivity issues or simply want a fresh start, performing a factory reset is an effective solution that requires minimal effort.
5 Additional Tips and Tricks
- Before initiating a factory reset, ensure the Arlo hub is connected to a stable power source to avoid any irreversible damage due to power interruption. Also, ensure your hub is close to your router to maintain a strong internet connection throughout the process.
- If you’ve changed the default password of your Arlo hub, make sure to have it handy, as it will be required during the factory reset.
- The factory reset process may take several minutes, so be patient and do not interrupt the process. Attempting to speed up or cancel the process may result in further issues with your Arlo hub.
- After the factory reset, you must set up your Arlo hub again. This includes connecting it to your network and re-adding any previously connected devices.
- If you encounter any issues during or after the factory reset process, refer to the official Arlo support website for troubleshooting steps and further assistance.
With these additional tips, you can now confidently factory reset your Arlo hub without any hassle or fear of damaging your device. Remember that a factory reset should only be done as a last resort when troubleshooting other issues with your Arlo system.
5 Things You Should Avoid
- Do not initiate a factory reset if your Arlo hub’s battery level is low. This could lead to irreversible damage, as the reset process requires a consistent power source.
- Avoid attempting a factory reset if your internet connection is unstable or weak. A strong, stable connection is crucial for the reset process to work properly and to prevent possible errors.
- Refrain from interrupting the reset process once it’s started. Abruptly disconnecting the power or internet could lead to further issues.
- It’s advised to remember your default password. After a factory reset, you must log back into your Arlo hub, which requires the default password.
- Lastly, avoid factory resetting your Arlo hub frequently. Each reset will delete your previous settings and should be used as a last resort when other troubleshooting methods have failed.
By avoiding these common mistakes, you can ensure a smooth and successful factory reset of your Arlo hub. Always follow the manufacturer’s instructions and guidelines for the best results.
Conclusion
In conclusion, resetting your Arlo Hub should be manageable if you follow the instructions. If you encounter any technical glitches or additional questions during the process, feel free to reach out for help from the Arlo customer service team. From performing a factory reset to installing smart features to enhance your home security setup, the right know-how can make all the difference.
Hopefully, this blog post on how to factory reset arlo hub has provided useful information to help you get started and keep your Arlo Hub performing optimally into the future. Now it’s time for action – get stuck into resetting your hub and transforming its capabilities!
About
Safety Fic is a distinguished figure in the world of Diy design, with a decade of expertise creating innovative and sustainable Diy solutions. His professional focus lies in merging traditional craftsmanship with modern manufacturing techniques, fostering designs that are both practical and environmentally conscious. As the author of diy, Safety Fic delves into the art and science of Safety Fic-making, inspiring artisans and industry professionals alike.
Education RMIT University
(Melbourne, Australia) Associate Degree in Design (Safety Fic) Focus on sustainable design, industry-driven projects, and practical craftsmanship. Gained hands-on experience with traditional and digital manufacturing tools, such as CAD and CNC software.
Nottingham Trent University
(United Kingdom) Bachelor’s in diyfastly.com and Product Design (Honors) Specialized in product design with a focus on blending creativity with production techniques. Participated in industry projects, working with companies like John Lewis and Vitsoe to gain real-world insights.
Publications and Impact
In diy, Safety Fic his insights on indoor design processes, materials, and strategies for efficient production. His writing bridges the gap between artisan knowledge and modern industry needs, making it a must-read for both budding designers and seasoned professionals.