

Do you have a Yale Nest Lock that has become stuck or is not working properly? Whether it’s an issue related to the firmware update, lost keys, incorrect settings, faulty hardware components, etc., resetting your Yale Nest lock can help.
Resetting your lock will allow you to start from scratch and can fail-proof any potential issues, but how do you factory reset it? Don’t worry – we’ve got all of your answers!If you’re dealing with a Yale Nest lock that has become stuck or is not working properly, the first step is to remove the battery to reset it.
In this blog post, we’ll provide step-by-step instructions on how to factory reset Yale Nest Lock in no time. Keep reading and follow along as our experts walk you through the process for hassle-free success.
What Will You Need?
You don’t need to gather any materials in order to reset your Yale Nest Lock. The only thing you will be required to do is make sure that the lock has power and is working properly before beginning the reset process.
Additionally, check the user manual of your lock to ensure that it is compatible with the reset process.
10 Easy Steps on How to Factory Reset Yale Nest Lock
Step 1. Ensure the Lock is Powered:
Make sure your Yale Nest Lock is powered properly. If the battery level is low, replace the batteries before resetting. The lock must be operational for the reset to work. Additionally, check the user manual of your lock to ensure that it is compatible with the reset process.
Step 2. Access the Reset Menu:
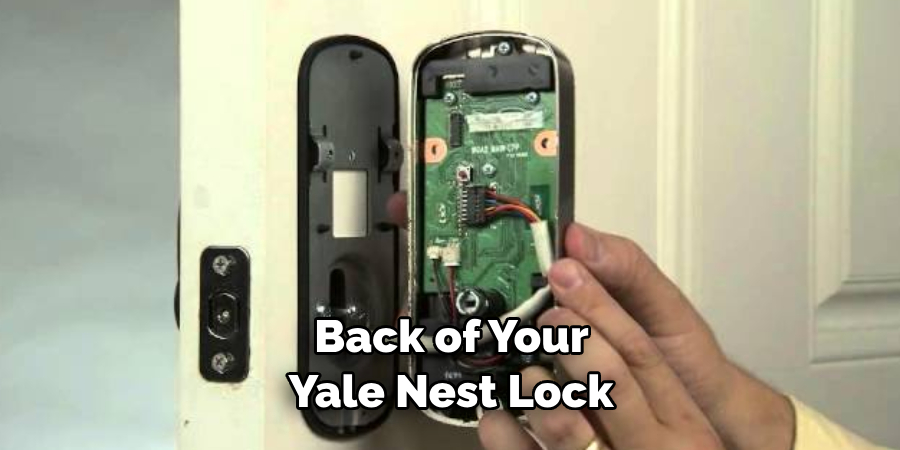
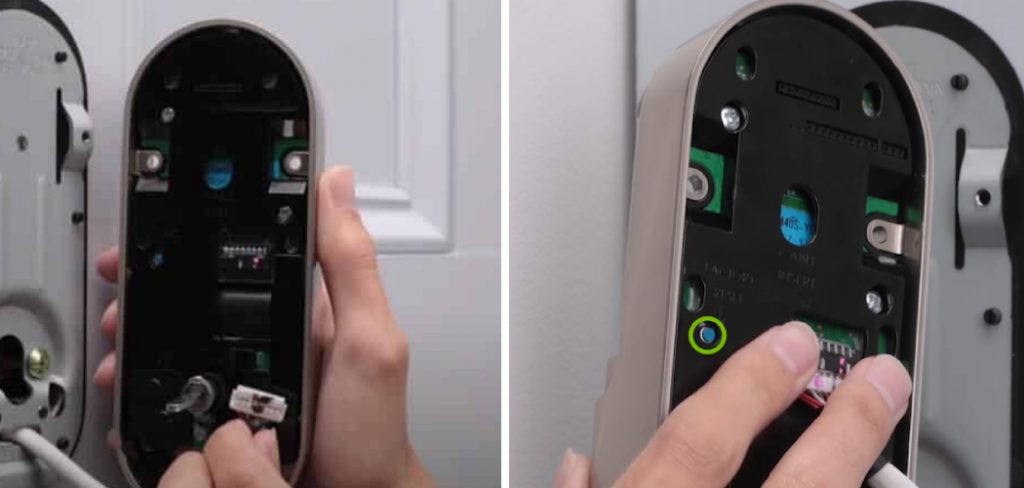
On the back of your Yale Nest Lock, you’ll find a small button labeled ‘R.’ This is the reset button. To access the reset menu, press this button once. You should hear a voice prompt informing you that the reset menu has been activated.
If you do not hear this, try pressing the button again to ensure the reset menu has been accessed. If you’re still not hearing the voice prompt, you may need to replace the batteries, as the lock might not be sufficiently powered.
Step 3. Confirm the Reset:
After accessing the reset menu, the lock will ask you to confirm the reset. You must enter your master code, followed by the ‘#’ key. Once you do this, the lock will ask you to confirm the reset. Resetting your Yale Nest Lock will erase all stored data, including codes and history. If you want to continue, press the ‘*’ key. The lock will then begin the reset process.
Step 4. Wait for the Reset Process:
Once you have confirmed the reset, your Yale Nest Lock will need a few minutes to complete the process. During this time, the lock will reboot itself, erasing all its previous settings and returning to its factory default. You’ll hear a voice prompt telling you that the reset is complete. Do not remove the batteries or disrupt the lock during this period, as it could cause issues with the reset.
Step 5. Verify the Reset:
After the reset process is complete, verify that the lock has reset to its factory settings. Your Yale Nest Lock should have no stored codes or history left. You can test this by trying to enter a previously used code – it should no longer work.
Step 6. Set Up Your Lock Again:
Now that your Yale Nest Lock has been reset, you’ll need to set it up again as if it were new. This includes setting up a new Master Code, creating user codes, and configuring any other settings you prefer.
Remember, resetting your Yale Nest Lock erases all its data, so note down any codes or settings you want to use again after the reset.
Step 7. Reconnect Your Lock to the Nest App:
After setting up your Yale Nest lock with a new Master Code and user codes, the next step involves reconnecting the lock to the Nest app. Open the Nest app on your smartphone or tablet and navigate to the settings menu. Select ‘Add a product’ and scan the QR code located at the back of your Yale Nest lock. Follow the on-screen instructions to connect your lock to the Nest app. After successful setup, you can control and monitor your lock remotely.
Step 8. Verify the Lock’s Functionality:
Now that your Yale Nest Lock is reset and reconnected to the Nest app, verifying its functionality is essential. First, use the app to lock and unlock the door to ensure the commands work correctly.
Next, attempt to manually lock and unlock the door with a new user code. If both these tests are successful, then your lock has been factory reset and is working as expected. You may need to contact Yale customer support for further assistance if you encounter any issues.
Step 9. Regularly Update Your Lock:
To ensure your Yale Nest Lock continues to function optimally, it’s important to update the lock’s firmware regularly. By doing this, you’ll receive any bug fixes, new features, or security updates that Nest provides.
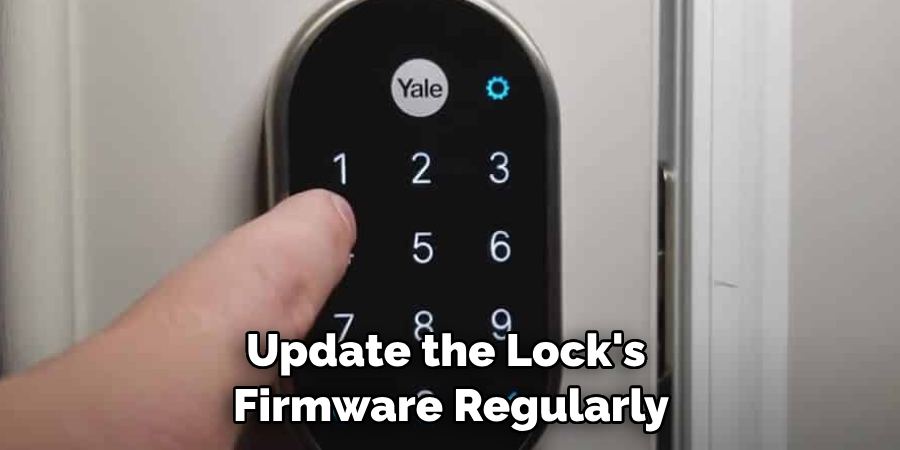
You can do this by opening the Nest app, selecting your Yale Nest Lock, and then navigating to the settings menu, where you’ll find an option to update the lock’s software. Always make sure your lock is connected to the internet during this process.
Step 10. Perform Routine Checks:
Last but not least, make it a habit to perform routine checks on your Yale Nest Lock. Regular maintenance includes checking the battery level, ensuring the bolt moves freely, and confirming the lock is functioning properly manually and through the Nest app.
This will help you identify and solve any potential issues before they become major problems. If you encounter any persistent issues, contact Yale’s customer support for guidance or possible repairs.
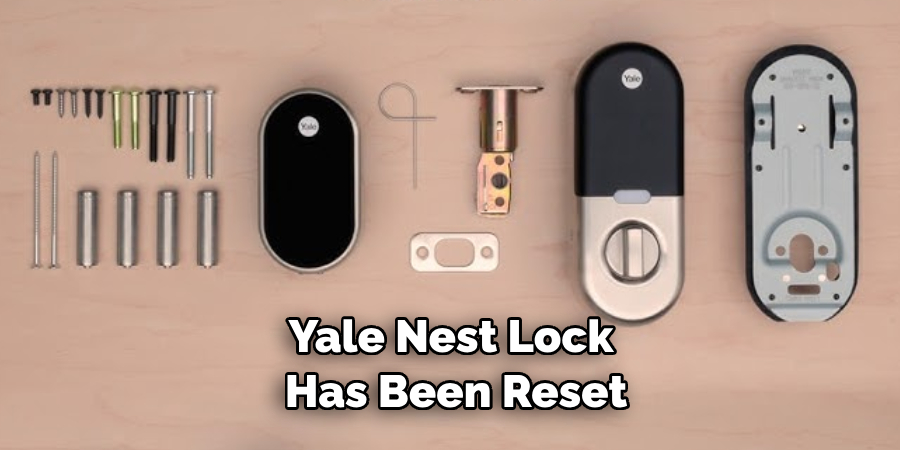
Following these ten steps, you can successfully factory reset your Yale Nest Lock and have it up and running again quickly. Ensure to follow the manufacturer’s instructions for any other settings or features your lock offers.
5 Additional Tips and Tricks
- Before you begin the factory reset process, ensure all batteries are safely removed from your lock.
- If your lock is connected to a Nest app, you’ll want to make sure that the lock is unlinked from the app before starting the reset.
- It’s also important to know that factory resetting your Yale Nest Lock will erase all custom settings and programming information stored in your lock.
- Once you’ve successfully reset your lock, remember to reprogram it and assign new admin codes.
- Finally, remember to re-install the batteries after you’ve completed the reset process! This will help ensure your lock is properly powered up and ready for use.
With just a few simple steps, you can easily factory reset your Yale Nest Lock and start fresh with a new set of custom settings and programming information. Follow all the appropriate steps discussed above to ensure your lock is properly reset and ready for use.
5 Things You Should Avoid
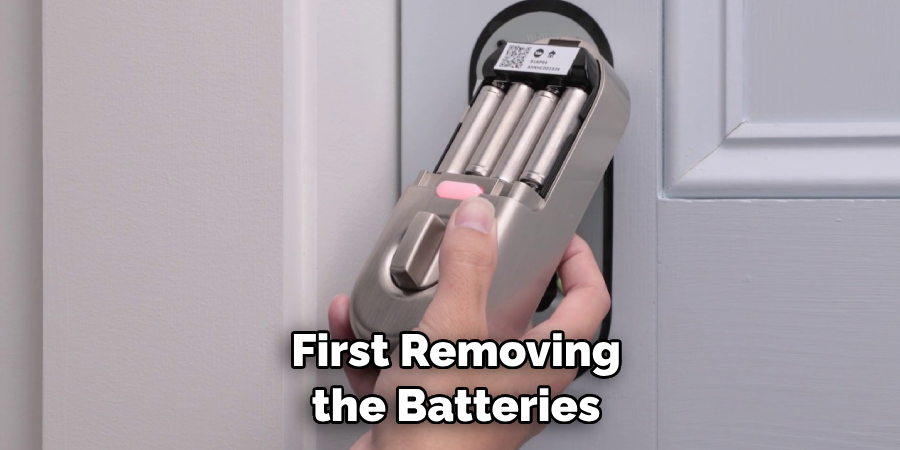
- Only attempt to factory reset your lock after first removing the batteries.
- Avoid resetting your lock while it’s still connected to any Nest app.
- Don’t forget to reprogram and assign new admin codes once you’ve completed the reset process.
- Never try to use a generic code when programming or assigning new admin codes to your lock.
- Don’t forget to re-install the batteries after you’ve completed the reset process! This will help ensure your lock is properly powered up and ready for use.
With a few simple steps, you can easily factory reset your Yale Nest Lock and ensure it’s ready for use with new programming information and custom settings.
How Do You Transfer Your Nest Yale Lock to a New Owner?
The process is simple if you’re looking to transfer your Yale Nest Lock to a new owner. First, ensure all batteries are safely removed from the lock before any transfers occur. Then, unlink the lock from any existing Nest app accounts and reset it using the above steps.
Once you’ve reset the lock, you must program and assign new admin codes. Finally, you’ll need to re-install the batteries so that the lock is properly powered up and ready for use.
Now, your Yale Nest Lock is ready for transfer! Ensure the new owner knows how to reprogram and reset it if necessary. With just a few simple steps, you can easily transfer your lock to a new owner and ensure it’s properly secured.
Conclusion
In conclusion, how to factory reset Yale Nest Lock is a simple process. Though the steps may vary depending on the device, you can always navigate through the necessary settings easily.
Whether you are troubleshooting problems or want to start fresh, factory resetting your Yale Nest Lock is fast and efficient. Another bonus of this exercise is that as soon as you reboot your device, it will begin automatically updating so your lock can continuously stay informed with state-of-the-art security measures.
Taking a few moments to factory reset your Yale Nest Lock could improve security for years!
About
Safety Fic is a distinguished figure in the world of Diy design, with a decade of expertise creating innovative and sustainable Diy solutions. His professional focus lies in merging traditional craftsmanship with modern manufacturing techniques, fostering designs that are both practical and environmentally conscious. As the author of diy, Safety Fic delves into the art and science of Safety Fic-making, inspiring artisans and industry professionals alike.
Education RMIT University
(Melbourne, Australia) Associate Degree in Design (Safety Fic) Focus on sustainable design, industry-driven projects, and practical craftsmanship. Gained hands-on experience with traditional and digital manufacturing tools, such as CAD and CNC software.
Nottingham Trent University
(United Kingdom) Bachelor’s in diyfastly.com and Product Design (Honors) Specialized in product design with a focus on blending creativity with production techniques. Participated in industry projects, working with companies like John Lewis and Vitsoe to gain real-world insights.
Publications and Impact
In diy, Safety Fic his insights on indoor design processes, materials, and strategies for efficient production. His writing bridges the gap between artisan knowledge and modern industry needs, making it a must-read for both budding designers and seasoned professionals.