

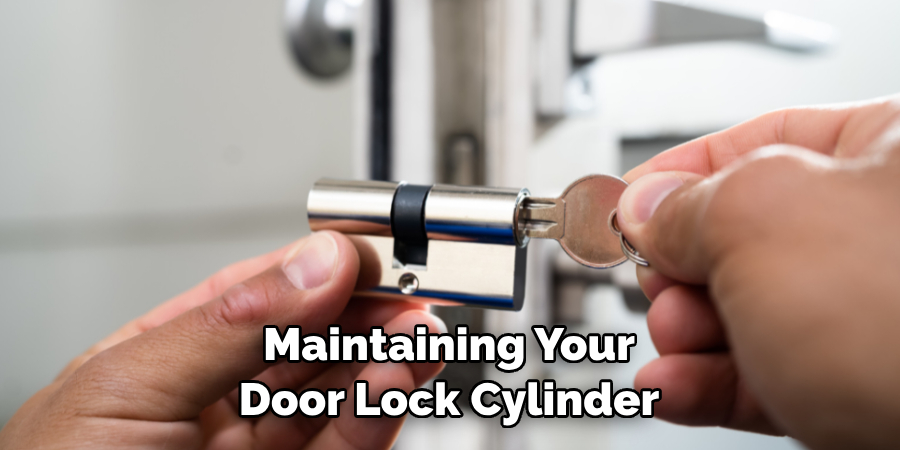
Do you ever find yourself locked out of your home or apartment due to a loose door lock cylinder? Are you constantly afraid that the knob or handle could suddenly come off as soon as you jiggle it, leaving you stranded outside for hours waiting for help? Don’t worry – there’s no need to hire an expensive locksmith.
With the right tools and this guide on how to fix a loose door lock cylinder, you’ll be able to quickly fix your problem all on your own – and save some money, too! In less than an hour, we’ll walk through how to remove a door handle and properly inspect and identify potential issues with the set screws, interior latch mechanism, and other components inside the lock cylinder housing.
Let’s get started so you can finally have peace of mind again when entering your home!
What Will You Need?
Before you can start fixing your loose door knob or lever, you’ll need a few tools. These include:
- Phillips head screwdriver
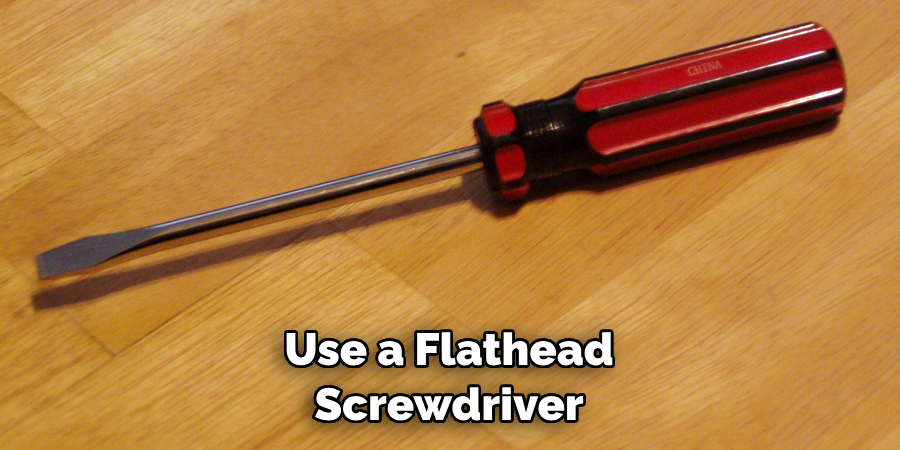
- Flathead screwdriver
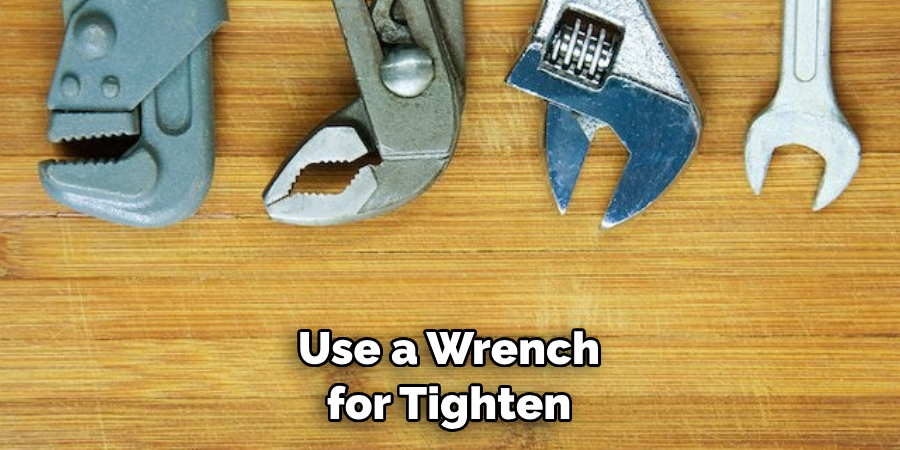
- Set of wrenches (optional)
- A new lock cylinder (optional)
- Lubricant or WD40 (optional)
Once you have all the necessary tools, it’s time to begin the process.
10 Easy Steps on How to Fix a Loose Door Lock Cylinder
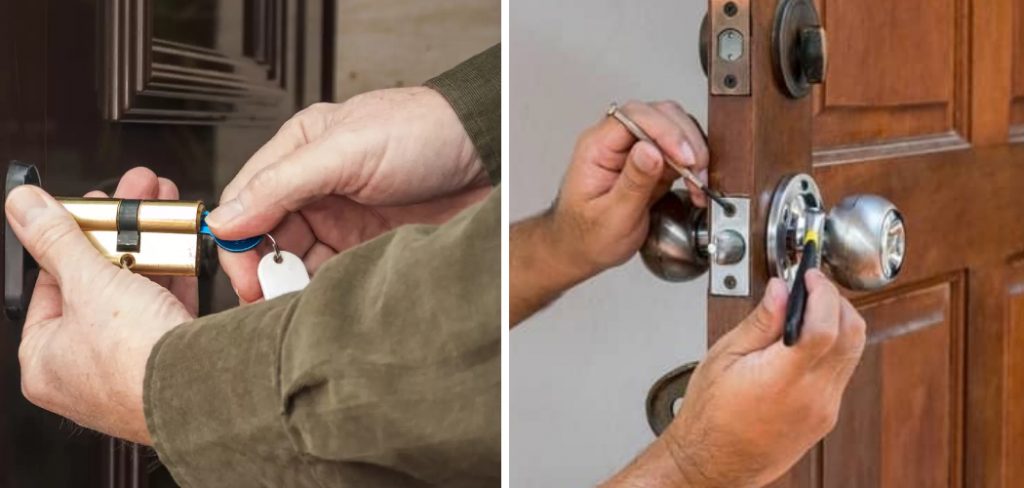
Step 1: Removing the Door Handle
This is the first step in getting to your door lock cylinder and inspecting its components. Depending on what type of door handle you have (knob or lever), there will be different removal methods.
For knobs, you’ll need to use a flathead screwdriver and unscrew the two set screws at the handle’s base. You’ll have to remove either a single or two screws from the side using a Phillips head screwdriver for levers.
Step 2: Inspecting the Set Screws
Once the door handle is removed, look at the set screws. These screws are what secure the handle to the door, and they’re often made of metal, brass, or plastic. Make sure these screws aren’t loose, as that could be a potential cause of your issue. If one of the set screws is loose, use a wrench (or your flathead/Phillips head screwdriver) to tighten it.
Step 3: Inspecting the Interior Latch Mechanism
After you’ve inspected the set screws, it’s time to move on to inspecting the interior latch mechanism. This is located inside the lock cylinder housing and can be easily accessed once you remove the door handle.
Some dirt or rust may have accumulated inside the latch mechanism. With a Phillips head screwdriver, gently clean out any debris or residue that may be present.
Step 4: Adjusting the Interior Spring Mechanism
The interior spring mechanism helps keep the door locked in place once it’s shut. If this spring is not adjusted properly, it can cause your lock to become loose.
Using a Phillips head screwdriver, adjust the spring to securely hold the latch in place. If you need help with how to do this correctly, refer to your door lock manufacturer’s instructions.
Step 5: Inspecting the Strike Plate and Deadbolt
Next, take a look at the strike plate and deadbolt. Make sure both components are securely fastened to the door frame. Additionally, check to ensure that the deadbolt is kept from sticking out of the frame too far, as this could prevent your lock from correctly latching onto it. Adjust these components as necessary for a secure fit.
Step 6: Lubricating Components
This step is optional but recommended to prevent further door lock issues. Use lubricant or WD40 to coat the lock cylinder housing components lightly. This will help keep them from becoming stiff or sticking due to dust and dirt buildup.
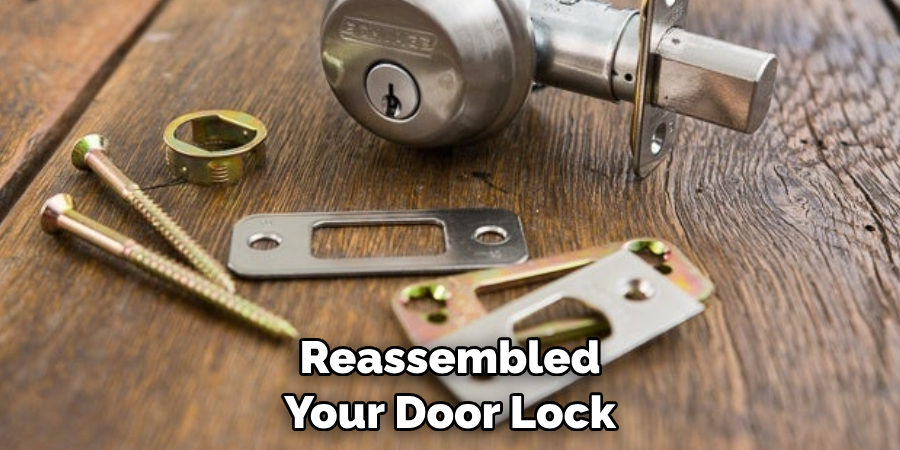
Step 7: Reassembly
After lubricating, begin reassembling your door lock. Start with the lock cylinder. If you have a new cylinder, replace the old one. If not, then just reinsert the old one. Make sure it’s correctly aligned with the latch mechanism. Next, reattach the door handle, ensuring the handle and lock cylinder are properly lined up.
Depending on your door handle type, you may need to screw in the set screws (for knobs) or screws on the side (for levers) to secure the handle back into place. Finally, check the door to ensure that it opens, closes, and locks smoothly. If it does, congratulations! You’ve just fixed your loose door lock cylinder.
Step 8: Testing the Door Lock
After you have reassembled your door lock, it’s time to put it to the test. Close the door and try locking and unlocking it several times. Ensure the key turns smoothly in the lock and the door handle or lever works as it should.
If you notice any stiffness or if the door handle feels loose again, you may need to repeat the steps above, paying close attention to the adjustments you make. You’ve successfully fixed your loose door lock cylinder if everything works perfectly!
Step 9: Regular Maintenance
After successfully fixing your loose door lock cylinder, it’s important to conduct regular maintenance to prevent future problems. This includes periodically checking the screws for tightness, lubricating the latch mechanism and deadbolt, and securely attaching the door handle. Regular maintenance will extend the lifespan of your door lock and save you from future hassle.
Step 10: Celebrate Your Success
Congratulations! You’ve successfully fixed your loose door lock cylinder. Now that you’ve navigated through the process, you should be confident in tackling similar issues. Not only have you saved money by not hiring a professional locksmith, but you’ve also gained a practical skill that can be useful in numerous situations.
Remember, regular maintenance and prompt attention to any changes are key to maintaining the longevity of your door lock. Enjoy the peace of mind that comes from knowing your home is secure. By following these ten simple steps, you’ve successfully fixed your loose door lock cylinder!
5 Additional Tips and Tricks
- Always lubricate the bolt after tightening, as this will help to prevent future loosening and potential damage.
- If you have a mortise cylinder lock, be sure to check that the screw which holds it in place is secure – if not, tighten it up!
- If your door has an automatic deadbolt feature, test it after completing any repairs or adjustments.
- If you need help figuring out how to complete a repair, consult with a professional locksmith for further assistance.
- Remember to keep an eye on your door lock cylinder occasionally – if it’s starting to become loose again, be sure to take steps to address the issue as soon as possible! Doing so can help you avoid bigger problems down the line.
With these simple tips and tricks, you can keep your door lock cylinder secure easily. When in doubt, don’t hesitate to contact a locksmith for help!
5 Things You Should Avoid
- Don’t attempt to repair the lock yourself if you don’t know how – this could cause more damage than good.
- Don’t over-tighten the bolt; this can do more harm than good.
- Avoid using any kind of lubricants or solvents on your door lock cylinder, as these may corrode the metal and damage the lock.
- Never force a door open if it is jammed – instead, call a professional locksmith to help you safely get into your home or building.
- Don’t allow anyone else to use your key – this could result in further wear and tear on the lock mechanism and compromise your security.
By following these simple tips and tricks, you can keep your door lock cylinder secure and in working order for years to come. With some maintenance, you can ensure that your home or business is always kept safe and sound!
Why is My Door Cylinder Not Locking?
Sometimes, a door lock cylinder may become jammed or stuck and not properly latch when you turn the key. This can be caused by several factors, including age and wear-and-tear of the mechanism, dirt and debris buildup, misalignment of the bolt or mechanism components, or a broken key inside the lock.
To address this issue, you’ll first want to look at the door lock cylinder and ensure there is nothing blocking the bolt from properly latching. If that isn’t the case, you may need to disassemble the lock and clean out any debris or dirt before reassembling it.
Additionally, you can align the lock mechanism components more closely if they appear to be misaligned. If all else fails, it may be time to replace the lock – you can use a professional locksmith for this if needed.
Properly maintaining your door lock cylinder and attending to any potential issues promptly ensures that your home or business is kept secure and safe from intruders!
Conclusion
In conclusion, how to fix a loose door lock cylinder can be as simple as lubricating it with graphite, tightening its setscrews, or replacing the screws altogether. Although this task can be challenging, with a few tricks and tools, as outlined in this post, you can take care of it quickly and efficiently. If all else fails, there’s no shame in calling the professionals – that’s our suggestion if you find yourself in a real fix.
Now that you know what to do to improve your security at home, why not go ahead and take some steps today? Any of these fixes will keep your lock securely in place so your home remains safe and protected from unwanted intruders. So go on – get started on strengthening the security of your space today!
About
Safety Fic is a distinguished figure in the world of Diy design, with a decade of expertise creating innovative and sustainable Diy solutions. His professional focus lies in merging traditional craftsmanship with modern manufacturing techniques, fostering designs that are both practical and environmentally conscious. As the author of diy, Safety Fic delves into the art and science of Safety Fic-making, inspiring artisans and industry professionals alike.
Education RMIT University
(Melbourne, Australia) Associate Degree in Design (Safety Fic) Focus on sustainable design, industry-driven projects, and practical craftsmanship. Gained hands-on experience with traditional and digital manufacturing tools, such as CAD and CNC software.
Nottingham Trent University
(United Kingdom) Bachelor’s in diyfastly.com and Product Design (Honors) Specialized in product design with a focus on blending creativity with production techniques. Participated in industry projects, working with companies like John Lewis and Vitsoe to gain real-world insights.
Publications and Impact
In diy, Safety Fic his insights on indoor design processes, materials, and strategies for efficient production. His writing bridges the gap between artisan knowledge and modern industry needs, making it a must-read for both budding designers and seasoned professionals.