

A slippery bathtub can pose a serious safety hazard, increasing the risk of slips and falls. Whether it’s due to soap residue, smooth surfaces, or moisture, addressing this issue promptly is crucial for maintaining a safe bathroom environment.
In this guide on how to fix a slippery tub, we will explore various methods and products that can help you effectively reduce the slipperiness of your tub, ensuring a secure and worry-free bathing experience.
Why Do Tubs Get Slippery?
Before we dive into the solutions, it’s essential to understand the primary factors that contribute to a slippery tub. These include:
Soap Residue:
Soap scum can build upon the surface of your tub, making it slick and slippery. This is especially true for bar soaps that contain oils and fats, which can leave a residue on the tub’s surface.
Smooth Surfaces:
The smooth surfaces of most bathtubs, especially porcelain or enamel ones, also contribute to their slipperiness. The lack of traction makes it easier for feet to slide on the surface, increasing the risk of falls.
Moisture:
Lastly, moisture from water splashes or condensation can make the tub even more slippery. This is particularly dangerous when combined with soap residue and smooth surfaces.
9 Steps on How to Fix a Slippery Tub
Step 1: Clear the Tub
The first step in addressing a slippery tub is to clear it of any objects and debris. Remove all personal items such as shampoo bottles, soap dishes, and bath toys. This ensures you have an unobstructed workspace and allows you to thoroughly clean the entire surface of the tub.
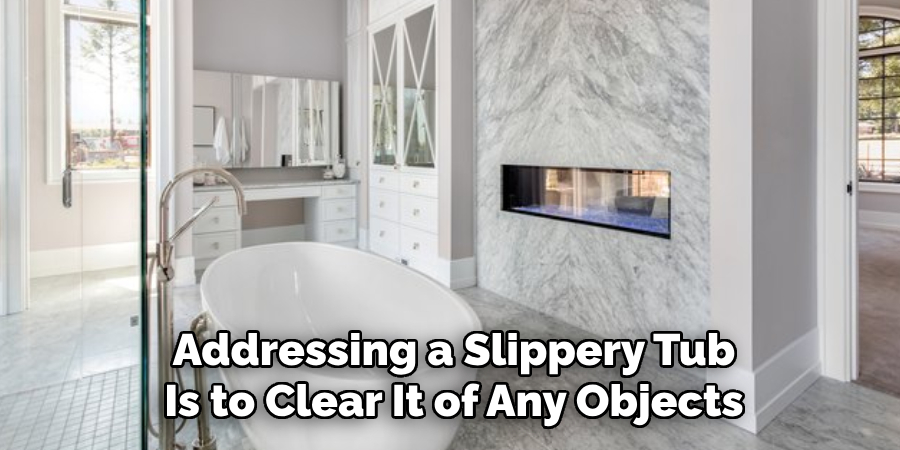
Clearing the tub also reduces the risk of accidentally knocking items over while you work, providing a safer environment as you proceed to the next steps.
Step 2: Clean the Tub
To effectively reduce slipperiness, it’s crucial to thoroughly clean the tub to remove any soap residue, dirt, and grime. Start by applying a tub cleaner or a mixture of baking soda and vinegar to the entire surface of the tub. Use a sponge or a soft-bristle brush to scrub the tub, focusing on the areas that feel particularly slick.
Make sure to pay attention to the corners and edges, where soap scum can accumulate. Once you’ve scrubbed the entire surface, rinse the tub thoroughly with warm water to wash away all the cleaning agents and loosened debris. Dry the tub with a clean towel to ensure that no moisture remains, which can interfere with the effectiveness of the next steps.
Step 3: Apply Anti-Slip Strips
Anti-slip strips are an easy and inexpensive solution to make your tub less slippery. These adhesive strips work by providing traction and grip, making it harder for feet to slide on the surface. They come in various colors and designs, allowing you to choose one that matches your bathroom’s aesthetic.
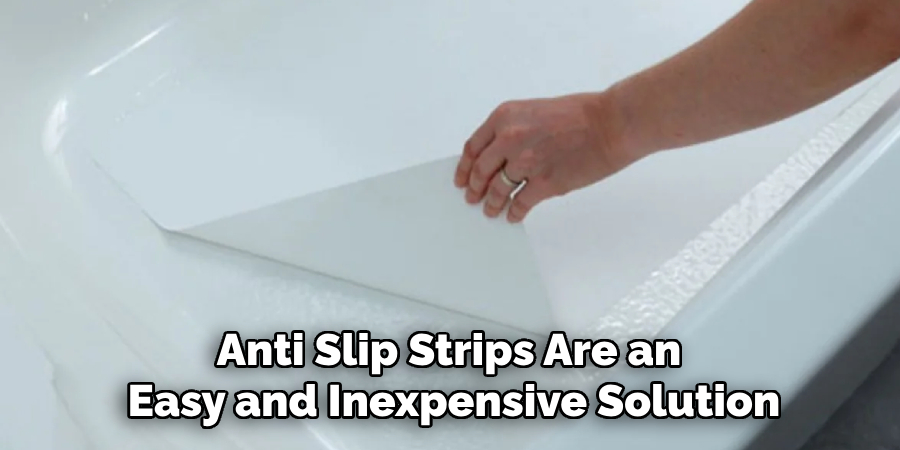
To apply anti-slip strips, first, measure the length of your bathtub floor and cut the strip accordingly. Remove the backing from the strip and carefully place it along the bottom of the tub, pressing down firmly to ensure proper adhesion. Repeat this process until you have covered the entire tub floor, leaving a small gap between each strip for proper drainage.
Step 4: Use a Bath Mat
Similar to anti-slip strips, bath mats provide an extra layer of traction and grip to reduce slipperiness. They come in various materials such as rubber, fabric, and microfiber, with rubber being the most effective in preventing slips.
Choose a bath mat that fits the size of your tub and has suction cups on the bottom for secure placement. Make sure to regularly clean and replace your bath mat as it can also accumulate soap residue and become slippery over time.
Step 5: Install a Grab Bar
Installing a grab bar near your tub can provide additional support and stability, reducing the risk of falls. Choose a sturdy bar that can support your weight and make sure to follow the manufacturer’s instructions for proper installation.
Place the grab bar in an easily accessible location, such as along the side or end of the tub, where you can reach it easily while getting in and out.
Step 6: Use Non-Slip Appliques
Non-slip appliques are another simple solution to reduce slipperiness in your tub. These adhesive decals work similarly to anti-slip strips by providing traction and grip. They come in various shapes, sizes, and designs, allowing you to customize your tub’s appearance while also making it safer.
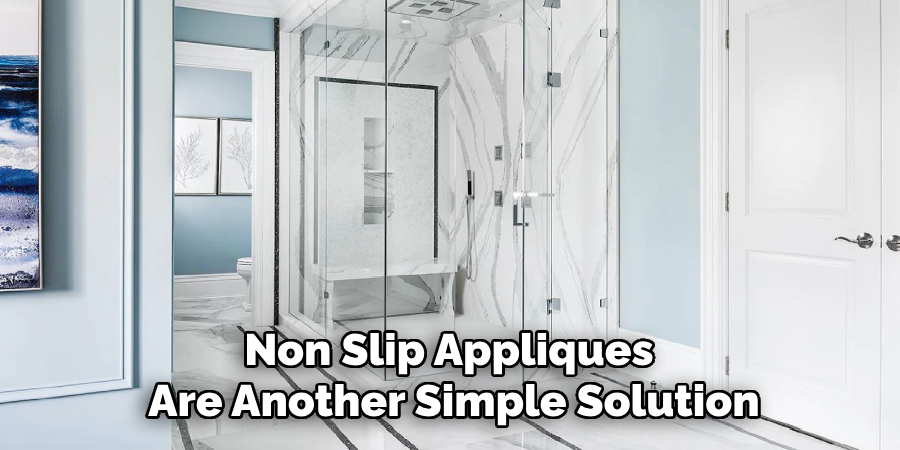
To install non-slip appliques, simply peel off the backing and carefully place them on the surface of your tub. Make sure to press down firmly to ensure proper adhesion.
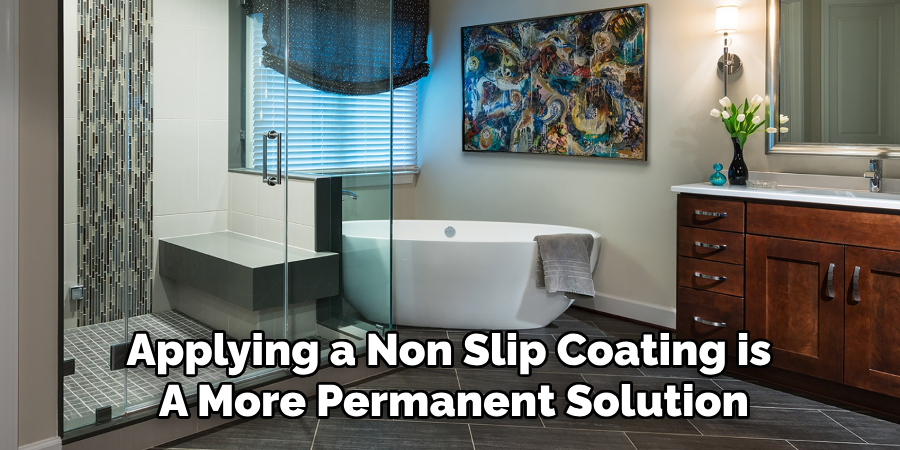
Step 7: Try a Non-Slip Coating
If you’re looking for a more permanent solution, consider applying a non-slip coating to your bathtub’s surface. These coatings are specially formulated with anti-slip additives that create a textured layer on the tub’s surface, providing traction and grip.
It’s essential to thoroughly clean and dry your tub before applying the non-slip coating for maximum effectiveness. Follow the manufacturer’s instructions for proper application, and make sure to let it dry completely before using the tub again.
Step 8: Use Traction Mats
Traction mats are similar to bath mats but provide a more comprehensive coverage of the tub’s surface. They often come in large sizes that can cover the entire length and width of your bathtub, providing ample traction and reducing slipperiness.
Make sure to choose a mat with suction cups on the bottom for secure placement and regularly clean it to prevent soap residue buildup.
Step 9: Opt for a Textured Bathtub
If you’re in the process of remodeling your bathroom or looking to purchase a new bathtub, consider choosing one with a textured surface. These tubs have a built-in grip, reducing slipperiness and providing additional traction while bathing.
There are various textures available, such as pebbled, ribbed, and wave-like patterns that can also add an aesthetic touch to your bathroom. Make sure to try out different options before making your final decision to find the best texture for your needs.
Following these steps on how to fix a slippery tub can greatly reduce the slipperiness of your bathtub, providing a safer and more enjoyable bathing experience. Remember to regularly clean and maintain your tub to prevent soap residue buildup and reapply any non-slip solutions as needed for continuous effectiveness. Stay safe and happy soaking!
How Much Will It Cost?
The cost of fixing a slippery tub can vary depending on the solutions you choose to implement. Here’s a rough estimate of the expenses associated with each method:
Anti-Slip Strips:
These adhesive strips are relatively inexpensive, ranging from $10 to $20 for a pack. Prices may vary based on brand and design.
Bath Mats:
The cost of bath mats depends on the material and size. Simple rubber mats can start at around $15, while higher-quality or designer options can go up to $50 or more.
Grab Bars:
Installing a grab bar can cost anywhere between $20 and $100, depending on the quality and brand. If you need professional installation, labor costs can add an additional $50 to $100.
Non-Slip Appliques:
These decals are an affordable option, usually costing between $10 and $25 for a set. Designs and sizes may influence the price.
Non-Slip Coating:
Applying a non-slip coating is a more permanent solution with costs ranging from $30 to $50 for a DIY kit. Professional application may cost significantly more, typically starting at $150.
Traction Mats:
Similar to bath mats, traction mats can vary in price based on size and quality. Expect to pay between $20 and $50.
Textured Bathtub:
If you’re considering purchasing a new textured bathtub, costs can vary widely based on the material and design. Basic models may start at $300, while high-end models can exceed $1,000. Installation fees are additional and can range from $150 to $500.
Taking all these factors into account, fixing a slippery tub can cost anywhere from a modest $10 to several hundred dollars, depending on your chosen solutions and whether you opt for DIY or professional installation. Balancing cost with effectiveness and aesthetics will help you make the best decision for your needs and budget.
Frequently Asked Questions
Q: What is the Best Way to Clean a Slippery Tub?
A: The best way to clean a slippery tub is by using a tub cleaner or a mixture of baking soda and vinegar. Scrub the entire surface, paying close attention to areas that feel particularly slick, and rinse thoroughly with warm water before drying with a clean towel.
Q: Are Anti-Slip Strips Effective in Reducing Slipperiness?
A: Yes, anti-slip strips are an effective solution for reducing slipperiness in your tub. They provide traction and grip, making it harder for feet to slide on the surface. However, make sure to clean and replace them regularly as they can accumulate soap residue over time.
Q: Can I Install Non-Slip Solutions Myself?
A: Yes, most non-slip solutions can be easily installed by following the manufacturer’s instructions. However, it is always recommended that professional help be sought for the proper installation of grab bars or non-slip coatings.
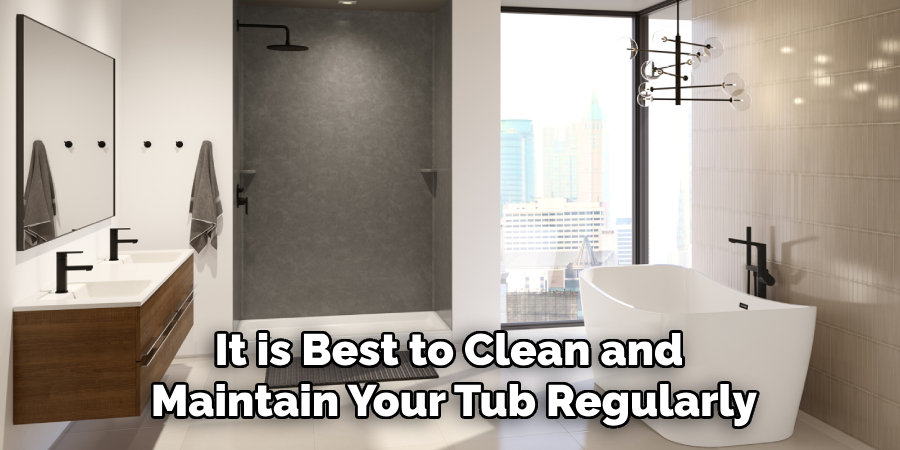
Q: How Often Should I Clean and Maintain My Tub to Prevent Slipperiness?
A: It is best to clean and maintain your tub regularly, at least once a week. This will prevent soap residue buildup, which can make the surface slippery. Also, make sure to replace any non-slip solutions that have become worn out or ineffective.
Conclusion:
Slippery bathtubs can pose a serious risk of falls and injuries, but fortunately, there are numerous effective ways to address this issue. By following the steps on how to fix a slippery tub outlined above, such as clearing and cleaning the tub, applying anti-slip strips or a bath mat, and considering non-slip coatings or textured surfaces, you can significantly enhance the safety of your bathing area.
It’s essential to regularly maintain and replace these anti-slip measures to ensure long-term effectiveness. Taking these proactive steps not only creates a safer environment for you and your family but also provides peace of mind, knowing that your bathroom is a secure and comfortable space.