

A speed sensor is a crucial component in many modern vehicles, as it helps regulate speed-related functions like transmission shifting, cruise control, and vehicle stability. Over time, a faulty or malfunctioning speed sensor can lead to inaccurate readings, poor performance, or even safety issues. Fixing a speed sensor doesn’t always require professional assistance; with the right tools and a step-by-step approach, it is often possible to resolve the problem yourself. This guide will walk you through the basics of how to fix a speed sensor efficiently.
What Is a Speed Sensor?
A speed sensor is a critical component in modern vehicles that measures the rotational speed of a wheel or the transmission. This data is essential for various systems within the vehicle, such as the anti-lock braking system (ABS), the speedometer, and even advanced features like traction control and electronic stability. By providing accurate speed readings, the speed sensor helps ensure smooth operation, better handling, and improved safety. There are typically two main types of speed sensors in most vehicles: wheel speed sensors and vehicle speed sensors. Both play distinct but complementary roles in gathering and transmitting speed-related information to the vehicle’s electronic control unit (ECU).
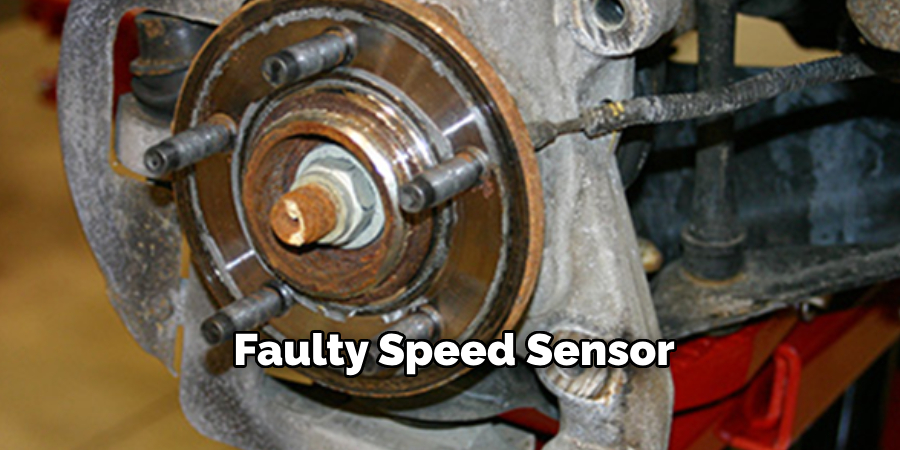
Symptoms of a Faulty Speed Sensor
A faulty speed sensor can lead to noticeable issues in the performance and safety of your vehicle. Some of the most common symptoms include:
Erratic or Malfunctioning Speedometer
If the speed sensor fails, the speedometer may give incorrect readings or stop working altogether, making it difficult to gauge your current speed.
Illuminated Check Engine Light
A malfunctioning speed sensor often triggers the check engine light as the ECU detects irregularities in the data being received.
Transmission Problems
Since the speed sensor provides critical information to the transmission system, a failure can cause issues like hard shifting, delayed gear changes, or failure to shift altogether.
Reduced Fuel Efficiency
The engine control unit relies on accurate speed readings to optimize fuel injection and timing. A faulty sensor can lead to suboptimal performance and decreased fuel economy.
Loss of Cruise Control Functionality
If the speed sensor cannot provide the necessary data, cruise control may stop functioning properly or may not engage at all.
It’s crucial to address a defective speed sensor promptly to avoid further damage to the vehicle and ensure a safe driving experience.
Tools and Materials You’ll Need
To replace or inspect a faulty speed sensor, gather the following tools and materials to ensure a smooth and efficient process:
- Socket Set – For removing bolts and securing the sensor.
- Wrench – To access hard-to-reach areas.
- Screwdriver – Useful for detaching clips or panels.
- Replacement Speed Sensor – Ensure it is compatible with your vehicle make and model.
- Jack and Jack Stands – To safely lift and secure the vehicle during the repair.
- Work Gloves – To protect your hands during the task.
- Multimeter – For diagnosing and verifying electrical connections.
- Shop Manual – Specific to your vehicle, providing detailed instructions for installation and troubleshooting.
Having these items ready will help streamline the process and minimize any interruptions.
10 Methods How to Fix a Speed Sensor
1. Understand the Function and Symptoms of a Faulty Speed Sensor
Before beginning the repair process, it’s crucial to understand what the speed sensor does and recognize the symptoms of its malfunction. A vehicle speed sensor (VSS) typically measures the rotation of a wheel or the transmission shaft and relays this data to the car’s computer to regulate things like speedometer readings, gear shifting, cruise control, and ABS functionality.
When it begins to fail, common symptoms include an erratic or non-functioning speedometer, rough or delayed gear shifts, check engine light illumination, or malfunctioning cruise control. Understanding these symptoms ensures you’re diagnosing the correct component and not overlooking related issues.
2. Locate the Speed Sensor According to Vehicle Specifications
Speed sensors are generally located on the transmission or near the wheel hubs, depending on whether it’s a vehicle speed sensor or a wheel speed sensor for the ABS system. Consult your car’s service manual or a trusted repair guide to find the exact location. This information will not only help in gaining access for repairs but also in understanding whether you’re dealing with a sensor that’s accessible from underneath the vehicle or from the engine bay. Accurate location also prevents wasting time removing unnecessary parts.
3. Disconnect the Battery and Prepare Safety Measures
Safety is a priority whenever working with a car’s electrical system. Disconnect the negative terminal of the battery before attempting any repair to avoid shorts or electrical injuries. Park the vehicle on a flat surface, engage the parking brake, and, if needed, use wheel chocks. If the sensor is located underneath the vehicle, raise the car using a hydraulic jack and secure it with jack stands. These precautions protect you from electrical accidents and physical injury while working underneath the car.
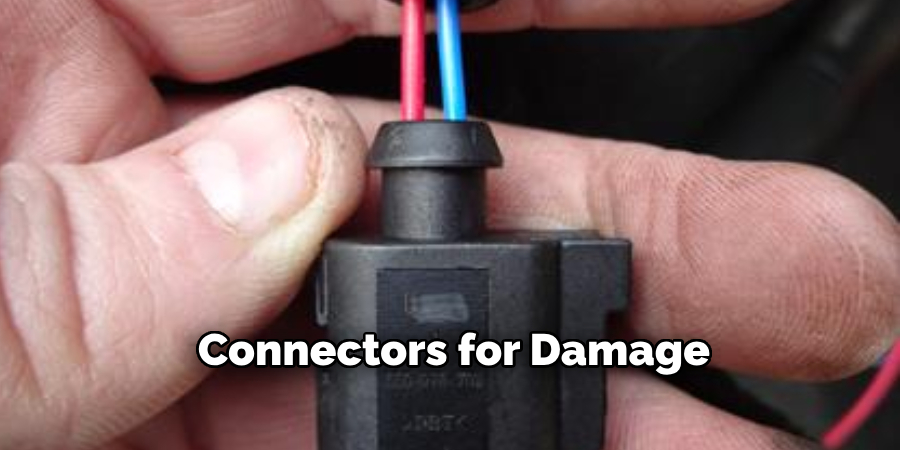
4. Inspect the Sensor Wiring and Connectors for Damage
Often, issues with a speed sensor aren’t caused by the sensor itself but by corroded, damaged, or loose wiring. Carefully inspect the wire harness connected to the sensor, checking for frayed insulation, bent pins, or signs of moisture ingress. Clean dirty connectors with electrical contact cleaner and secure any loose plugs. Sometimes, a fix is as simple as reattaching a connector that came loose due to vibrations. Be thorough in this inspection to avoid replacing a good sensor unnecessarily.
5. Use a Diagnostic Scanner to Confirm Fault Codes
Modern vehicles store fault codes when a sensor malfunctions. Use an OBD-II scanner to read the error codes stored in your car’s computer. Codes such as P0500 (Vehicle Speed Sensor Malfunction) can confirm that the VSS is indeed the issue. This helps you rule out problems like faulty transmission solenoids or wiring faults. A scanner also allows you to clear codes after the fix to monitor whether the issue is truly resolved, adding confidence to your repair.
6. Remove Obstructions to Gain Access to the Sensor
In some vehicles, other engine components, such as the air filter housing, battery, or underbody shields, might obstruct access to the speed sensor. Remove these components carefully using appropriate tools, keeping track of bolts and clamps. Photographing the layout beforehand can help during reassembly. By creating ample working space, you reduce the risk of damaging nearby components and make the repair process less frustrating and more efficient.
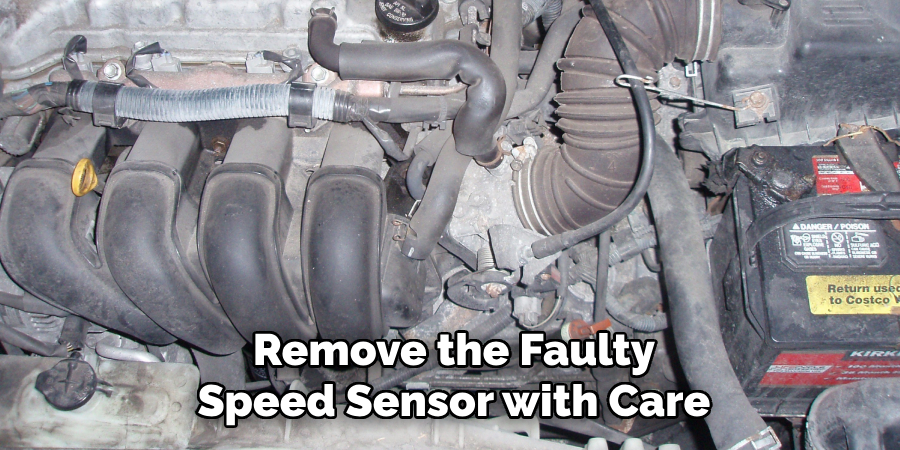
7. Remove the Faulty Speed Sensor with Care
Once you have access, disconnect the electrical connector from the speed sensor. Most sensors are secured with one or two bolts—typically 10mm or Torx fasteners. Use a ratchet with the appropriate socket or bit to remove these bolts. Gently twist and pull the sensor out of its housing. If it’s stuck due to grime or corrosion, apply a little penetrating oil and let it sit before trying again. Avoid forcing it out with tools that could damage the sensor mounting point or surrounding transmission housing.
8. Clean the Mounting Area Before Reinstalling or Replacing
With the sensor removed, inspect the sensor port or mounting hole. Use a lint-free cloth to remove any debris or corrosion that may affect the new sensor’s fit or performance. A clean, flush connection ensures the new sensor can relay accurate data. You can also apply a small amount of dielectric grease to the sensor’s electrical connector to protect it from moisture and ensure a good electrical connection during reassembly.
9. Replace or Reinstall the Speed Sensor and Test
If the sensor is beyond repair or testing shows it’s faulty, replace it with an OEM or high-quality aftermarket equivalent. Insert the new sensor into the mounting hole and secure it with the bolts removed earlier. Reconnect the wiring harness, making sure the clip snaps into place firmly. Once everything is reassembled and any removed components are returned to their original positions, reconnect the battery and start the engine. Monitor for warning lights and take the vehicle for a short test drive to ensure proper speedometer function and smooth gear transitions.
10. Reset the ECU and Monitor for Recurring Issues
After replacing the sensor, it’s advisable to reset the vehicle’s ECU by using a diagnostic scanner to clear any remaining error codes. If you don’t have access to one, disconnecting the battery for a few minutes may force the ECU to reset on some vehicles. During the test drive, monitor the speedometer and transmission behavior closely. If issues persist, further diagnostics may be necessary, such as checking the reluctor ring or transmission control module. Consistent performance and absence of warning lights indicate a successful fix.
Maintenance and Upkeep
To ensure the longevity and optimal performance of your vehicle, regular maintenance is essential. Start by adhering to the manufacturer’s recommended service intervals, which typically include oil changes, filter replacements, and fluid inspections. Check the condition of the tires regularly, ensuring proper inflation and routine rotation to prevent uneven wear.
Additionally, periodic inspections of the braking system, battery health, and engine components can help identify potential issues before they escalate. Pay close attention to dashboard warning lights and unusual sounds, as these could indicate underlying problems that require immediate attention. A proactive maintenance routine can save time and money while keeping your vehicle running smoothly.
Conclusion
Fixing a speed sensor is often a straightforward repair that can make a noticeable difference in vehicle performance and safety. By understanding the function of the sensor, properly diagnosing the symptoms, and following a methodical repair process, even novice DIYers can carry out this repair with confidence. Thanks for reading our blog post on how to fix a speed sensor! We hope you found it helpful and informative.